
Subscribe to Ventuno Art!
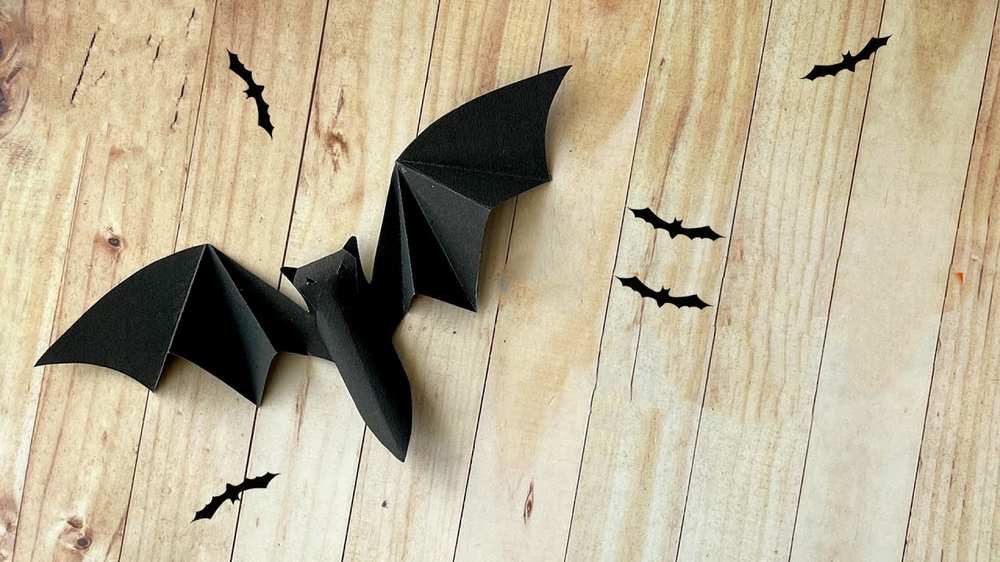
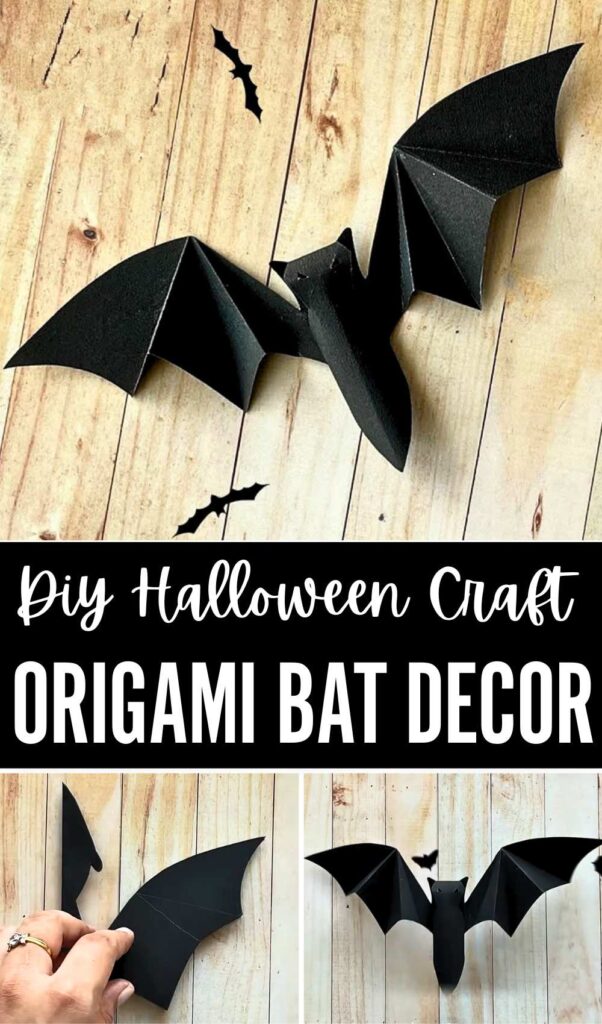
Welcome to another part of “3D Halloween SPOOKY paper crafts.” In this class, you will learn how to craft this SPOOKY paper bat with a detailed and authentic design that is easy to recreate thanks to a FREE printable template for kids. You just have to cut accordingly to craft this LOVELY DIY bat to decorate for Halloween. You can make this DIY bat craft along with the paper spiderweb, which is equally easy to cut, too.
This is an origami-with-scissors bat craft that can be used to decorate your room, doorways, or Halloween party space for an instant Halloween vibe. And you only need one sheet of paper to make one paper bat.
You will also learn a clever way to make this origami bat 3D + plus how to add a dimension to the wings, too. You can also make your bat in purple and look kawaiier by adding a blush cutout and drawing kawaii eyes. Or else, you can retain the spookier look by using the black paper with slit eyes. Now, continue reading to learn more about this Halloween bat project. a
Tutorial to DIY a life-like Bat craft
Creating a spooky and realistic-looking paper bat is a perfect DIY project for Halloween. This 3D bat uses simple folding techniques to make a flying bat out of paper.
Materials Needed
-
Black Cardstock (Suggested size: 21 cm x 29.7 cm / A4)
-
Pencil
-
Scissors
-
Scoring Tool (Or a dried-out ballpoint pen)
-
Ruler
-
Craft Glue
Video Tutorial?
Step-by-Step Instructions
1. Fold and Prepare
-
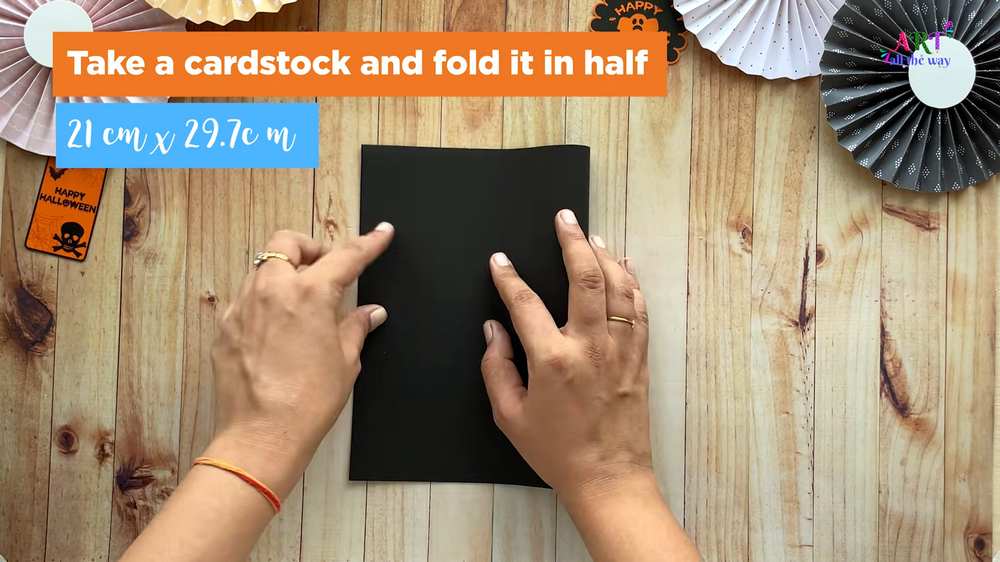
Take your black cardstock and fold it exactly in half widthwise. Press the crease firmly.
2. Draw the Design
-
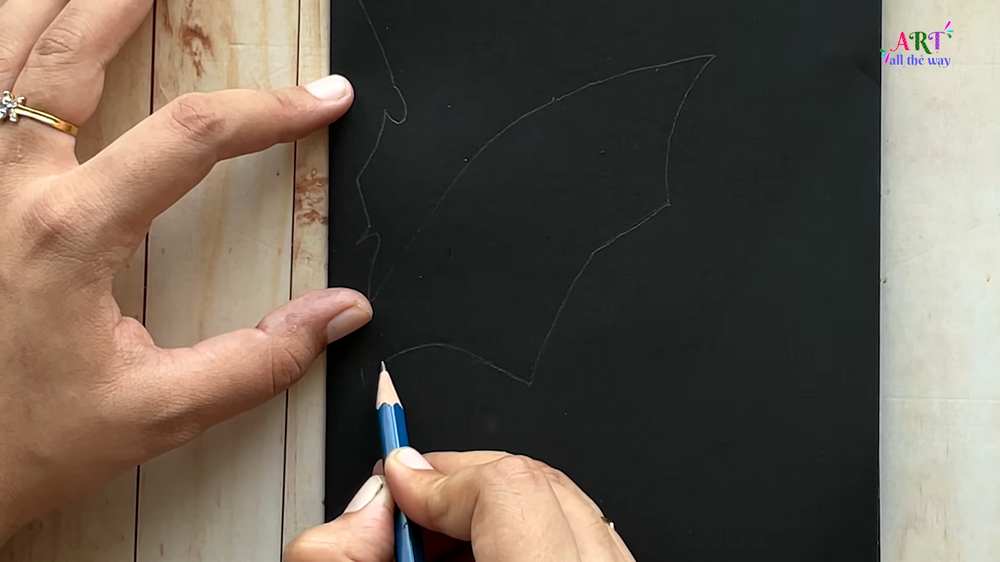
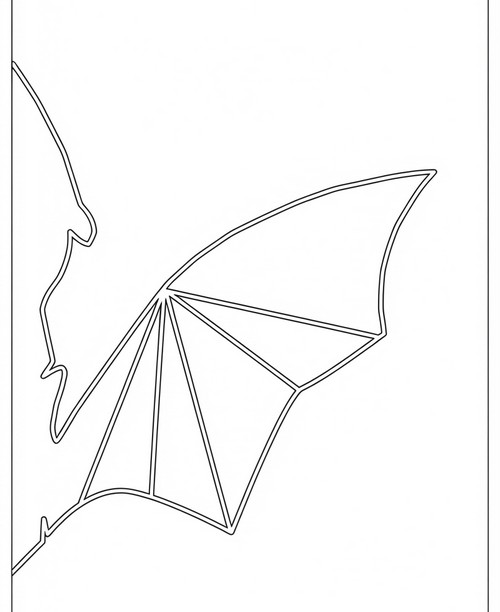
Using your pencil, draw half of a bat starting from the folded edge.
-
The design should include half of the head (with a pointy ear), half of the body, and one large, outstretched wing with scalloped bottom edges.
-
Crucial Step: Draw 3-4 diagonal guide lines starting from the base of the wing (near the body) and extending to the outer points of the wing scallops. These will be your folding guides.
3. Cut the Shape
-
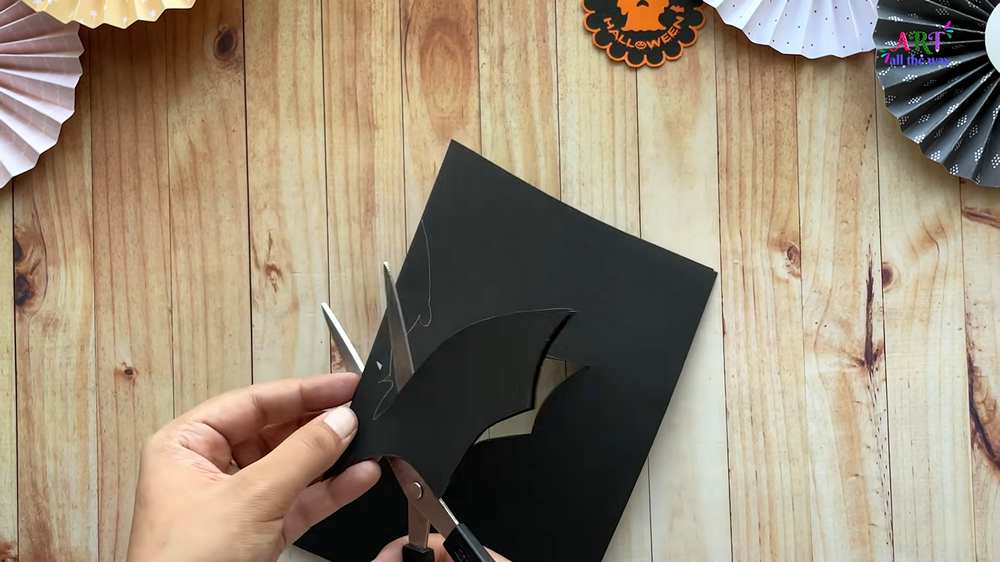
Keep the paper folded and cut along the outer outline of the bat.
-
Once finished, unfold the paper. You will now have a perfectly symmetrical bat shape.
4. Score the Wings
-
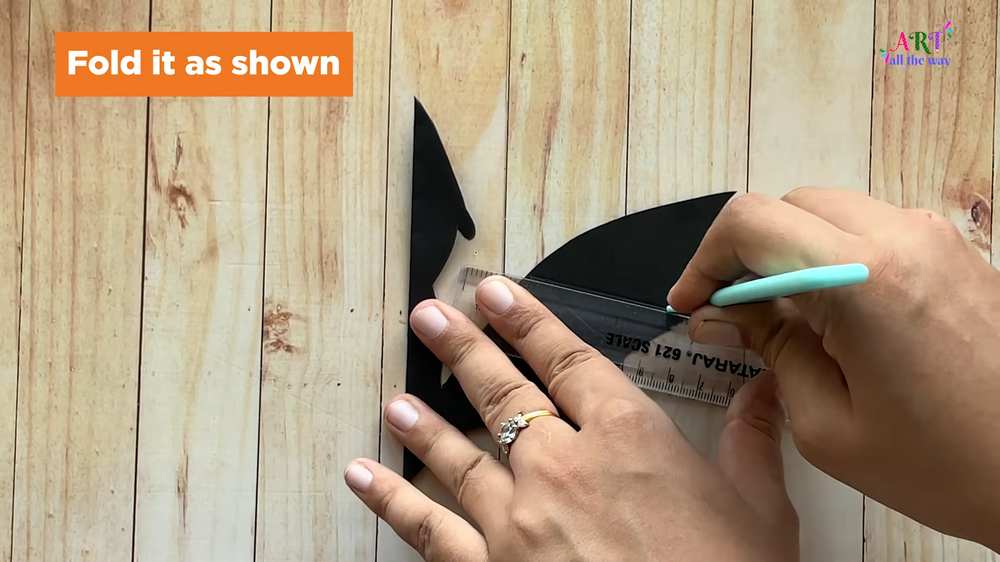
Using a ruler and a scoring tool, trace over the diagonal guide lines you drew on the wings.
-
Score from the top of the “shoulder” area down to the points of the wings. Do this for both wings.
-
Note: Scoring helps create clean, sharp folds without cracking the paper.
5. Create the 3D Wings (Accordion Fold)
-
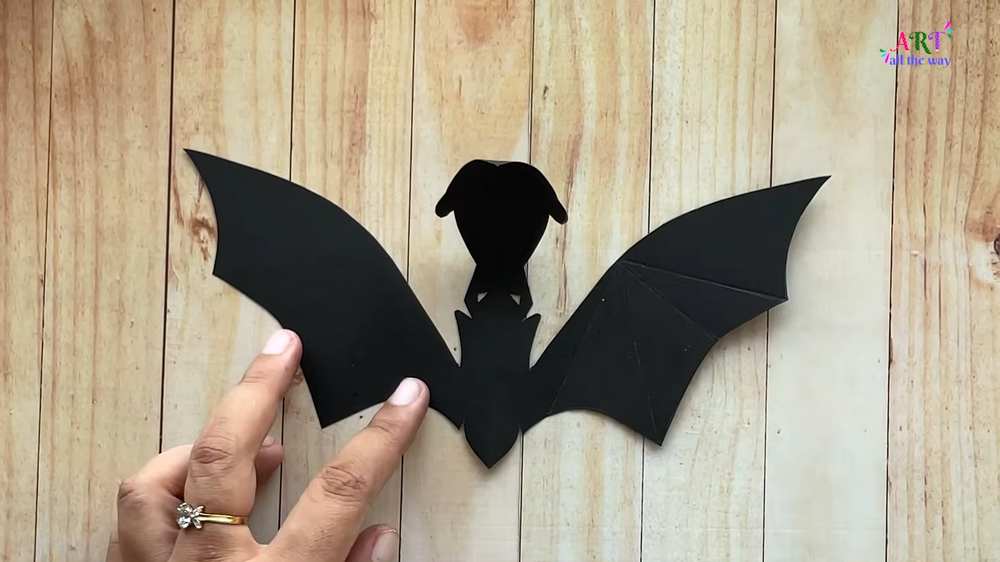
Fold along your scored lines in an alternating “mountain and valley” (zigzag) pattern.
-
This gives the wings a pleated, leathery look and makes the bat appear as if it is in mid-flap.
6. Shape the Body
-
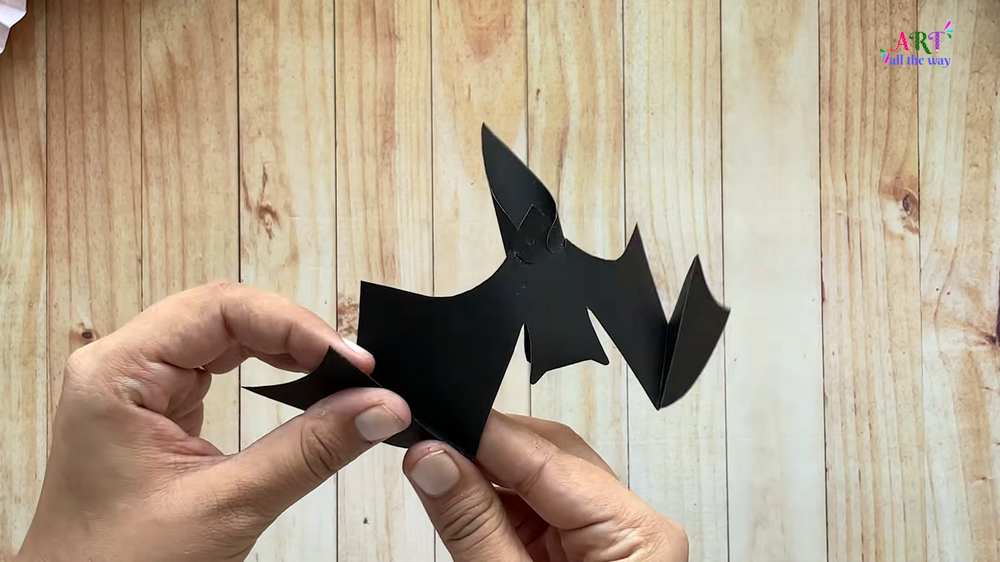
Fold the center of the bat’s body slightly to give it a curved, 3D shape rather than a flat one.
-
Fold the head portion forward slightly to distinguish it from the body.
7. Secure the Structure
-
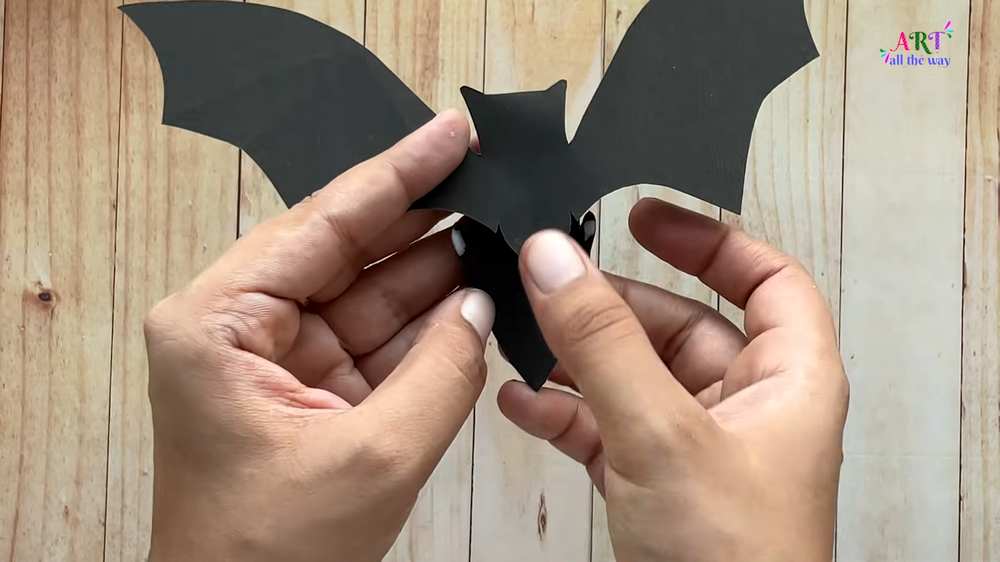
Apply a small amount of glue to the back of the head or the upper body “neck” area.
-
Press the folds together briefly to ensure the bat maintains its 3D “hunched” or “flying” posture.
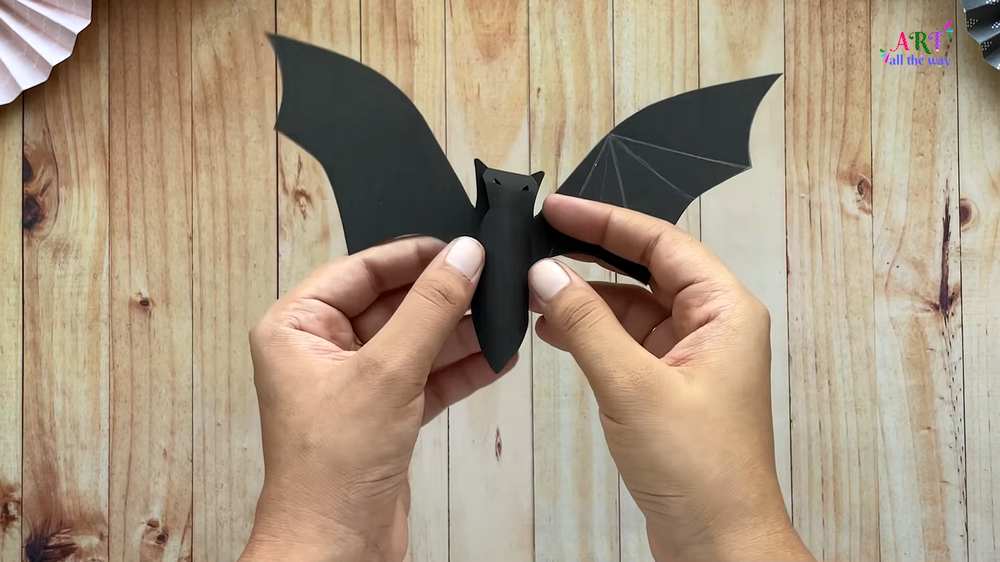
8. Final Details
-
You can use the tip of your scissors or a craft knife to poke two tiny holes for eyes.
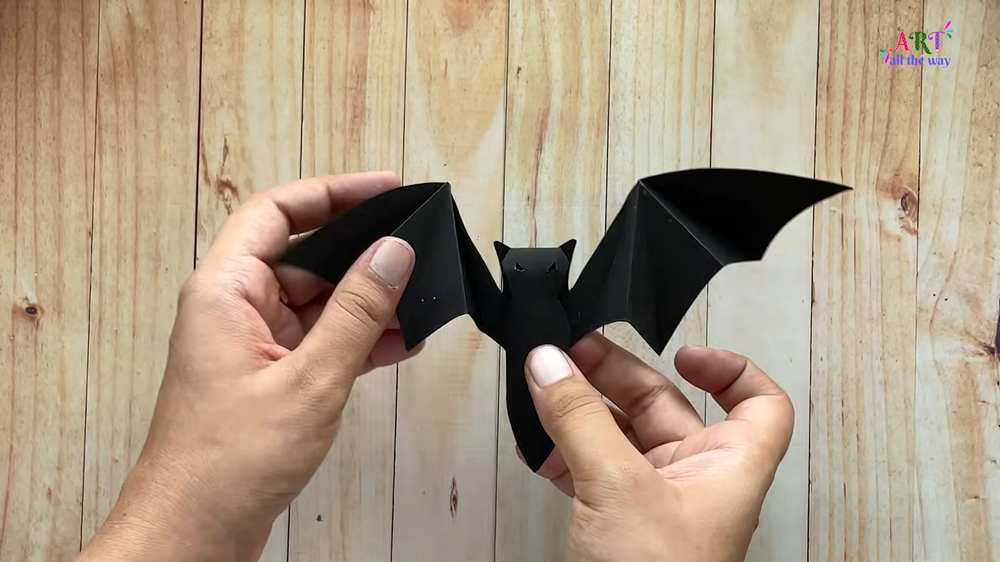
-
Your 3D paper bat is now ready! You can stick them to walls, hang them from the ceiling with fishing line, or use them as table decorations.