
Show support for CraftBe9!
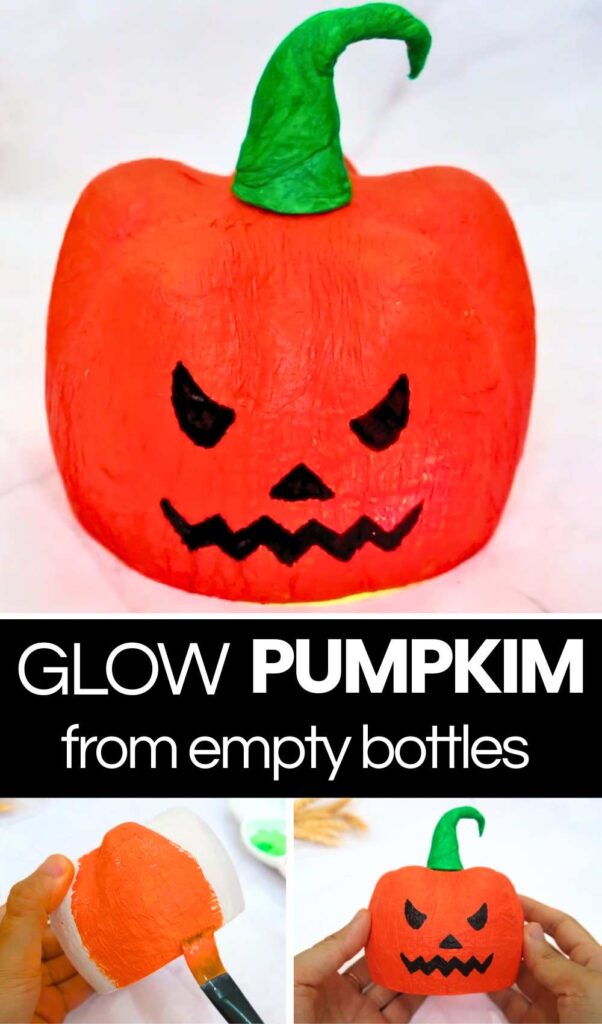
This Halloween, let’s prepare SPOOKY DECORATIONS by upcycling plastic bottles! Introducing a quick, cheap, and easy method to DIY a jack-o’-lantern Halloween decoration made from an empty plastic bottle, tissue paper, and some paint. Make it as a Halloween treat dish cover or lantern by using an LED light, simply to decorate the outdoors, or to call for trick-or-treating. The tissue paper gives a lifelike texture to the decoration when painted.
So, I highly recommend following this step-by-step jack pumpkin decoration tutorial + a free written guide as well. You can also place a tea light or candle below, and it will glow beautifully. You can also use transparent glue so it glows even more.
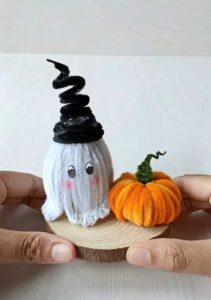
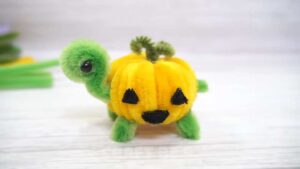
I still recommend using a transparent, carbonated drink bottle to make your jack pumpkin. You can also check other ways to make a pumpkin, such as a pipe cleaner pumpkin, teddy pumpkin (which is popular here), and even the fabric pumpkin. All these methods recycle the stuff and are much easier to try.
How to DIY Spooky Halloween Pumpkin Decoration
Craft type: Water bottle cutting and tissue paper craft
Here is how to make a spooky and sustainable Jack-o’-lantern using an upcycled plastic bottle and paper mache! Making in a nutshell: Make the pumpkin by cutting the bottom 3–4 inches of a clear plastic bottle. Mix white glue with a little water. Tear napkins into small pieces and glue them all over the bottle base. Add a few layers, then let it dry.
Roll a napkin into a tight tube, twist it to make the stem, cover it with glue, and let it dry. Paint the bottle orange and the stem green. When everything is dry, use hot glue to fix the stem on top. Draw pumpkin eyes and a mouth with a black marker. Your pumpkin is ready. You can also put a small LED tea light inside to make it glow.
Materials Needed
-
Plastic Bottle: A standard 1.5L or 2L clear plastic bottle.
-
Napkins/Tissue Paper: White paper napkins or tissue paper.
-
White Glue (PVA): Mixed with a little water to create a liquid adhesive.
-
Paint: Orange (or red-orange) and Green acrylic paint.
-
Markers: A black permanent marker.
-
Tools: A craft knife or scissors, a paintbrush, and a hot glue gun.
Instructions
1. Prepare the Pumpkin Base
-
Take your empty plastic bottle and use a craft knife to carefully cut off the bottom section (about 3-4 inches from the base). The “feet” of the bottle base provide the perfect ribbed pumpkin shape.
2. Apply the Paper Mache
-
The Glue: Mix white glue with a small amount of water until it has a milky, brushable consistency.
-
Layering: Cut your napkins into small squares. Brush the glue mixture onto a section of the plastic base, place a paper square over it, and brush more glue on top to smooth it down.
-
Full Coverage: Continue this process until the entire plastic base is covered in several layers of paper. This creates a textured, “skin-like” surface. Let it dry completely.
Feels Difficult? Follow the Video Tutorial
3. Create the Stem
-
Take a full napkin and begin rolling it tightly from one corner to form a long, thin tube.
-
Twist the tube to make it more rigid and curve the top slightly to give it a natural “hook” shape.
-
Coat the entire stem in the glue mixture to help it hold its shape and let it dry.
4. Painting
-
The Body: Once the paper mache is dry, paint the entire ribbed base with orange or red-orange paint. Ensure you get into all the crevices for an even look.
-
The Stem: Paint your twisted paper stem with green paint.
5. Assembly and Finishing Touches
-
Attach the Stem: Use a hot glue gun to apply a bead of glue to the center-top of your pumpkin body and press the stem firmly into place.
-
The Face: Use a black permanent marker to draw a classic Jack-o’-lantern face. Aim for triangular eyes and a jagged, spooky mouth to complete the look.
Your upcycled Jack-o’-lantern is now ready to decorate your home for Halloween! You can even place a small LED tea light underneath to make it glow.
About "Craftbee 9"
She makes incredible fabric, recycle and pipe cleaner crafts.