
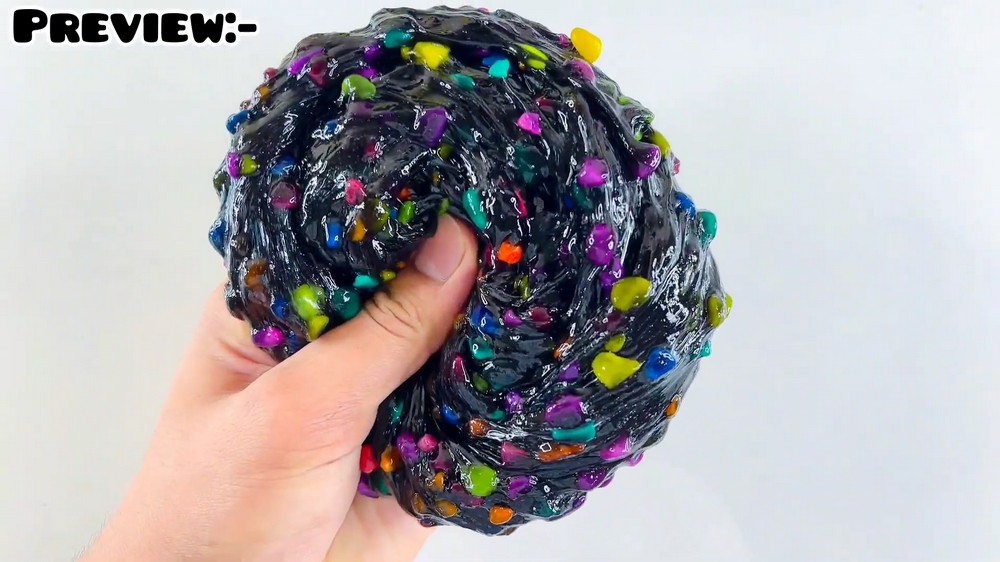
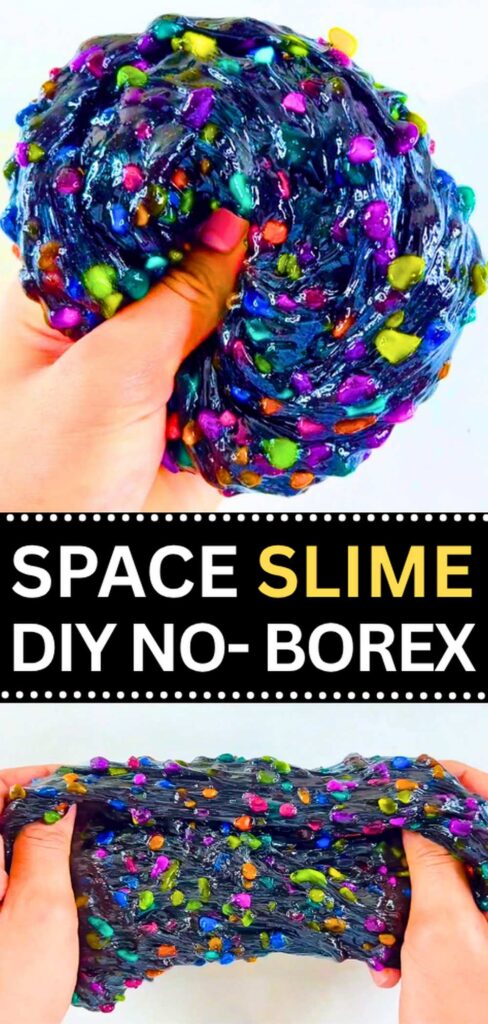
These instructions will show you how to make a homemade black slime filled with colorful stones. This is one of the easiest space slime recipes made with a homemade activator and PVA glue, so you don’t have to use borax. Will end up pretty slippery, soft, and stretchy with the use of water and glycerine.
Kids will love the galaxy look in this slime. Kids can insert the alien toys and spacecraft to make a galaxy trip scene. You can also insert the pom poms into this space slime just like the one I talked about in the slime recipe series, part 2. There will be a lot of tips along the way, so let’s start this tutorial!
[ez-toc]
Slime Type: No-Borax Homemade Slime filled with aquarium stones
Time: 10 minutes (Stirring after pouring the activator may take a little time)
Materials Used
- PVA Clear Glue: Used Faviglue for demonstration. You can use any clear glue.
- Black Color: Liquid dye, food coloring, or acrylic paint.
Homemade Activator: A pre-mixed solution containing:
- 1 cup Warm Water
- 1 small detergent spoon of Boric Acid
- 2 small detergent spoons of Baking Soda
- Colored Stones: Rainbow-colored small plastic stones or beads. You can also use aquarium stones.
- Tools: A plastic mixing bowl and a stirring stick or spoon.
- 100 ml Water: Used to thin the glue for better stretch.
- Glycerin: 3 pump squeezes (acts as a softener).
DIY Space Slime: Recipe (with Clear Glue)
Learn how to make a space slime with colorful stones following this recipe for beginners:
Step 1: Pouring the PVA Glue
Squeeze a generous amount of the clear PVA glue into the center of the bowl. Have about 5 squeezes!
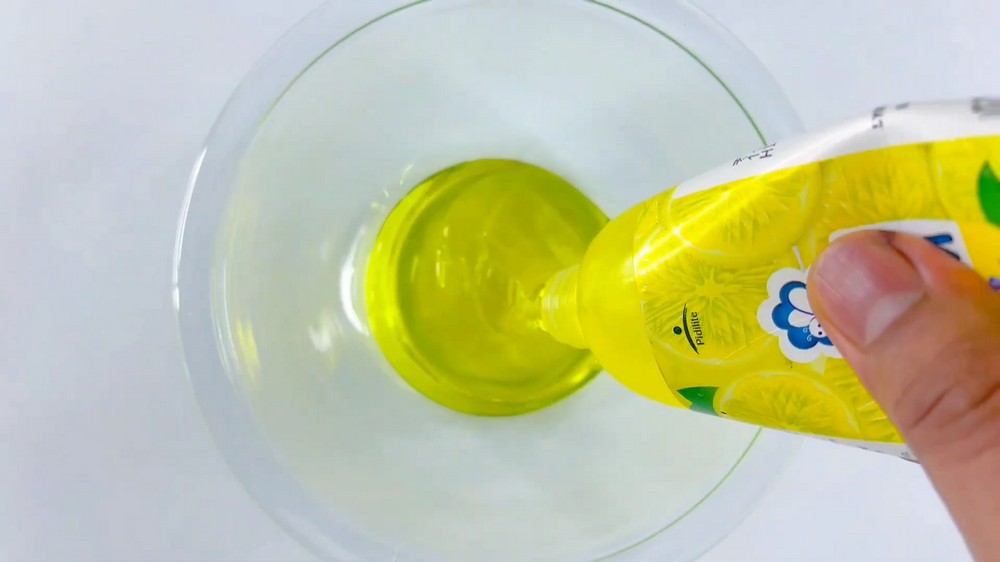
Step 2: Adding the Black Color
Take your small bottle of black liquid color. Squeeze a few drops into the puddle of clear glue. You do not need a lot initially; you can always add more later if the color is not dark enough.
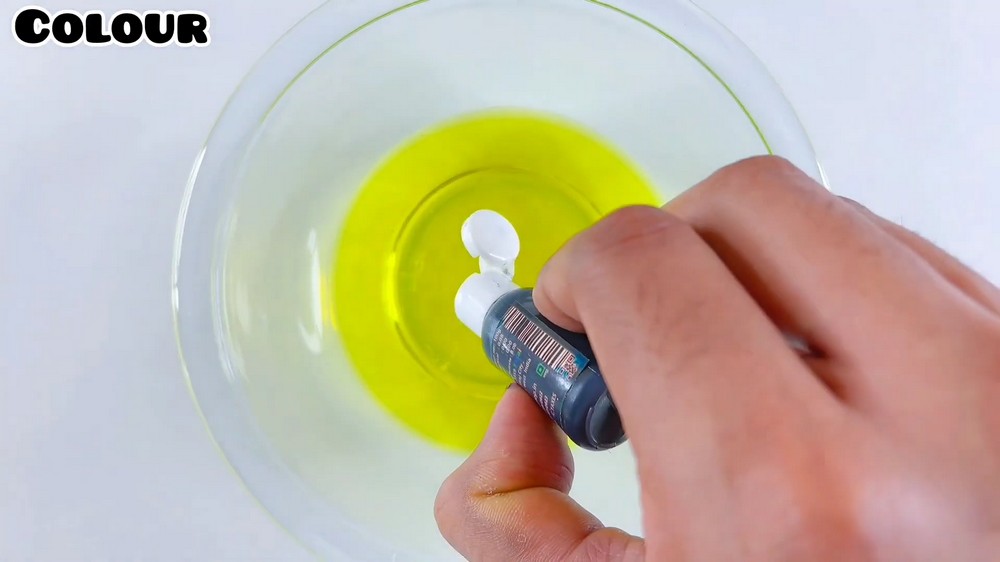
Step 3.1: Adding the Water
Now, pour 100 ml of water into the black glue. The mixture will become much thinner, which is exactly what you want for a “jiggly” but stretchy slime.
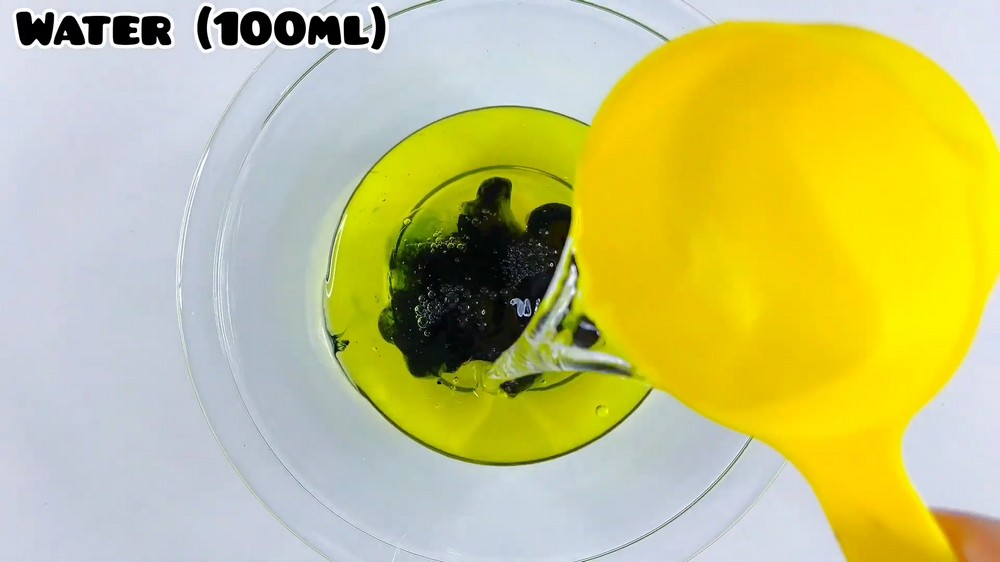
Step 3.2: Glycerin
Add three pump squeezes of glycerin to the watery black mixture. Stir it in well. This is the “magic ingredient” that prevents the slime from being rubbery and allows it to stretch without breaking.
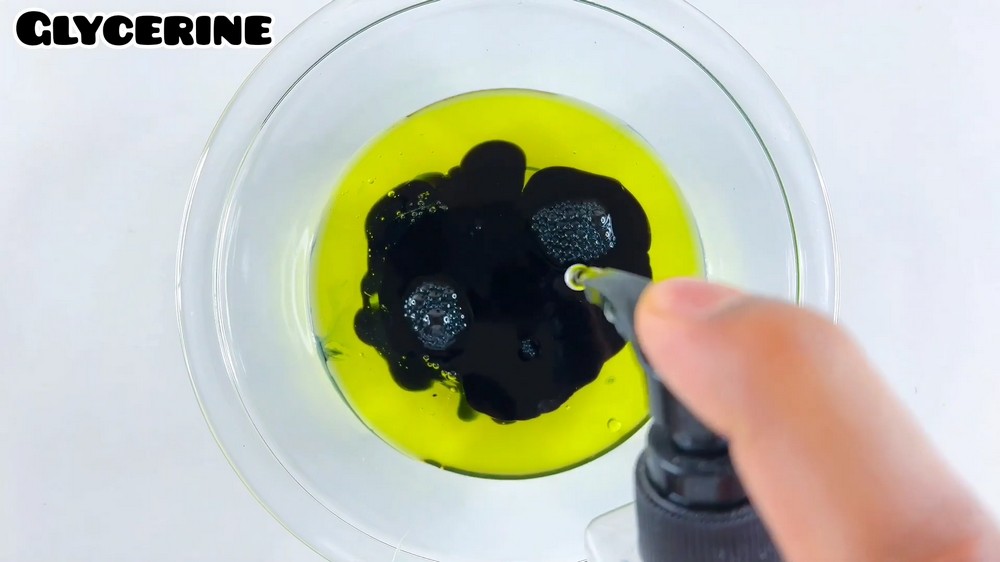
Step 4: Introducing the Homemade Activator
It is time to add the homemade activator (the water, boric acid, and baking soda mixture). Using a squirt bottle or a small spoon, add a small amount of the activator liquid to the black glue. Add it slowly to avoid over-activating the slime.
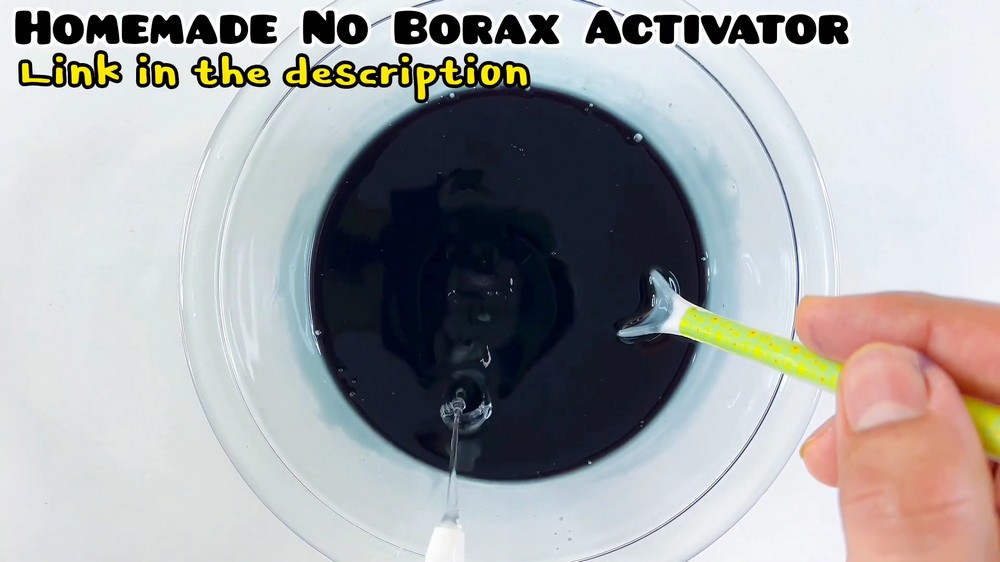
Step 5: Mixing the Slime Together
Immediately begin stirring the mixture after adding the activator. You will notice the liquid starting to thicken, clump together, and stick to your stirring tool. Continue mixing as the slime begins to pull away cleanly from the sides of the plastic bowl.
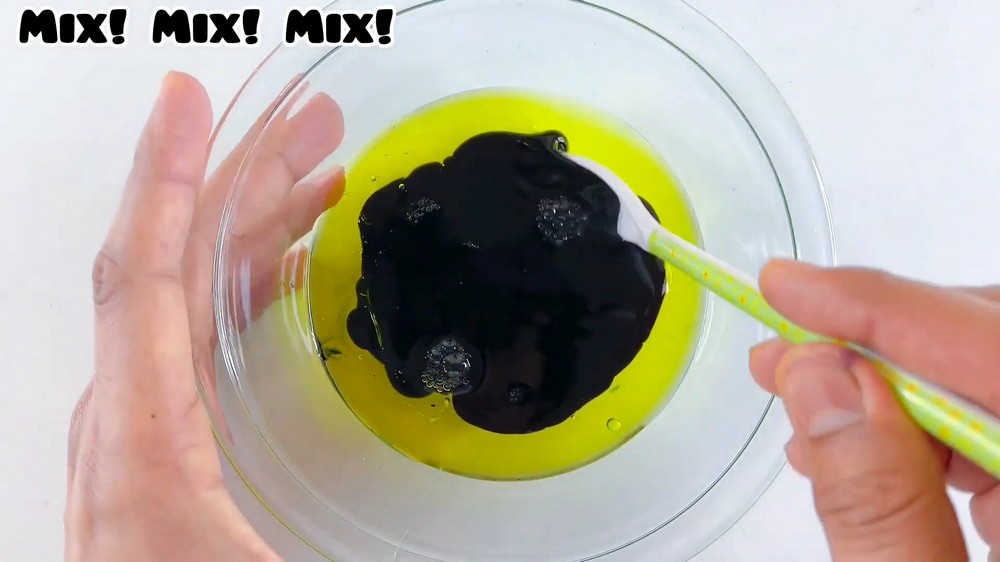
Step 6: Hand Kneading
When the slime is too thick to stir with a stick, remove it from the bowl. Begin kneading the slime with your hands. Pull it, fold it, and squeeze it repeatedly. This helps further mix the activator.
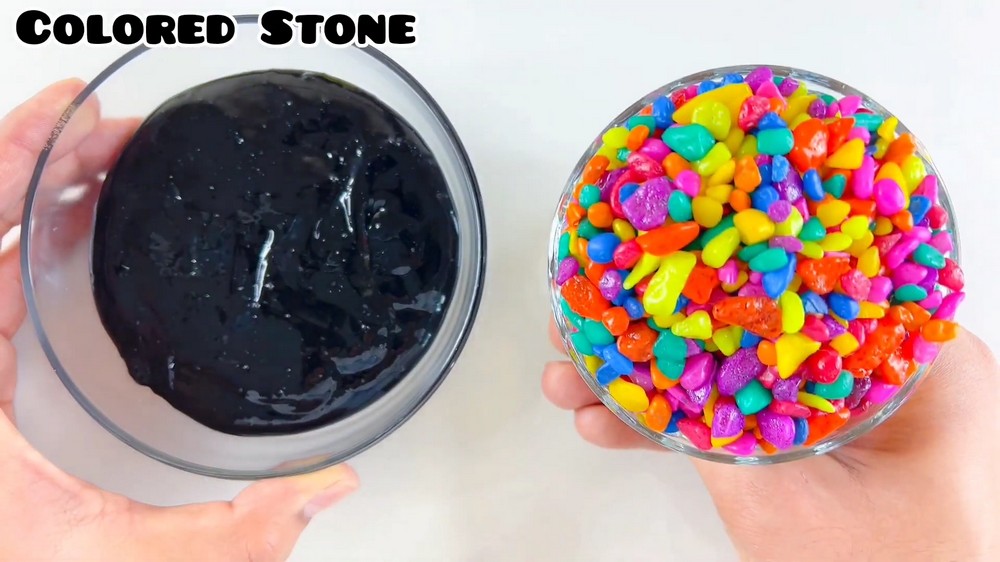
Step 7: Adding the Rainbow Stones
Take a handful of your colored rainbow stones (pink, yellow, green, and blue). Sprinkle them over the surface of the flattened black slime. You can have a whole cup of stone if you mix the ingredients in the suggested amounts.
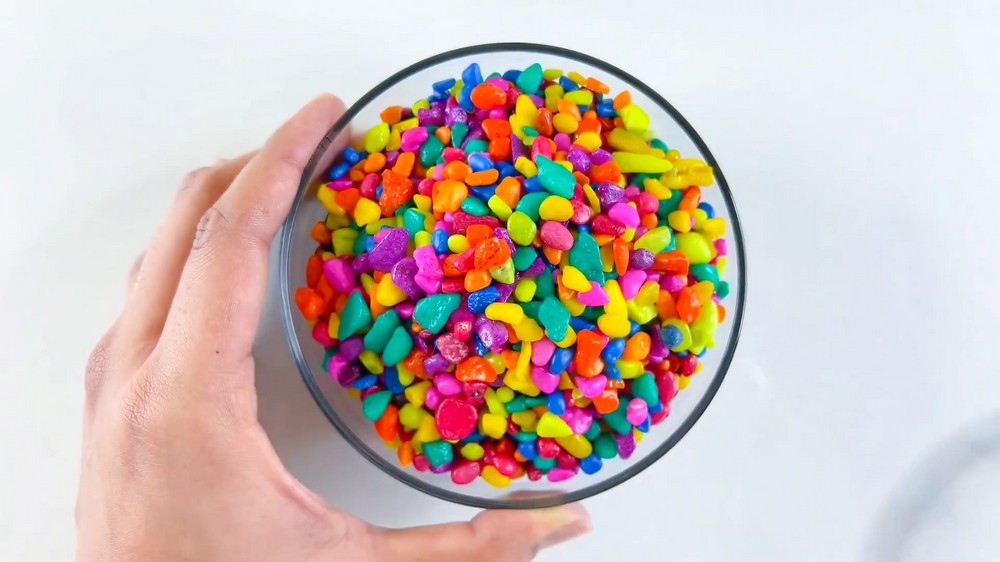
Step 8: Final Kneading
Fold the edges of the black slime inward over the colorful stones, trapping them inside. Knead the slime gently to distribute the rainbow stones evenly throughout. As you stretch and play with the slime, the colorful stones will peek through the dark base.
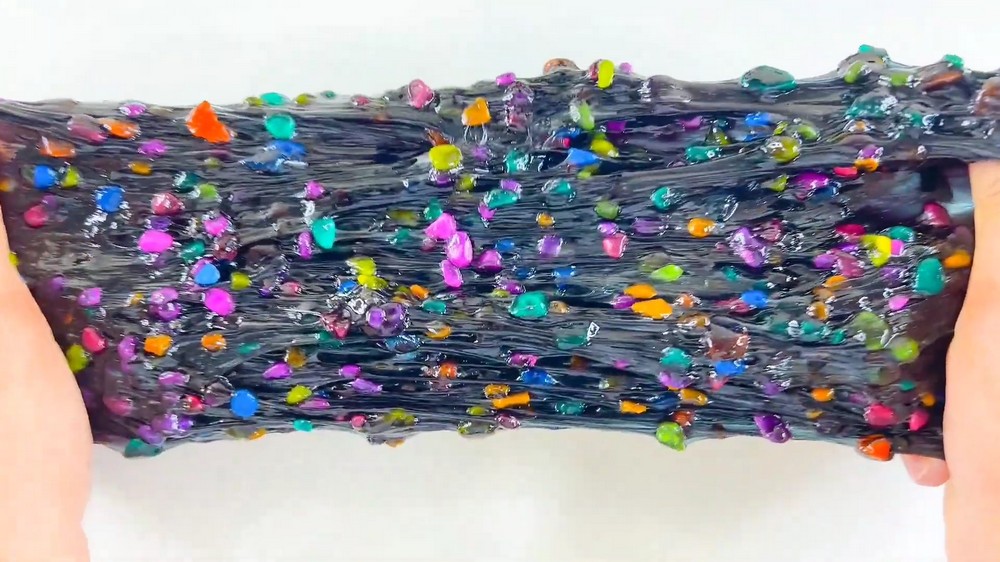
And that’s it! This way, you can make a fluffy and stretchy space slime out of homemade materials only!
Was this Tutorial Helpful? Tell us in the Comments.
Your feedback is a great way for us to improve the tutorials. Did you find the tutorial helpful? Be sure to subscribe to the creator’s channel!
About "MR SLIME via YOUTUBE"
Mr. Slime has dedicated his whole channel to CLEVER ways to make a slime including many NEW tips!

About "Talha"
Hey, I’m Talha, the Crafter on Craftstive.com. I love to share guides on folding cute origami models and paper crafts, and I am always ready to inspire your next craft project with my weekly craft discussions.