
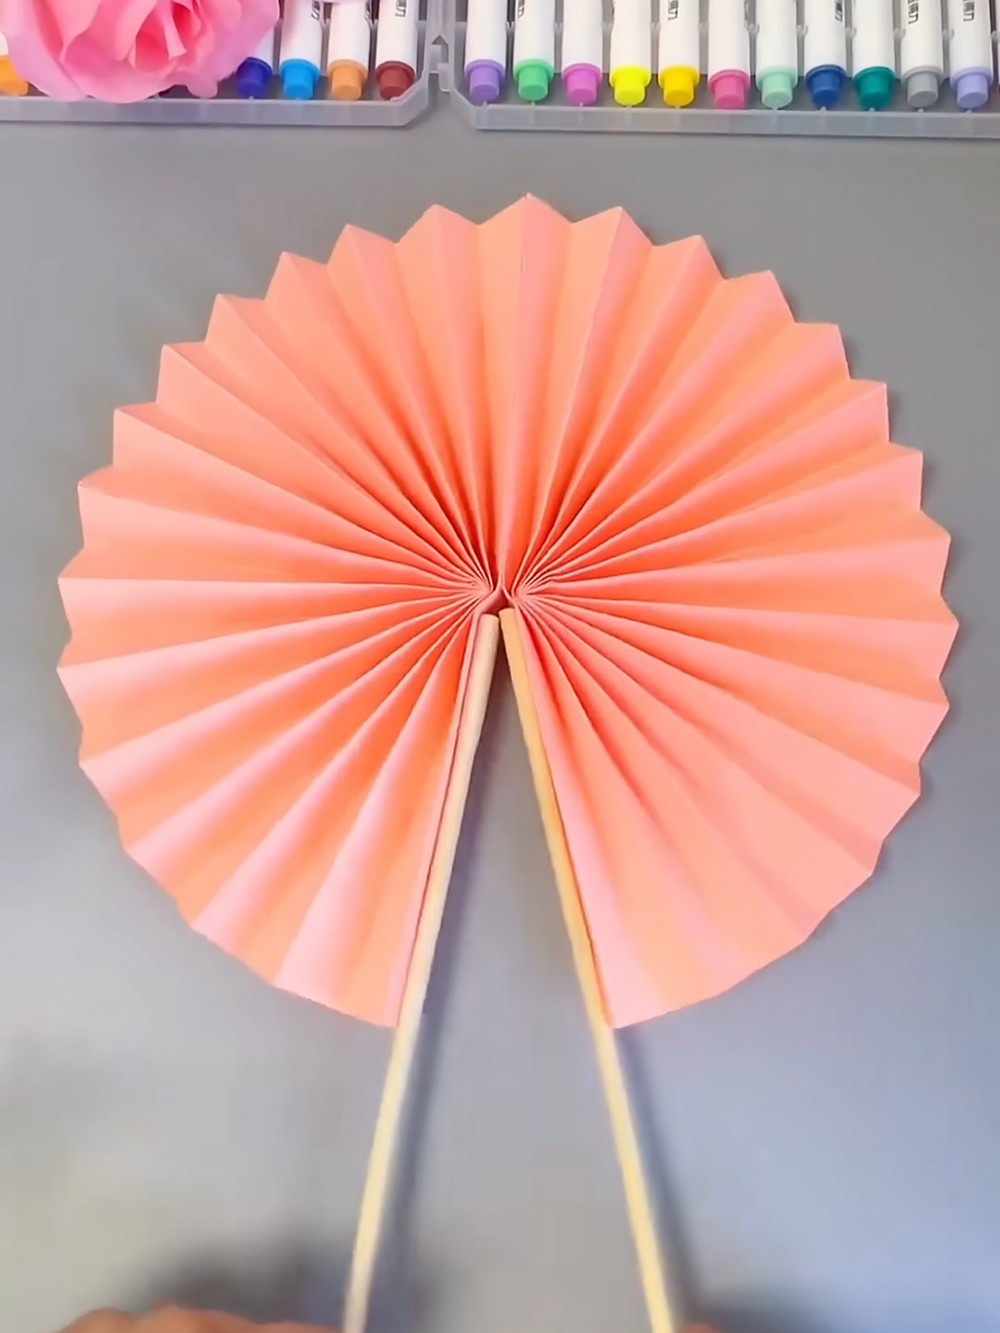
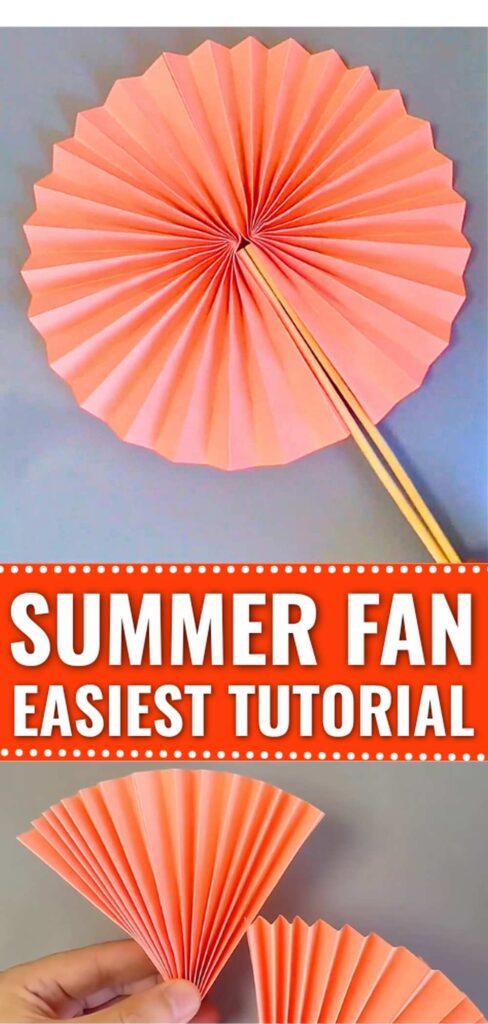
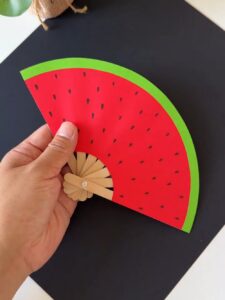
Learn how to make a simple foldable paper hand fan with wooden stick handles in 15 simple steps. This is the same paper fan we used as a base to make the folding watermelon fan last week. You can also customize it with paper flowers, using patterned paper, or make the rainbow stripes like the rainbow paper fan. In either way, this would be the only summer paper fan you need, and especially kids will find it SUPER FUN to make.
You can use either the popsicle sticks, such as in the watermelon fan, or make the bamboo sticks to make the handle. Since it can be collapsed back to the paper strips, you can carry it even in your pockets or a clutch bag.
Our idea will be to use an accordion fold to make the beautiful wavy pattern along. You can use this method to make many more fan ideas, some of which I have taught here. Only two A4 papers are needed and some glue to make it. And the time is less than 2 minutes to make one. So, I recommend making a pair with a solid paper and one using the watermelon pattern.
Time: 1 – 2 minutes
Supervision: No need, but preferred
Model Type: Accordion Fold Origami
Techniques: In this pleated paper fan with sticks, you will learn and use the following techniques:
- Making accordion folds
- Using the double-tape
What you need
- Colored paper: peach/orange rectangular craft paper, probably A4 paper.
- Thin wooden sticks: bamboo skewers, chopsticks, or craft sticks cut thin.
- Recommended extras: ruler, scissors, glue stick or double-sided tape, and a bone folder or plastic card for sharper creases.
Material suggestions
Use 80–120 gsm craft paper or Tant paper (I use them in my origami tutorials) if you want neat folds, but still easy bending.
For the sticks, bamboo skewers or thin chopsticks work best because they are light and straight. If you want a neater finish, use a glue stick instead of liquid glue, because it will not wrinkle the paper as much.
Make a Foldable Paper Fan: Step-by-Step Instructions
Let’s make this origami paper fan with a folding mechanism with these step-by-step instructions for absolute beginners:
Step 1: Base Creases
Start Flat: Begin with your rectangular sheet of paper laid flat on your workspace in a portrait orientation.
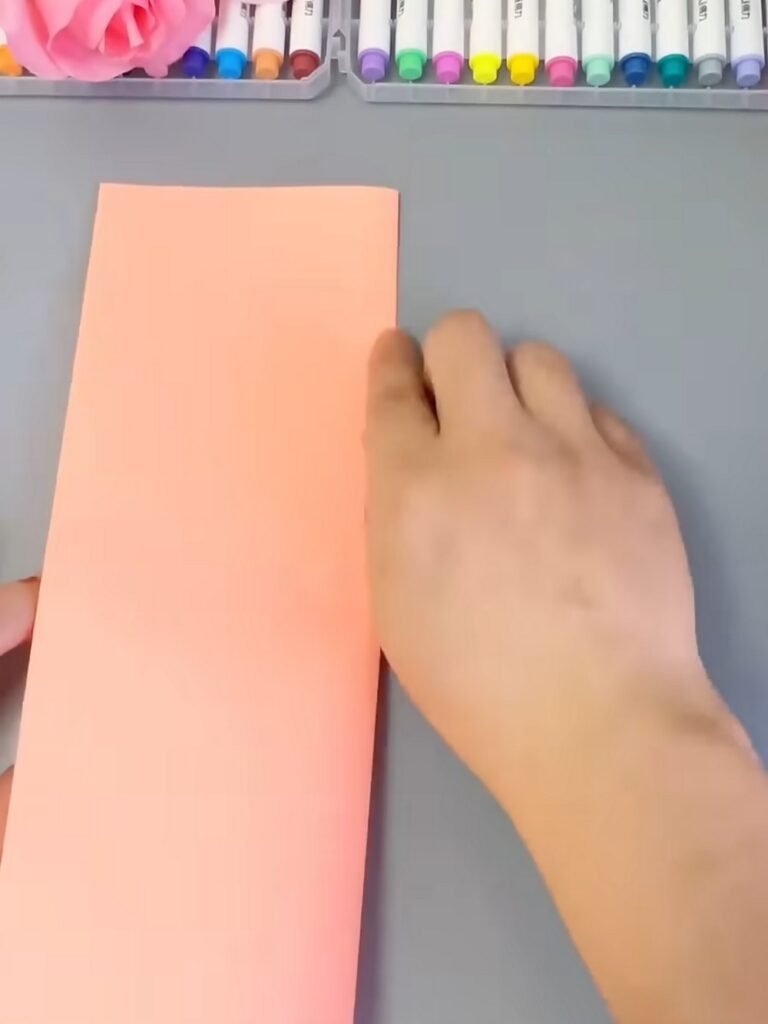
Fold in Half: Fold the paper in half lengthwise (a vertical valley fold) and crease it firmly, then unfold it so you have a center guideline for folding the pleated paper fan flap in half later on.
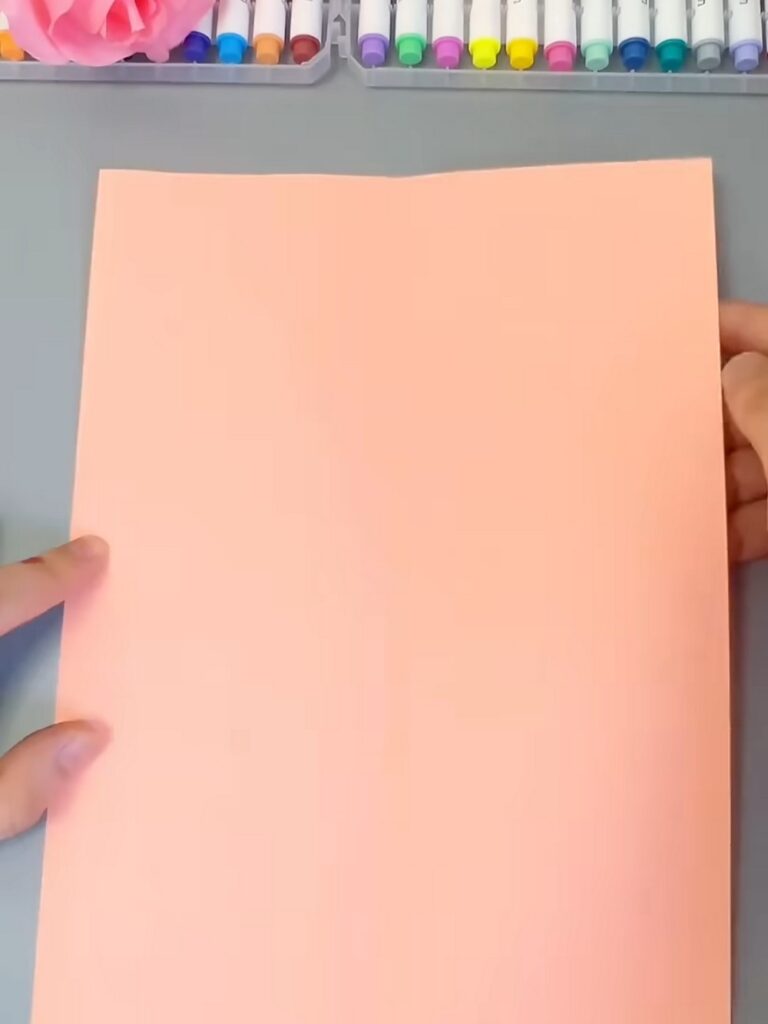
Fold in Half (Vertically): Fold the paper in half vertically (previously, you folded horizontally).
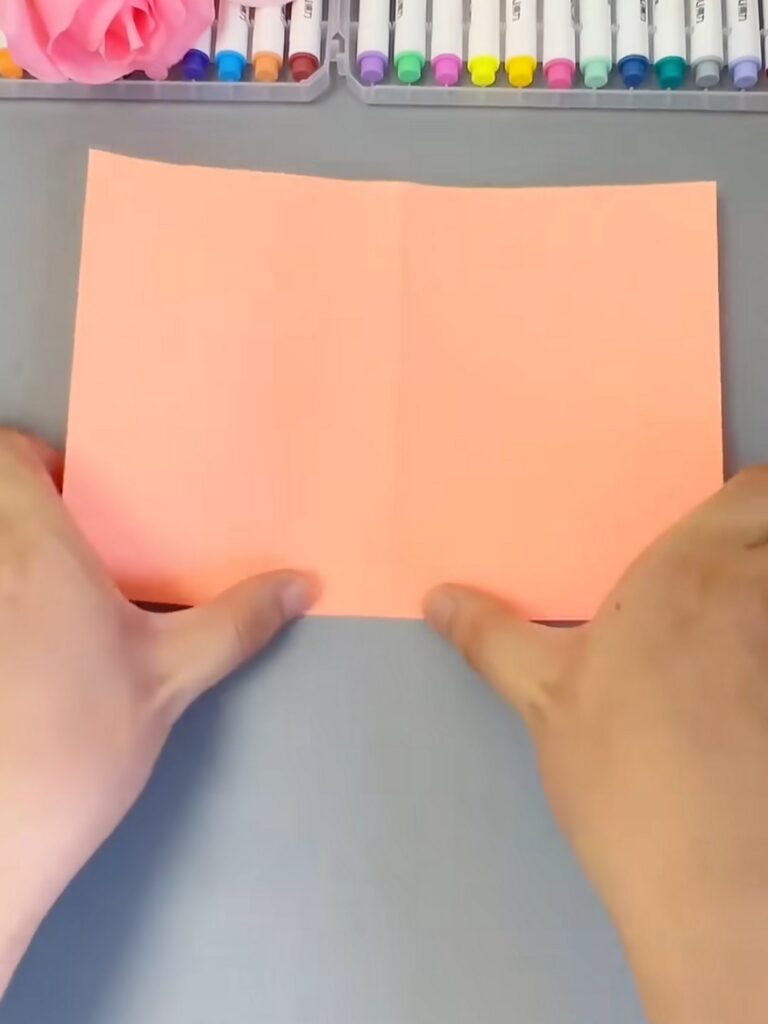
Fold to the Center: Take the bottom edge and fold it to meet the top edge with open flaps.
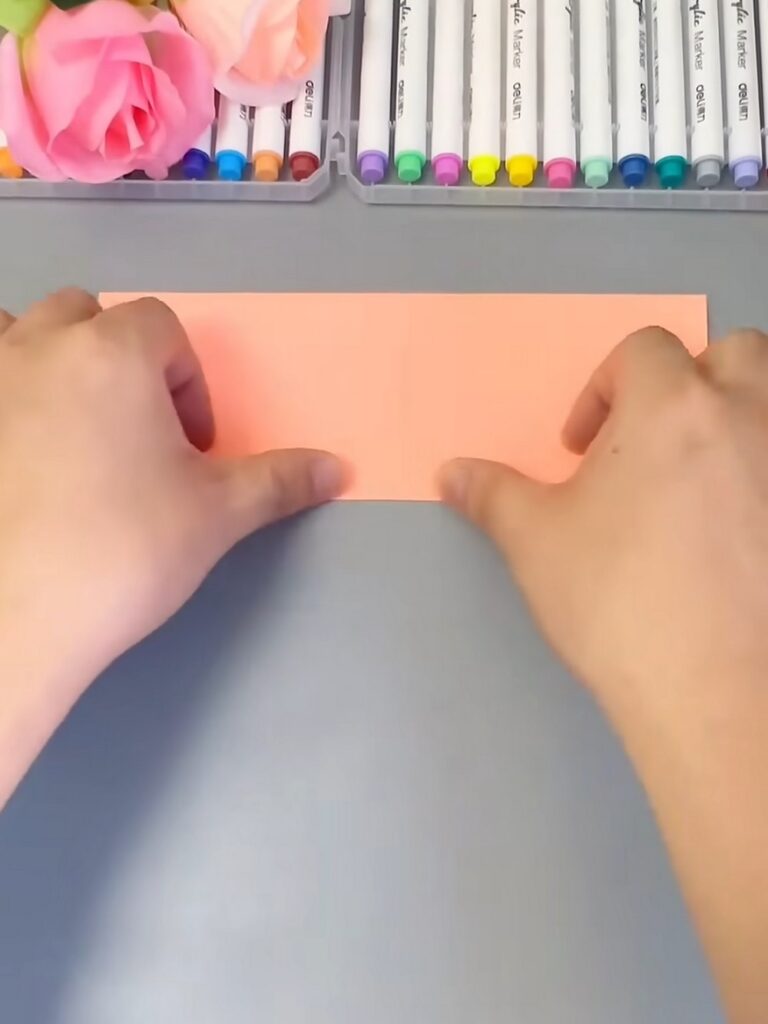
Repeat the Folds: Continue folding the outer edges inward in half again and again until you are left with a very thin, tight strip of paper.
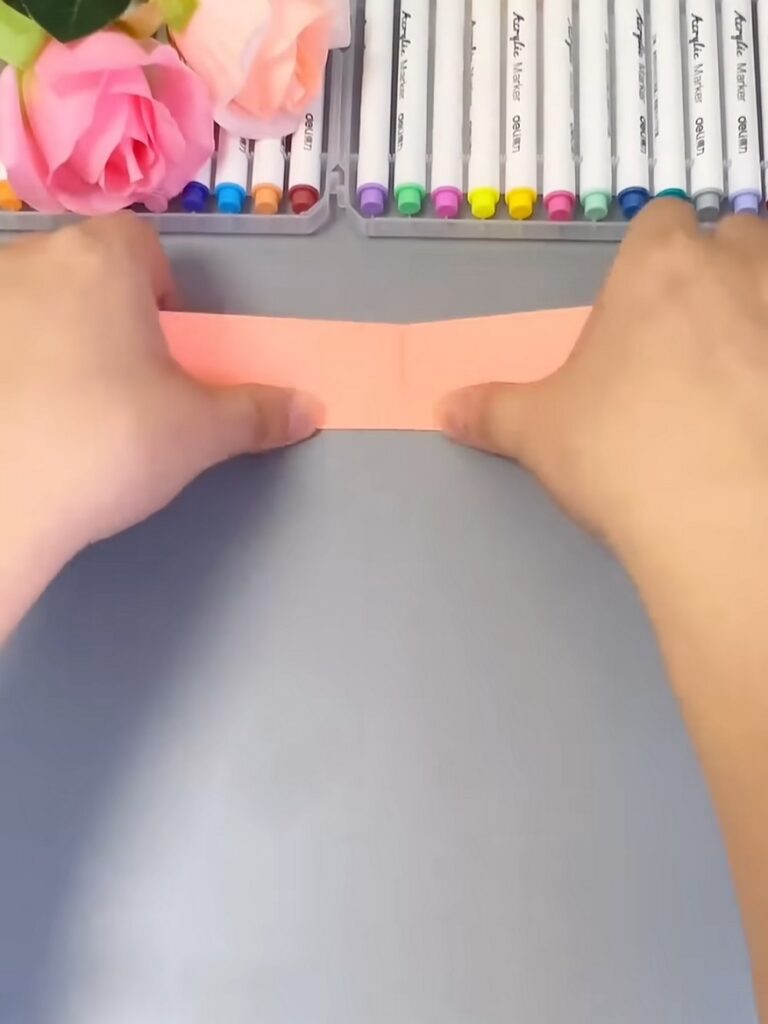
Unfold Completely: Carefully unfold the entire sheet of paper.
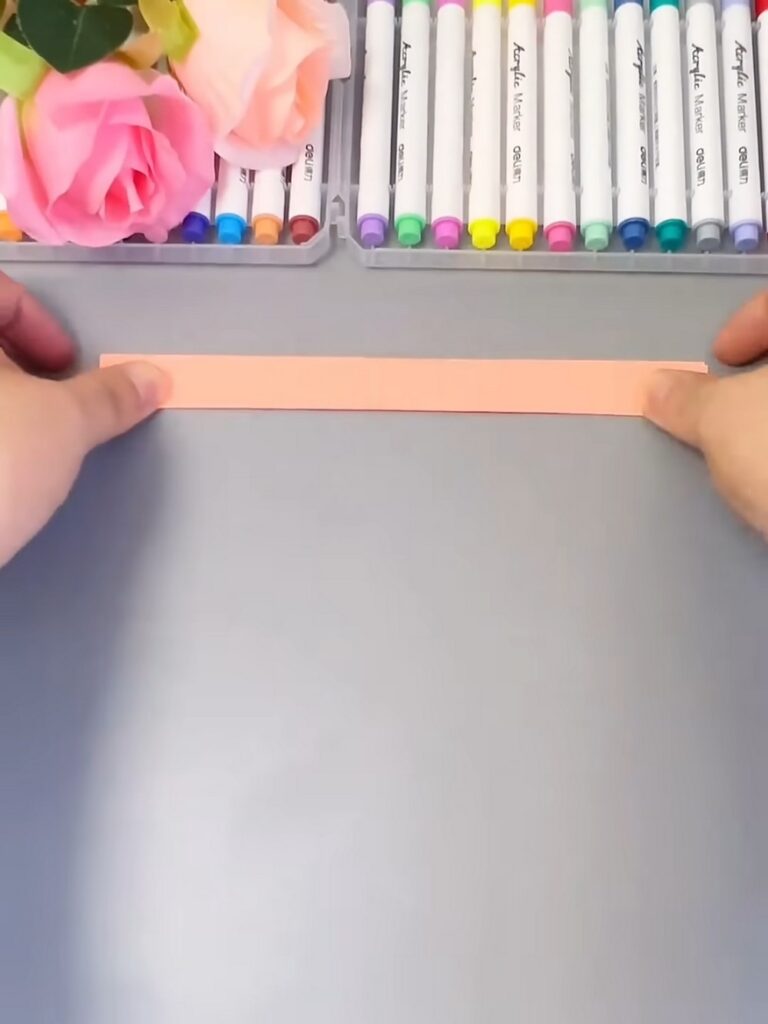
You should now have a piece of paper with perfectly spaced, parallel horizontal crease lines running down the entire length.
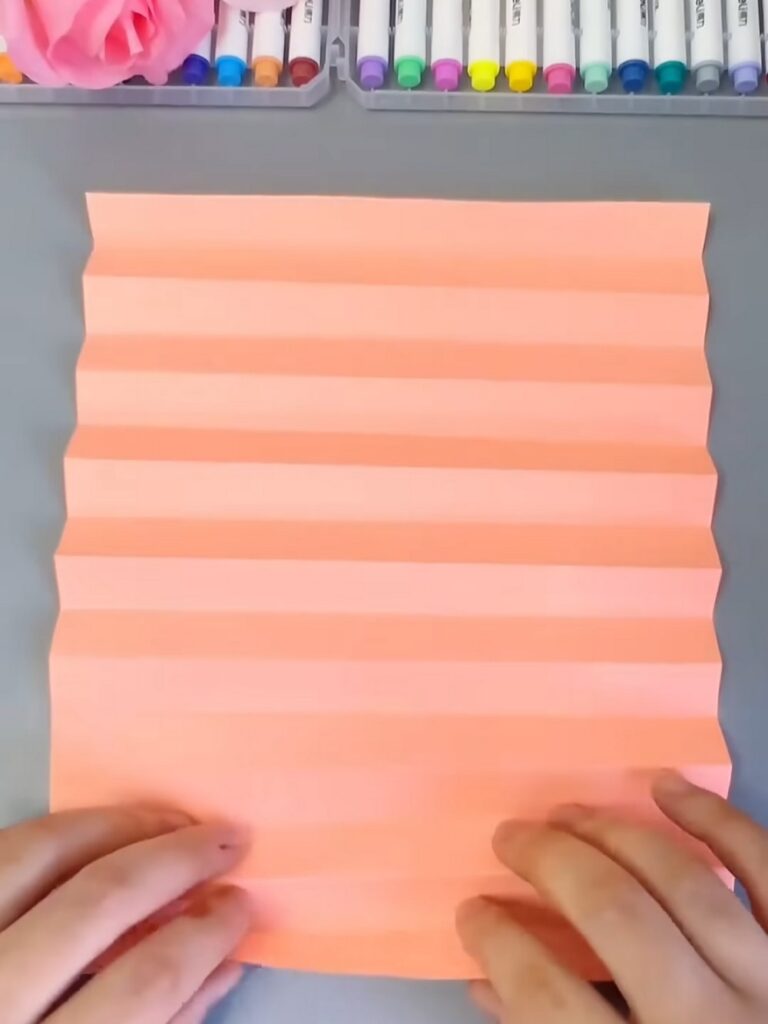
Step 2: The Accordion Fold
Start the Pleat: Using the crease lines you just made as a guide, begin folding the paper from the bottom up using alternating mountain and valley folds.
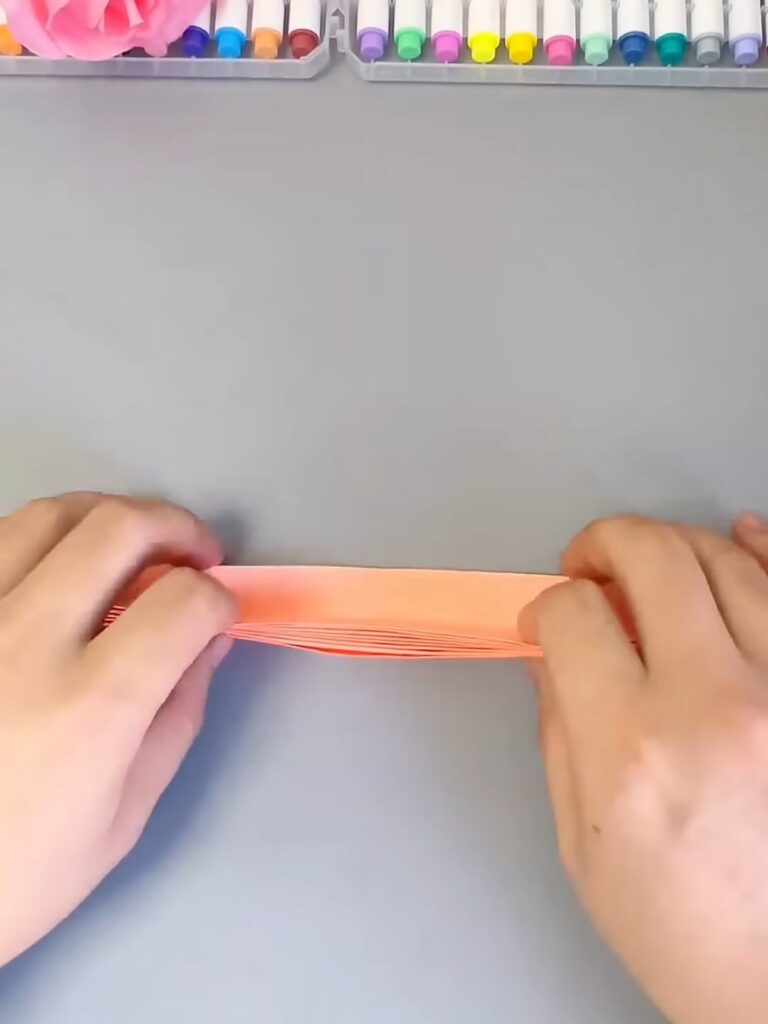
From the Accordion: Fold one section forward, then flip the paper and fold the next section backward, repeating this until the entire paper is gathered into a tight, pleated stack.
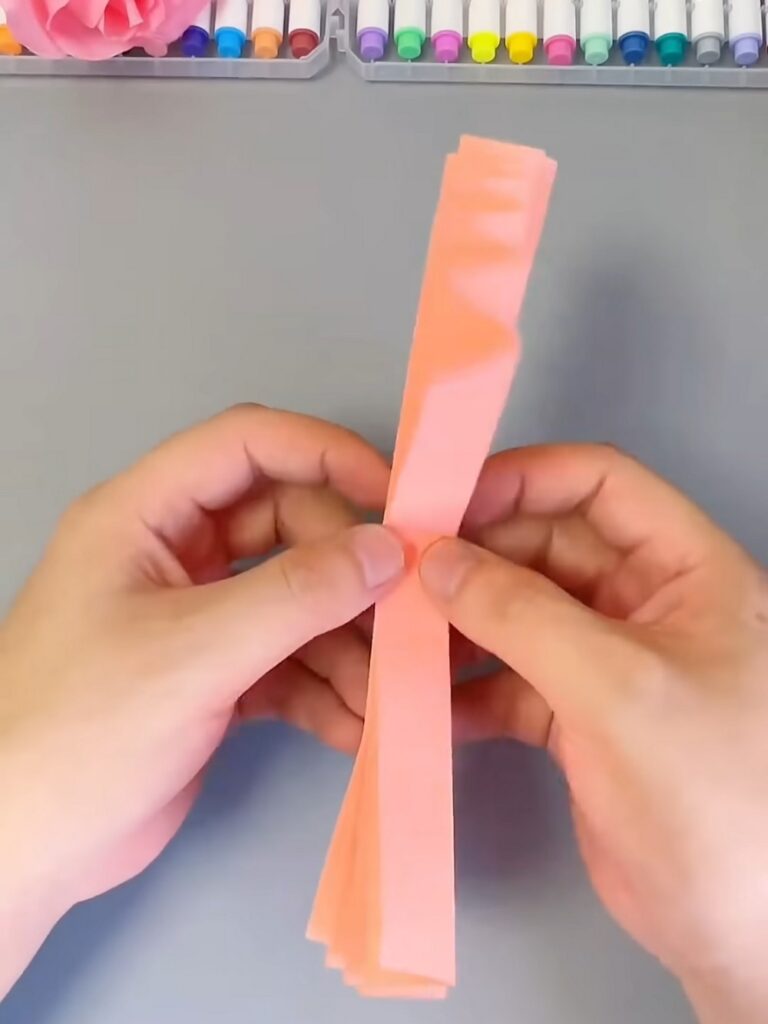
Fold the Stack: Once the entire sheet is pleated into a single thick strip, pinch it in the middle using the crease made in the first step, and fold the entire stack in half so the two ends meet.
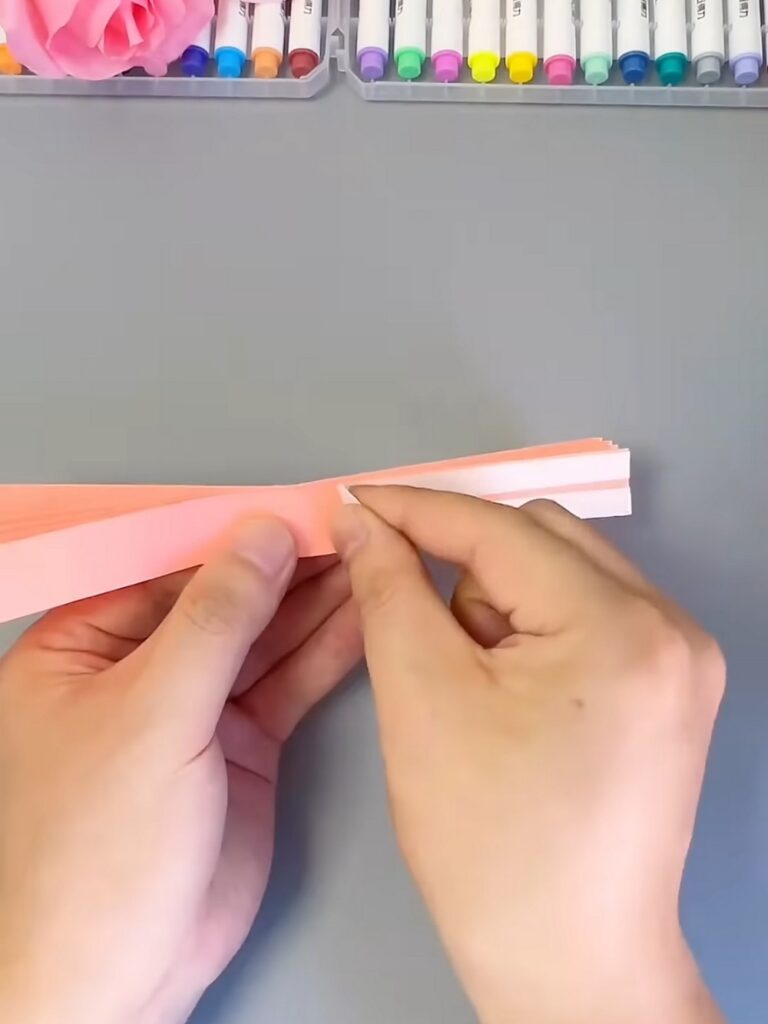
Step 3: Forming the Fan Shape
Apply Adhesive: Keeping the pleated paper folded in half, apply a strip of double-sided tape or a line of glue along the inner facing edge of the pleat.
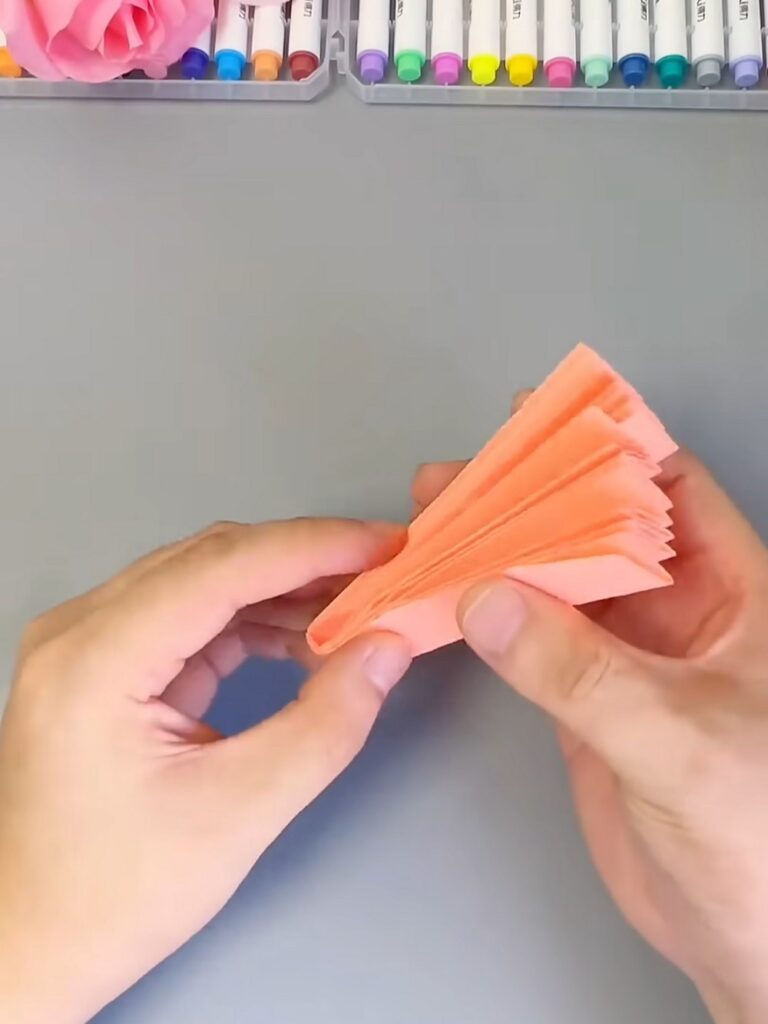
Press Together: Press the two inner halves together firmly so they adhere to one another.
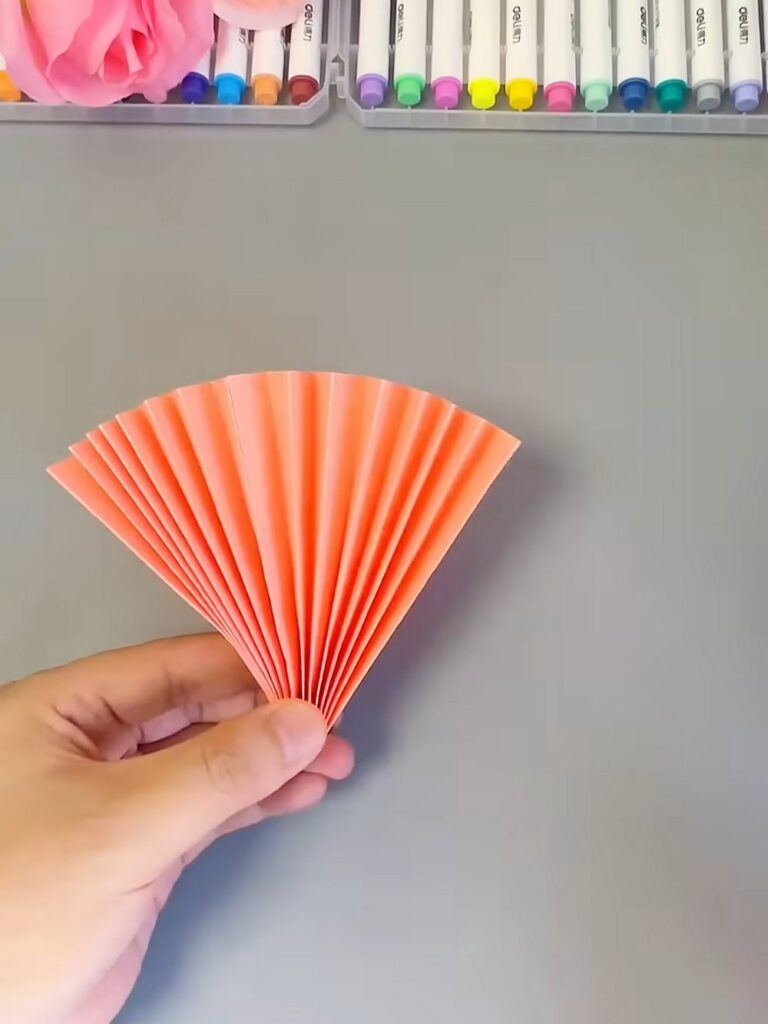
Open the Fan: Gently pull the outer edges apart. The paper will fan out into a beautiful half-circle shape.
Step 4: Doubling the Size
Make a Second Fan: Repeat Steps 1 through 3 with a second piece of paper to create an identical half-circle fan.
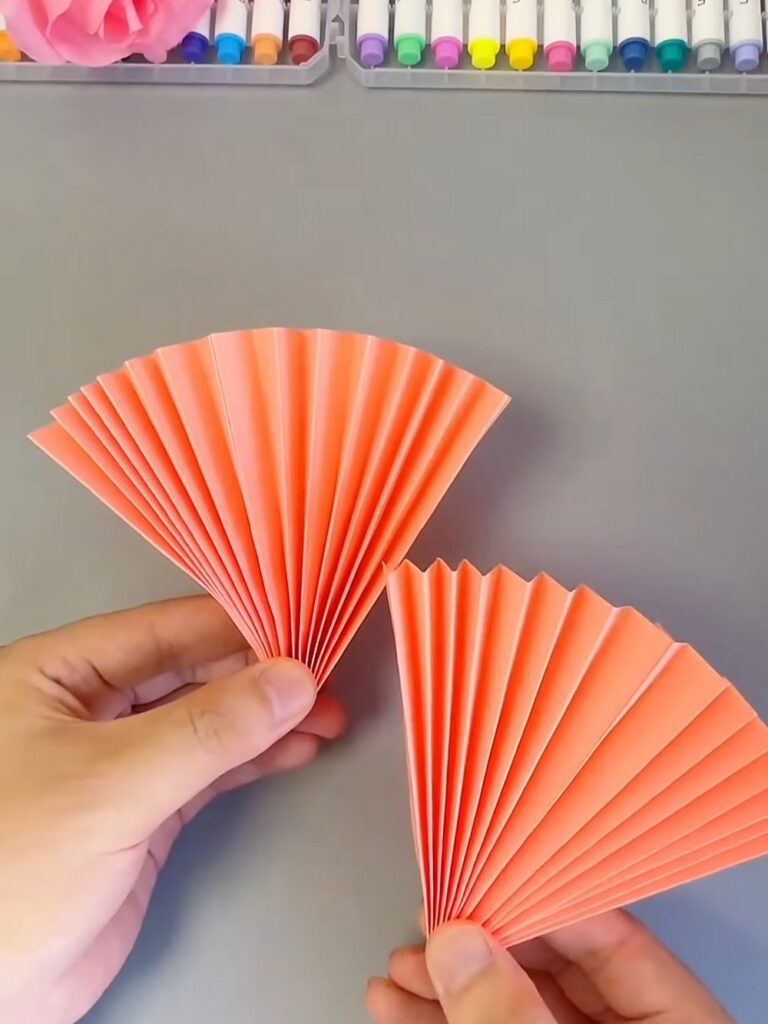
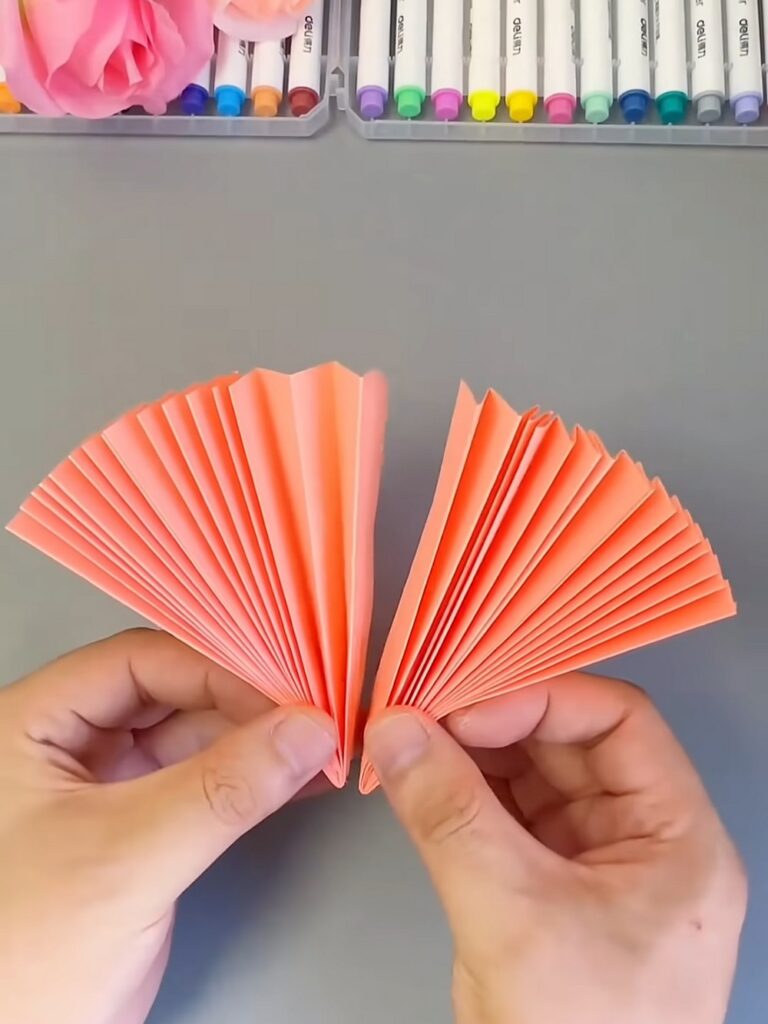
Align the Fans: Place the two half-circle fans side-by-side.
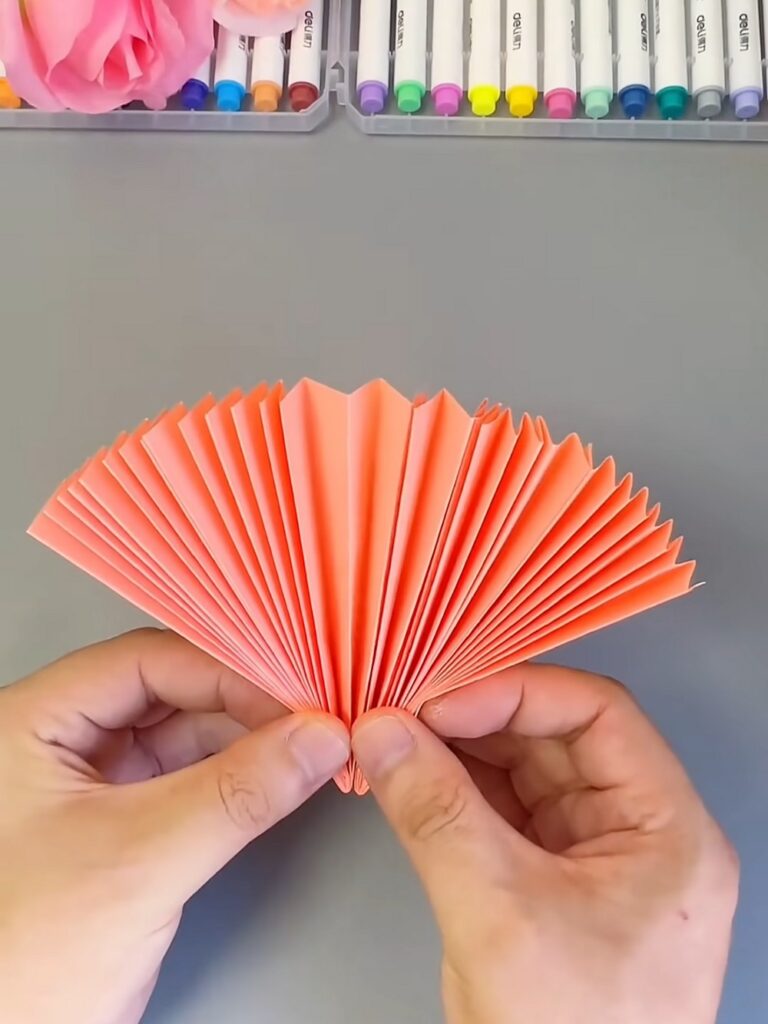
Join Them: Apply double-sided tape or glue to the outer edge of one fan and press it firmly against the edge of the second fan.
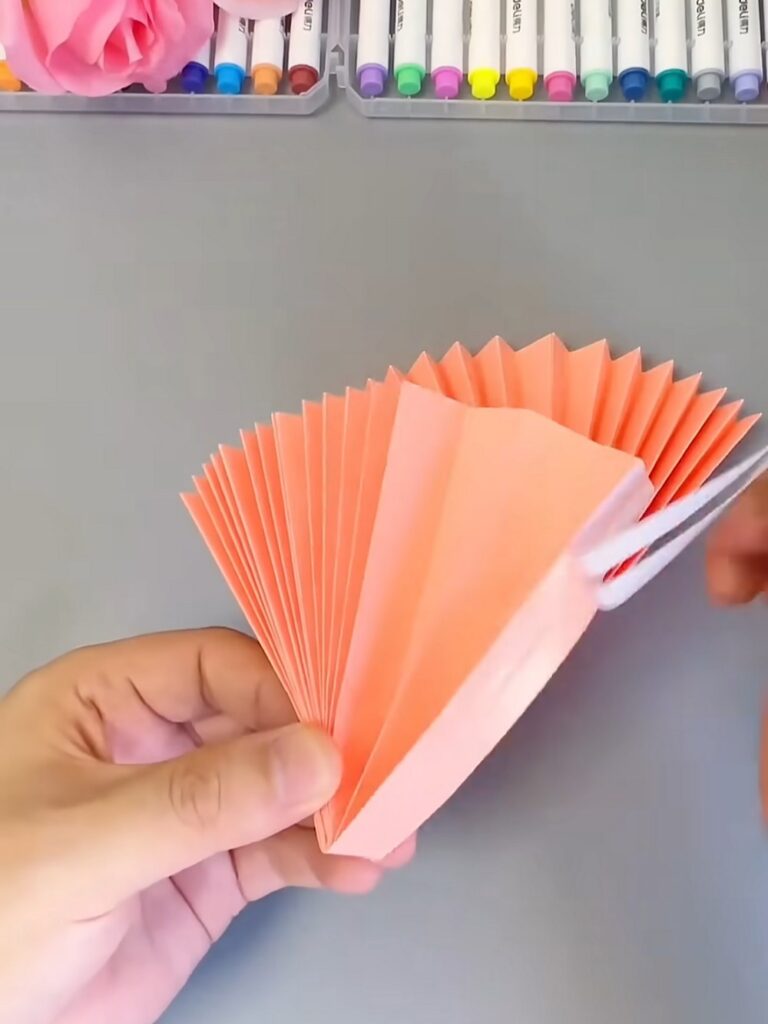
This joins them together into a much larger, wider fan base.
Step 5: Attaching the Wooden Handles
Collapse the Fan: Fold the newly joined, large fan completely closed so it is back into a tight, pleated stack.
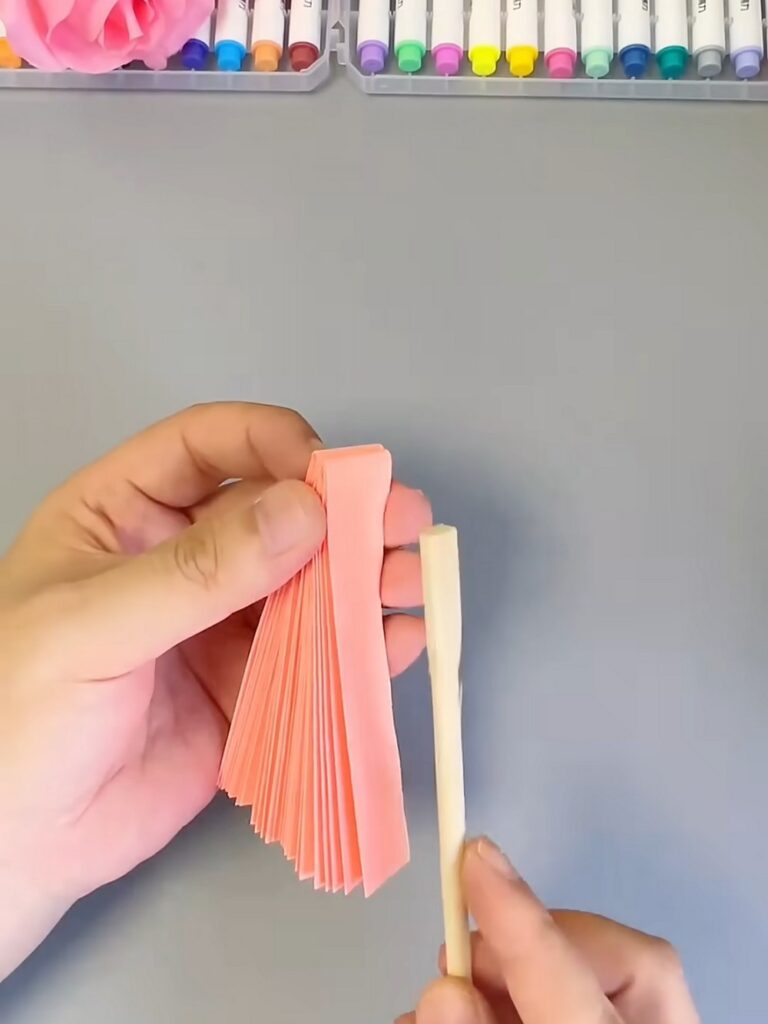
Attach the First Stick: Apply glue or double-sided tape down the length of one of the wooden sticks. Press it firmly against one of the exposed, flat outer edges of your folded paper stack. Make sure the bottom of the stick extends past the bottom of the paper so you have a place to hold it.
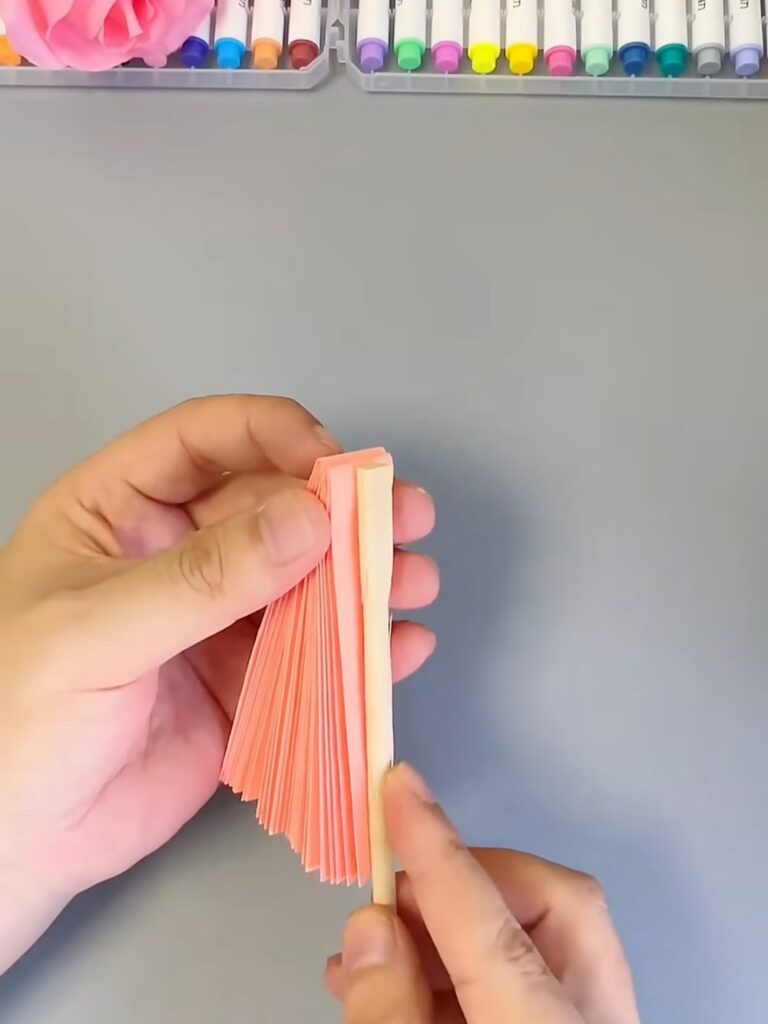
Feels Difficult?
Attach the Second Stick: Repeat this process on the opposite exposed edge of the folded paper stack with your second wooden stick.
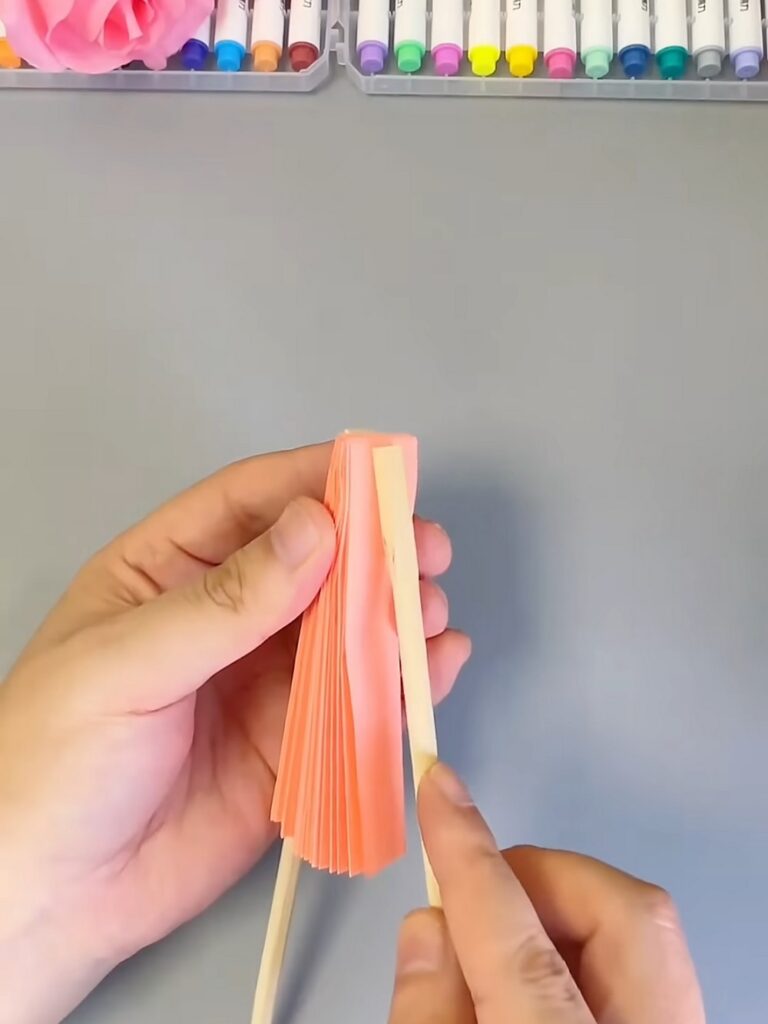
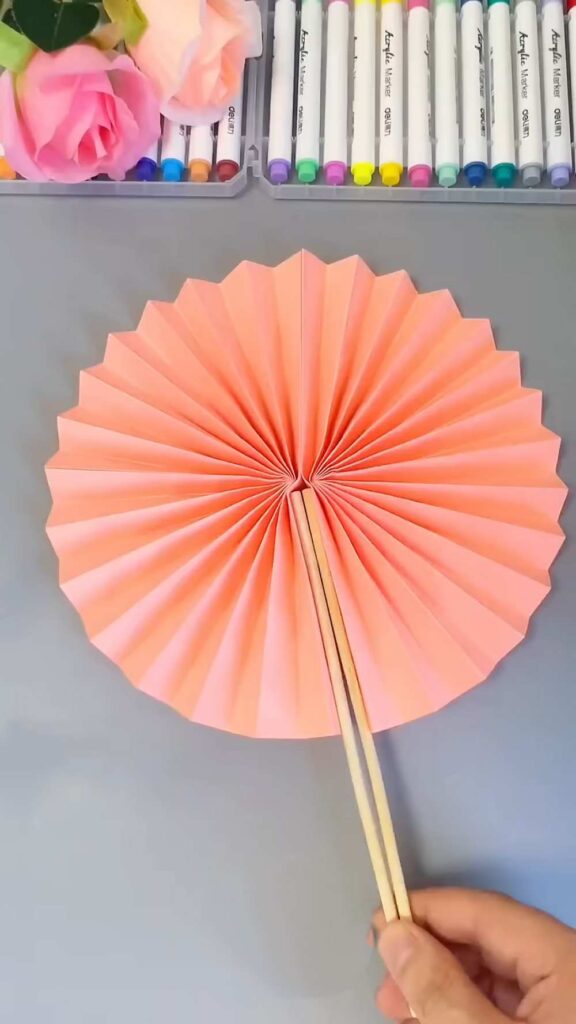
Finish: Let the adhesive dry completely. Once secure, you can grab both wooden handles and pull them apart to open your functioning DIY folding fan!
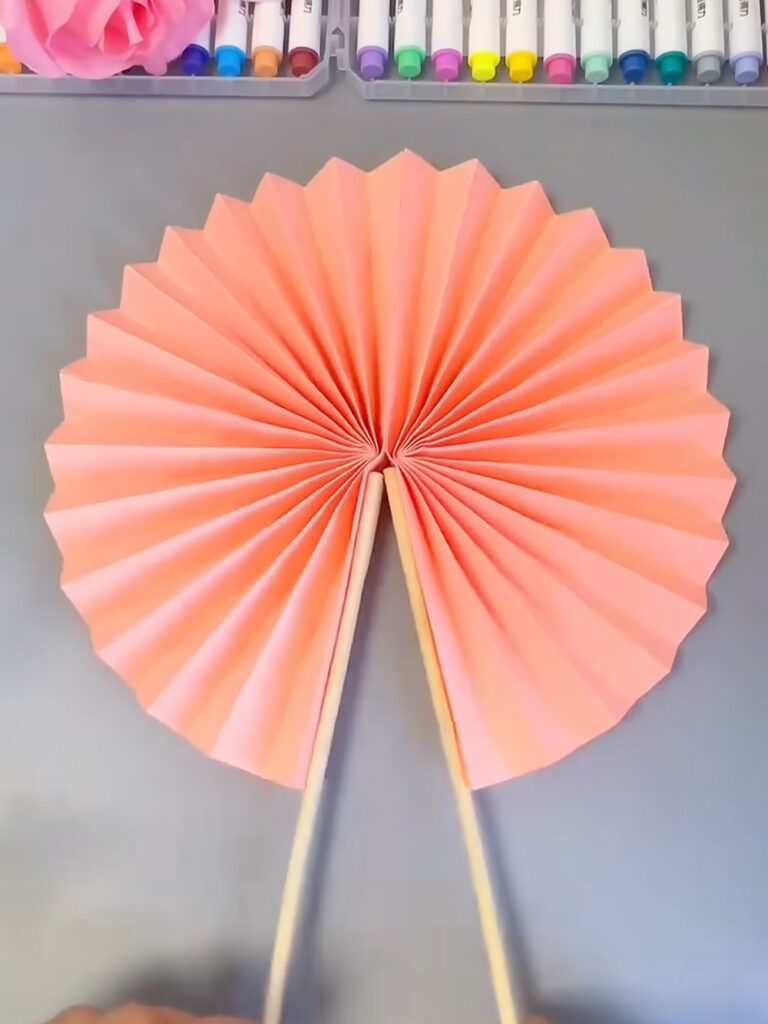
Now, let the kids use this paper fan to stay cool, and that’s how you will make this pleated paper fan. You can also use it as a decoration!
Was this Tutorial Helpful? Tell us in the Comments.
Your feedback is a great way for us to improve the tutorials. Did you find the tutorial helpful? Be sure to subscribe to the creator’s channel!
About "MAKE DIY via YouTube"
She is running one of the most special corner of paper crafts that are all quick and easier and require no skill!

About "Talha"
Hey, I’m Talha, the Crafter on Craftstive.com. I love to share guides on folding cute origami models and paper crafts, and I am always ready to inspire your next craft project with my weekly craft discussions.