
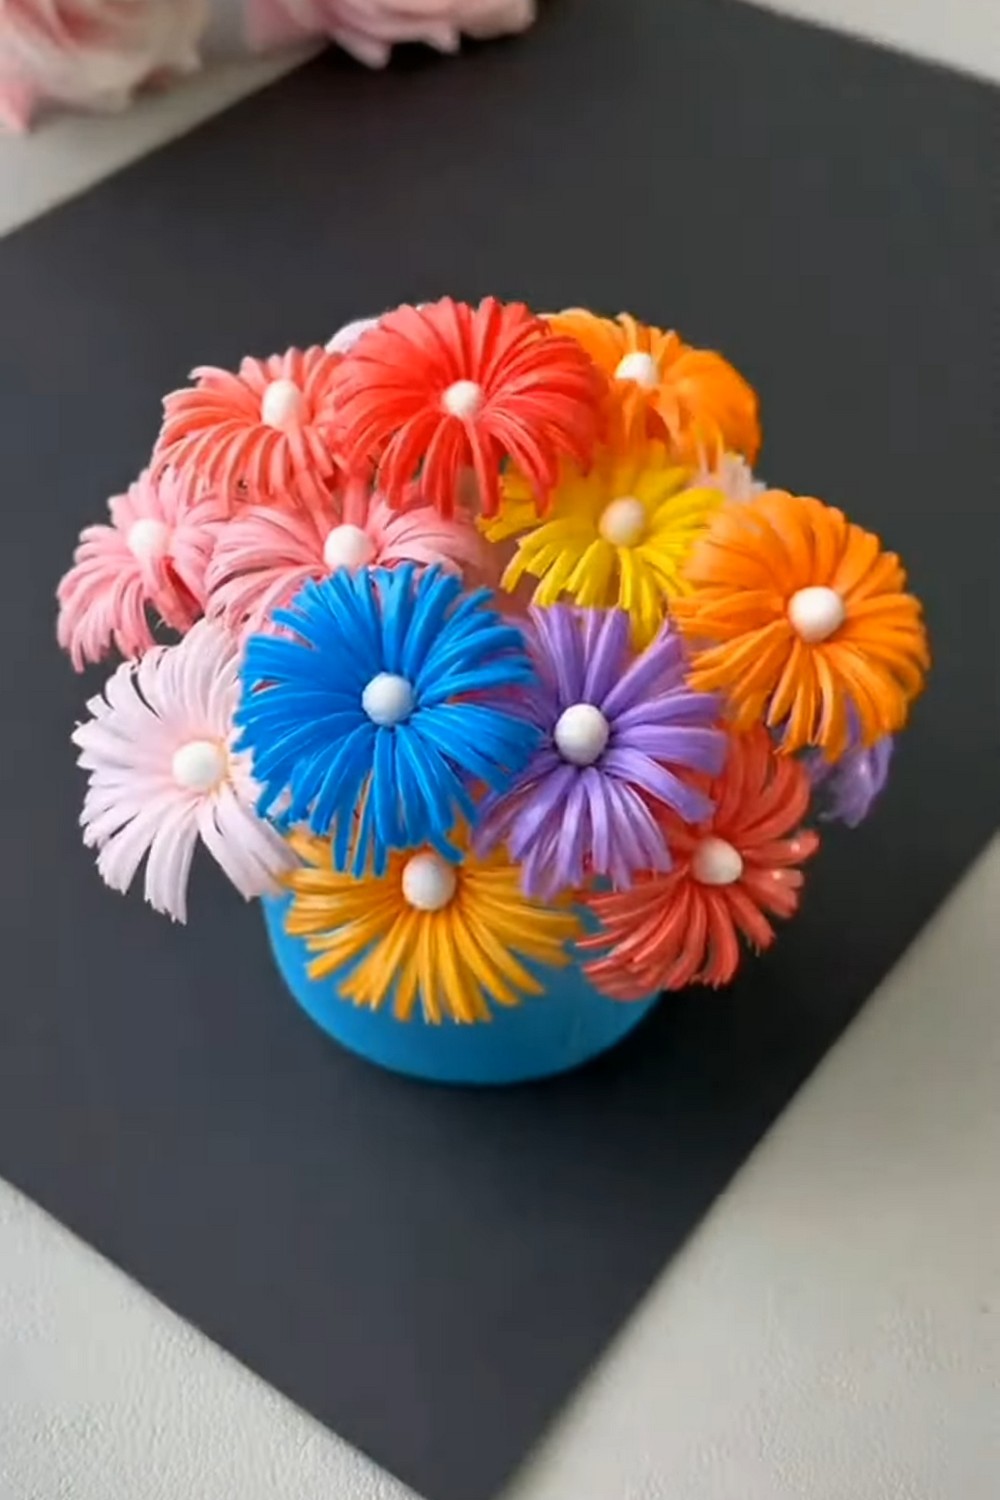
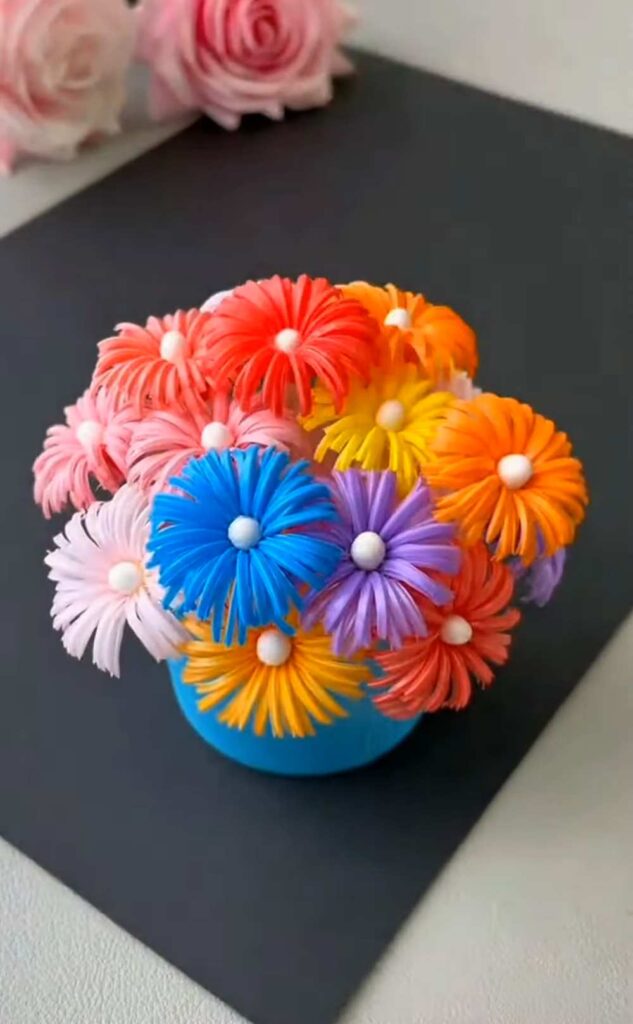
Learn how to upcycle flexible straws into this COLORFUL flower basket in 8 simple steps. This “spring memory” table decoration can beautifully brighten up your side table, coffee table, or can be placed in the middle of your dining table.
You can also make a flower bouquet and a topper out of it if you just want to learn the flower method. We shall use a cotton swab as a stick and the middle of the flower, and it looks so elegant that way. It is a simple “cut, rule, and glue” craft needing absolutely no skill.
You can also use a skewer to roll the flower around, attach a bead in the middle, and fill even a longer basket like the star stacking basket. To learn this clever method of making a flower from straw, continue reading this post till the end.
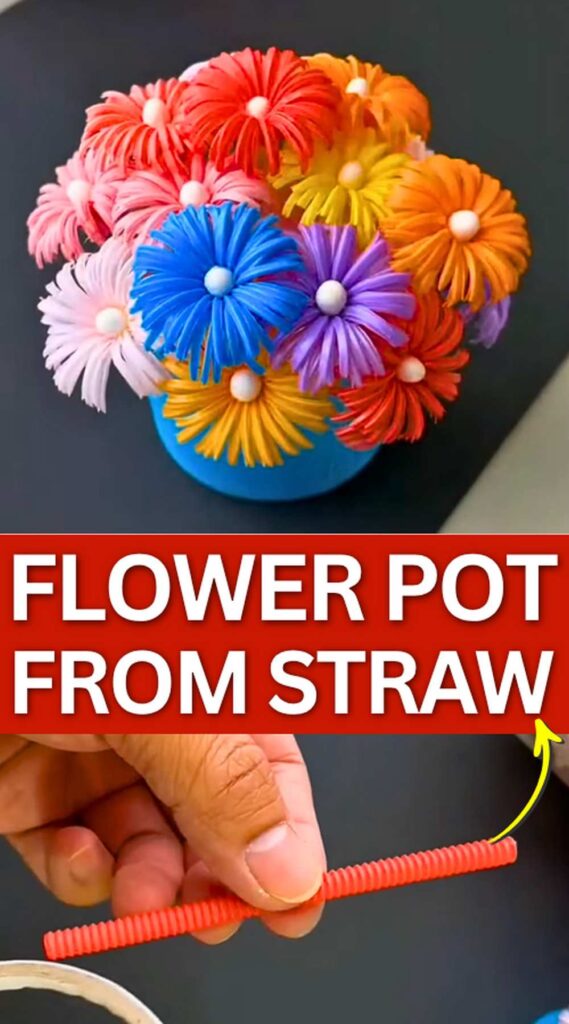
Craft Type: Open a straw, cut along all the ridges, apply double tape, and roll around a cotton swab. Upcycle flower craft.
Time: 5 minutes for each flower
Difficulty: None
Uses
- Hair Flair: Glue them onto bobby pins, hair clips, or a headband.
- Napkin Rings: Attach a single flower to a wooden or ribbon ring.
- Gift Toppers: Instead of a traditional plastic bow, glue a cluster of these onto a wrapped present.
Crochet Flower Pot: Step-by-Step Instructions
Learn how to make this flower craft step-by-step with the following instructions once you have gathered the materials I recommended:
Materials Used
- Flexible plastic straws
- Scissors
- Double-sided tape
- A cotton swab or stick: Used as the stem and the center of the flower (the white tip).
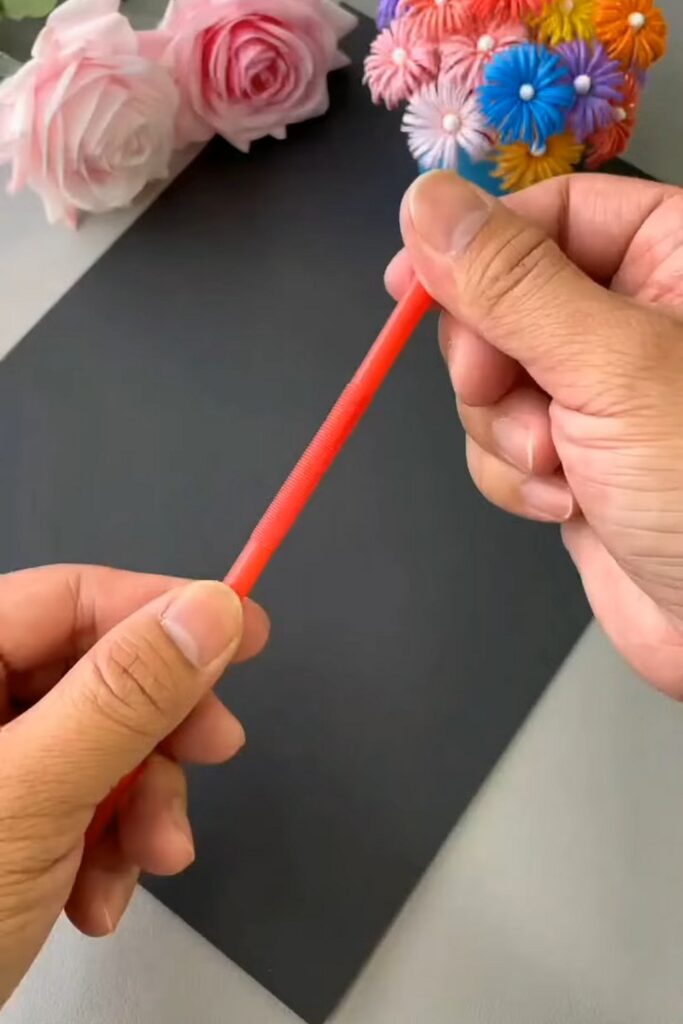
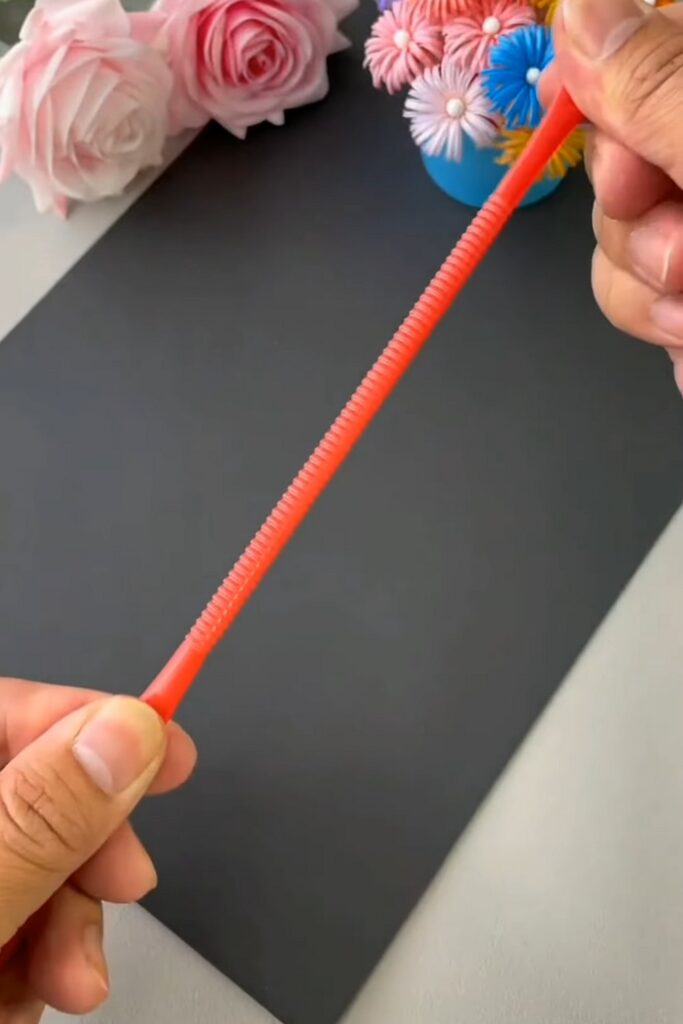
Step 1: Stretch the Corrugated Section
Take a flexible plastic straw and hold it on both sides of the bendable accordion section. Gently pull your hands apart to fully stretch out the ridges so the flexible section is as long as possible.
Step 2: Isolate the Flexible Tube
Using your scissors, cut off the straight, smooth ends of the straw.
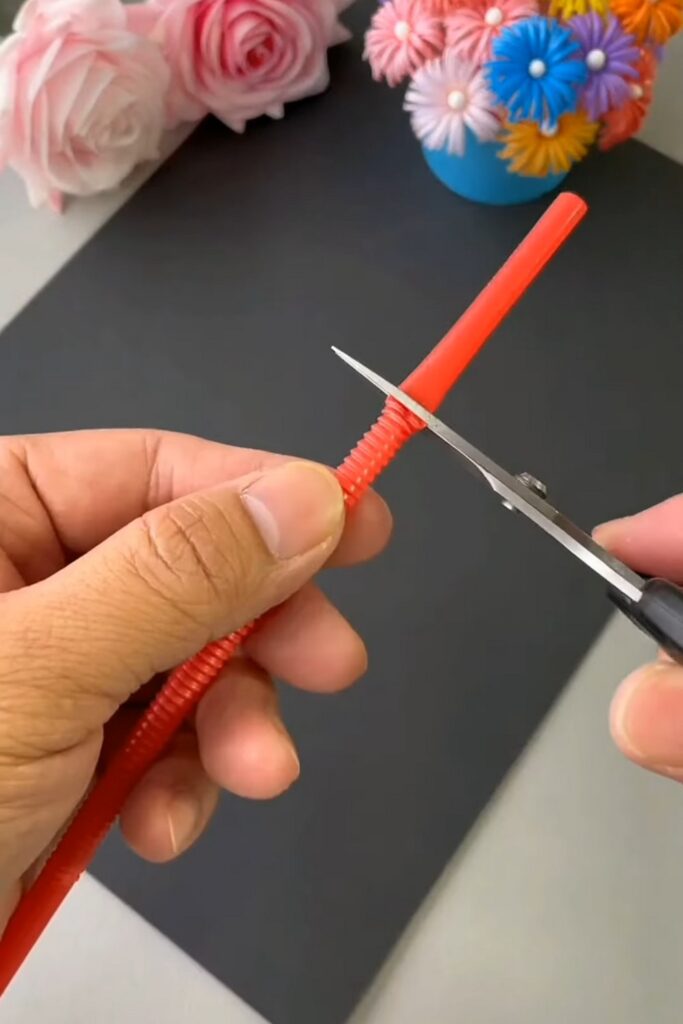
You should be left with only the stretched, corrugated middle section.
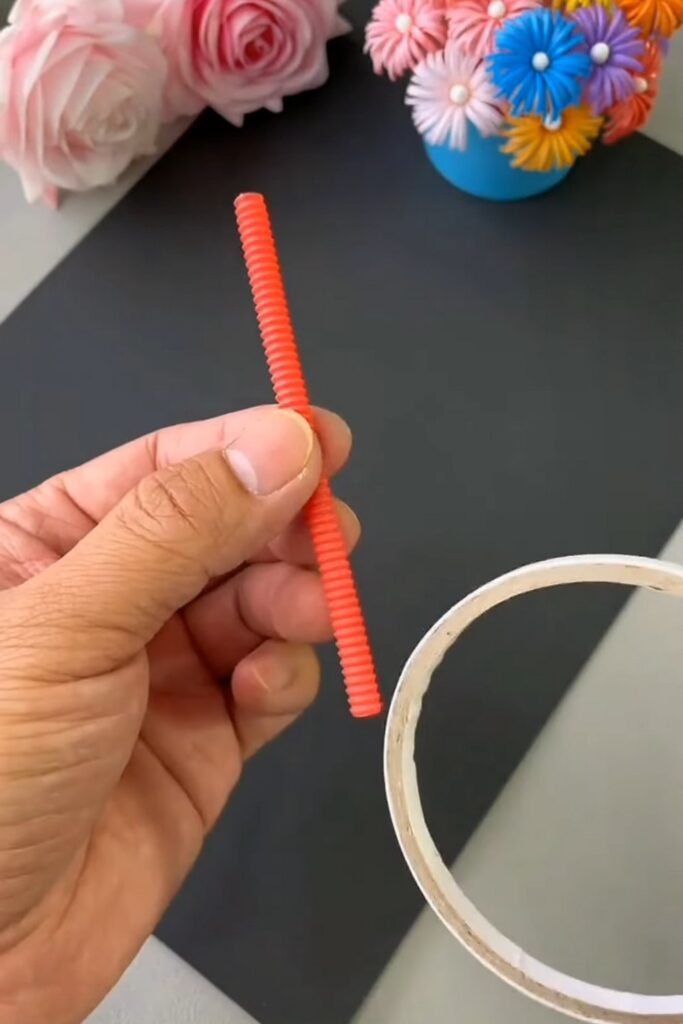
Step 3: Slit the Tube Open
Apply a strip of double-sided tape to the middle of the straw.
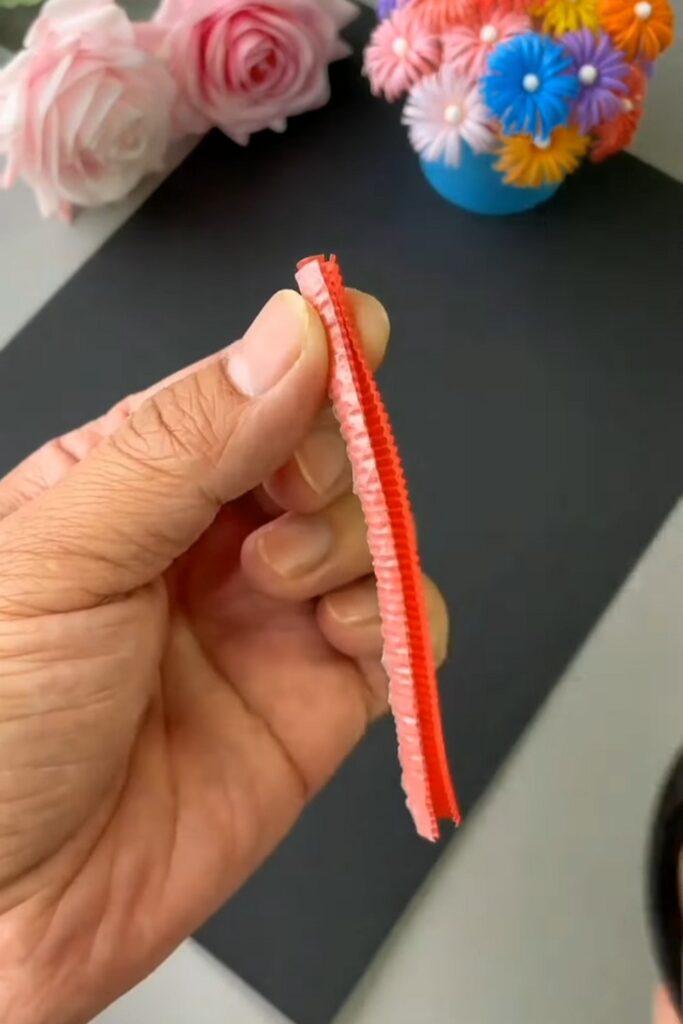
Use this as a guide to carefully insert the tip of your scissors into one end of the corrugated tube and make a straight cut all the way down its length. This will let you open the tube up into a flat, textured piece of plastic.
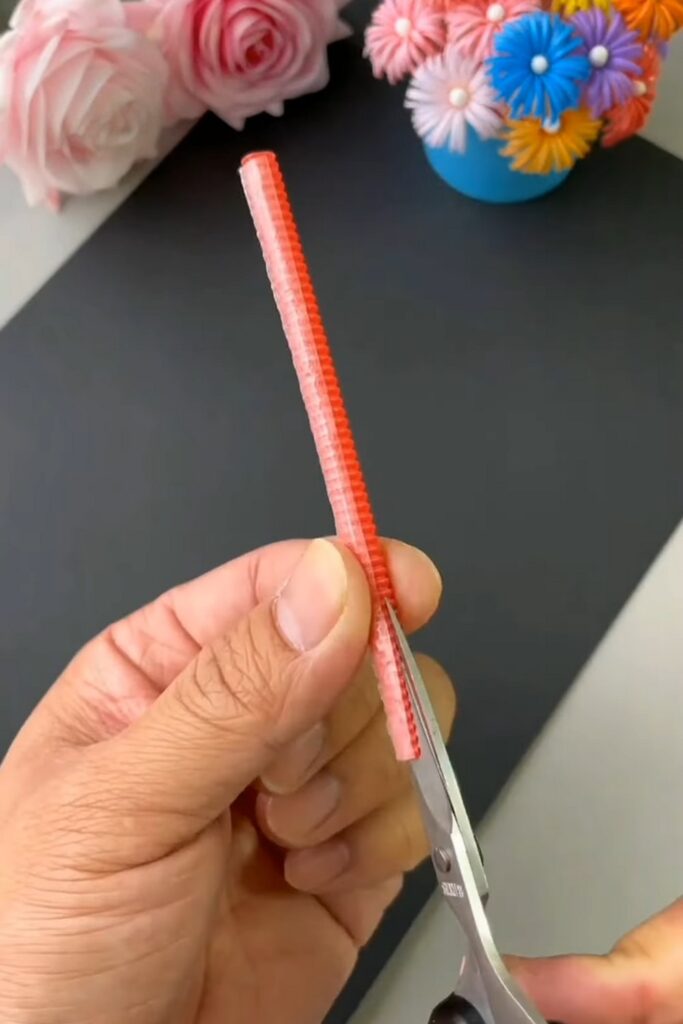
Step 5: Cut the Petal Fringes
Take your scissors and make very fine, closely spaced cuts along the folded (looped) edge of the plastic strip.
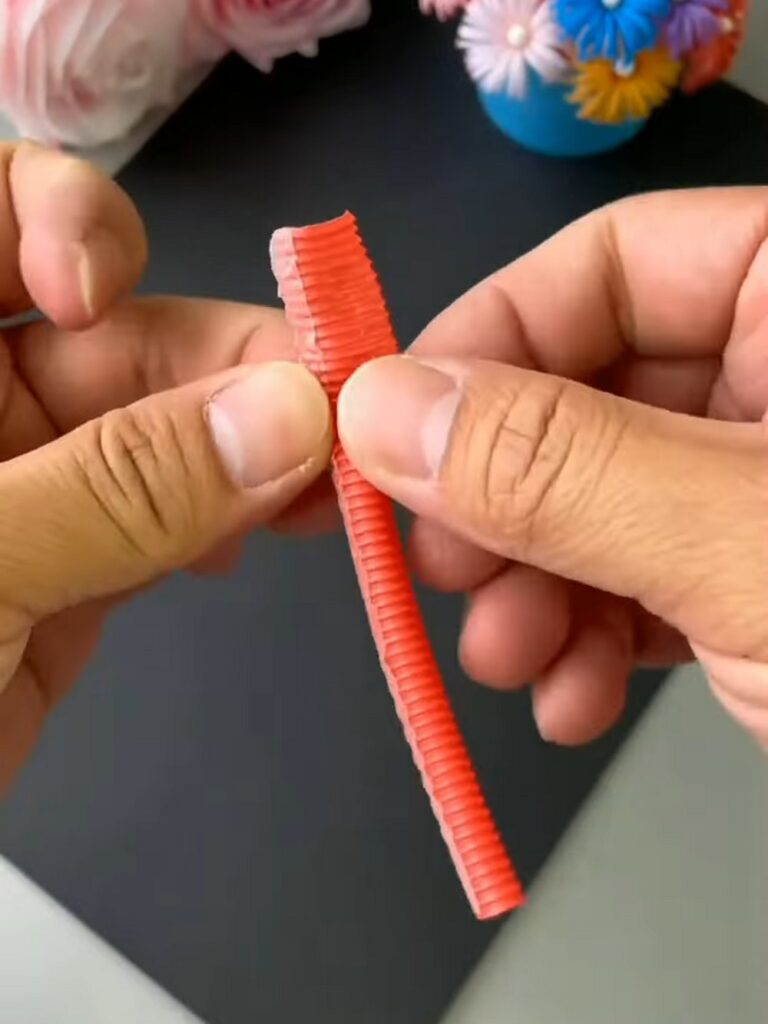
Be careful not to cut all the way through.
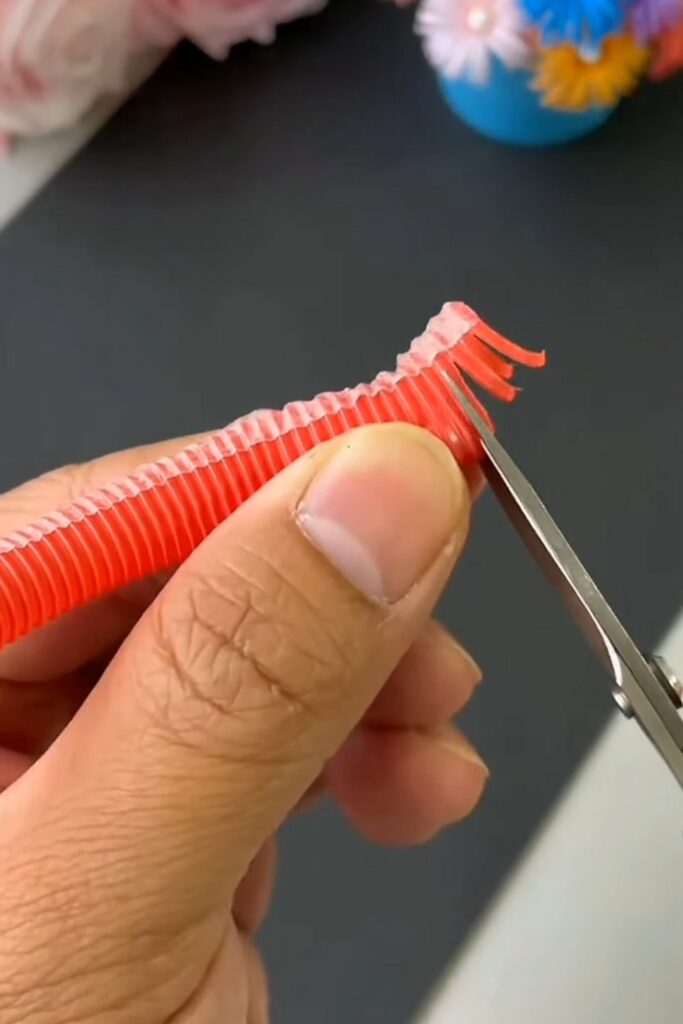
Stop your scissors just before reaching the taped bottom edge so the strip stays intact. This creates the individual petals.
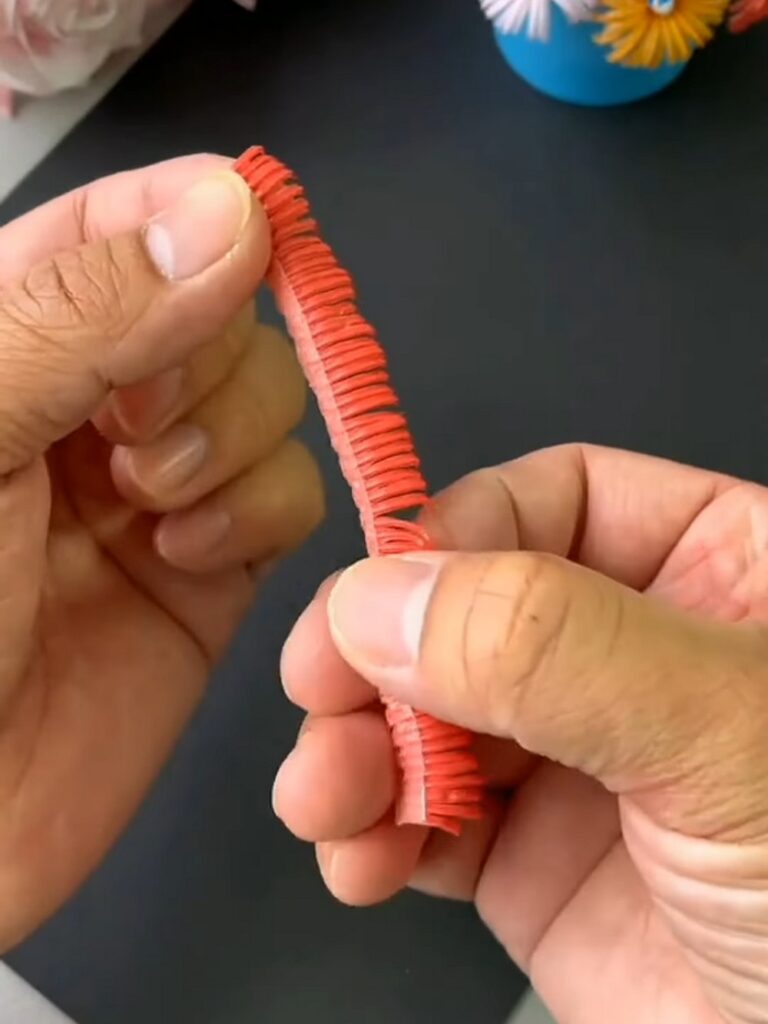
Step 6: Roll the Flower
Take your cotton swab (or stick) and place the white tip at one end of the taped edge of your plastic strip. Begin tightly rolling the fringed plastic strip around the swab. The stickiness from the edge of the tape will help hold it securely in place as you roll it into a spiral.

Feels Difficult?
Step 7: Fluff and Shape
Once the entire strip is rolled around the stick, use your thumbs and index fingers to pull the fringed loops outward and downward. This flares the petals open, revealing the white center of the swab and completing your straw flower.

Now you can make many of these to fill your basket and make a spring memory flower decoration!
Was this Tutorial Helpful? Tell us in the Comments.
Your feedback is a great way for us to improve the tutorials. Did you find the tutorial helpful? Be sure to subscribe to the creator’s channel!
About "MAKE DIY via YouTube"
She is running one of the most special corner of paper crafts that are all quick and easier and require no skill!

About "Talha"
Hey, I’m Talha, the Crafter on Craftstive.com. I love to share guides on folding cute origami models and paper crafts, and I am always ready to inspire your next craft project with my weekly craft discussions.