
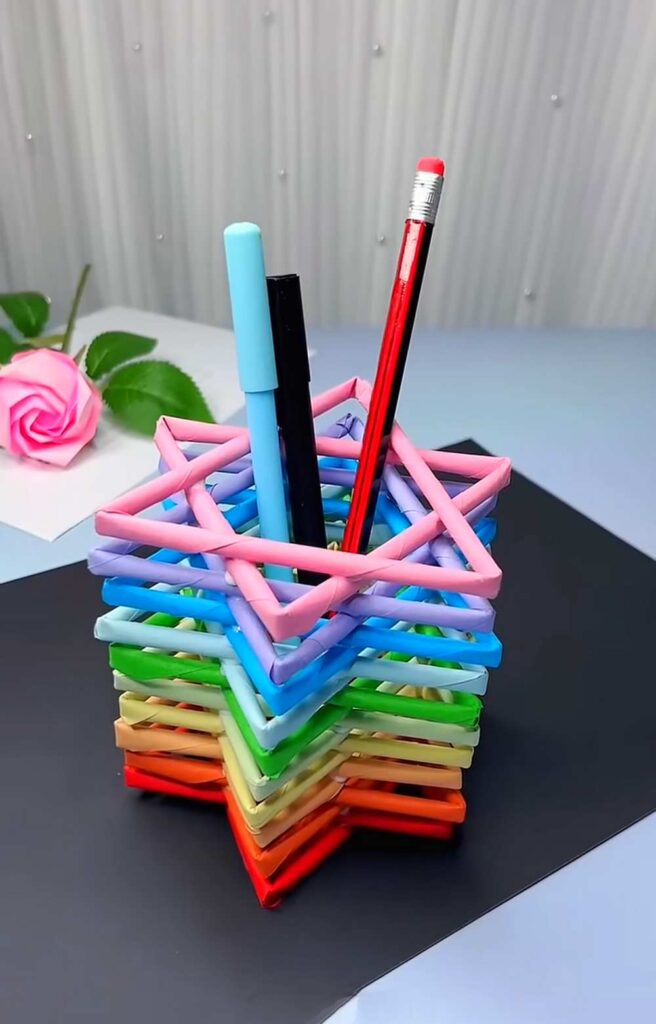
These instructions will show you how to make a 6-point star out of paper tubes to craft this rainbow stationery holder. Make this colorful basket to beautifully hold pencils, markers, and small toys on your desk.
It is a simple back-to-school and summer craft you can prepare in less than 30 minutes. This is just a stacking craft, so kids can also do this activity easily.
The idea is just to make paper triangles out of the paper pipes, so you should be good to go. Maybe you know origami? If that’s the case, you can also make my origami Masu box and origami rectangle box!
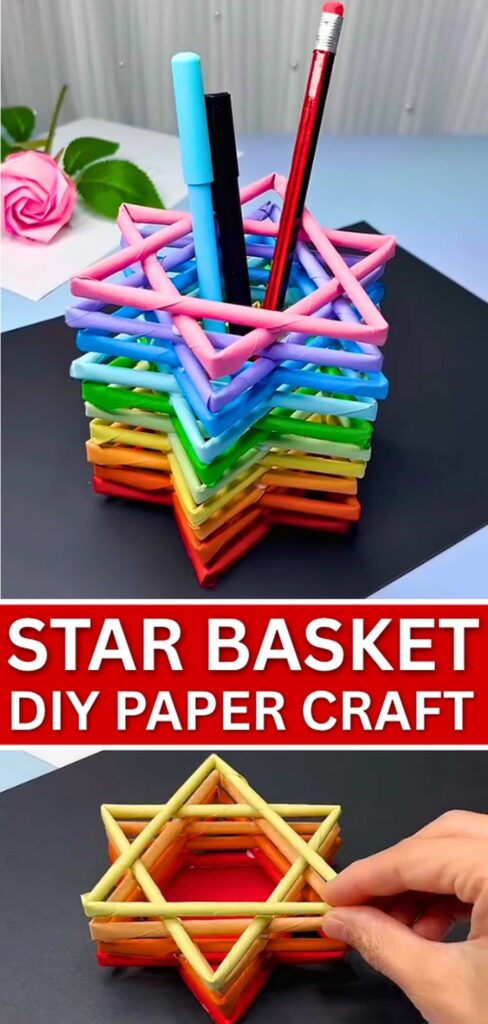
Difficulty Level: None
Time: 20 Minutes
Materials Needed
These are the materials you will need to make this quick pencil holder:
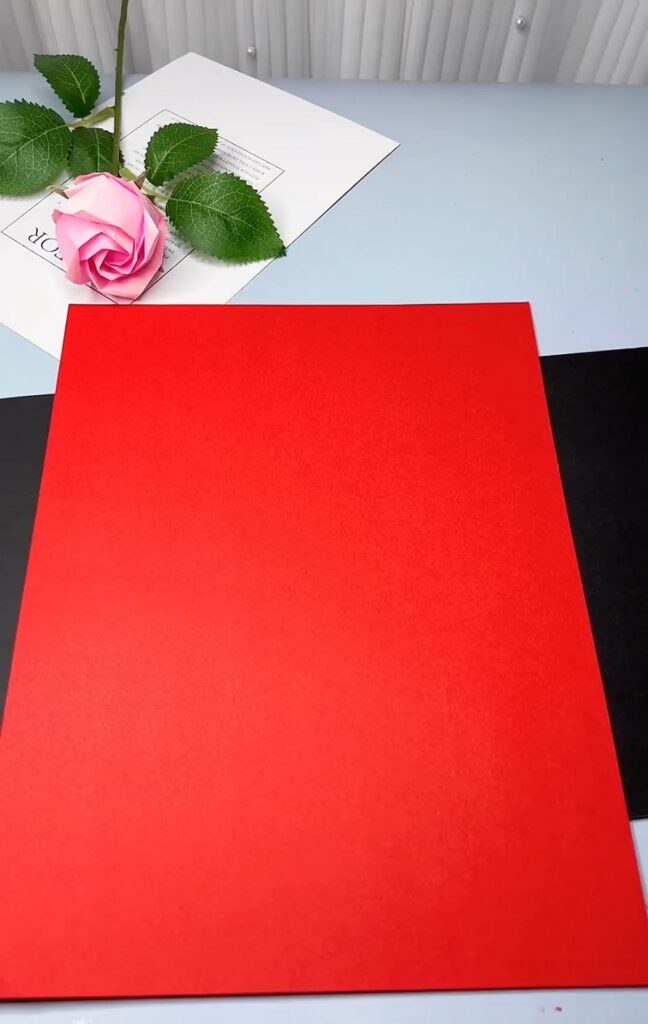
- Red A4 paper
- Colored A4 paper (orange, yellow, or any rainbow colors you like)
- A thin wooden stick (like a skewer)
- Scissors
- Glue
Make Your Star Basket: Step-by-Step Instructions
It is a repetitive DIY paper craft requiring only stacking the paper triangles, and here are the step-by-step instructions:
1. Make the paper sticks
First, we will make the paper sticks. Take a piece of A4 red paper and cut it in half lengthwise. Starting at the corner, roll the paper diagonally around a wooden stick.
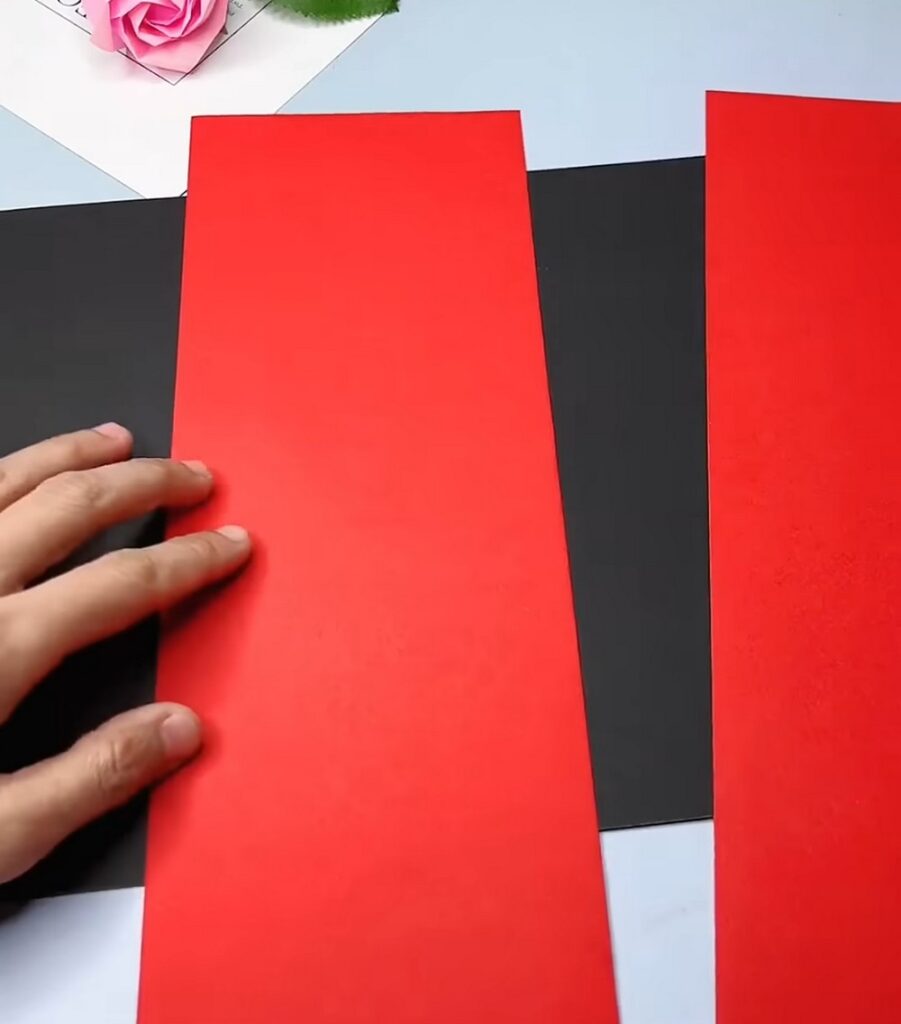
Once you reach the end, put a little glue on the tip to hold it in place. Slide the wooden stick out.
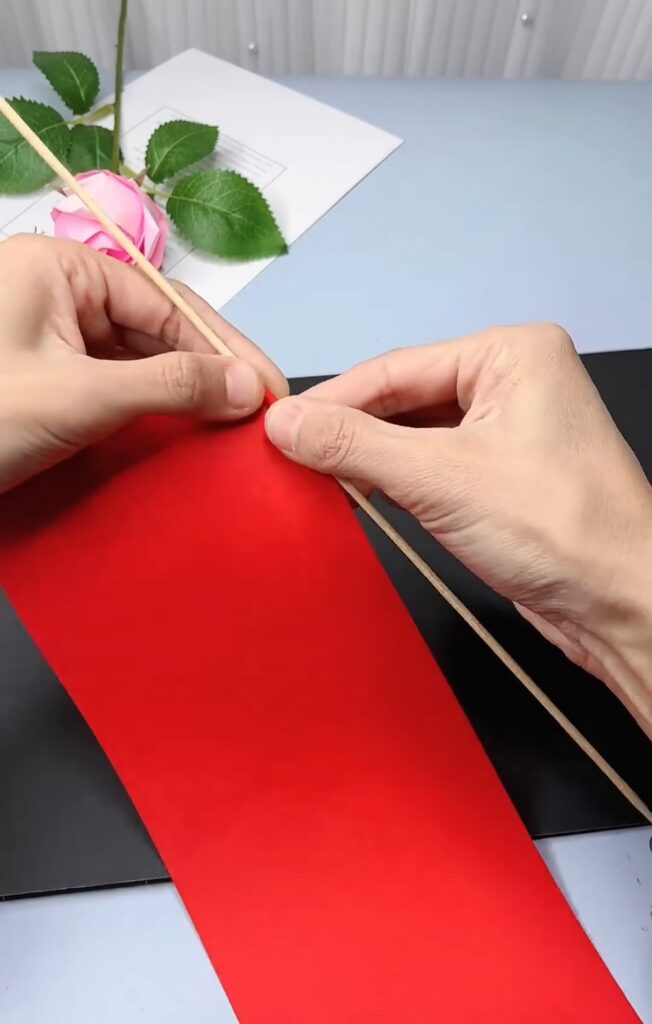
Make lots of these paper sticks using red, orange, and yellow paper!
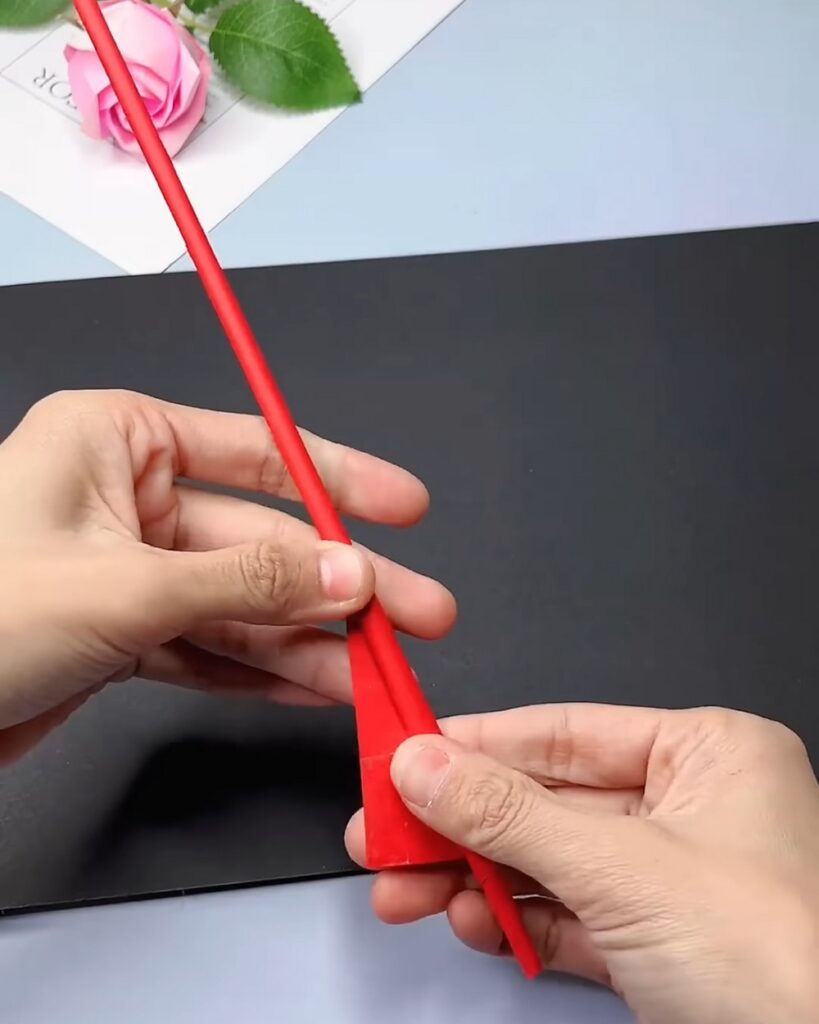
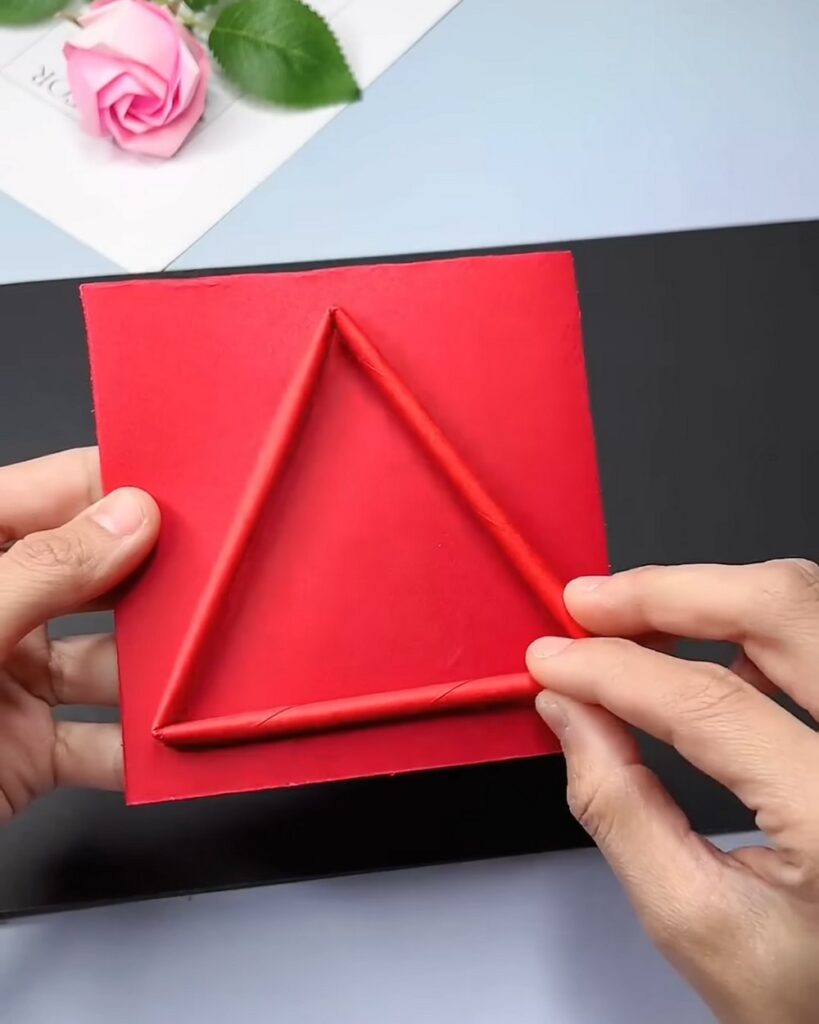
2. Make a triangle
Take one of your red paper sticks and softly bend it in three places to make a triangle shape. Pinch the corners so they are neat.
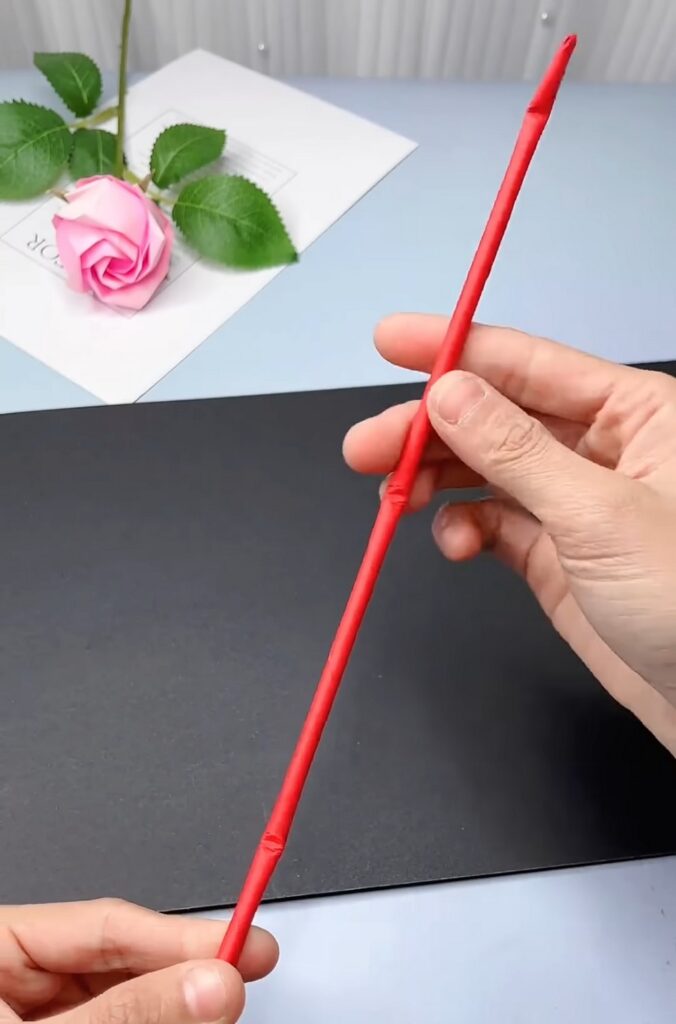
Be sure to leave a small length from the top and bottom so they are out of all the corners. Use these ends to insert a stick within each, and that will make a neater isosceles triangle.
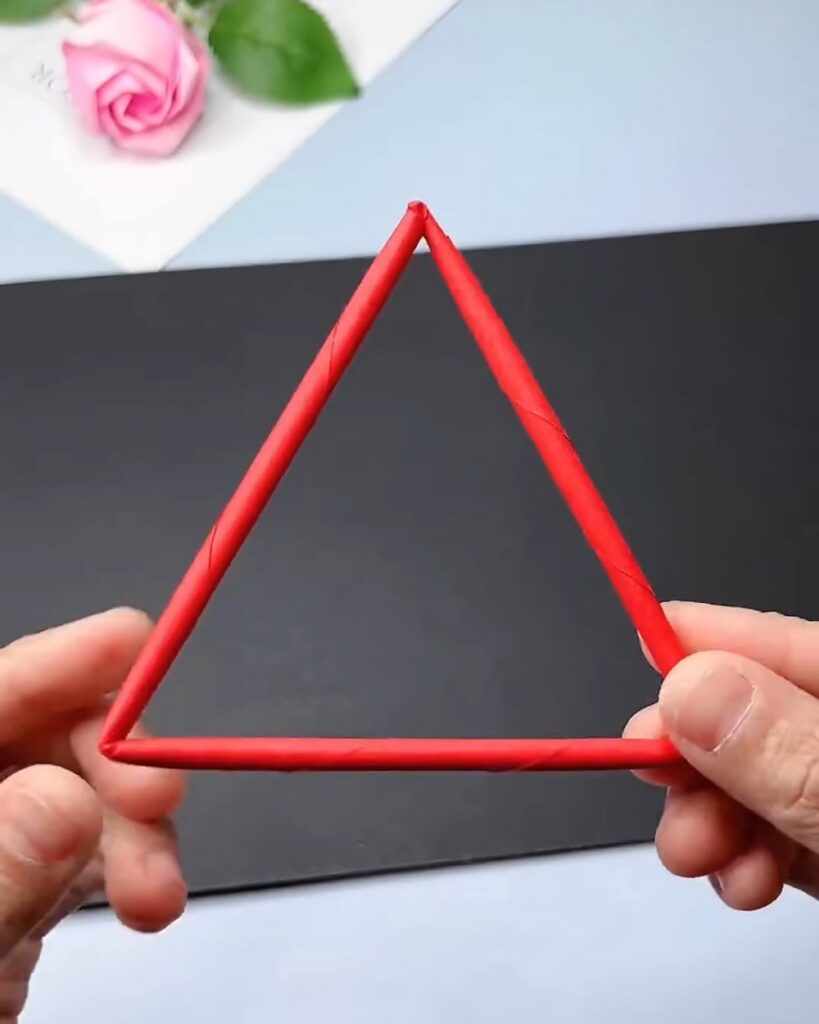
3. Make the base
Cut out a triangle piece of flat red paper using the first triangle as a template to use as your bottom base. Put glue on the bottom of your red triangle and paste it flat onto the paper.
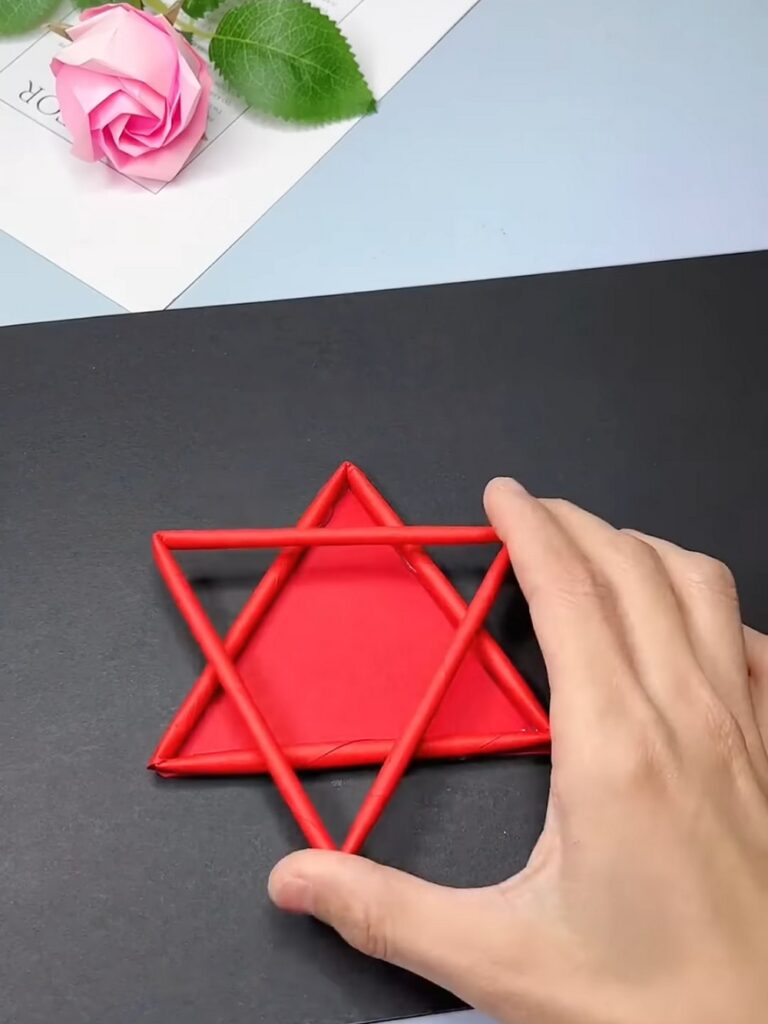
4. Create the star shape
Make a second triangle from another red paper stick. Put glue on it and place it right on top of the first triangle, but point it in the opposite direction (like an upside-down triangle). Now you have a star shape with six points!
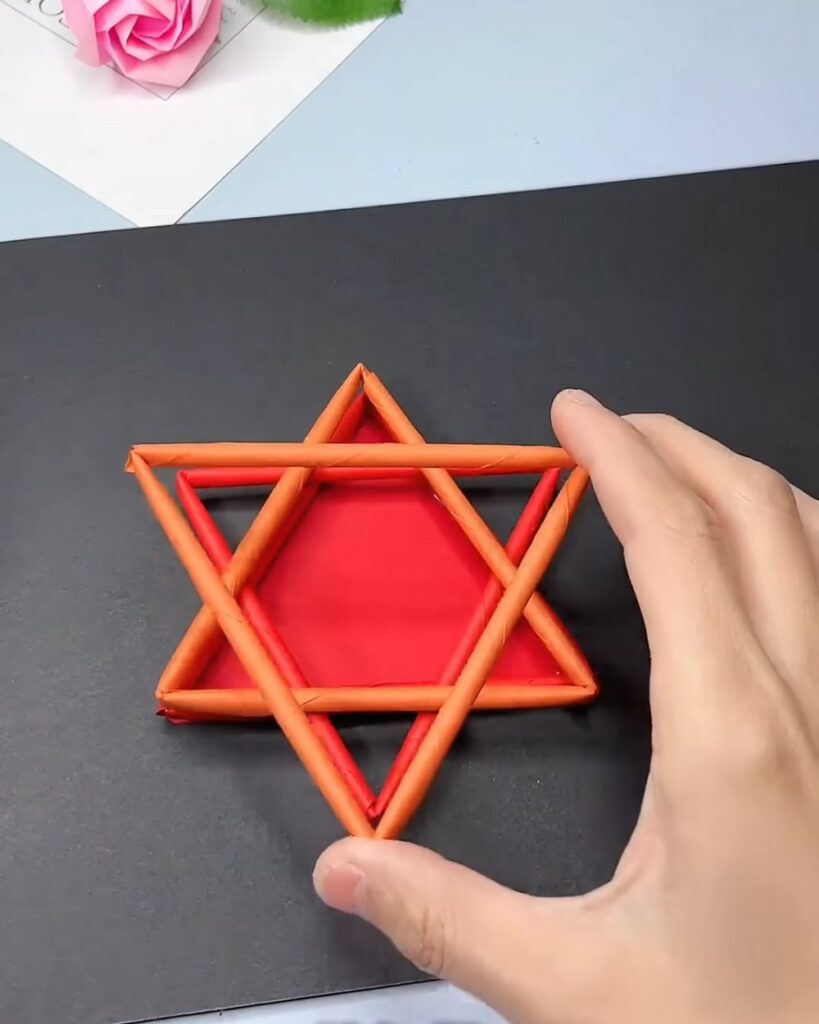
5. Build the basket walls
Now it is time to build your basket up! Make triangles out of your orange paper sticks. Glue an orange triangle directly over the first red triangle. Then, glue another orange triangle over the second red triangle.
Difficulty in Stacking?
6. Keep stacking
Keep stacking your triangles in a fun rainbow pattern. For example, add yellow triangles next.
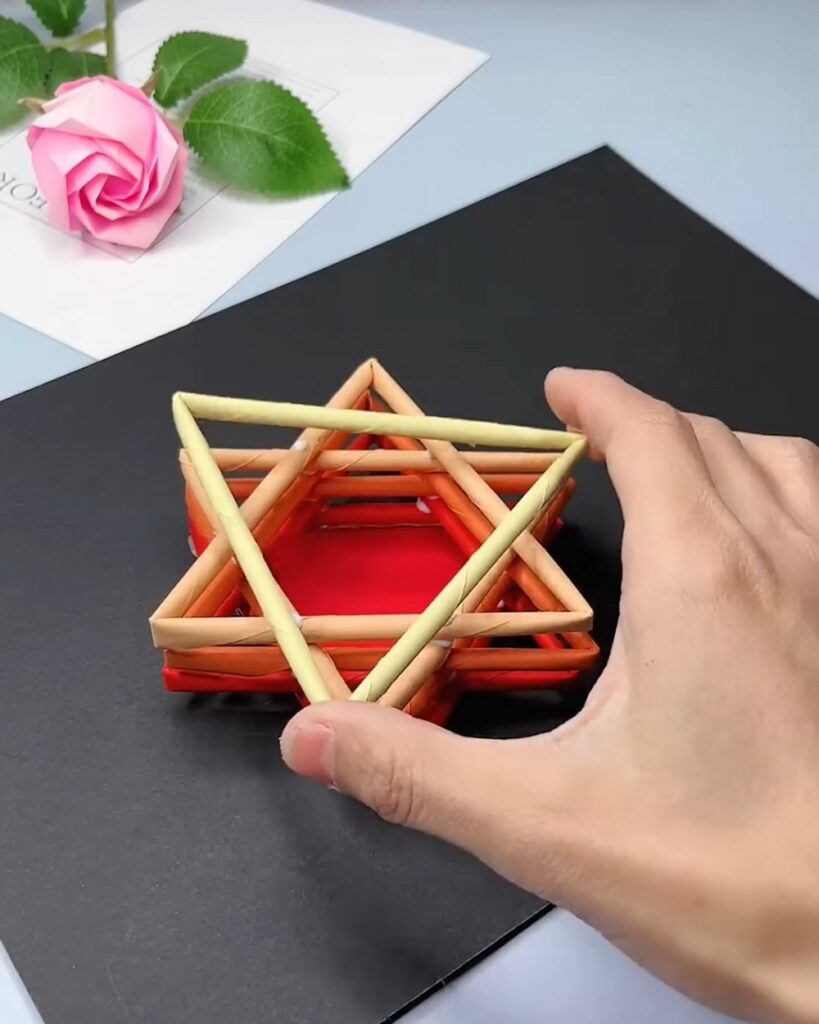
Make sure to put a little glue on each layer so it stays strong. Keep stacking until your star basket is tall enough to hold your pencils. Let the glue dry completely, and your pencil holder is ready!
Was this Tutorial Helpful? Tell us in the Comments.
Your feedback is a great way for us to improve the tutorials. Did you find the tutorial helpful? Be sure to subscribe to the creator’s channel!
About "MAKE DIY via YouTube"
She is running one of the most special corner of paper crafts that are all quick and easier and require no skill!

About "Talha"
Hey, I’m Talha, the Crafter on Craftstive.com. I love to share guides on folding cute origami models and paper crafts, and I am always ready to inspire your next craft project with my weekly craft discussions.