
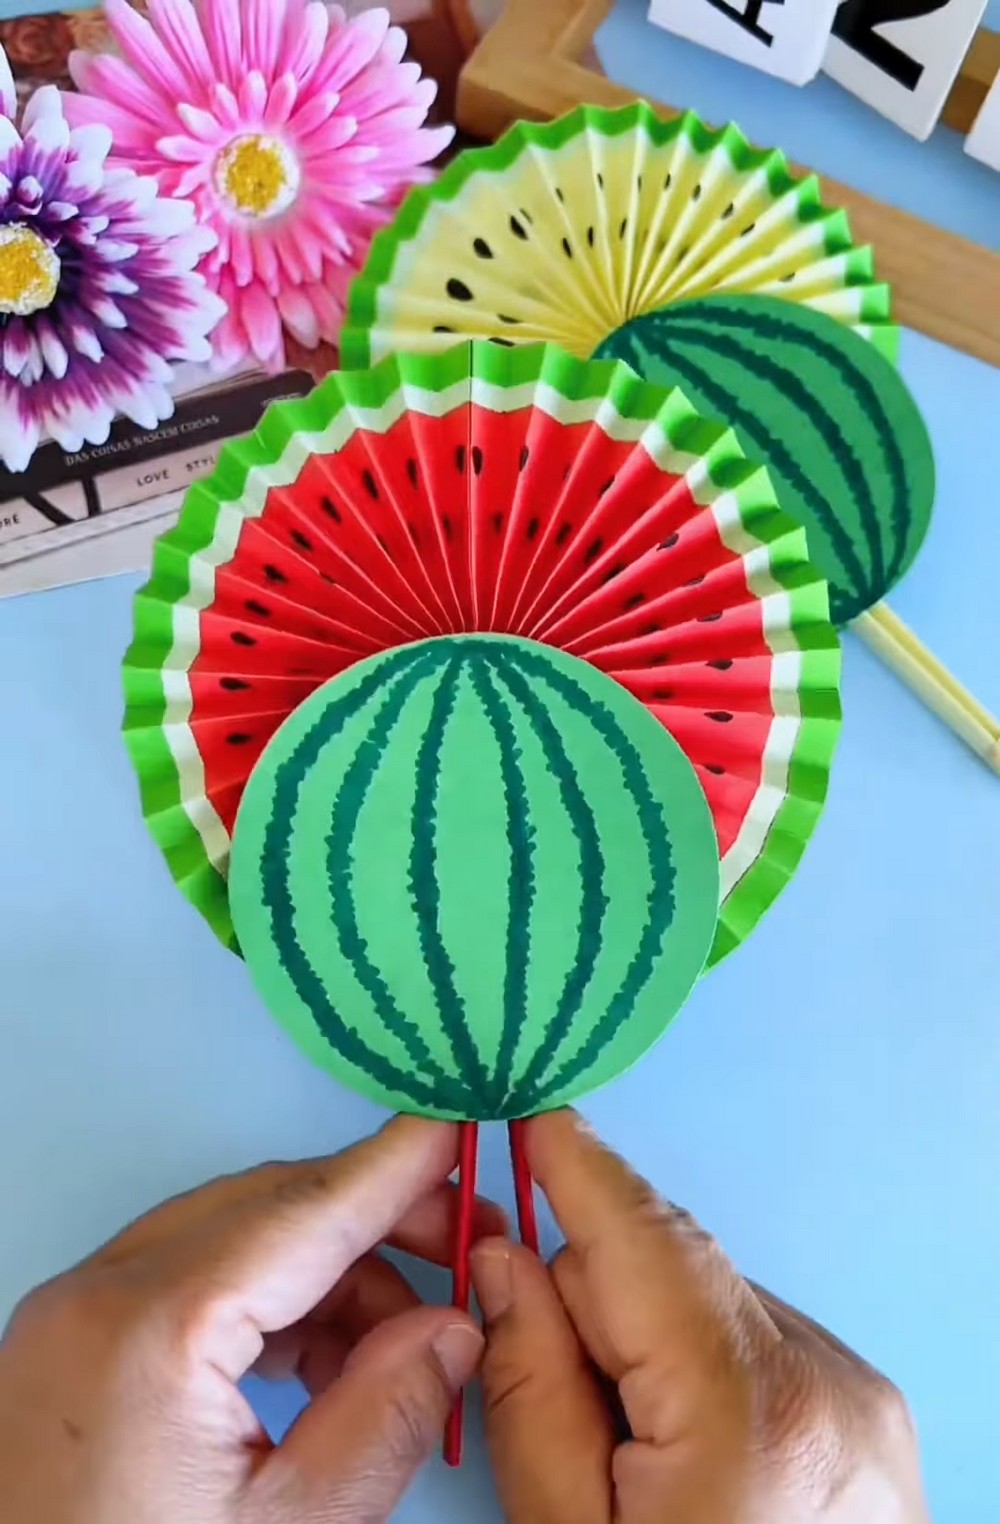
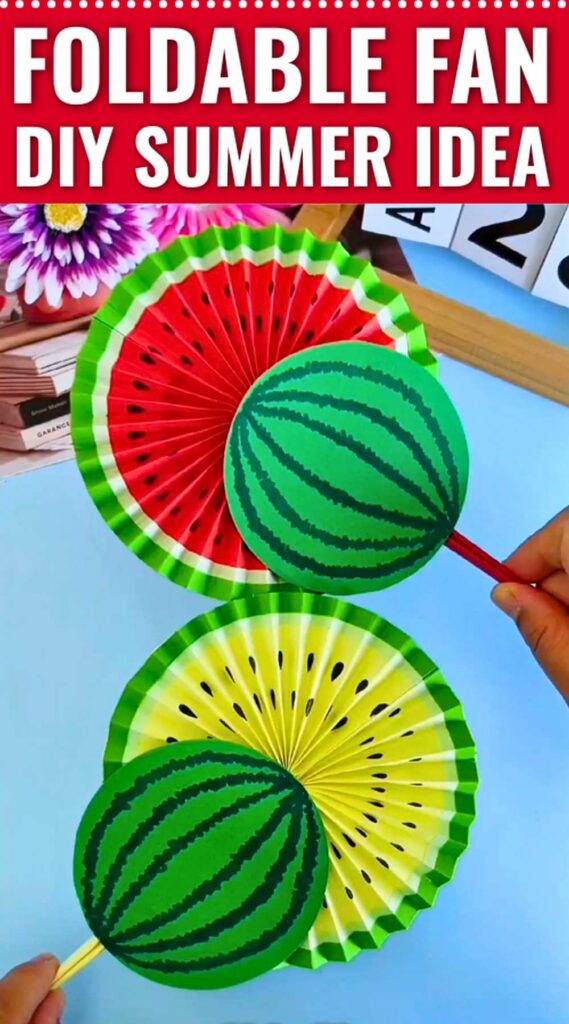
Let me show you how to DIY another COOL watermelon paper fan craft for summer with these instructions! This is the 3rd method of making a watermelon paper fan, and the MORE ELEGANT than the previous ones. It is also completely round!
Will again be a foldable paper fan with accordion fold texture, but we shall also make a small full watermelon circle cutout and attach it to our watermelon slice fan. So, when you fold by rotating the handles, there will still be a charming watermelon on the top.
You can make it as a service fan for the little ones’ lemonade or watermelon slice stall. Even when not in hands, it makes a LOVELY decoration. Also, make it with yellow cardstock. Luckily, everything is made out of paper, unlike the popsicle watermelon fan and Method 2. Now, let me show you how you can also make it with the kids.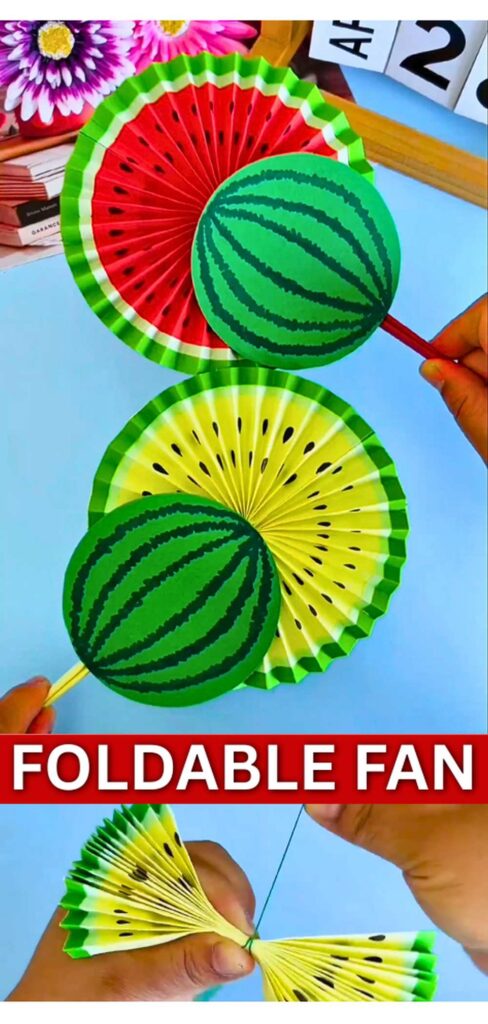
Time: 10 – 15 minutes
Model Type: Accordion Fold Paper Fan with Drawing & Cutting
Techniques: In this pleated paper watermelon fan paper sticks, you will learn and use the following techniques:
- Making accordion folds
- Using the double-tape
- Drawing the watermelon texture
- Cutting a perfect circle
- An alternate method for the accordion fold

What you need
Here is what you will want to buy & gather for making this watermelon paper fan for summer:
- Light yellow paper (2 sheets, ~15 × 25 cm)
- Dark green paper
- Lime green paper
- Black marker
- Scissors
- Ruler & pencil
- Double Tape
- 1–2 chopsticks (or sticks)
- Small piece of yellow paper
- Dark green paper square smaller about 12cm by 12cm (for circle)
- Toothpick or pin
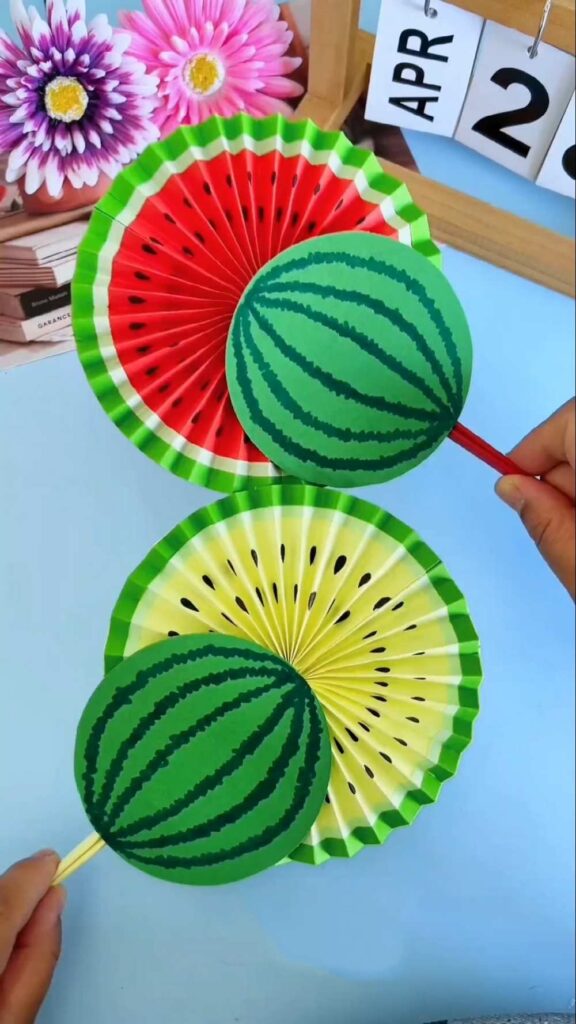
Watermelon Paper Fan: Step-by-Step Instructions
Let’s make this paper fan with a folding mechanism with these step-by-step instructions for absolute beginners:
STEP 1: Prepare Your Yellow-Green Paper
Cut your light lime green paper to approximately 30 cm × 20 cm (portrait orientation). If you are using A4 paper, it is already close to it!
Tip: Use proper cardstock-weight paper rather than thin copy paper. It needs to hold accordion folds without tearing.
STEP 2: Cut Two Dark Green Border Strips
From bright dark green paper or cardstock, cut two strips each measuring:
Length: matching the long edge of your yellow-green sheet – approximately 30 cm. Width: approximately 1.5–2 cm
Step 3: Apply Double-Sided Tape to the First Green Strip
Attach the green border strips using double-sided tape, NOT liquid glue. Cut a piece of double-sided tape the full length of the green strip (~30 cm). Apply it along one flat face of the green strip, running the full length. Do NOT peel the backing yet
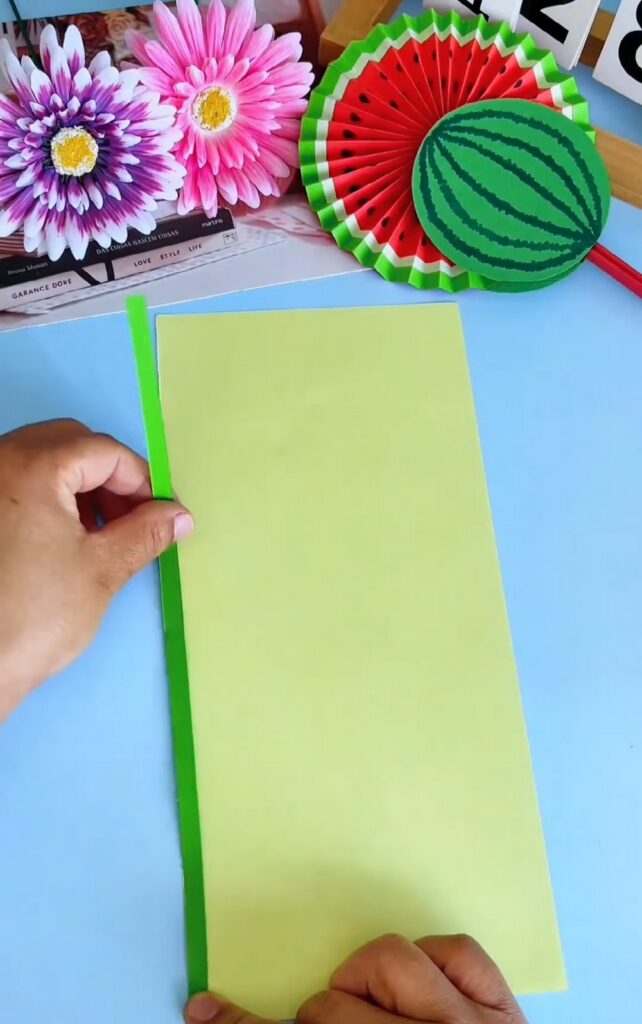
STEP 4: Attach the First Green Strip to the Left Long Edge
Position the yellow-green paper vertically in portrait orientation. Take the first green strip with tape applied. Align it precisely along the left long edge of the yellow-green paper.
The green strip should extend slightly beyond the paper edge, about 1–2 mm overhang on the outer side. Peel the double-sided tape backing and press the green strip firmly down along the full length. Run your fingernail or a ruler along it to ensure full contact with no air bubbles or lifted edges
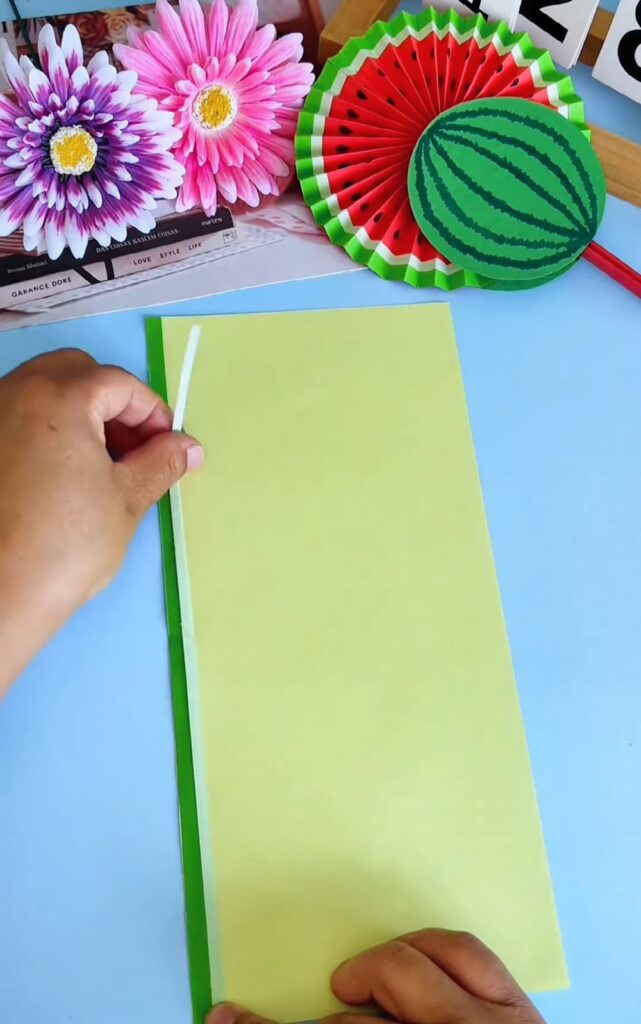
STEP 5: Attach the Second Green Strip to the Right Long Edge
Repeat the same process on the right long edge of the paper.
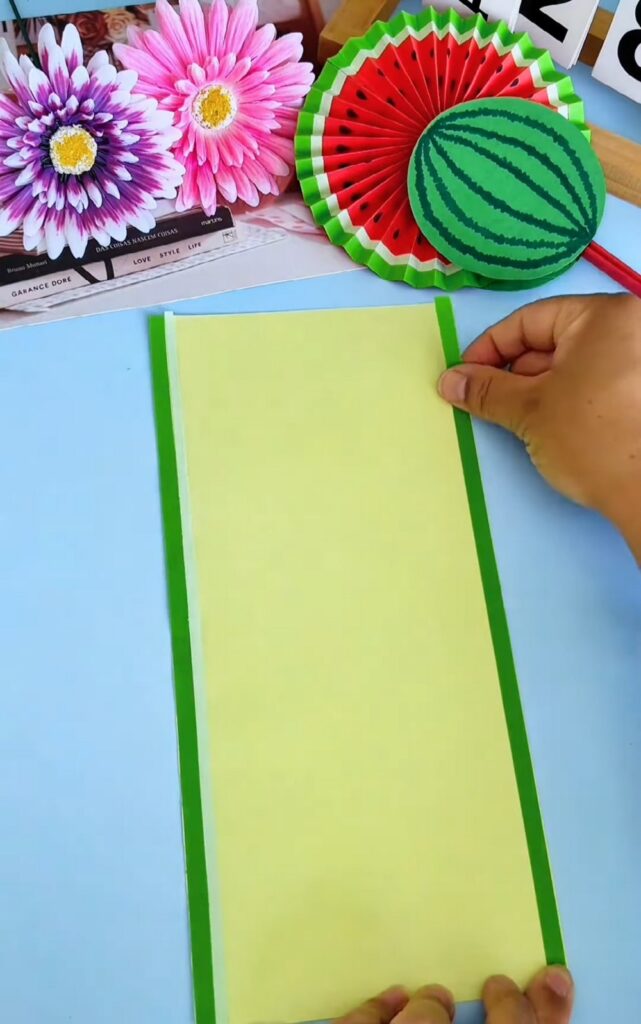
STEP 6: Draw the Watermelon Seeds with Black Marker
Once both green borders are attached, use a black permanent marker to draw watermelon seeds across the yellow-green area. How to draw the seeds:
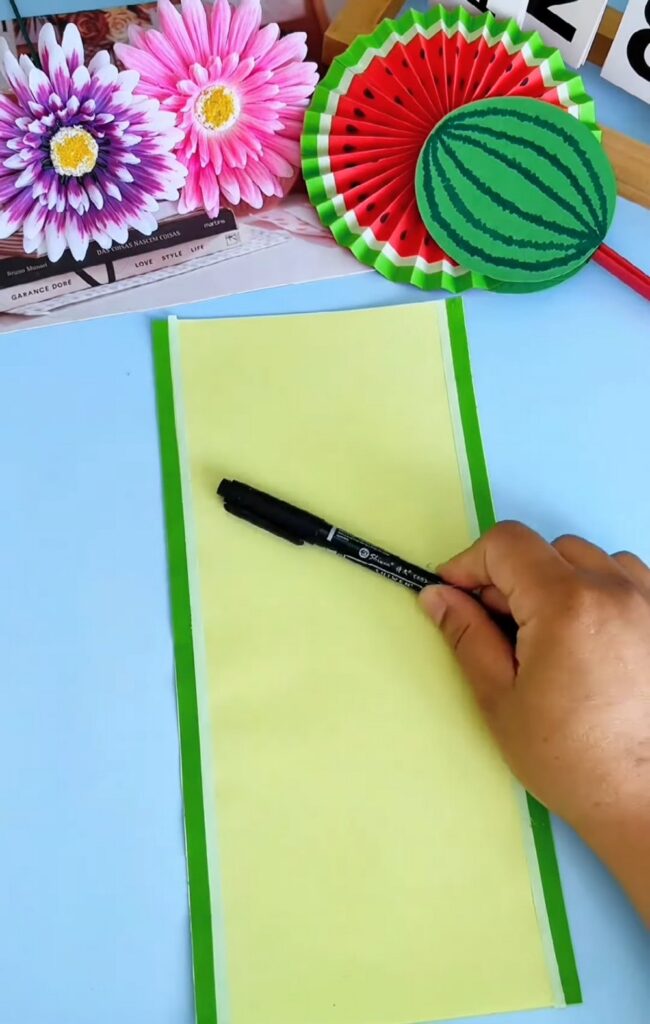
Each seed is a small teardrop or oval shape, approximately 0.5–0.8 cm tall. Draw them in a scattered, irregular pattern; not in perfect rows. Space them roughly 2–3 cm apart both horizontally and vertically.
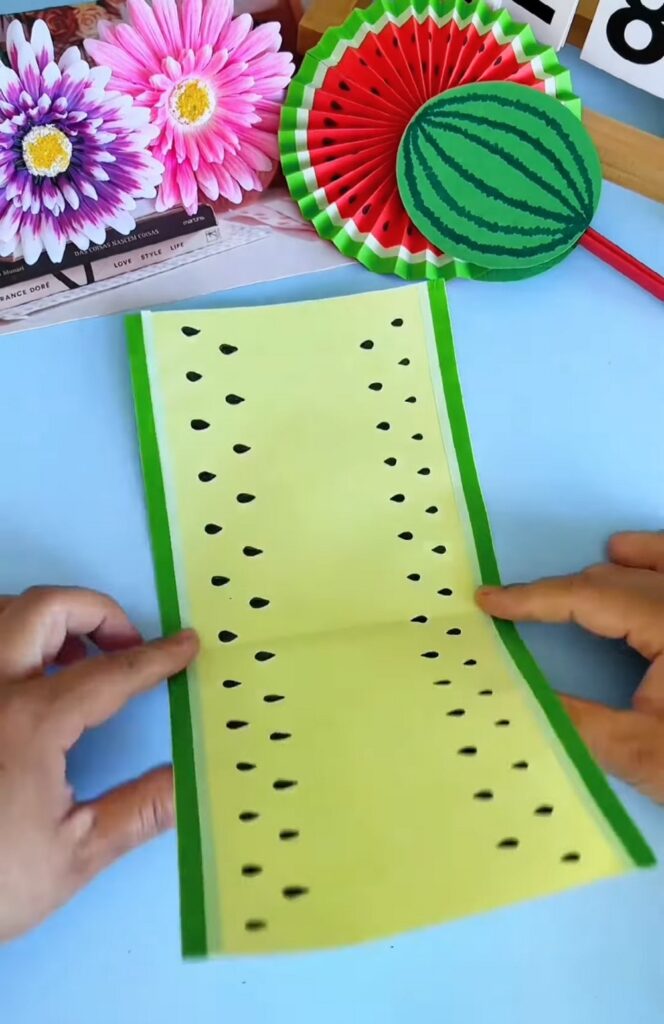
STEP 7: Fold the Paper in Half Lengthwise
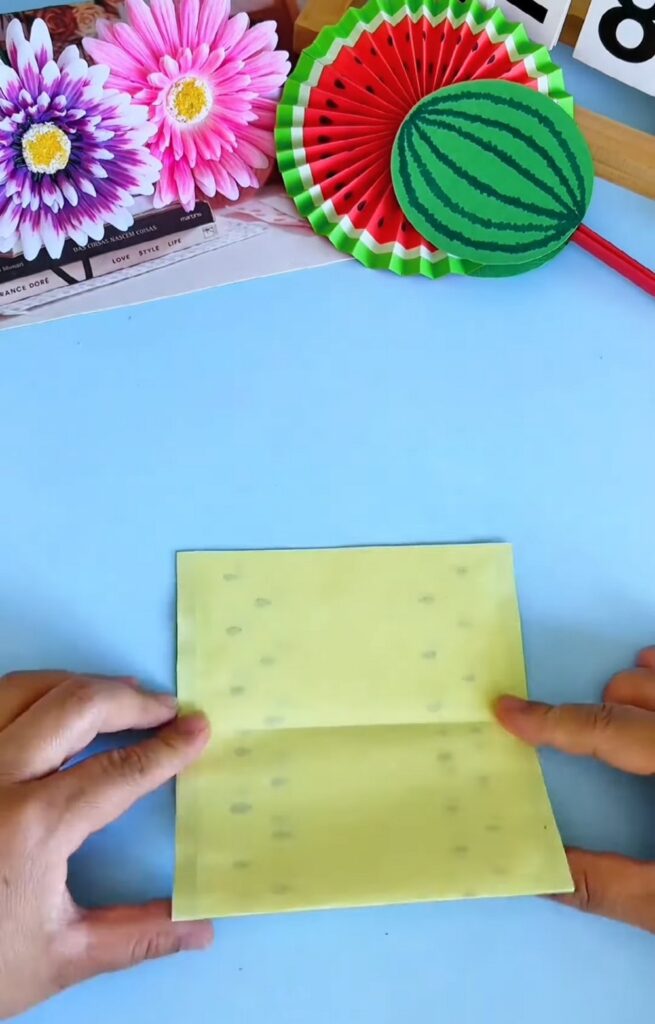
Turn it upside down. Fold the sheet lengthwise (along the small axis) in half.
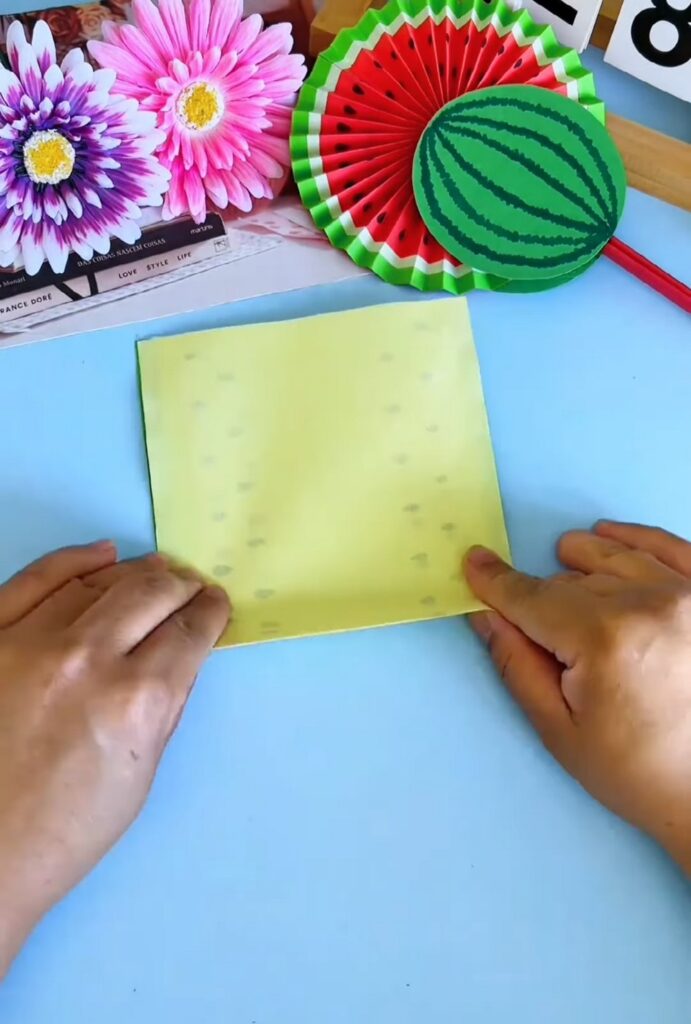
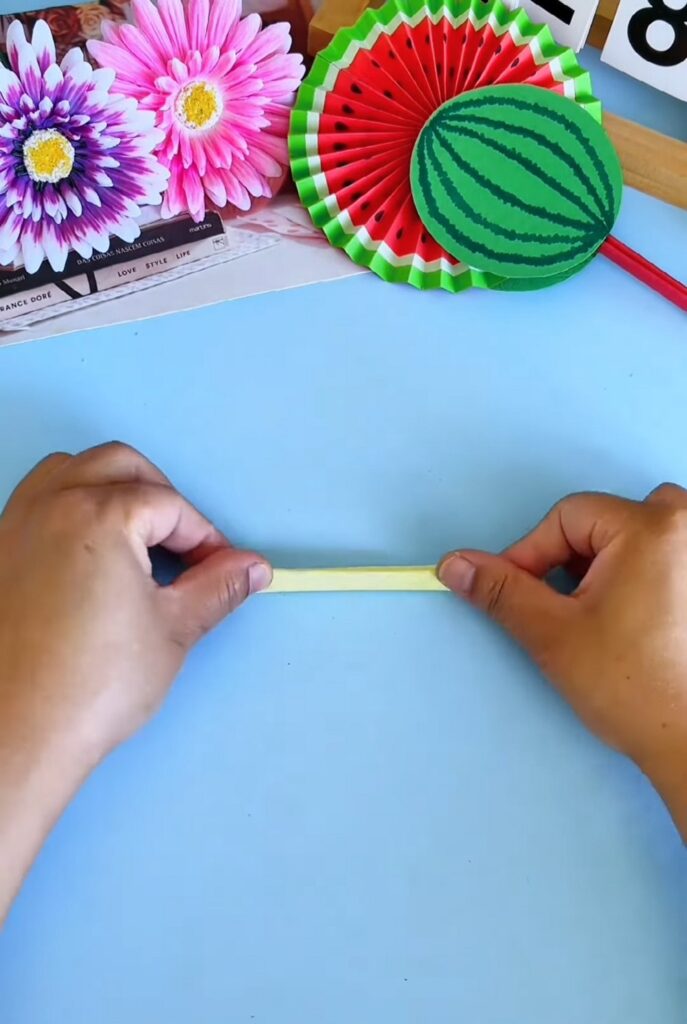
Then half again (quarter) and so on until you are left with a small, thin strip of paper.
STEP 8: Unfold
Unfold the whole sheet of paper, and it will have the pleats! Now, you are making the accordion fold, but now it will be way easier.
You should now have a piece of paper with perfectly spaced, parallel horizontal crease lines running down the entire length.
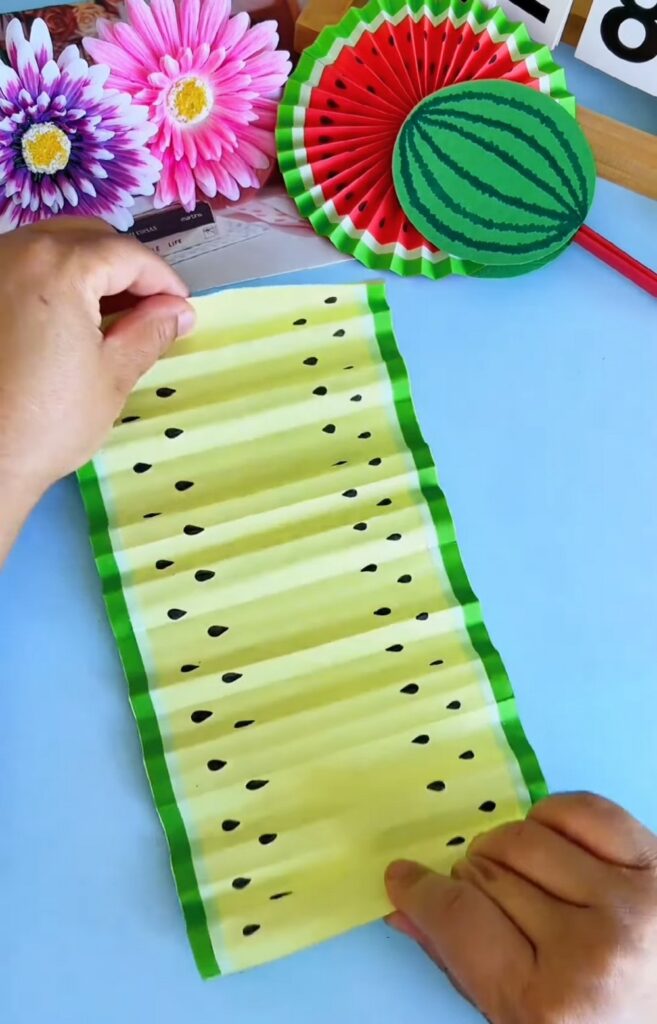
STEP 9: Main Fold
Using the crease lines you just made as a guide, begin folding the paper from the bottom up using alternating mountain and valley folds.
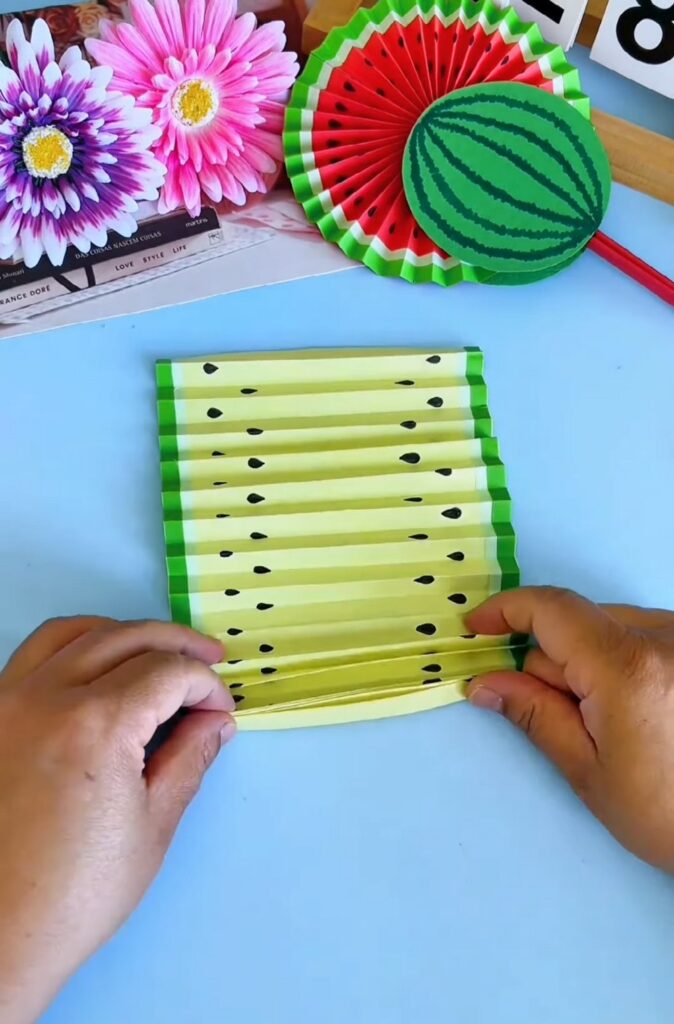
Fold one section forward, then flip the paper and fold the next section backward, repeating this until the entire paper is gathered into a tight, pleated stack.
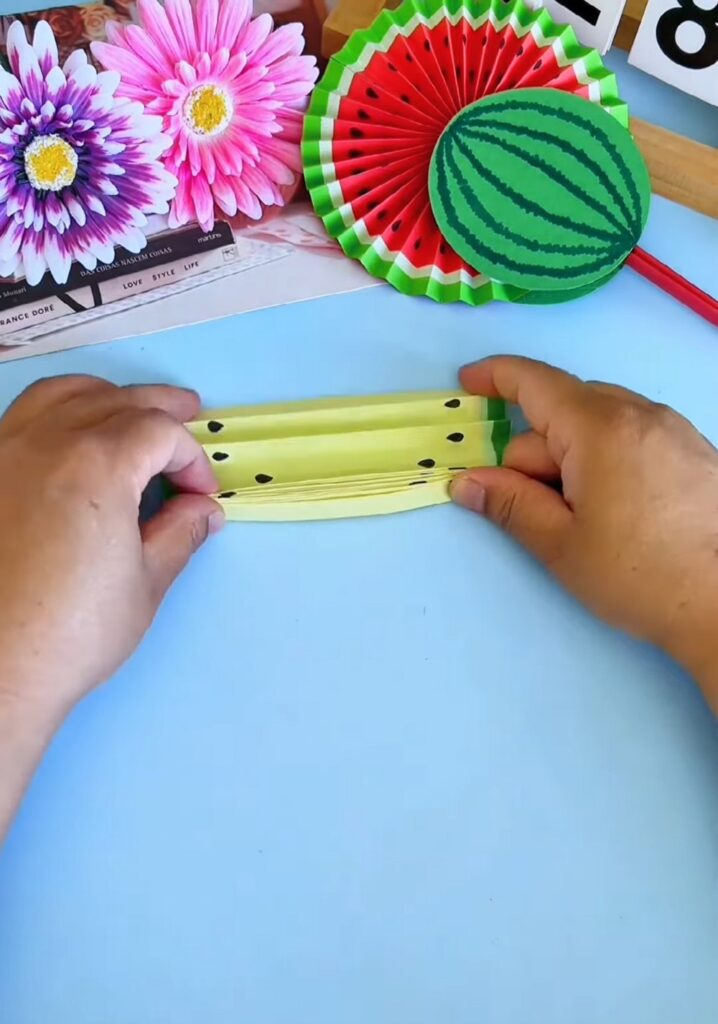
Step 10: Secure the Center
Find the exact middle of your pleated strip. Fold the strip in half so the two ends meet, making a crease at the center point. Tie a piece of thread or thin wire tightly around this center crease to secure the pleats.
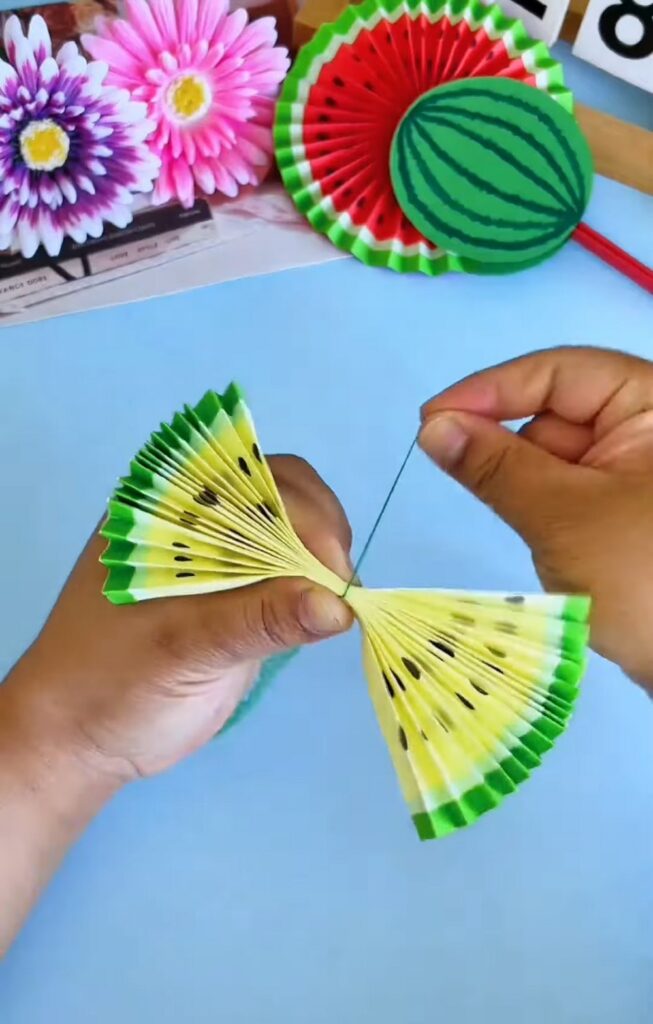
Apply double tape to the inner side and attach to make a semicircle.
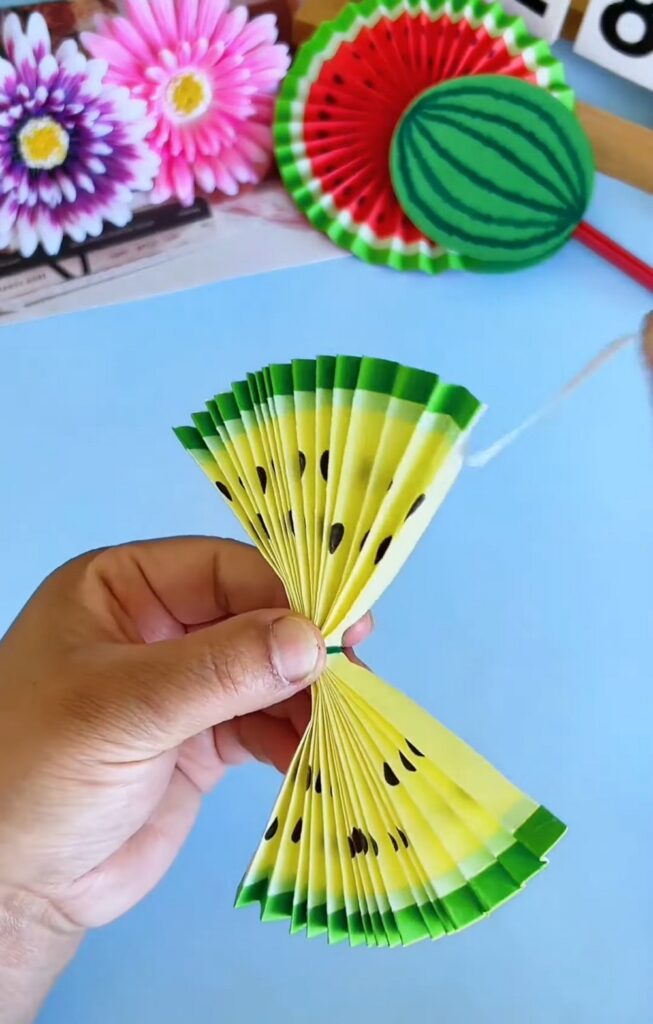
Step 11: The Handle
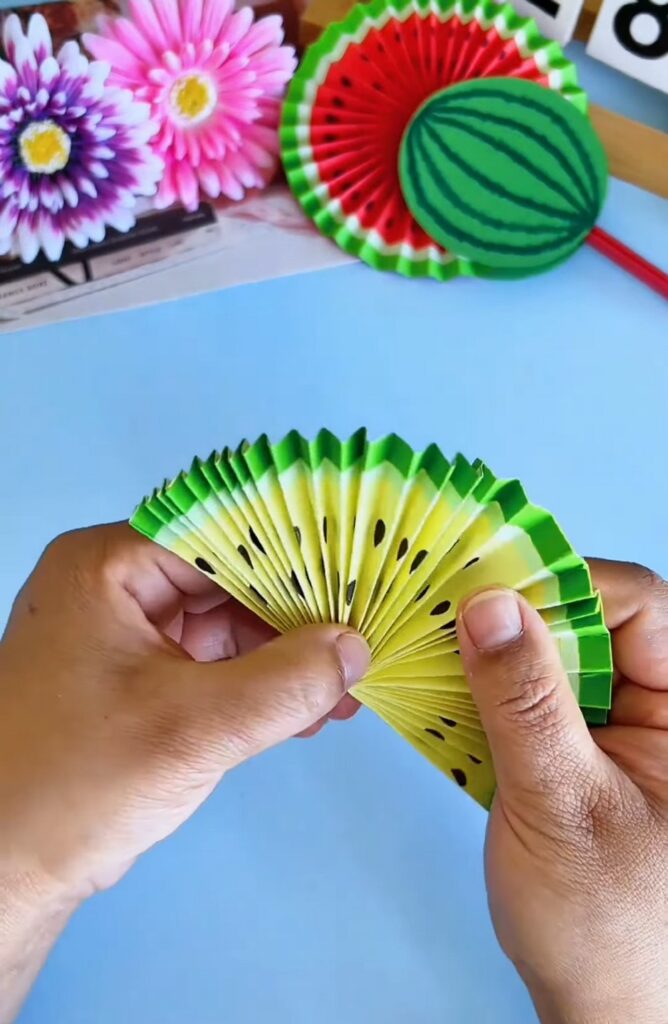
Take a separate rectangular strip of paper (matching your watermelon yellow or green). Instead of folding from the corner, fold the strip in half lengthwise.
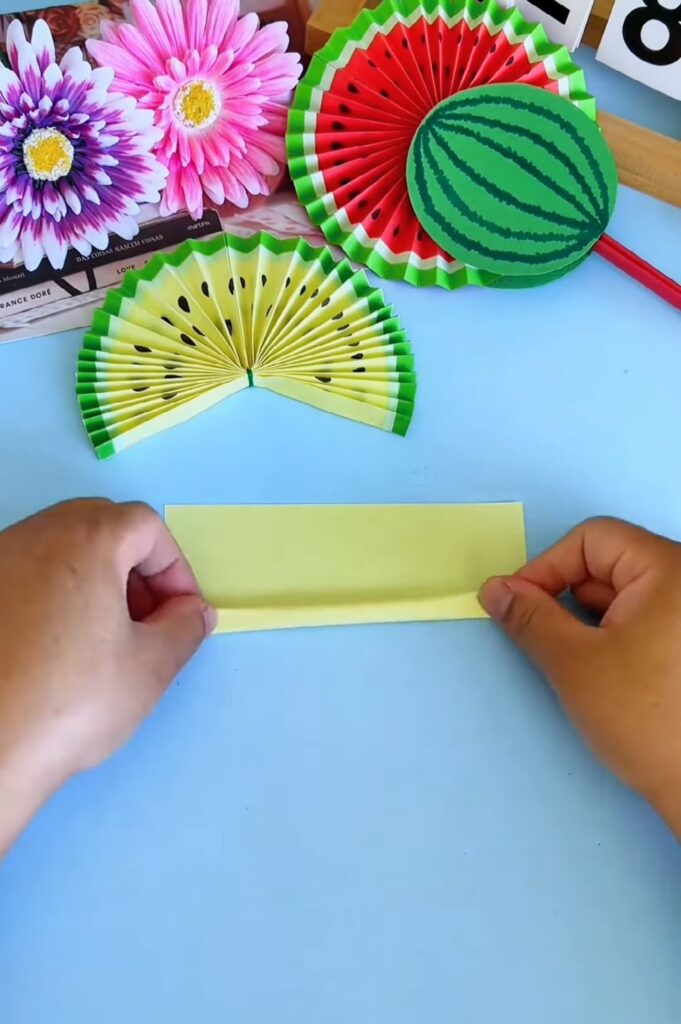
Continue folding it over itself until you have a sturdy, narrow multi-layered strip. Repeat this to create a second handle.
Step 12: Attach the Handles
Apply glue to the outer flat edge of the last pleat on one side of your fan. Press one of your folded paper handles firmly onto the glue, ensuring it lines up with the bottom of the fan.
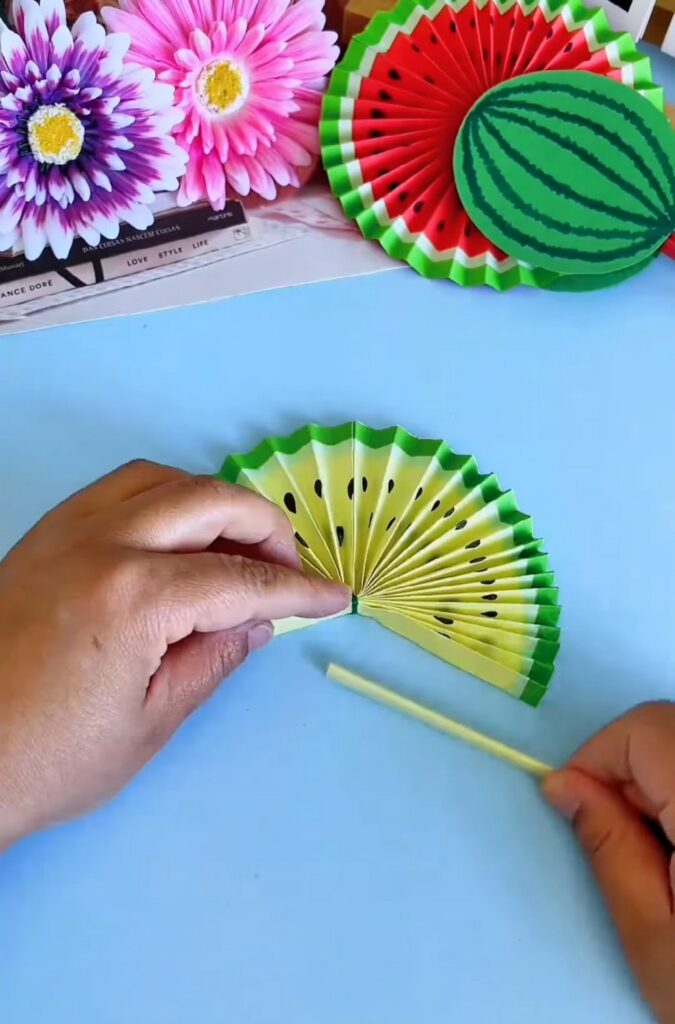
Flip the fan over and repeat this on the opposite side with the second handle.
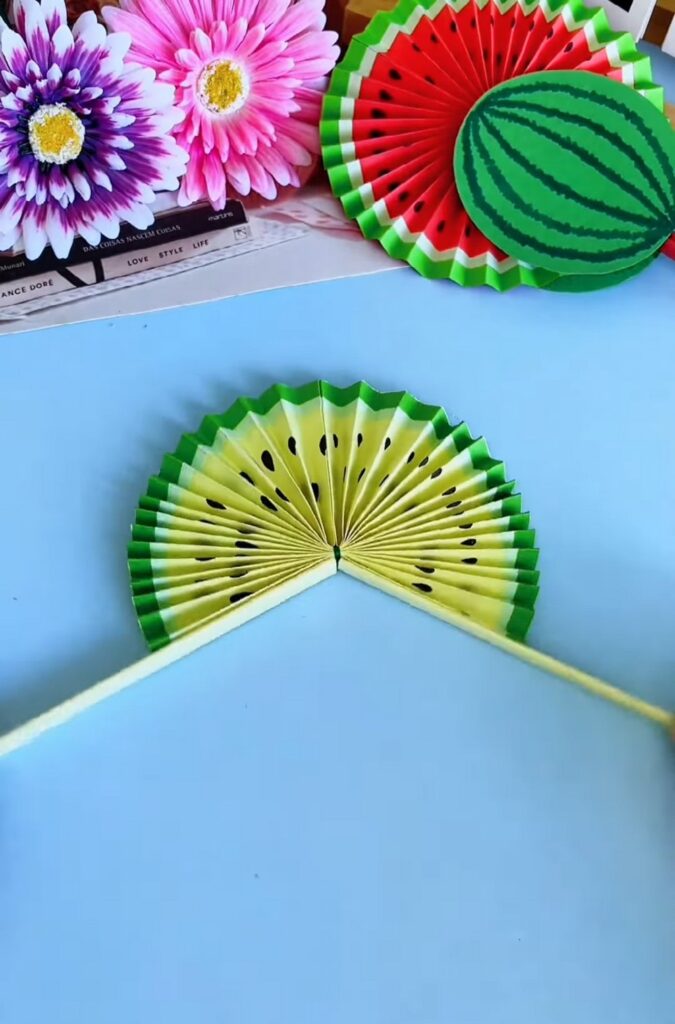
Step 13: Open and Close
Once the glue is dry, grab the two paper handles.
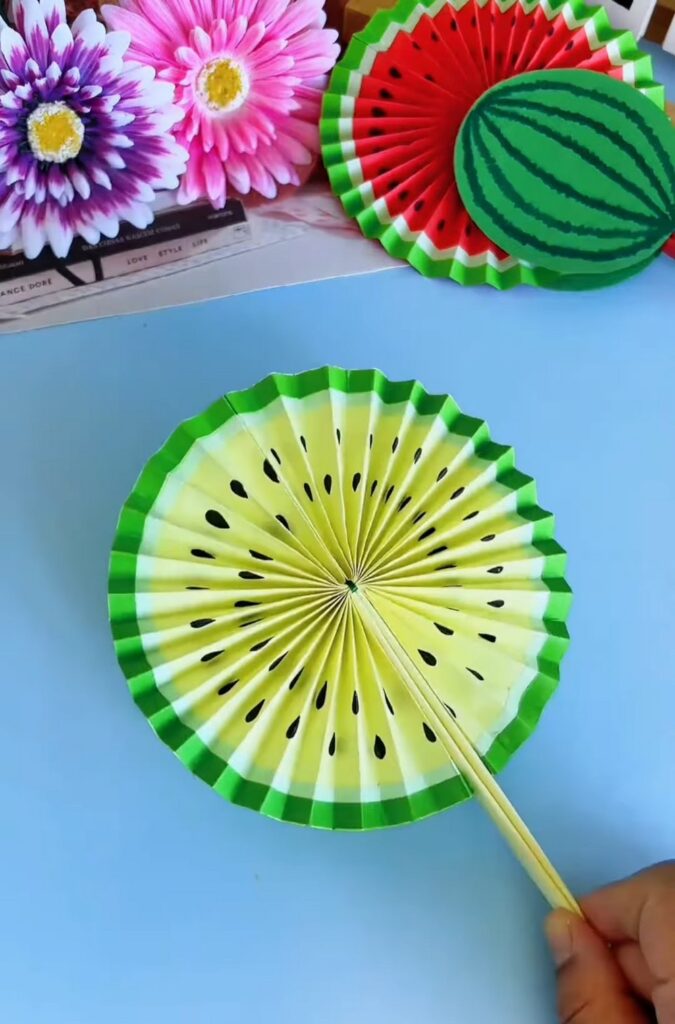
Pull them apart and rotate them in a full circle until they meet. The pleats will expand into a perfect circular watermelon, and you can hold both paper stems together to use it!
Step 14: Create the Rind Cover
Cut out two circles from green construction paper.
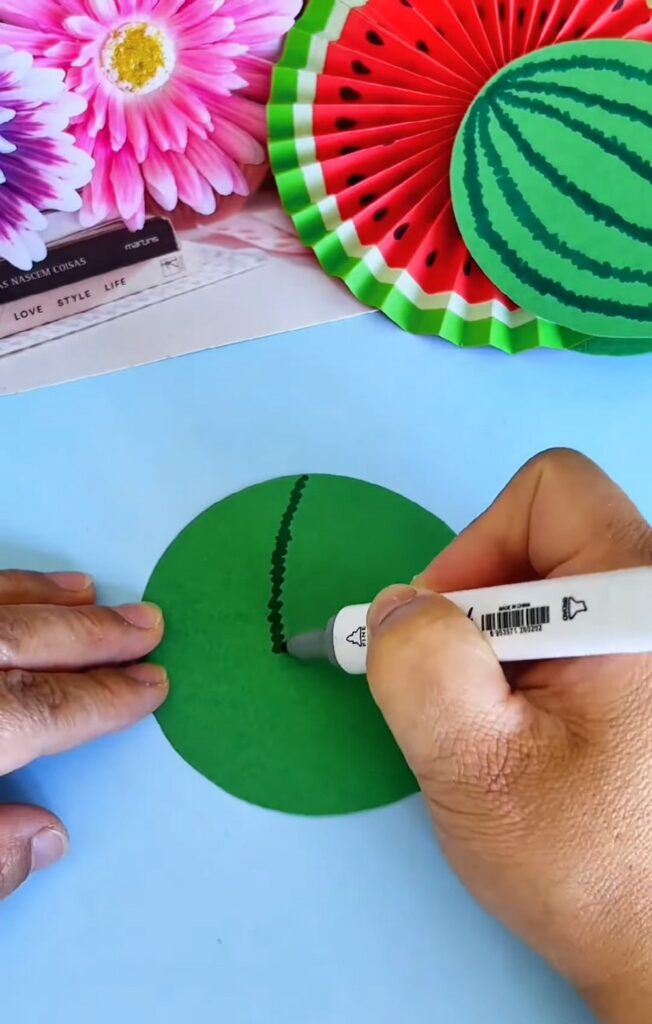
Using a dark green marker, draw wavy vertical lines across the circles for the pattern of a watermelon rind.
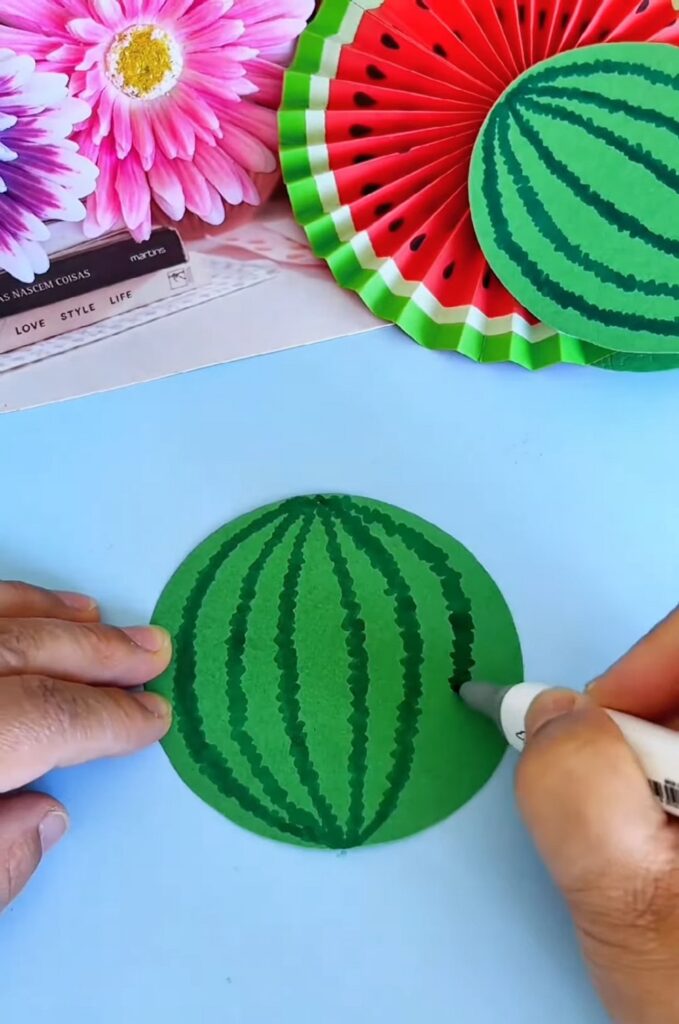
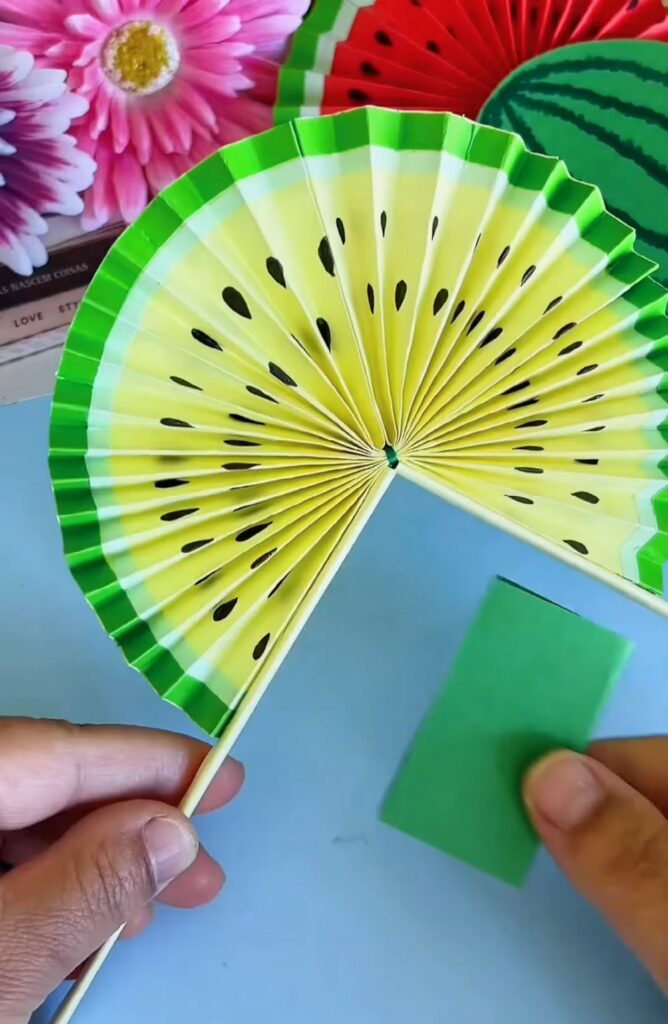
Step 15: Prepare the Attachment Strip
Cut a small rectangular strip of green paper. Fold this strip into a “U” shape or a small open box shape.
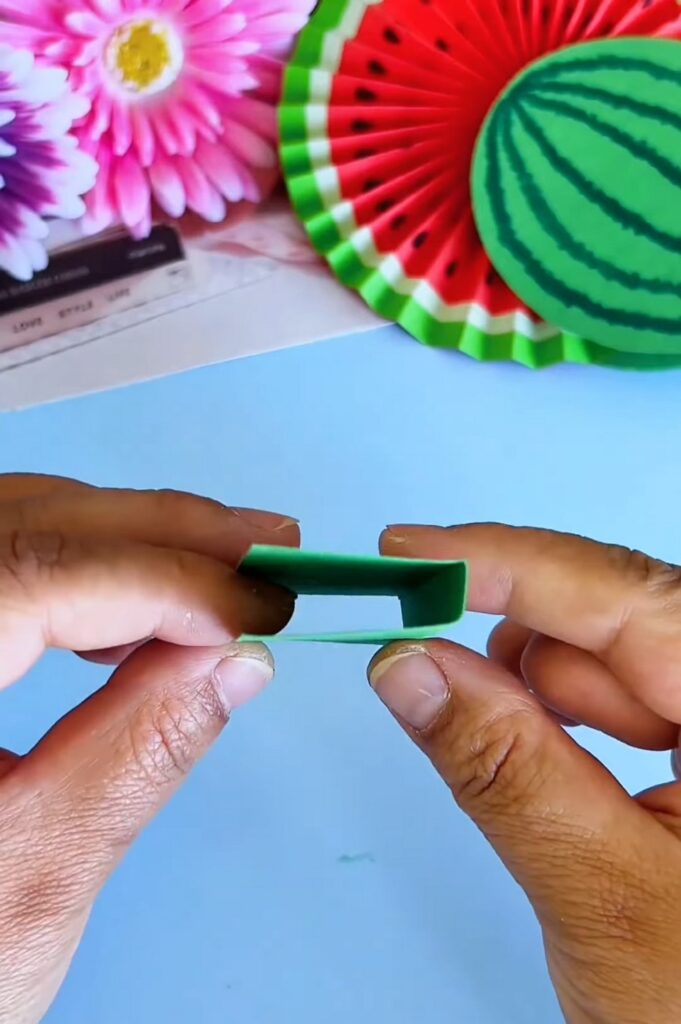
Step 16: Secure the Handle to the Cover
Apply glue to the back of one of your green “rind” circles. Take one of the folded paper handles and glue it vertically down the center of the circle.
Feels Difficult?
Step 17: Attach the Bridge
Glue the small green “U” shaped strip over the handle and onto the circle.
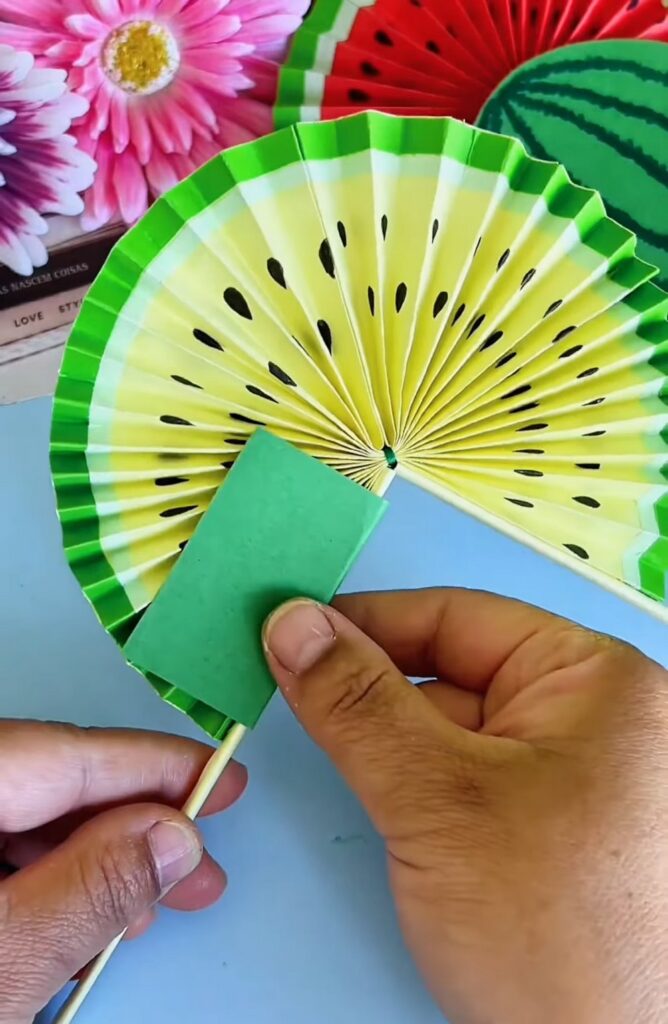
Step 20: Assembly
Glue the flat side of the green bridge/circle assembly to the outermost pleat of the fan.
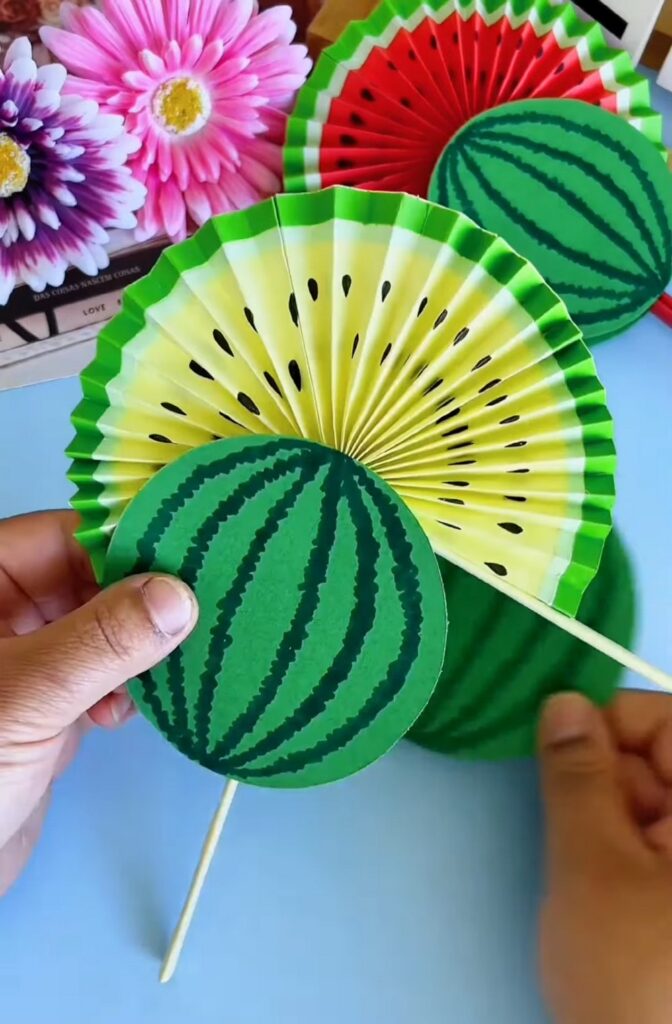
Repeat for the other side of the fan with the second green circle. Ensure the circles align perfectly when the fan is closed.
Now, let the kids use this paper fan to stay cool, and that’s how you will make this pleated watermelon paper fan. You can also use it as a decoration!
Was this Tutorial Helpful? Tell us in the Comments.
Your feedback is a great way for us to improve the tutorials. Did you find the tutorial helpful? Be sure to subscribe to the creator’s channel!
About "MAKE DIY via YouTube"
She is running one of the most special corner of paper crafts that are all quick and easier and require no skill!

About "Talha"
Hey, I’m Talha, the Crafter on Craftstive.com. I love to share guides on folding cute origami models and paper crafts, and I am always ready to inspire your next craft project with my weekly craft discussions.