
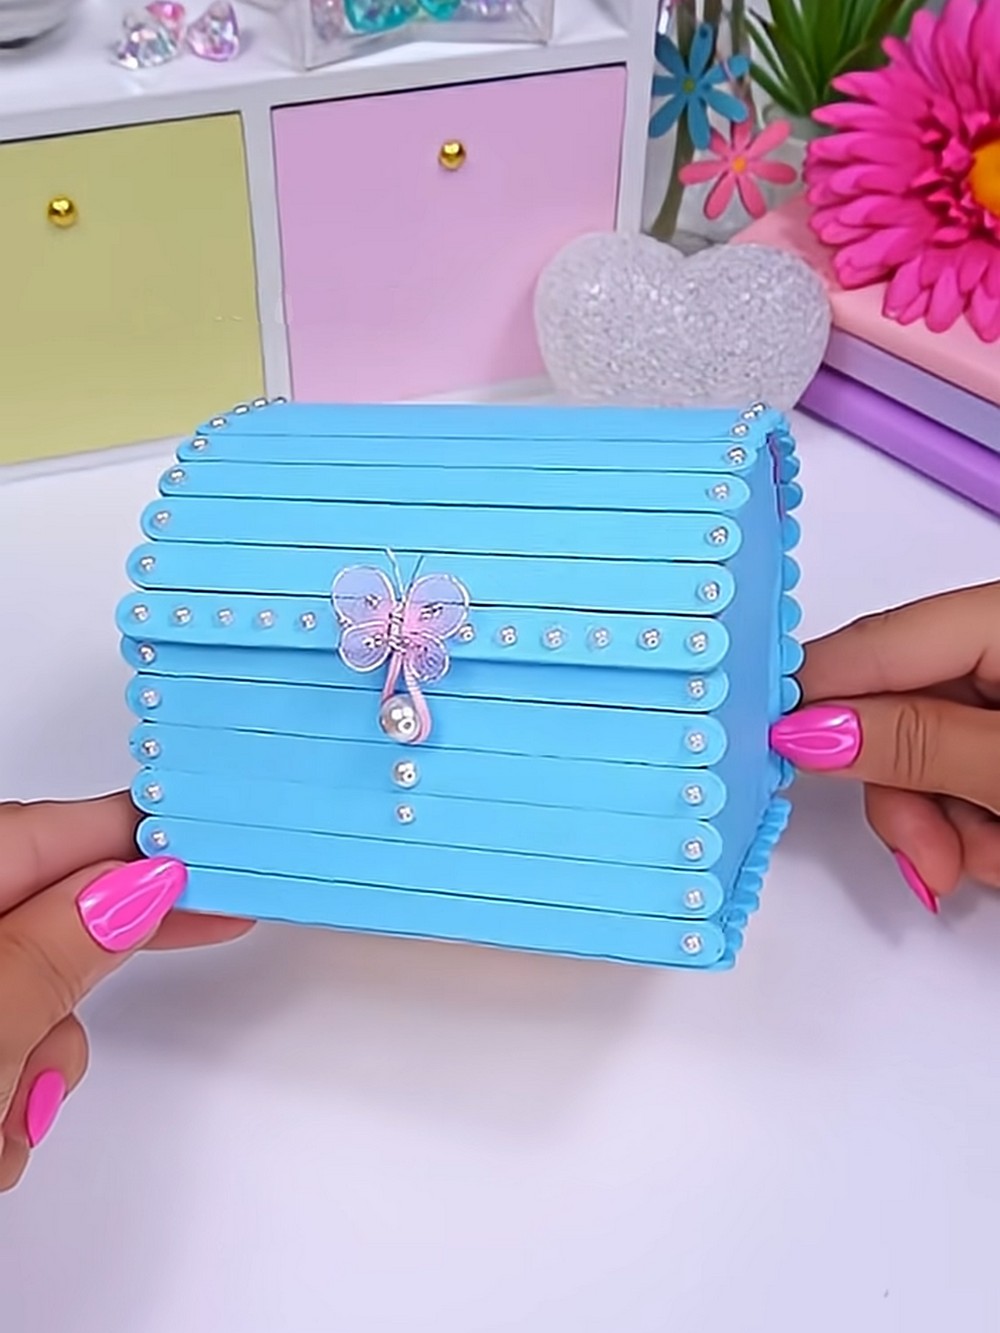
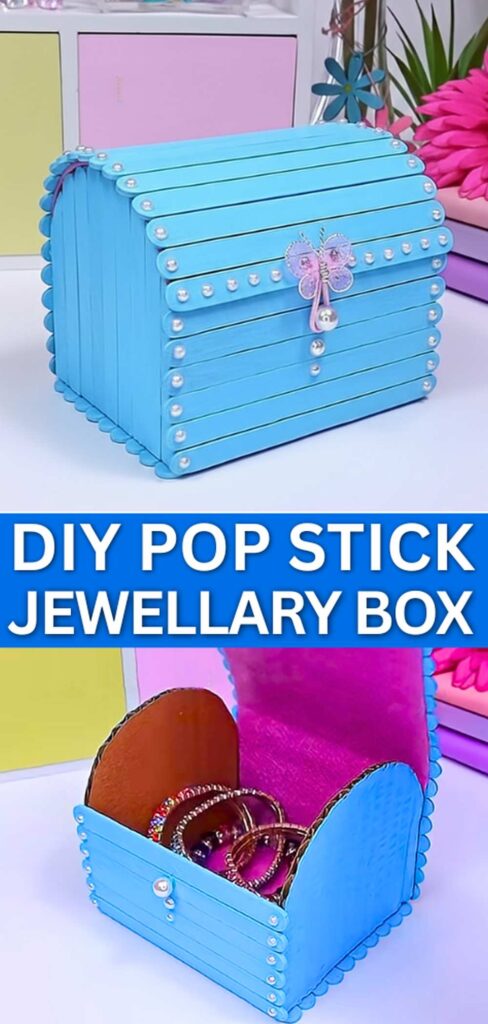
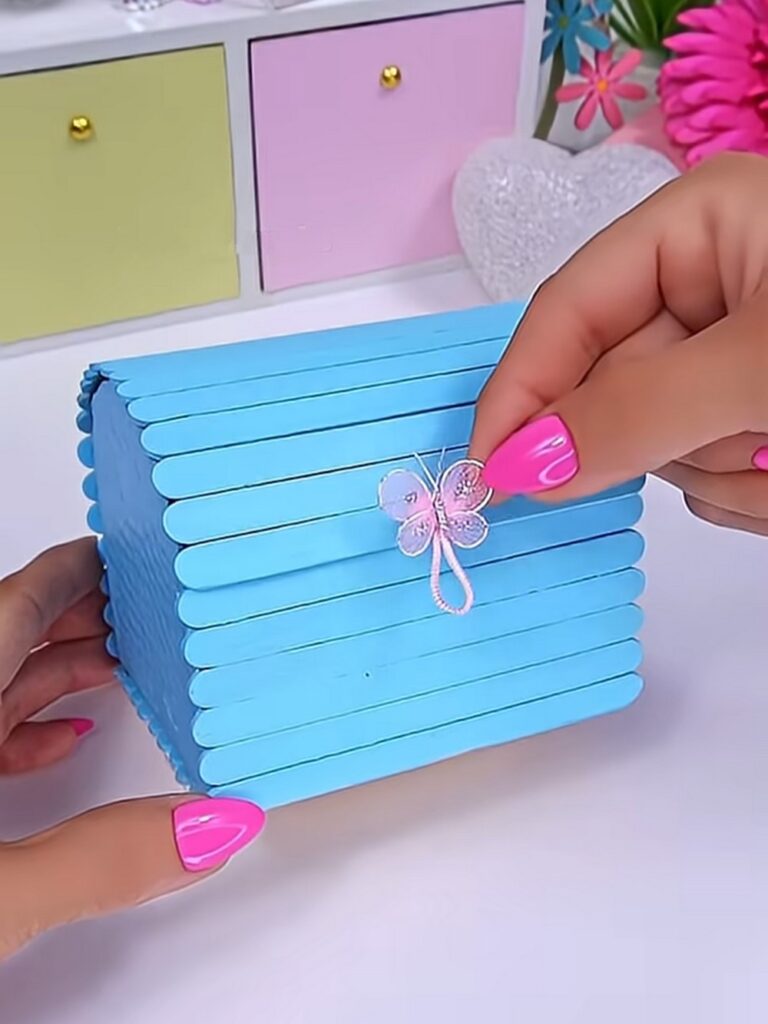
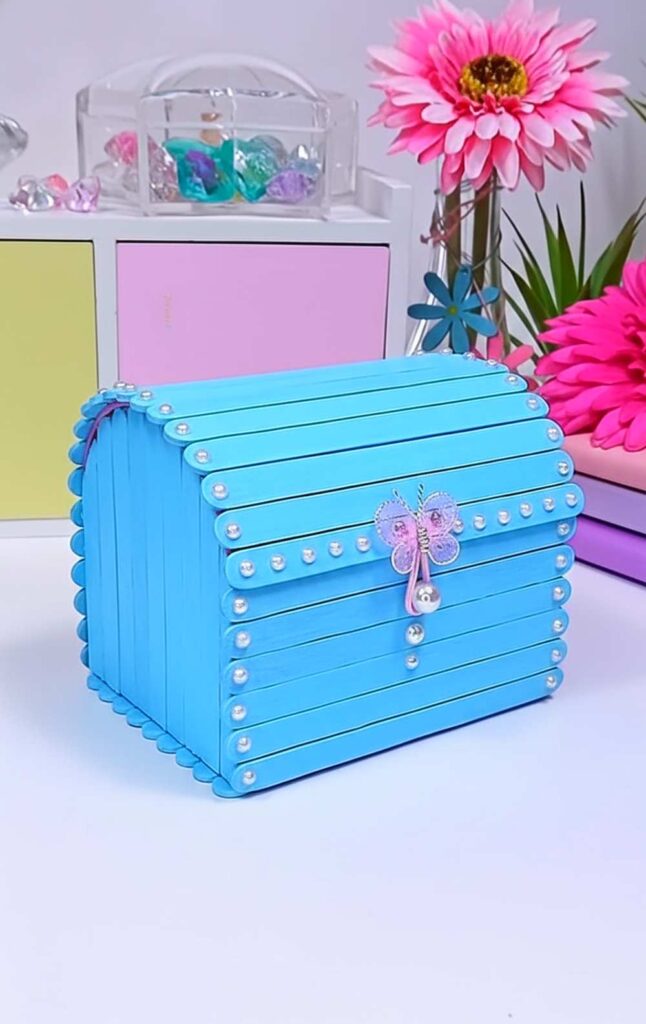
These instructions will show you how to DIY a REALLY elegant jewelry storage box using popsicle sticks and felt fabric. This is a painted craft stick box shaped like a treasure chest with a beautiful felt lining that is also used as a base. The pearl edging and the jewelry butterfly closure are optional and only used to make it decorative and elegant.
However, you can also paint it brown with a stripe of black as a metal to make it a kids’ actual treasure box where they can put their toys, stationery, and craft supplies.
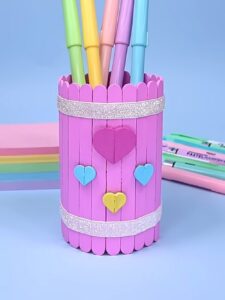
Similarly, you can customize it, like with pop stick hearts, like the DIY popsicle stick pencil holder. Or color each stick differently, like the rainbow pencil holder. By changing the shape of the cardboard sides, you can also make it into a usual rectangular box with sharp corners, and also turn it into a gift box. DIY it for sure this Mother’s Day.
Time: 30 – 45 Minutes
Techniques: In this craft stick box decoration, you will learn and use the following techniques:
- Painting the craft sticks and cardboard sticks such that both look identical
- Perfectly cutting a felt
- Cutting a cardboard in perfect shape (Not easier initially!)
What you need
Okay, so you want to remake this beautiful jewelry chest; here are the supplies you need to buy!
- 32 Popsicle Sticks (Craft Sticks): You can even find pre-colored ones if you want to skip the painting step!
-
12 inches of Felt Fabric (Pink): We shall use it as the flexible backing that holds the sticks together. Felt is fantastic because it bends easily without tearing and doubles as an interior lining for your chest.
- Liquid Craft Glue / Silicone Glue / Hot glue: Use a flexible fabric glue or silicone liquid glue. Standard white school glue might crack when you try to bend the felt later.
- Cardboard: We shall use it to make the side walls of the chest. Upcycle a thick corrugated shipping box. It provides great structure and is easy to cut with scissors.
- Hot Glue Gun: A dual-temperature hot glue gun. Use the “high” setting for a fast, permanent bond on the cardboard edges.
- Acrylic Paint (Light Blue)
- Butterfly Clasp: You can also use a pretty vintage button, a metal jewelry charm, or even a hinge from a craft store.
- Pearls
It is a:
- Jewelry & Trinket Box: Use it to store rings, bracelets, earrings, and necklaces. The lid keeps dust away!
- Vanity Decor: The blue paint and seashell accents make.
- Kids’ Treasure Chest: Children can use this as a “Sunken Treasure” box during playtime. It’s the perfect size for storing “gold” plastic coins, stones, or “magic” crystals.
- Secret Keeper: Kids love having a place to hide their “top secret” notes, stickers, or small figurines away.
- Tooth Fairy Box: Place for a child to leave a lost tooth!
- Letter Box: It is the best size for holding small handwritten notes, “Open When” letters, or dried flowers.
DIY Jewlery Box: Step-by-Step Instructions
Here is the photo tutorial to DIY this quick and easy jewelry chest box and decoration:
Step 1: Making the Flexible Wooden Mat
First, lay a rectangular piece of pink felt flat on your table. You can also have a red velvety one for usual jewelry chests!
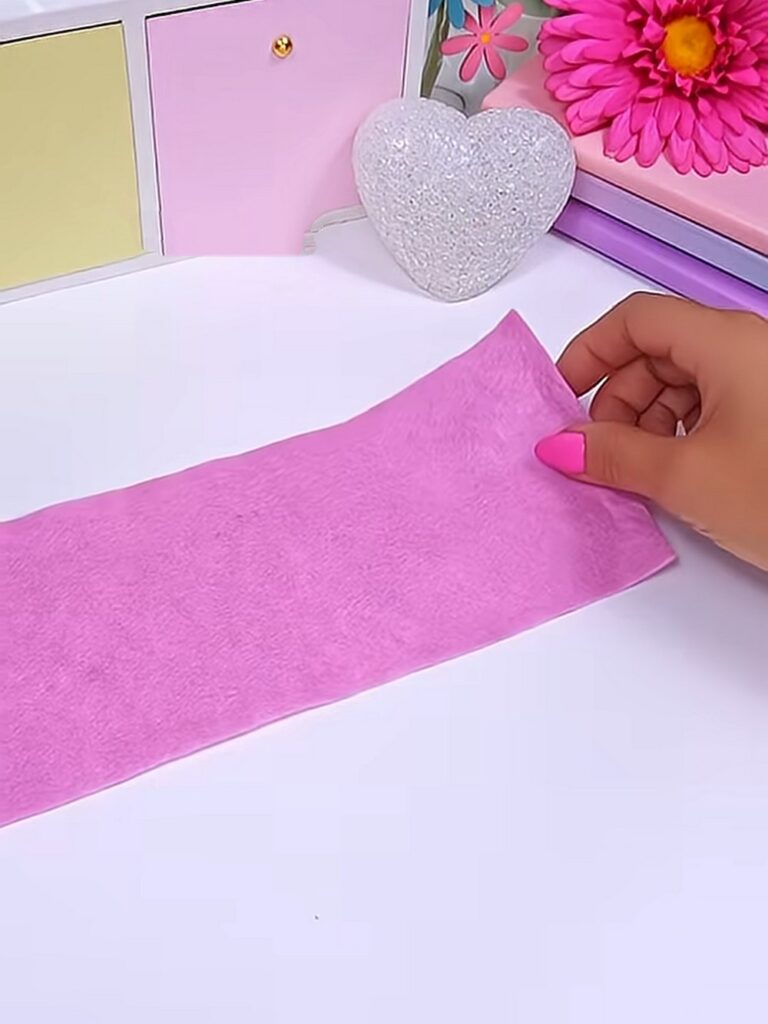
Take your liquid glue and draw a straight line along the very edge of the felt.
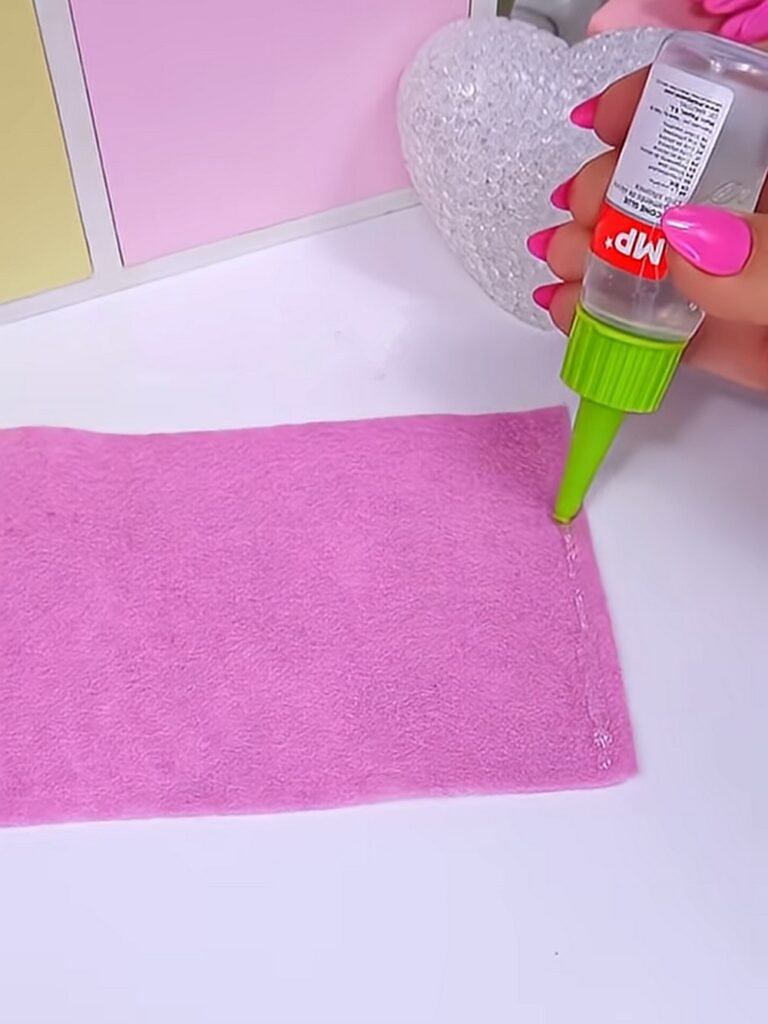
Press your first popsicle stick into the glue.
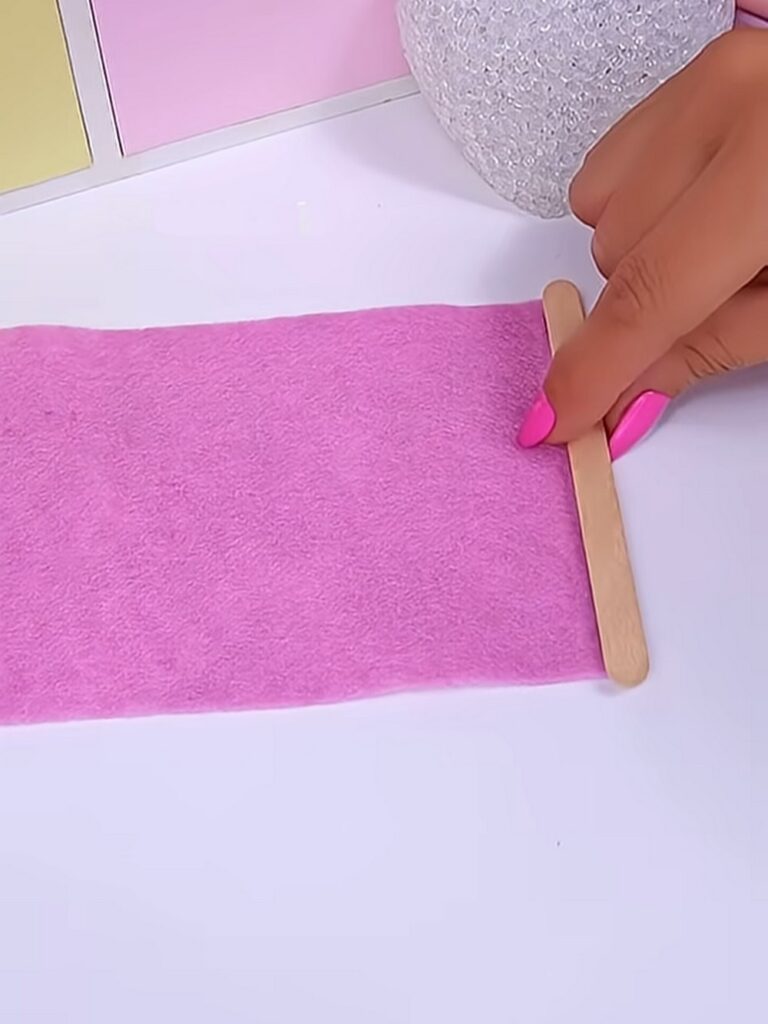
Keep adding lines of glue and pressing popsicle sticks right next to each other until the whole felt piece is covered.
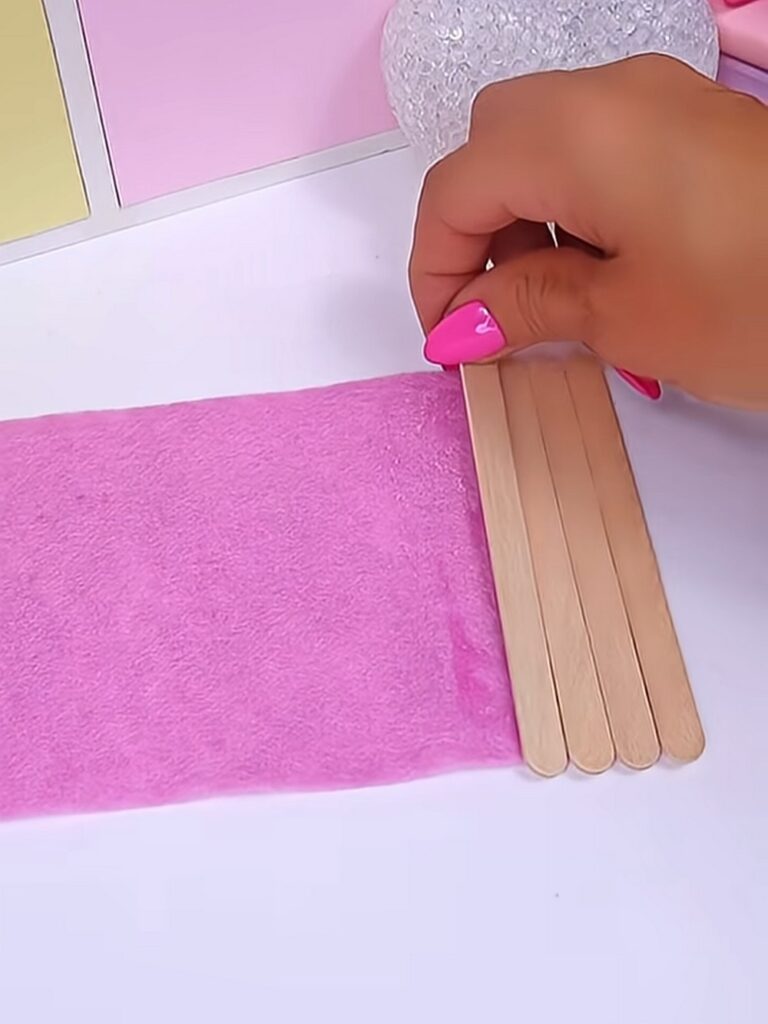
Once the glue is completely dry, pick it up.

Because the sticks are attached to fabric, you can now bend them! This is a very clever way to make a rounded chest lid.

Step 2: Cutting the Side Panels
Take a square piece of cardboard, which as you have been cut from a rectangular piece.
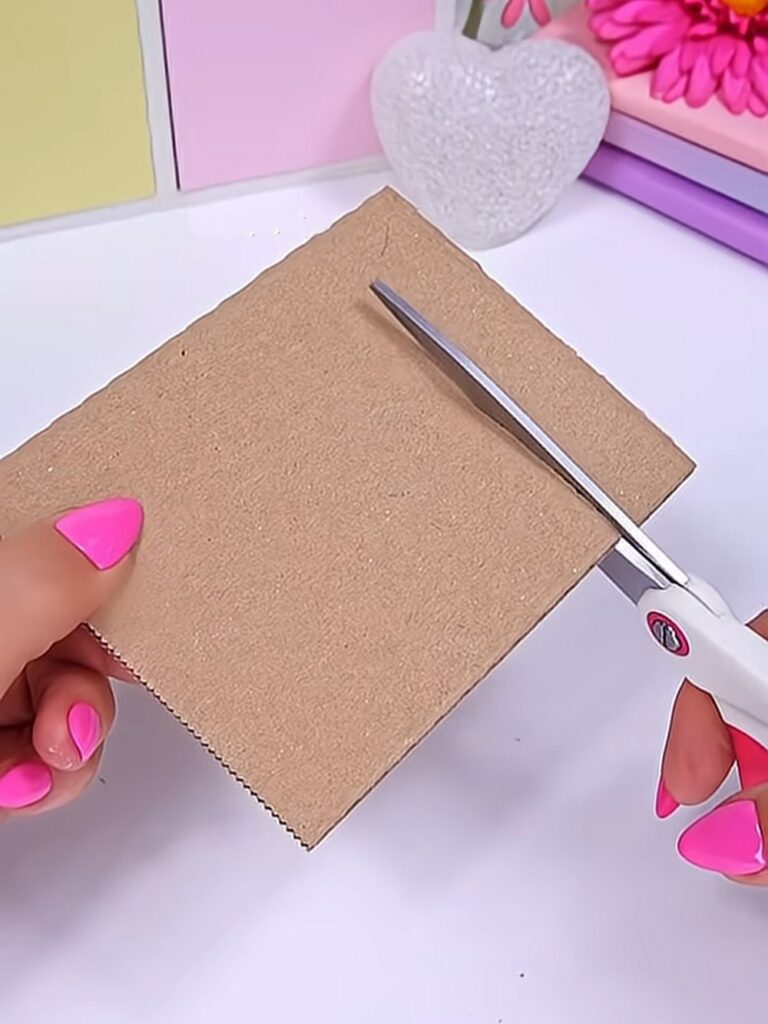
Using sharp scissors, cut the top two corners off in a curved, rounded shape (like a rainbow or an arch).

You should have a half-capsule 2D shape.

Trace this first piece onto another piece of cardboard and cut that out too. You now have two identical side walls for your chest.

Step 3: Assembling the Treasure Chest
Take your hot glue gun and apply a thick line of glue along the bottom straight edge and the curved top edge of one cardboard side piece.
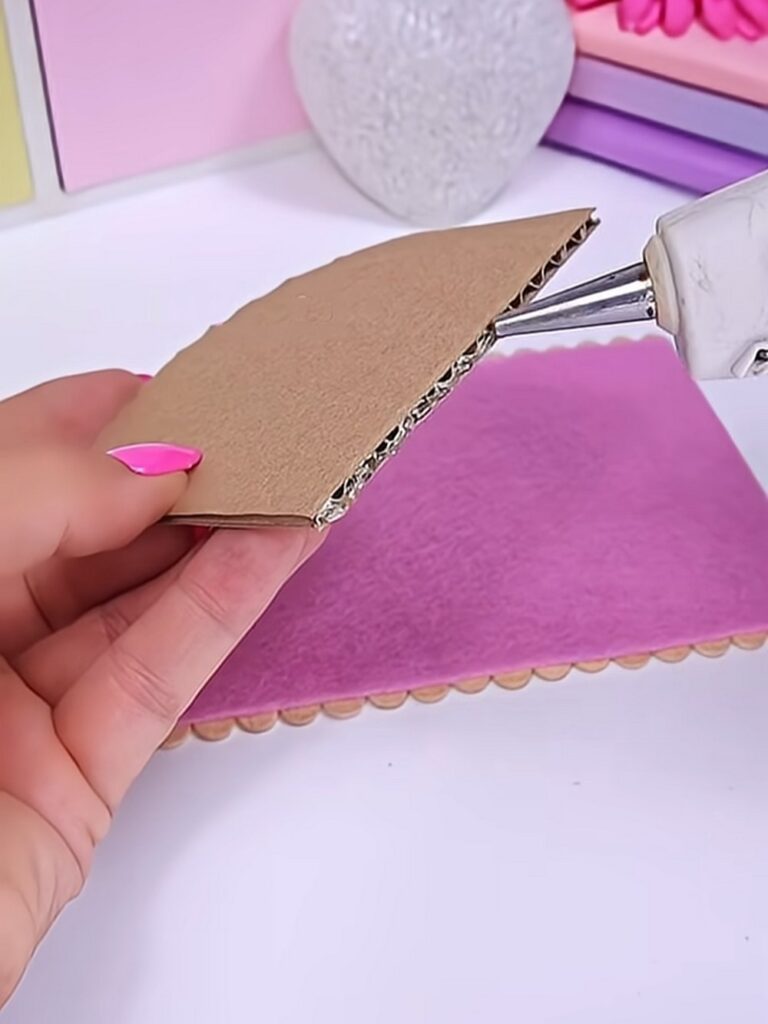
Quickly (before the hot glue cools), press this glued edge against the very edge of your flexible popsicle stick mat.
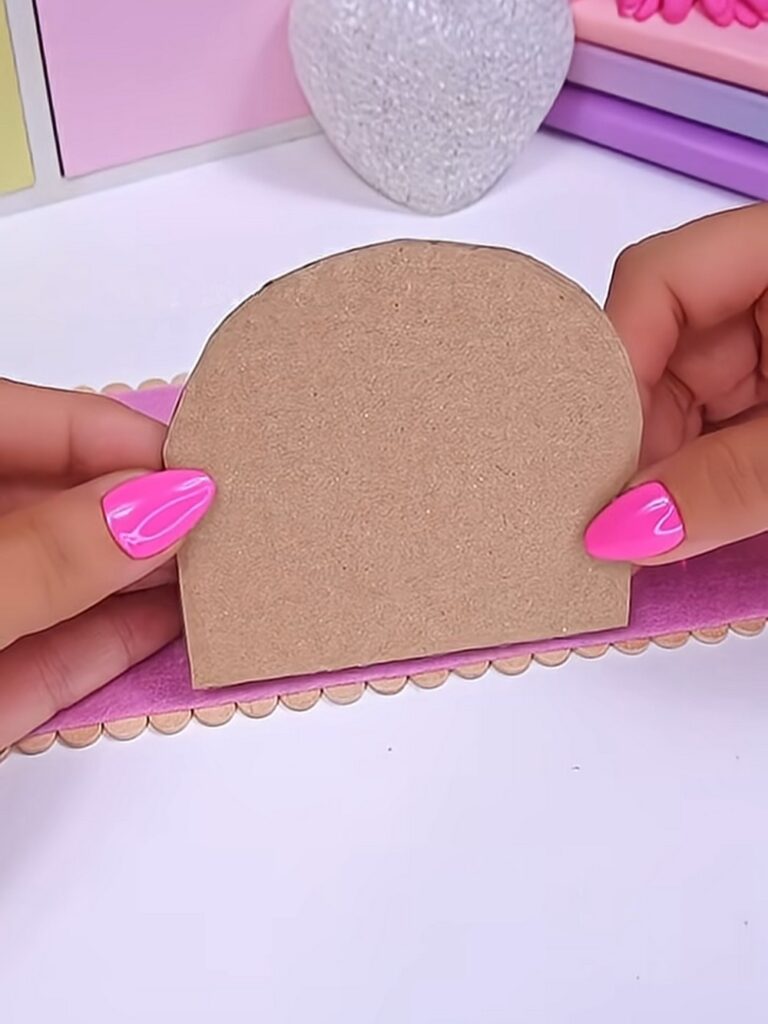
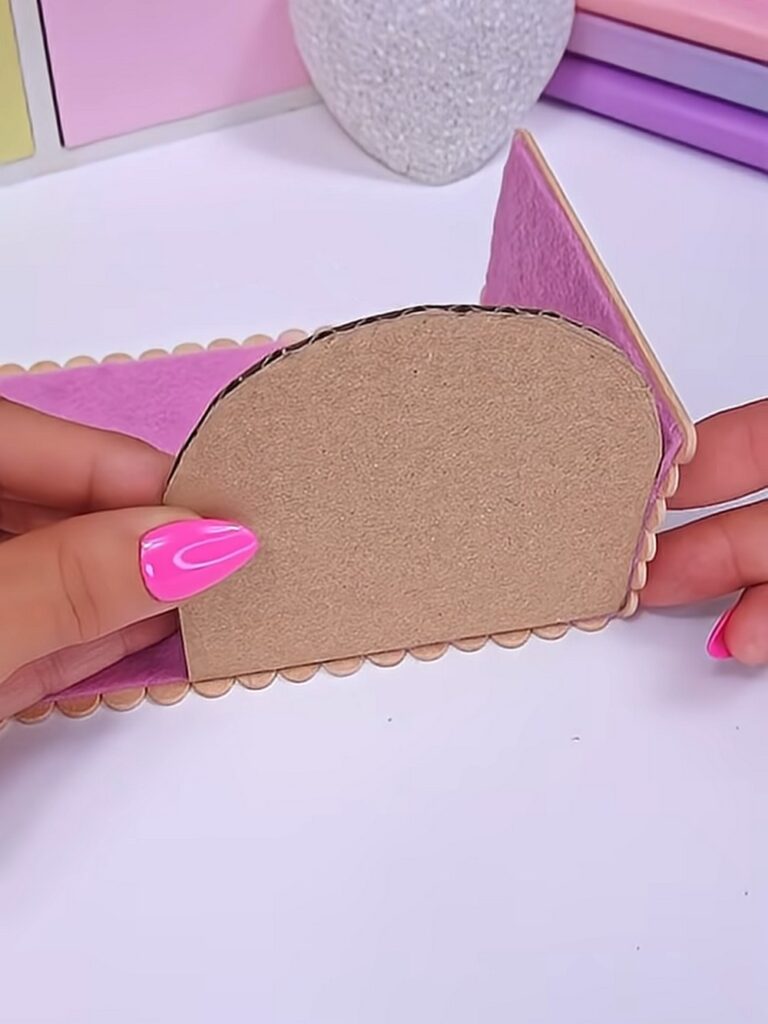
Carefully wrap the flexible mat around the rounded top of the cardboard. The mat bends perfectly to become the bottom, the back, and the rounded lid of your chest.
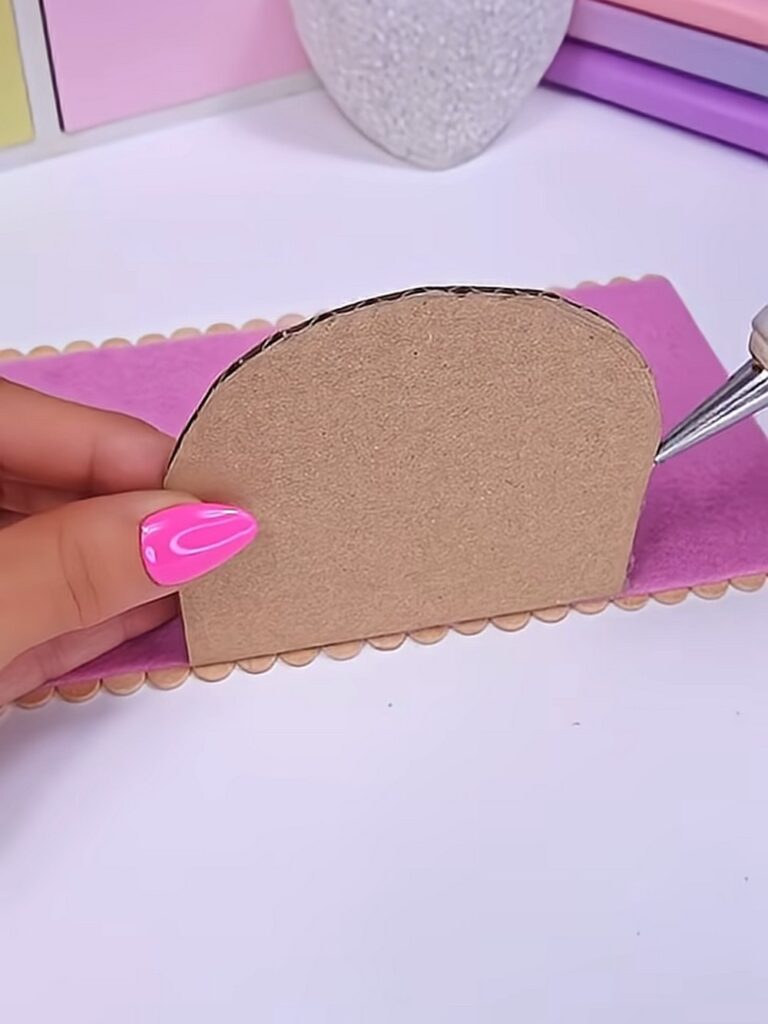
Repeat this gluing process for the second cardboard piece on the other side. Now, just wrap the piece all around.
Step 4: Painting and Adding Hardware
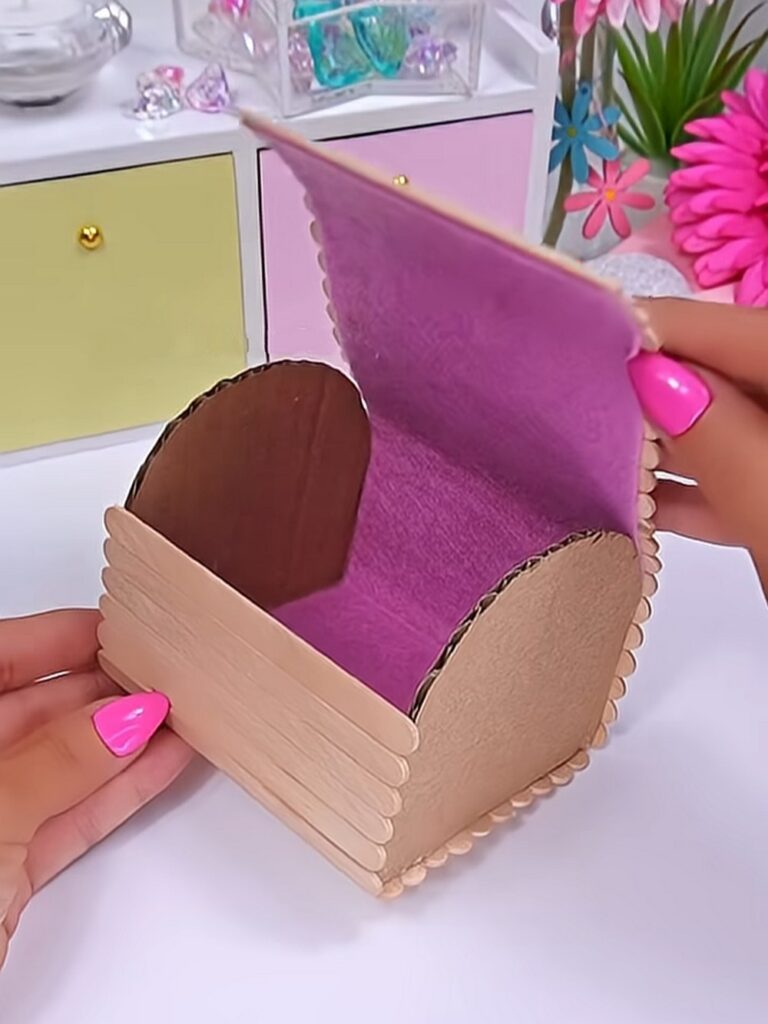
Now that your chest is built, use a paintbrush to apply your light blue acrylic paint.
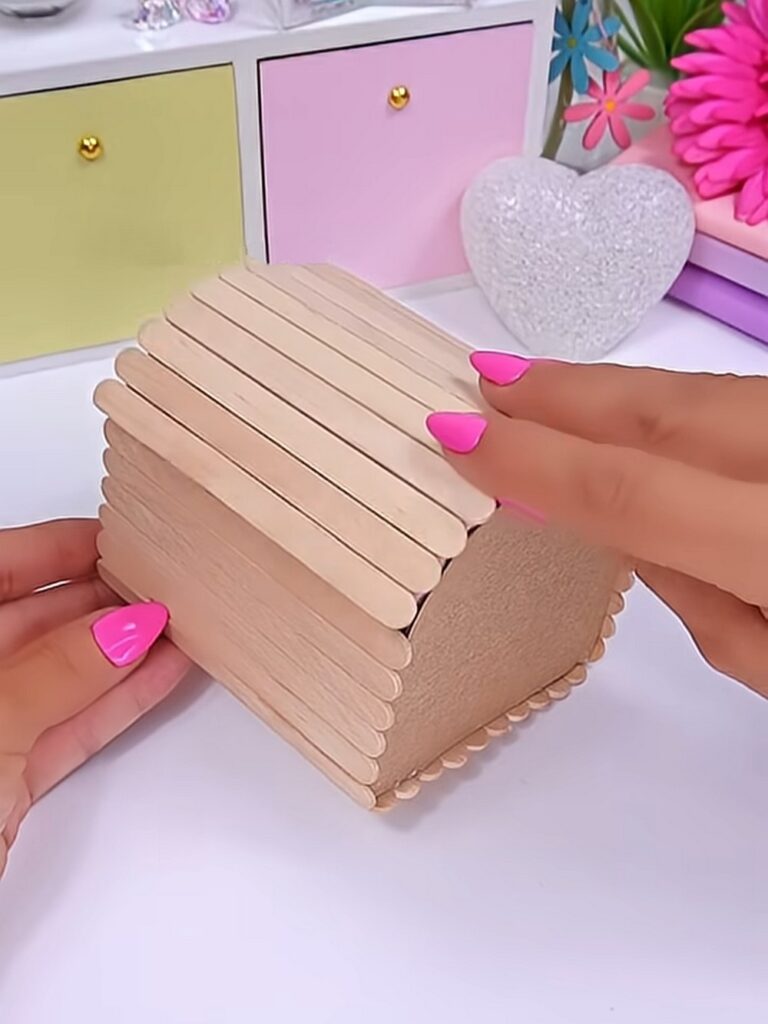
Make sure to paint both the wooden popsicle sticks and the cardboard side panels so everything matches perfectly. You must be sure that the coating looks identical on the sticks and the sides!
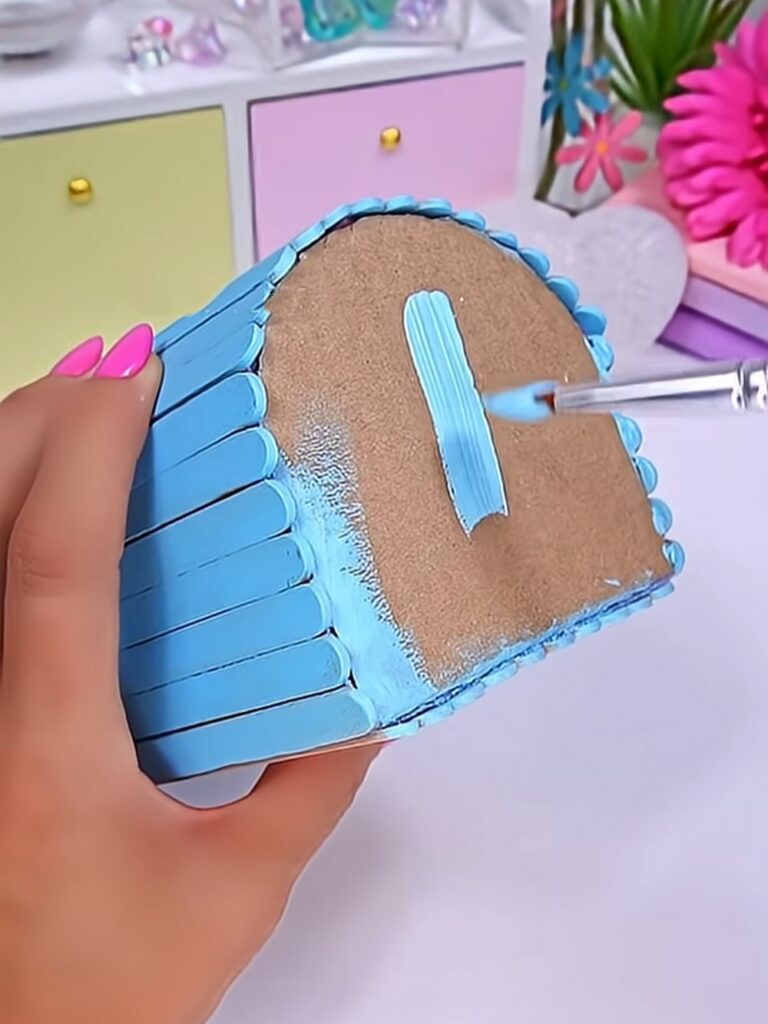
Once the paint is 100% dry, use a tiny drop of hot glue to attach your decorative butterfly clasp to the front center of the lid.
Feels Difficult?
Finish: Adding the Pearl Accents
Add tiny pearls along the edges to look like rivets on a real treasure chest.
Pick out small, white half-pearls. These are flat on one side, so they sit flush against the wood.
Apply a tiny dot of glue to the rounded ends of each popsicle stick on the front and back of the box.
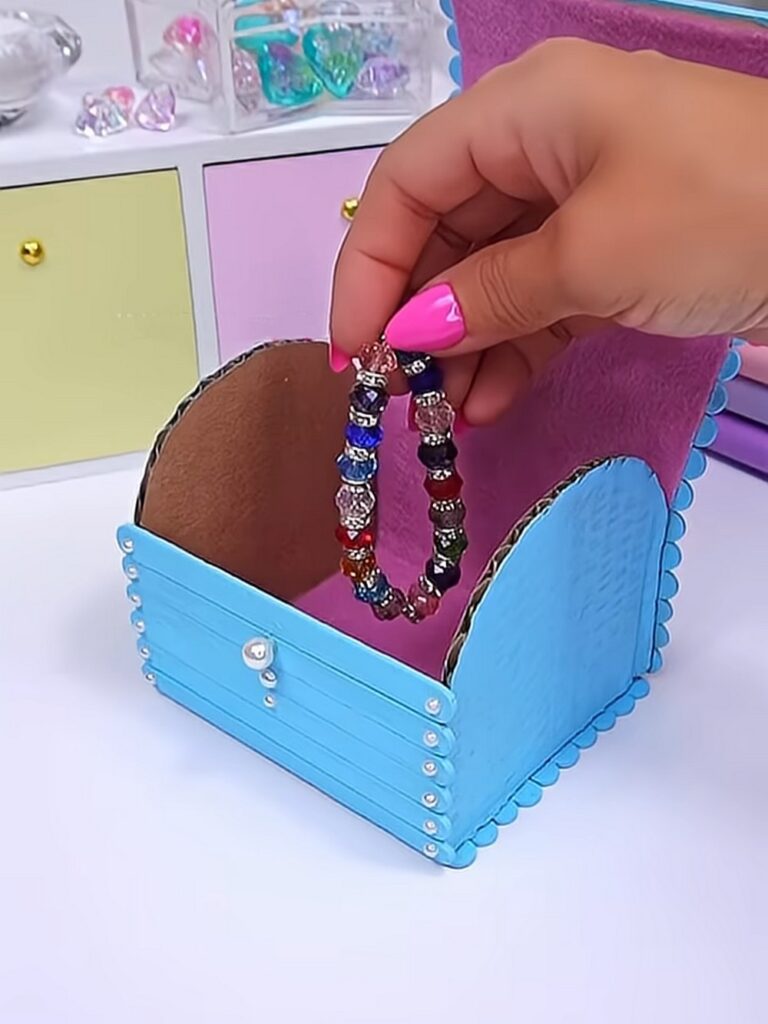
And that’s how you will chest box out of craft sticks and flet. You can place it on your desktop!
Was this Tutorial Helpful? Tell us in the Comments.
Your feedback is a great way for us to improve the tutorials. Did you find the tutorial helpful? Be sure to subscribe to the creator’s channel!
About "Esther via Youtube"
She is running a popular craft channel named INNOVA Crafts and has been renowned for her pastel pop crafts from plushies to decorations.

About "Talha"
Hey, I’m Talha, the Crafter on Craftstive.com. I love to share guides on folding cute origami models and paper crafts, and I am always ready to inspire your next craft project with my weekly craft discussions.