
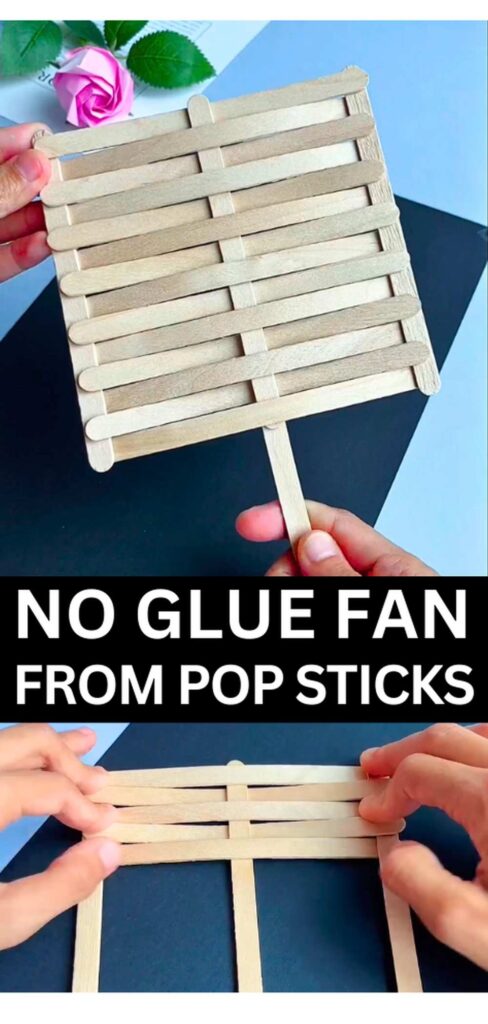
These instructions will show you how to make a 2-minute & no-glue hand fan out of popsicle sticks with an easy weaving method! It is a much stronger, functional, and heavy-blow fan that will definitely beat the paper fans. It comes with a handle you can also double up! You can customize it like the watermelon fan (by painting the watermelon slice details), or if you want more suggestions, I have added that in the end.
With this tutorial, my goal will be to show you how to make one with unpainted sticks so everybody can make one. Don’t worry, it is much easier to weave than you think. In fact, I recommend this project as an introduction to basic concepts for kids.
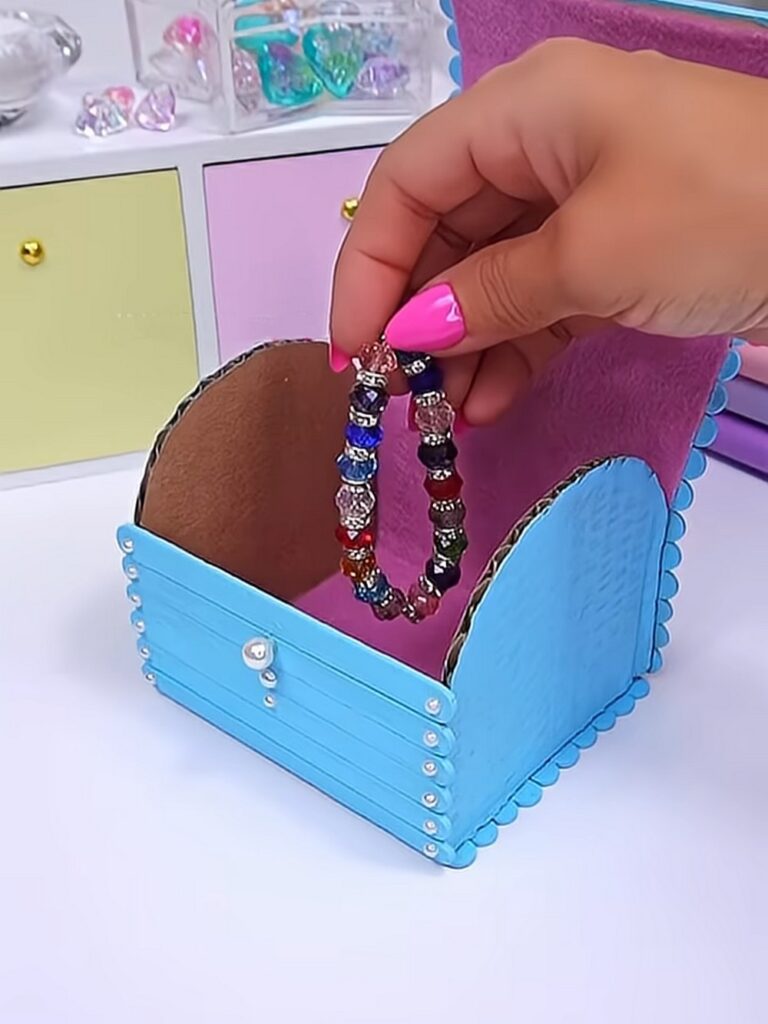
While it can’t be folded like a paper fan, nor can you easily make any detail over, make it whenever you need a fan that at least last summer (well, why not!). And you can deassemble it any time to make any other popsicle stick craft (I have talked about a bunch, here!), such as the popsicle stick and fabric piece chest box, and the painted stick holder.
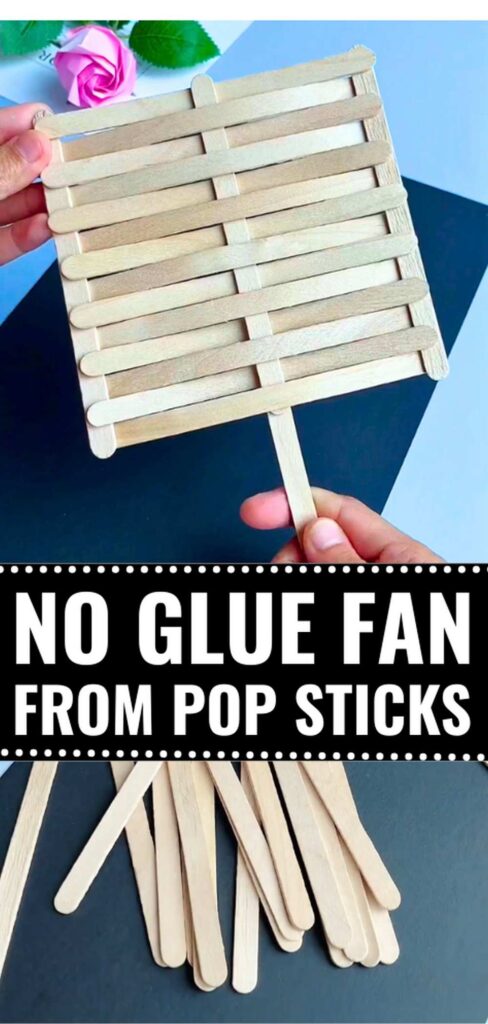
Time: 5 – 10 minutes
Model Type: Unpainted pop stick weaving craft
Techniques: In this DIY fan craft, you will learn and use the following techniques:
- Weaving the craft sticks (That’s it!)
- Painting the sticks
- How to customize a craft stick craft
What you need
Only one material is needed for this pop stick fan, and that will be:
Popsicle sticks/craft sticks. Standard size, about 11.4–12 cm long and 1 cm wide. For one fan, use about 15 – 18 craft sticks total. 18 will be used in the demonstration. The idea is that the combined length must match the height of one stick, but you can leave a few of them, too!
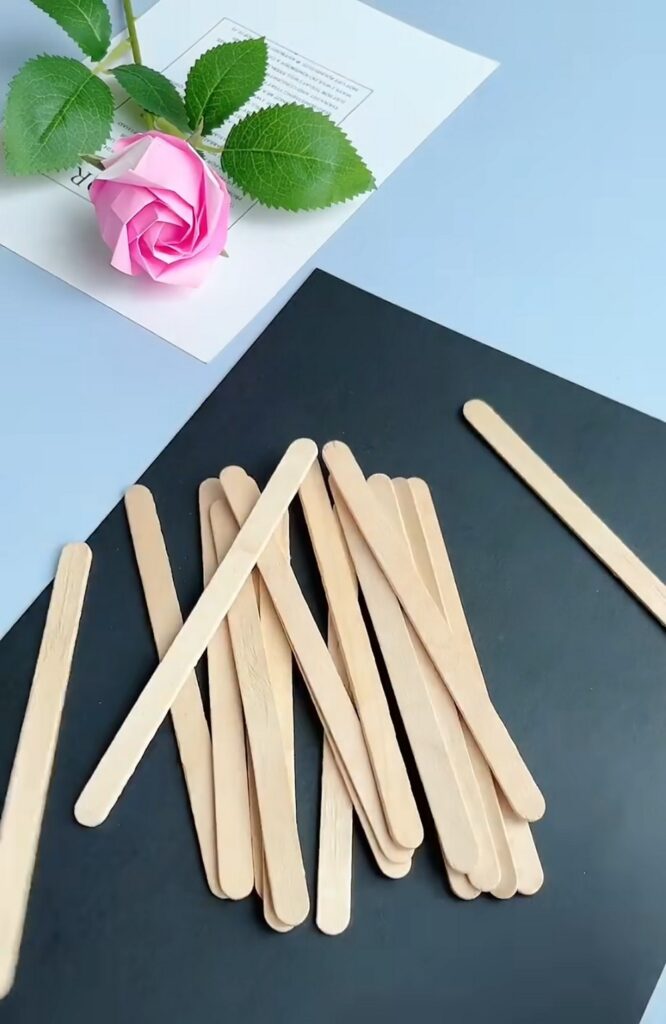
Finished size
Will be about 12 cm wide and 22–23 cm tall, depending on how tightly the sticks are placed and how much you insert the handle.
Customization ideas
You can change the fan in a few easy ways:
- Paint the sticks beforehand for a colorful fan
- Use pastel colors, such as in the stick basket
- Use rainbow sticks
- Wrap the handle with ribbon, thread, or washi tape
- Make a larger fan by using wider or longer sticks
- Make a mini fan with a shorter craft stick
- Add a name label or small card at the handle
- Keep the wood natural and add a light coat of clear varnish
DIY Craft Stick Weaved Fan: Step-by-Step Instructions
You will want to follow through with these step-by-step instructions to DIY this popstick fan craft:
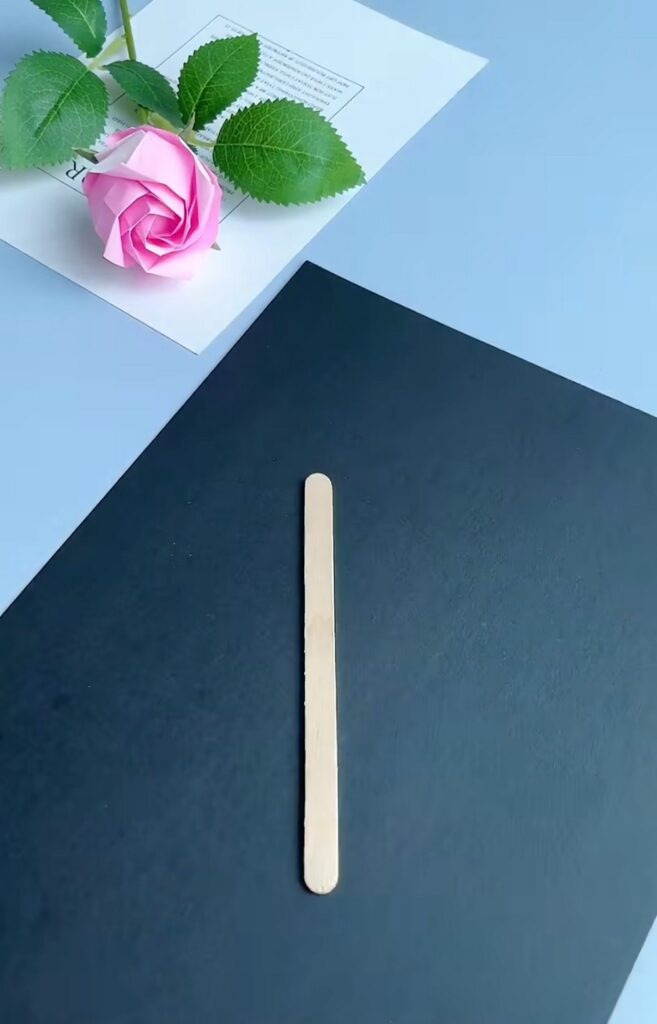
Step #1: Place one stick upright
Start with 1 craft stick placed straight up and down on the table. This is the first support piece. Keep it centered and straight.
Size note: one full stick, about 11.4–12 cm long.
Step #2: Add one stick across the top
Take 1 more stick and place it horizontally across the top end of the first stick so it makes a T shape. This becomes the top bar of the fan frame.
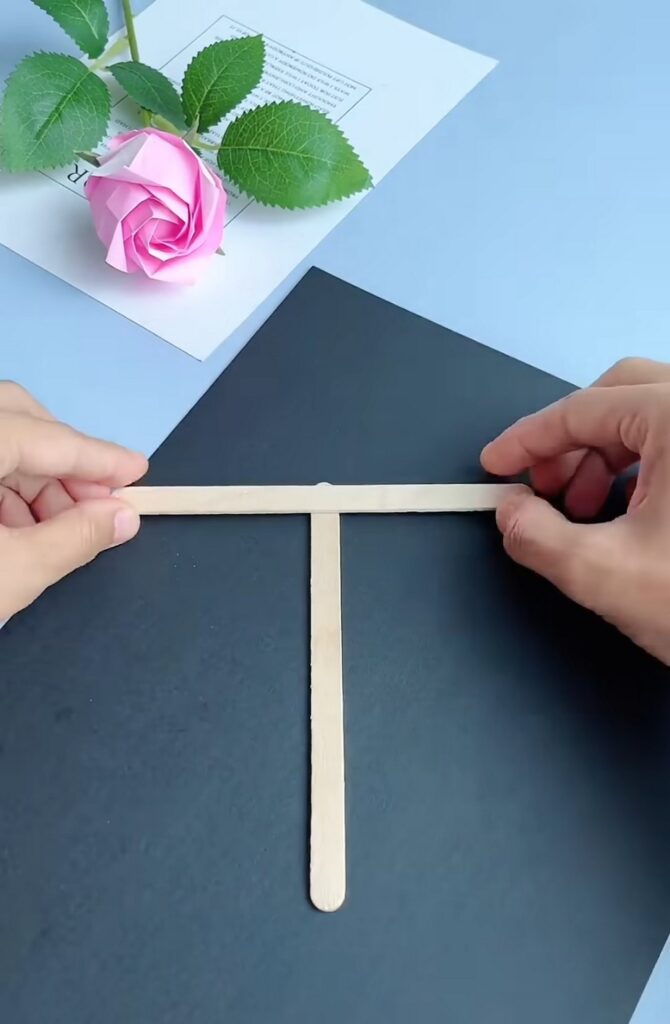
Step #3: Add two side sticks
Place 2 more sticks upright, one on the left and one on the right, under the ends of the top stick.
Now you have:
- 1 center stick
- 1 top cross stick
- 2 side sticks
The frame for our fan is finished with this.
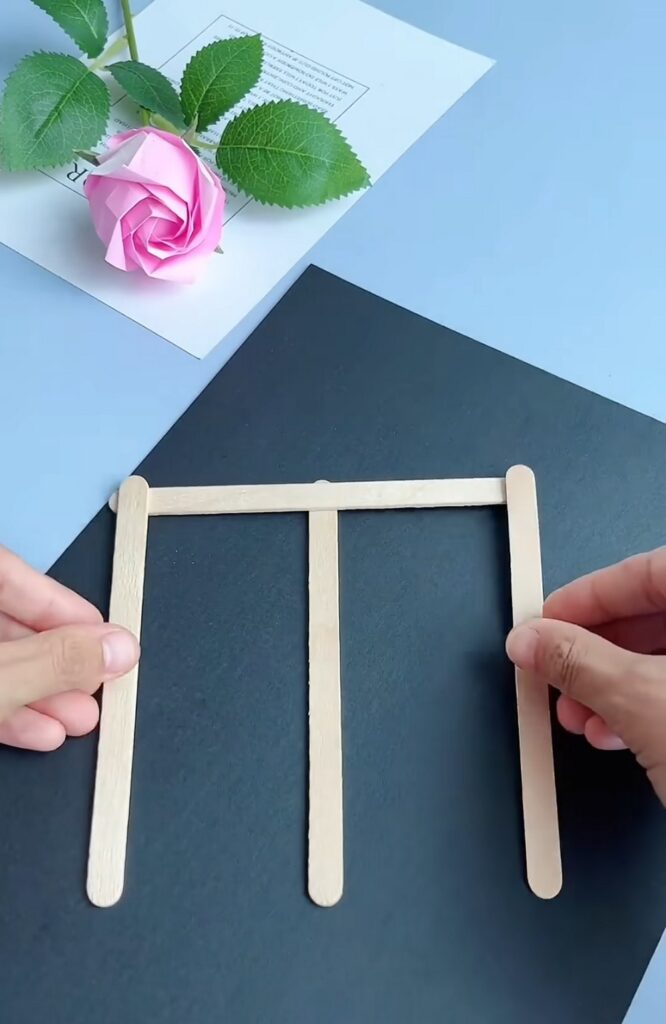
Spacing tip:
Leave the three vertical sticks evenly spaced so the woven part will come out square and neat.
Step #4: Add the bottom horizontal stick (ODD)
Take 1 stick and place it horizontally across the lower part of the three upright sticks. This begins to lock the frame together. The idea is this:
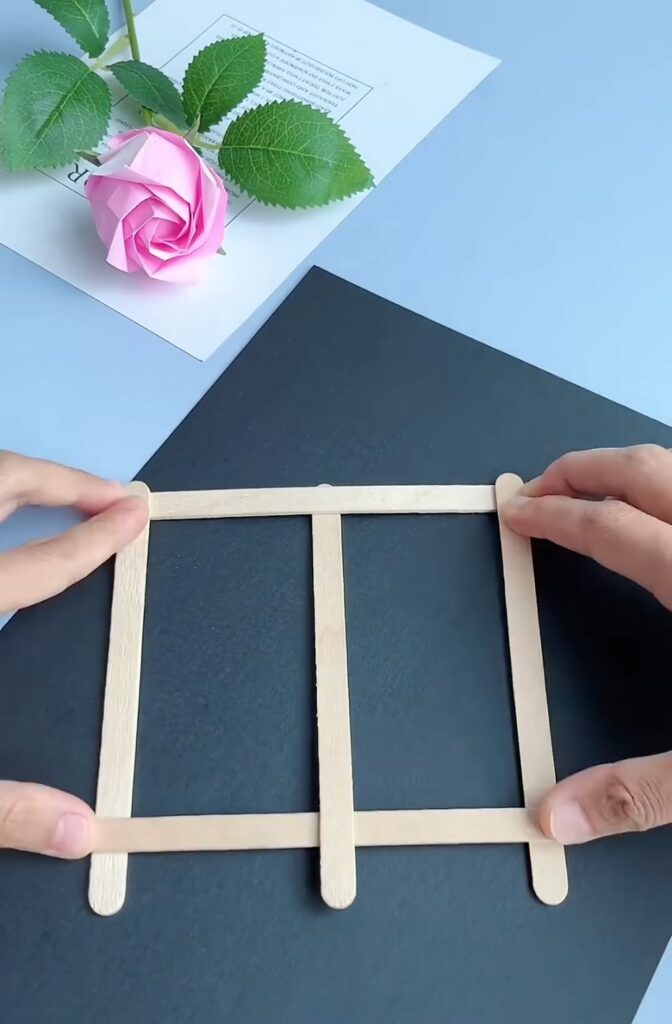
The stick will be at the bottom of the middle stick and above both the left and the right sticks. Then slide up to the top so that it meets the top horizontal stick.
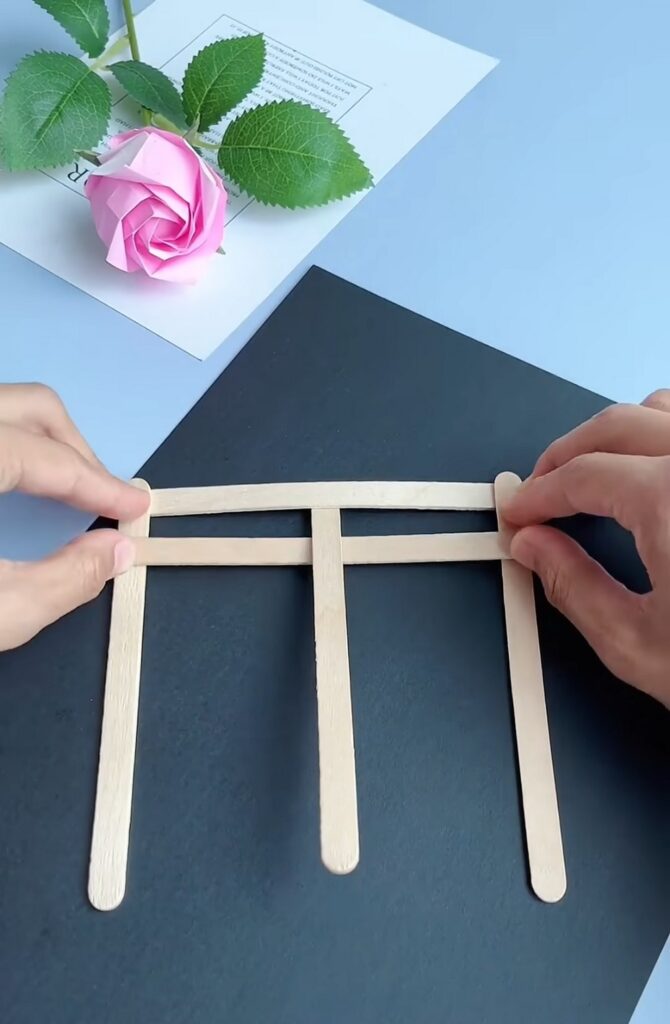
Because the fan is made with no glue, the sticks should overlap tightly so they hold by pressure.
Step #5: Add another horizontal stick above it (EVEN)
Place 1 more stick, but this time, the middle of the stick will be above the middle stick and below the left and the right sides.
Keep the sticks parallel. This starts the woven layer and makes the frame stronger.
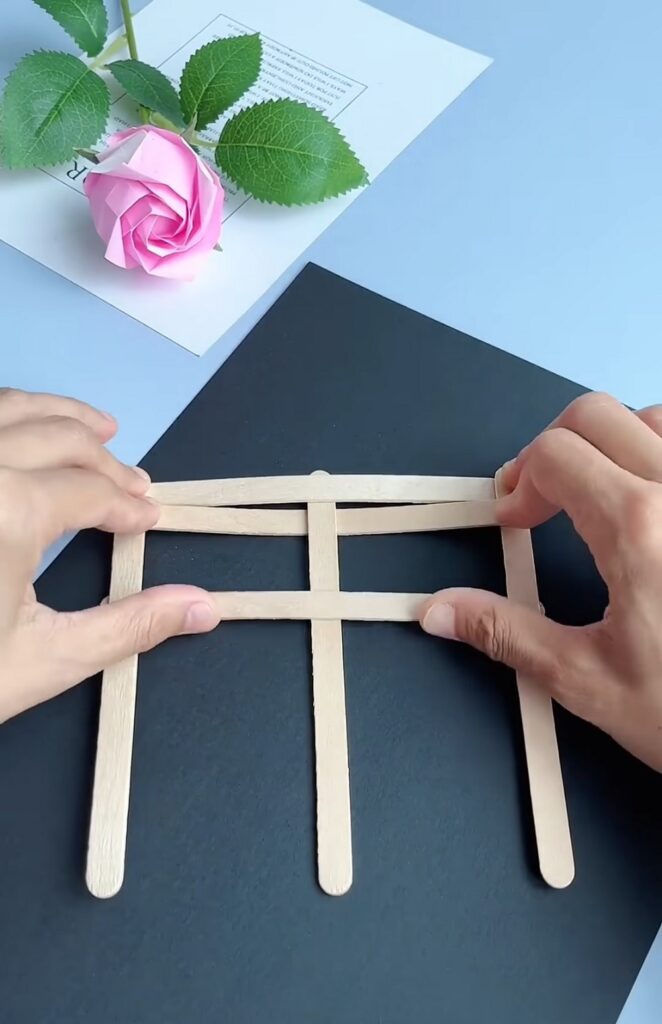
Tip: Press each piece flat after placing it so the edges line up cleanly.
Step #6: Keep weaving more sticks across
Now, continue adding more sticks horizontally, one at a time.
Use about 13 more sticks for this woven section.
The simple idea is:
- Alternate between odd and even rows for all the next sticks.
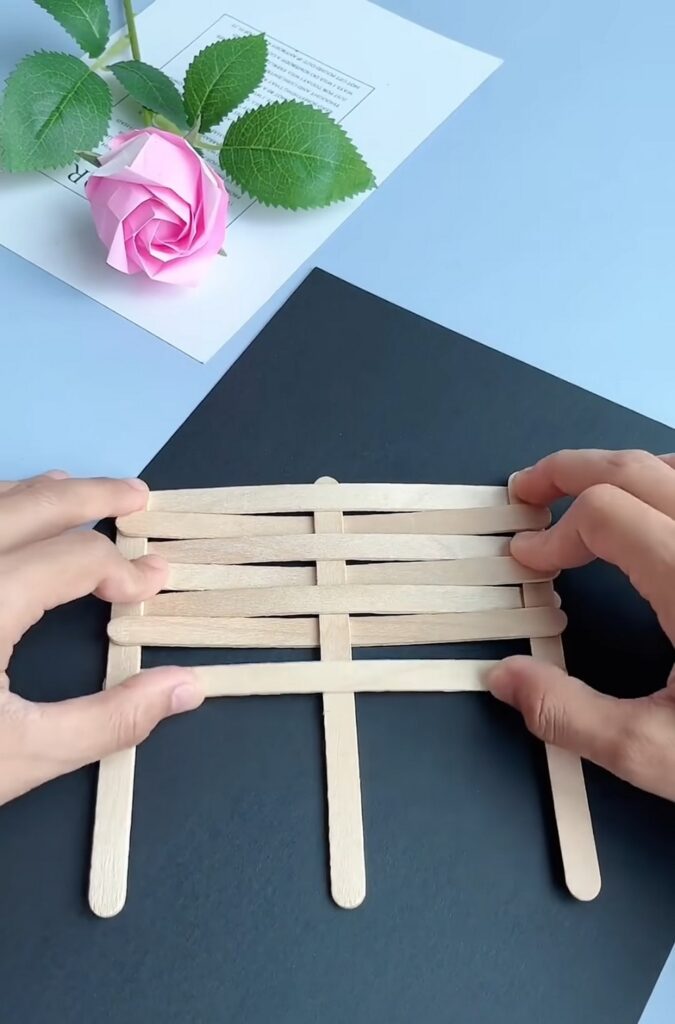
The pieces should fit tightly together so they do not slide around.
Important: For a no-glue build, the tight fit is what holds the shape.
Step #7: Make the woven section into a solid rectangle
Keep adding sticks until the body becomes a neat rectangular or square panel, and there is no space left for adding more sticks.
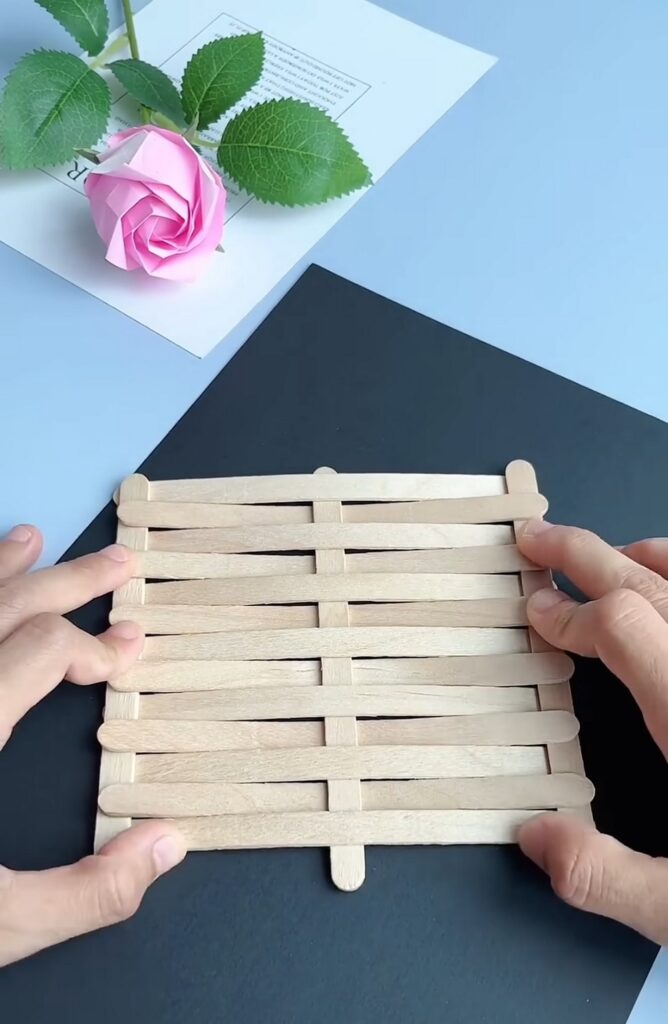
By this point, the center should look full and strong.
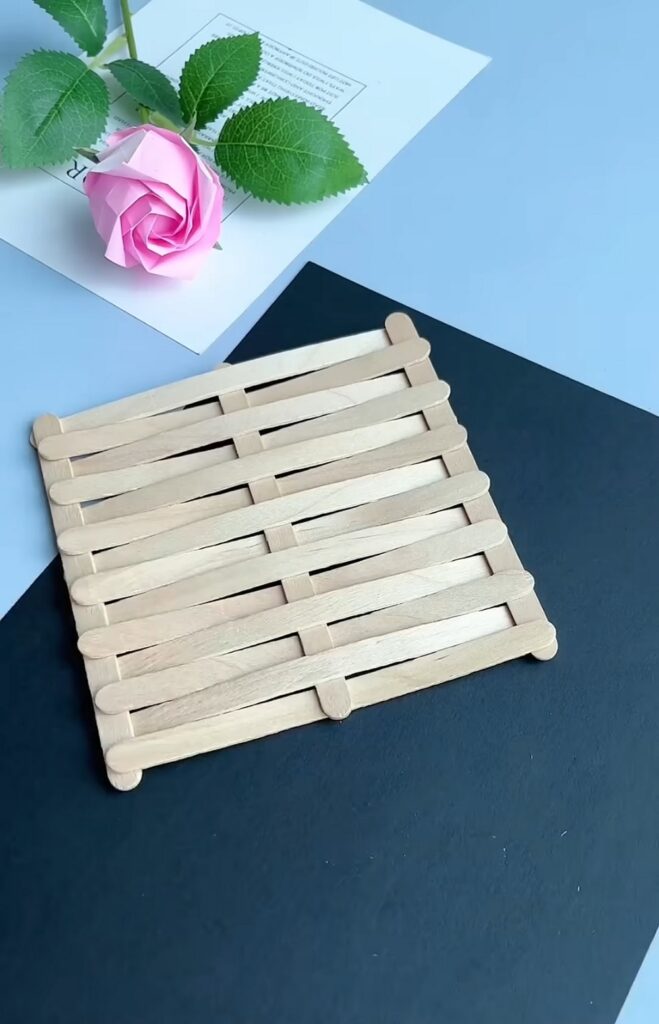
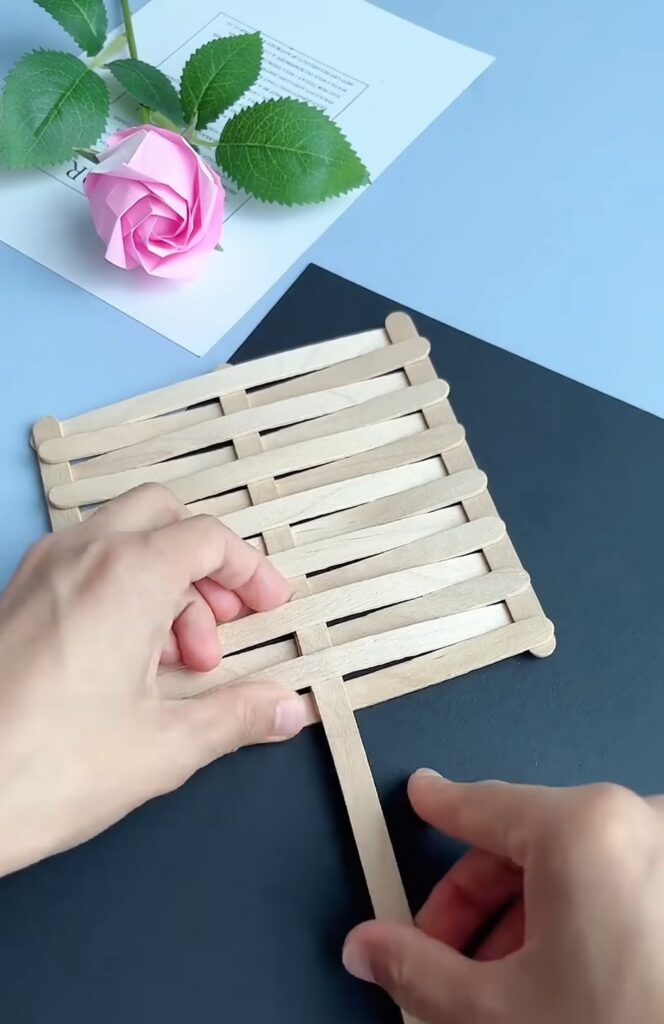
Step #8: Insert the handle stick
Take 1 extra full-length stick and slide it up from the bottom center.
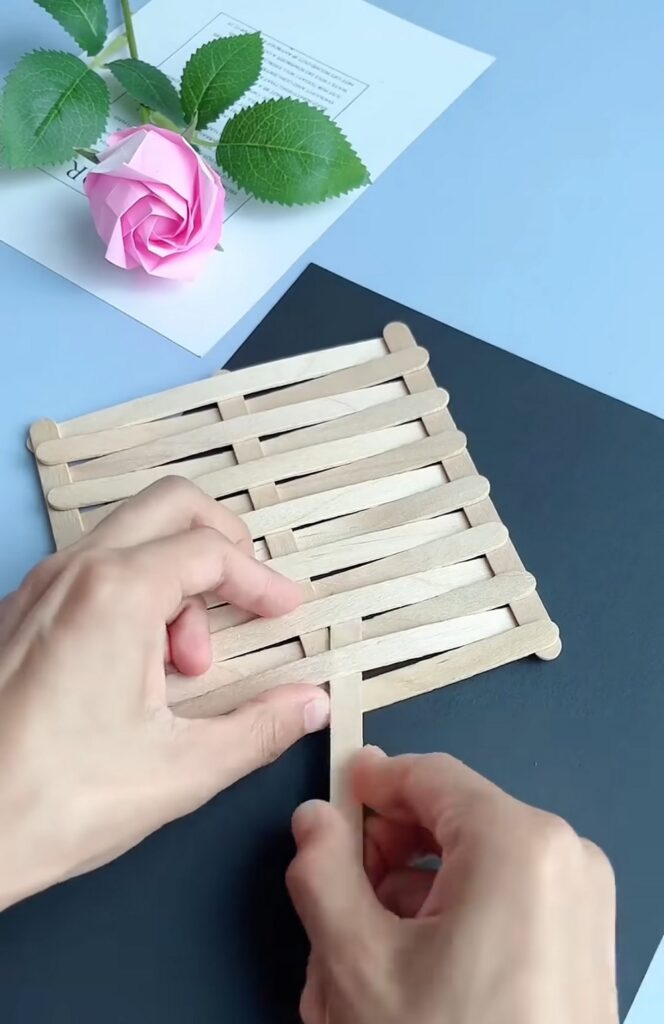
Leave most of the stick hanging below as the handle. This stick becomes the fan grip.
Handle size guide:
Leave about 6–8 cm below the woven panel for holding.
If the handle feels loose, squeeze the woven center a little tighter so the stick grips better.
Feels Difficult
Why does this work without glue
This fan holds together because:
- The sticks are the same thickness
- each new stick is pressed against the others
- The woven center locks the pieces by friction
- The handle is trapped by the tight middle section
And that’s how you will want to make this quick and easy fan in 8 simple steps! Let the kids stay cool with this fan!
Was this Tutorial Helpful? Tell us in the Comments.
Your feedback is a great way for us to improve the tutorials. Did you find the tutorial helpful? Be sure to subscribe to the creator’s channel!
About "MAKE DIY via YouTube"
She is running one of the most special corner of paper crafts that are all quick and easier and require no skill!

About "Talha"
Hey, I’m Talha, the Crafter on Craftstive.com. I love to share guides on folding cute origami models and paper crafts, and I am always ready to inspire your next craft project with my weekly craft discussions.