
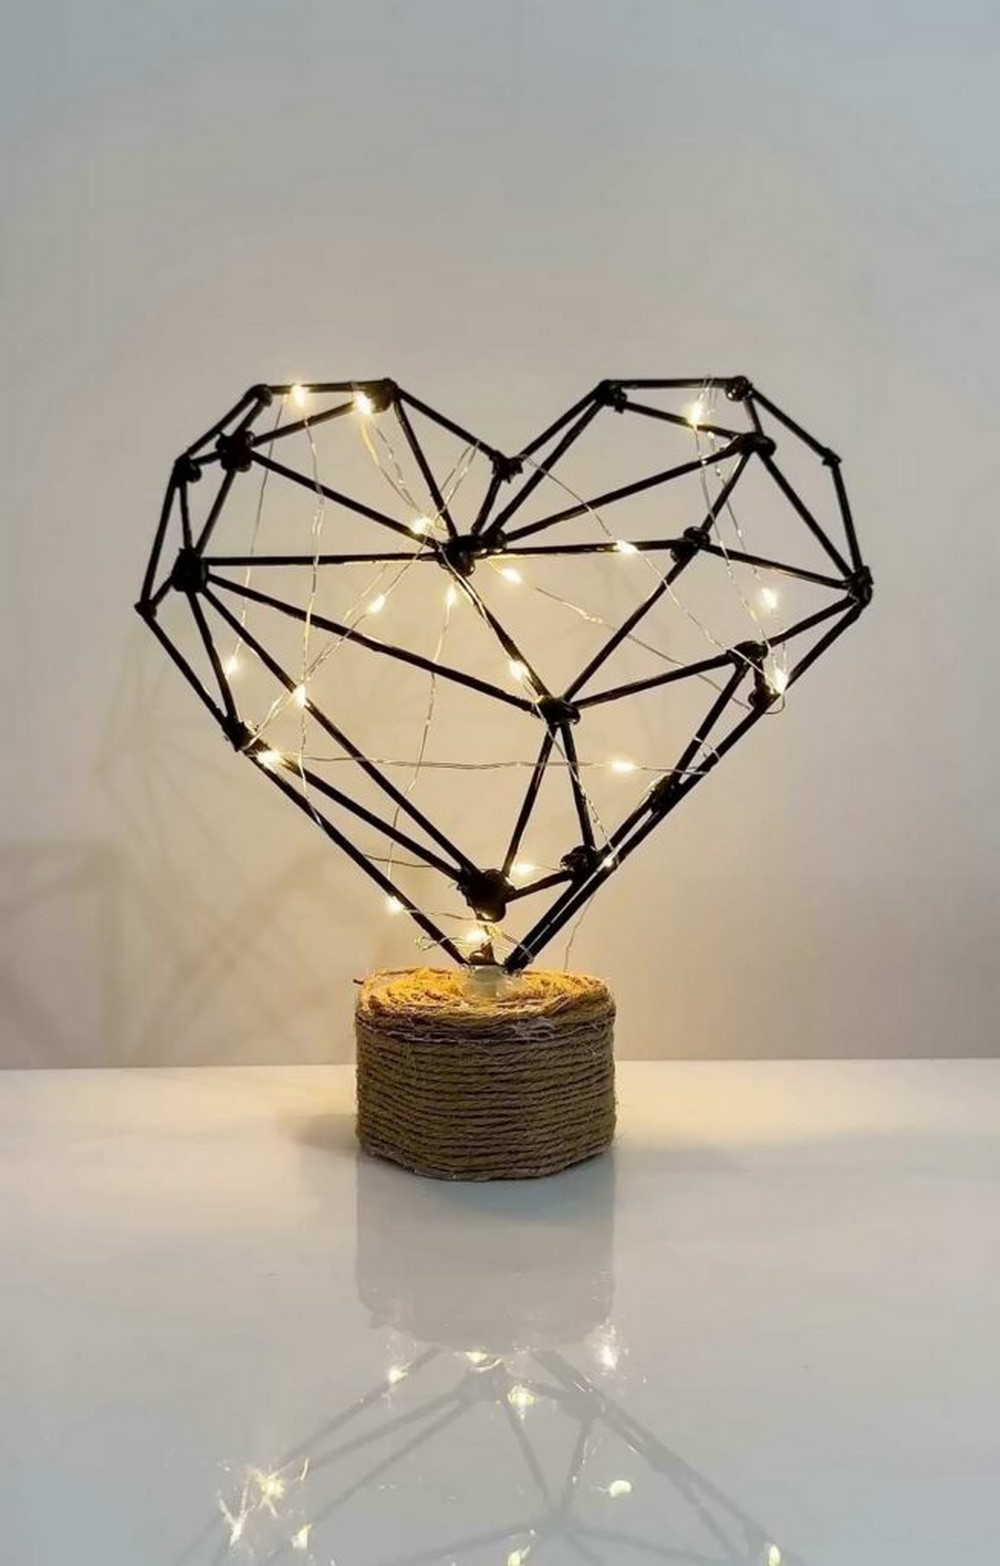
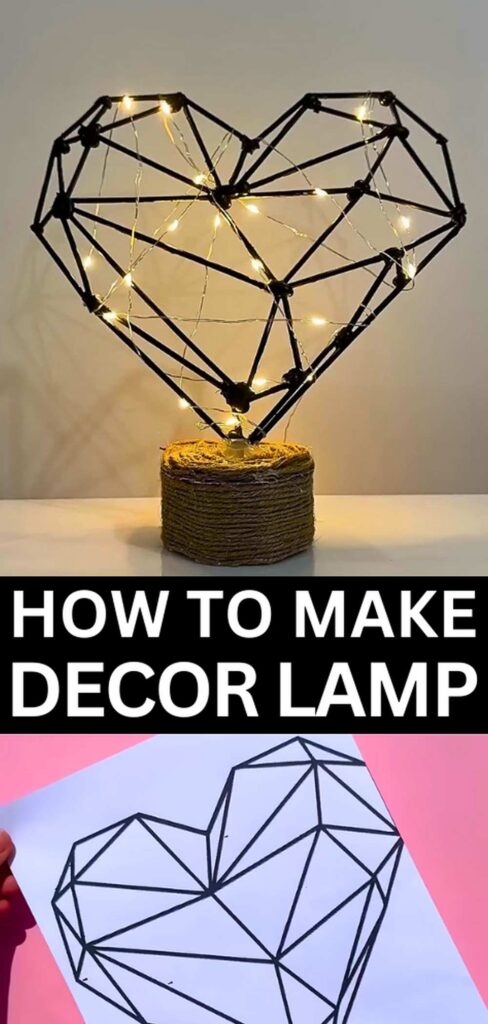
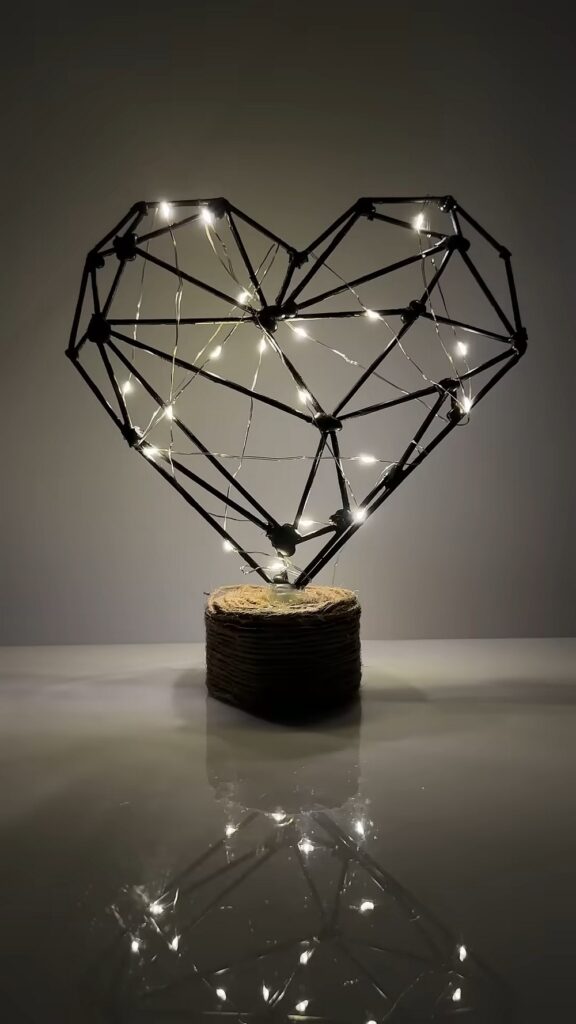
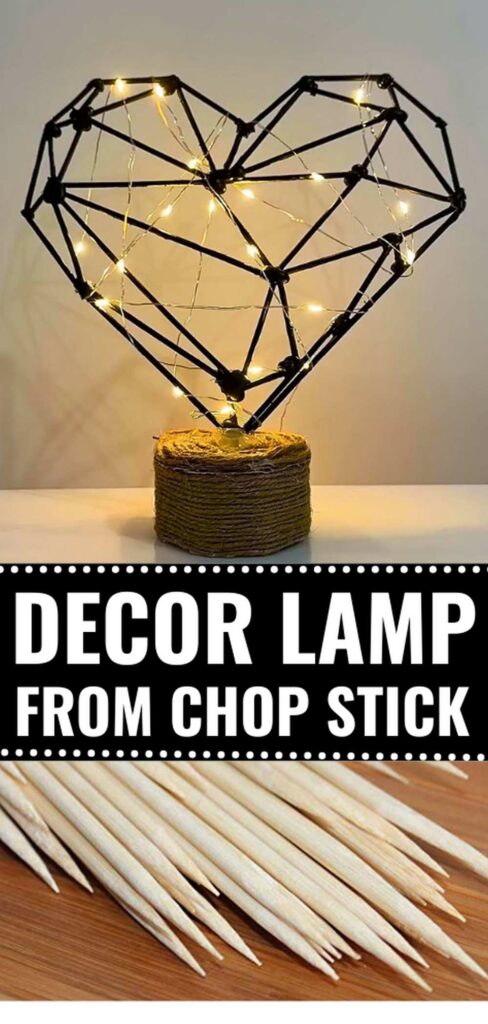
Learn how to make a 3D heart frame out of wooden skewers or chopsticks that you can turn into this ELEGANT rustic fairy light holder decor lamp. I will provide you with a FREE printable template, so you just have to cut the sticks accordingly and glue them at the joints. After you are done with the heart sculpture, just weave the warm or colourful fairy lights and place the frame over a twine-wrapped base.
The base can also hold the battery and any excess wire, and I will also show you how to make one. This heart decor lamp is lightweight, quick and easy to make.
Just be sure you have a good tool to cut the sticks. If you want it for Valentine’s Day, like the modular paper heart craft, paint it red. Otherwise, it makes a general-purpose everyday decor as well as decoration for special occasions such as the NEW year and Christmas. Now, let me show you how you can make this heart decoration for yourself!
Time: 15 – 30 minutes (excluding the drying time, usually acrylic paint takes about 30 minutes for instant dry, but should be set aside for at least 1-2 days!).
Model Type: Sculpture Decoration/Fairy Light Decoration/Porch Makeover Addition
Techniques: In this DIY heart lamp craft, you will learn and use the following techniques:
- Weaving the fairy lights.
- Making a jute twine base out of a cardboard roll
- Painting with acrylic paints
- Cutting the sticks
- Following a flat straight-line template
What you need
I would recommend that you have the following supplies in your craft drawer before you make this DIY lantern:
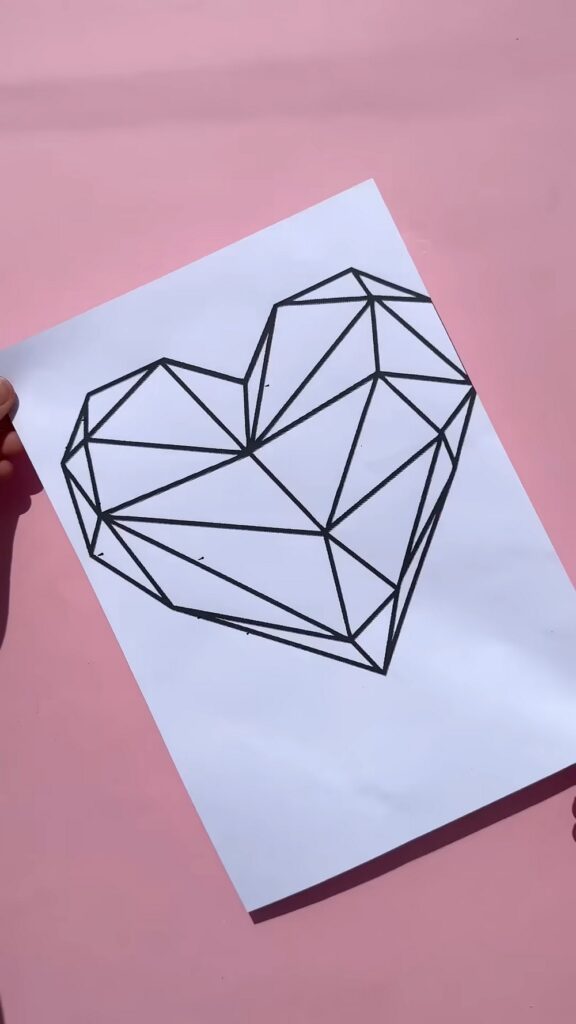
- A PRINTABLE geometric heart template on white paper.
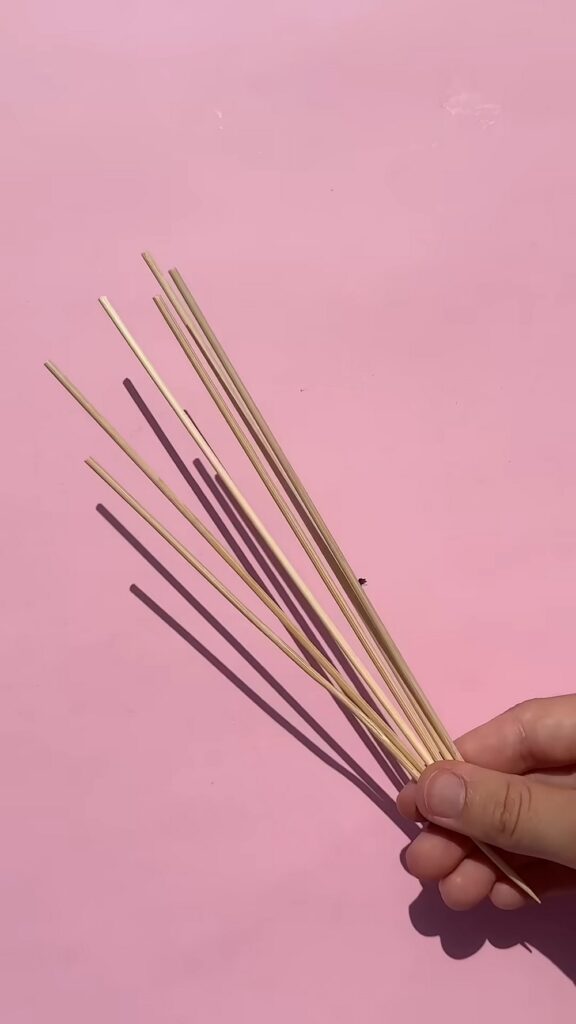
- Wooden skewers (or thin, round wooden chopsticks).
- A pencil
- A sharp craft knife or scalpel
- A hot glue gun with clear glue sticks.
- A protective cutting mat
- Black paint (acrylic works well).
- Paintbrush.
- Battery-operated fairy lights (LED string lights with a small battery pack).
- Jute twine (or other decorative rope).
- A base
- Hot glue gun
Place it:
- On a Bedside Table: It is the ultimate nightlight. The warm fairy lights give off a soft, romantic glow.
- On a Vanity or Dresser: Place it next to your jewellery box or perfumes.
- On a Bookshelf or TV Stand: Tuck it into a bookshelf to break up rows of books with a glowing point.
- On a Coffee Table.
- Right by the Front Door: Place it on an entryway table to create an incredibly warm and welcoming look.
DIY Décor Lamp Heart: Step-by-Step Instructions
Step 1: Prep the Template.
Lay your printed geometric heart template flat on your table.
Step 2: Measure the First Piece.
Take a single wooden skewer and place it directly over one of the longest straight lines on the template (like the centre vertical line shown in the top right).
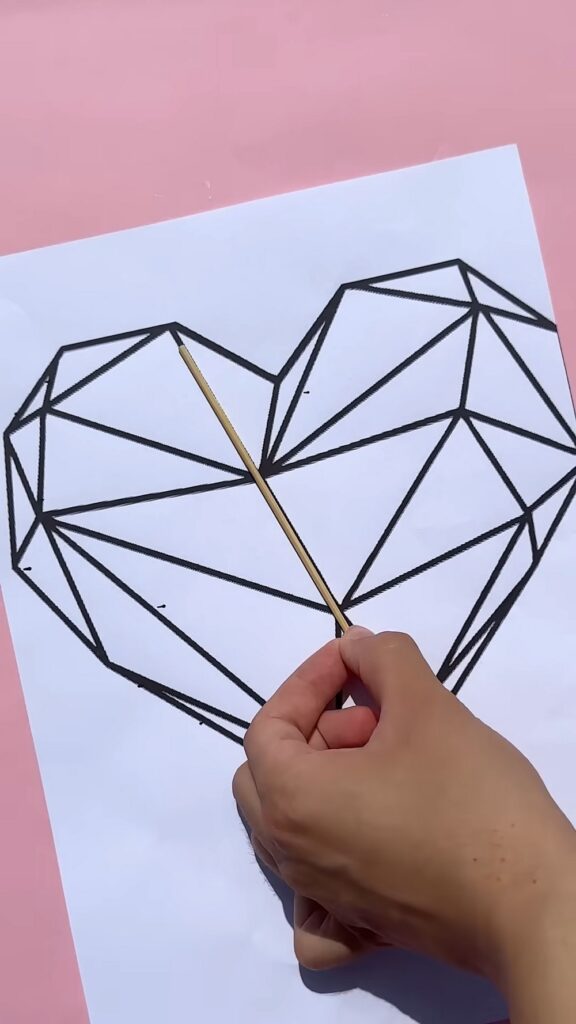
Step 3: Mark for Cutting.
Hold the skewer in place and use your pencil to mark exactly where the line intersects with another line.
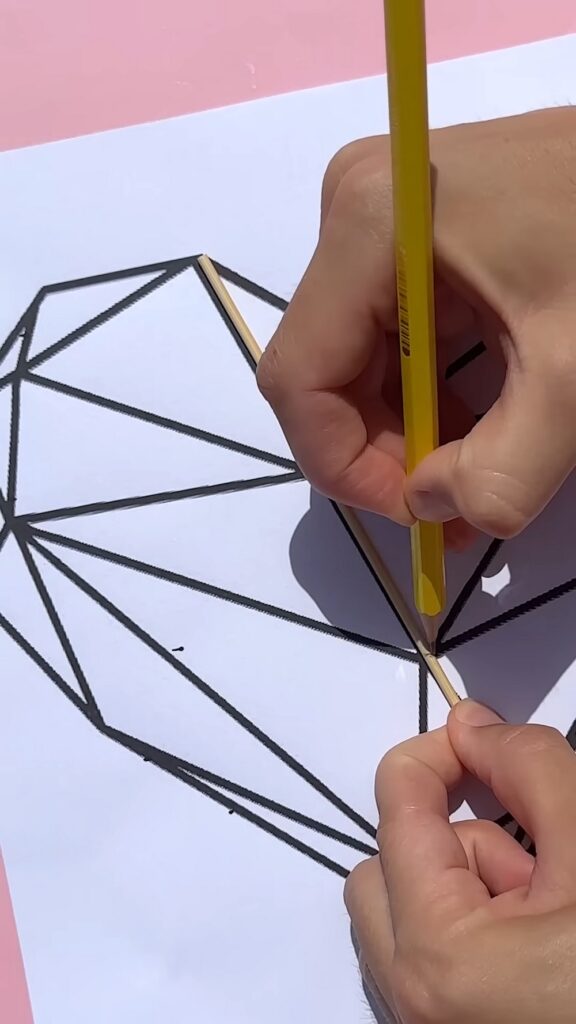
Step 4: Cut to Size.
Remove the skewer from the paper and carefully cut it at the pencil mark using your craft knife.
Step 5: Position the Cut Piece.
Place the newly cut skewer perfectly back onto its corresponding line on the paper template.
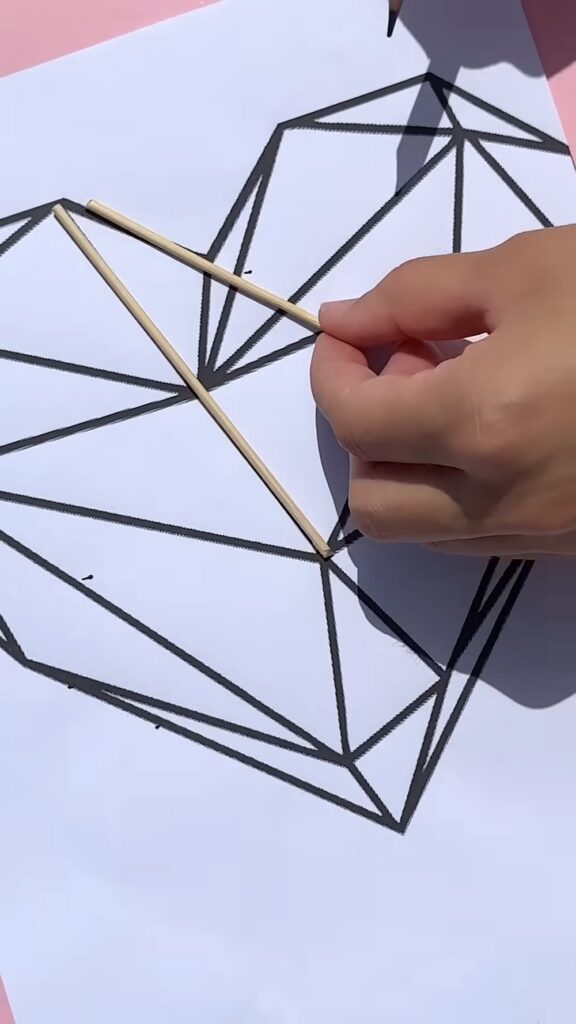
Step 6: Measure and Cut Adjoining Pieces.
Take another skewer, align it with an intersecting line on the template, mark it with your pencil, and cut it to size.
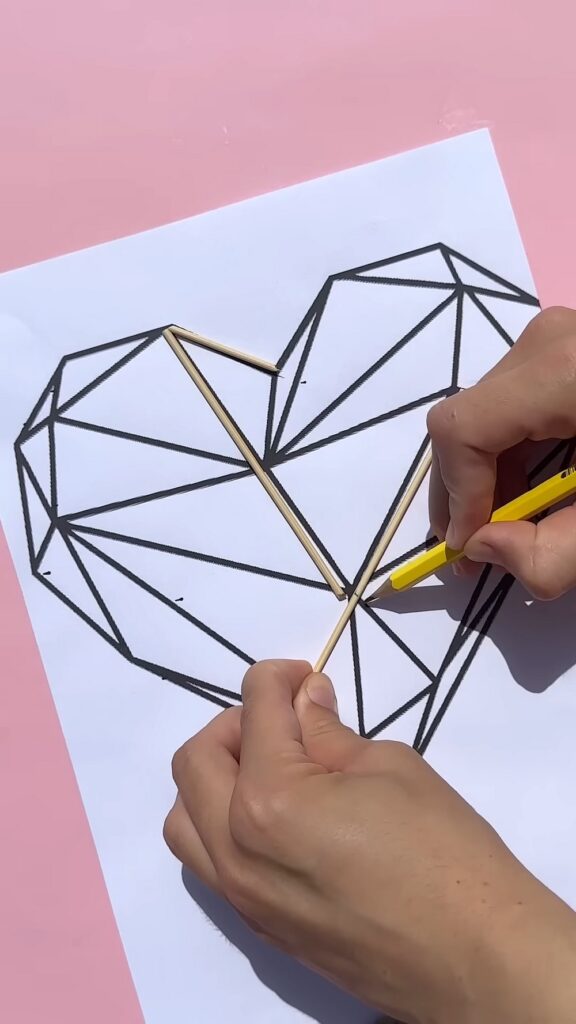
Step 7: Glue the Joints.
Once you have two or more adjoining pieces cut and laid out on the template, use a small dab of hot glue at the intersection to secure them together.
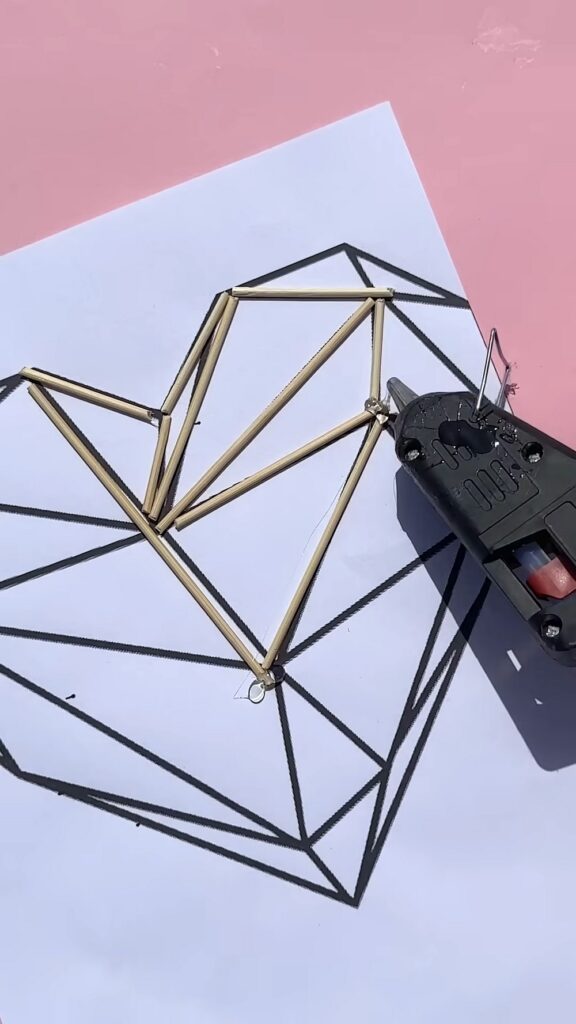
Step 8: Complete the 2D Base.
Continue measuring, marking, cutting, and glueing one section at a time. Work your way around the heart until all the lines on the template are covered and glued, resulting in a complete 2D geometric heart.
Making it a 3D Lantern: (Method 1)
Step 9: Duplicate the Base. Repeat steps 1 through 8 to make a second, identical flat 2D heart.
Step 10: Cut the Connecting Pillars. Cut several skewers down to equal lengths (e.g., 2 to 3 inches long). These will determine the depth of your lantern.
Step 11: Stack and Build. Apply hot glue to the joints of your first heart base and stand the short connecting pieces upright on those joints.
Step 12: Attach the Top. Carefully place the second geometric heart on top of the upright sticks, gluing the corresponding joints together to create a rigid 3D frame.
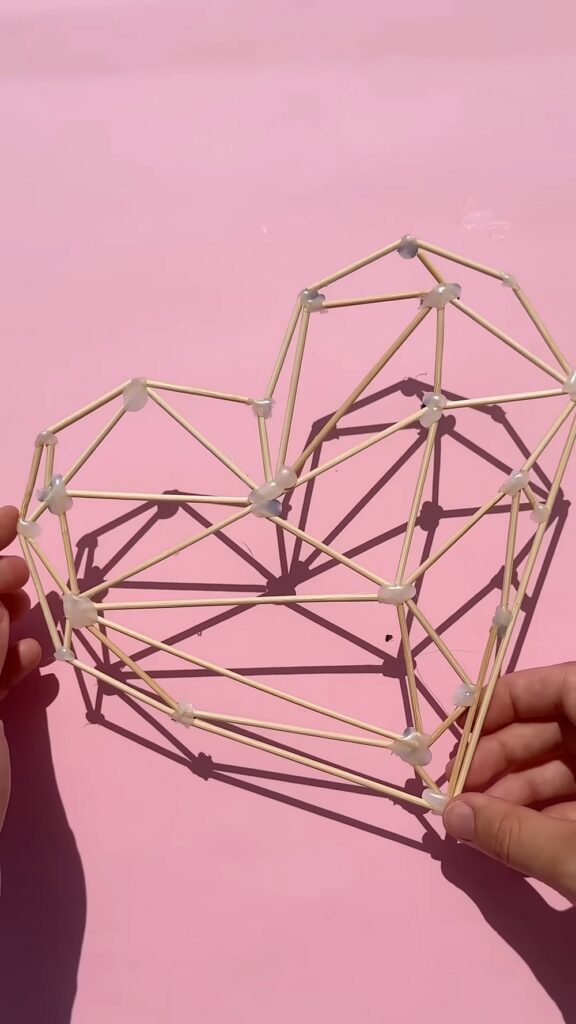
Making it a 3D Lantern: (Method 2):
Place all the heart outline skewers down at the joins and the middle ones at the top. This will make a 3D heart automatically!
Step 13: Painting the Frame.
Once your entire 3D geometric heart frame is built and all hot glue is dry, use your paintbrush and black paint to paint every wooden stick and every glue joint, inside and out.
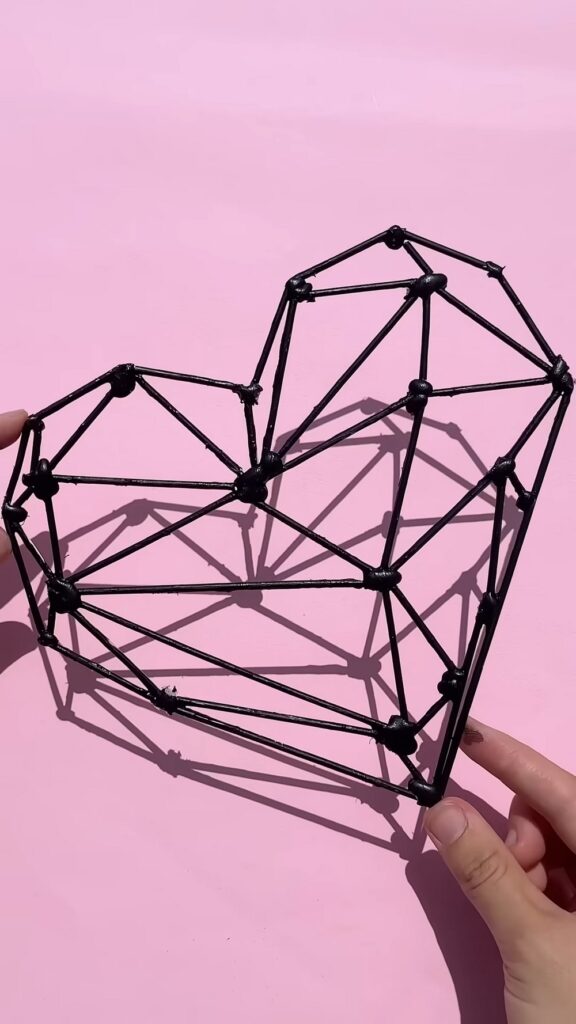
Step 14: Integrating the Lights.
Unwind your string of fairy lights. Weave and thread the wire and LED bulbs through the interior of the black frame. Try to distribute the lights evenly throughout the heart to create a balanced glow. Ensure the battery pack and switch are left outside near the bottom point of the heart for access.
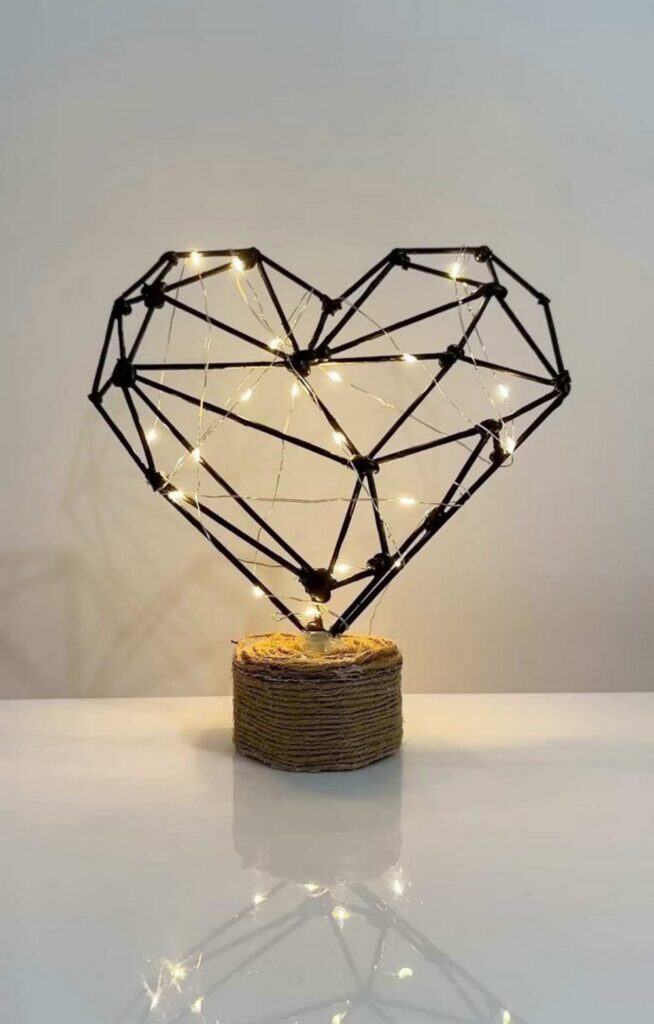
Step 15: Creating and Wrapping the Base.
Select your base support (wooden disk or cardboard piece). Use hot glue to attach the very bottom point of your black painted geometric heart to the centre of this base, ensuring it stands upright and stable.
Feels Difficult?
Next, apply hot glue to the surface of the base and wrap jute twine tightly around it, covering the base completely and extending the twine wrapping a small way up the very bottom point of the frame to conceal the base and the wire entry point. Secure the loose end of the twine with glue. Make sure the battery pack is easily accessible but can be discreetly placed behind or underneath the finished base.
Step 16: Final Checks.
Double-check that all twine is secure, all paint is dry, and the frame is stable on its new base. Insert batteries into the pack and switch on the lights to test the stunning illuminated effect. The dark frame will make LOVELY geometric patterns and shadows when lit.

And that’s how you will want to make this quick and easy DIY heart sculpture lamp! Then place it in your bedroom, vanity or living room.
Was this Tutorial Helpful? Tell us in the Comments.
Your feedback is a great way for us to improve the tutorials. Did you find the tutorial helpful? Be sure to subscribe to the creator’s channel!
About "MAKE DIY via YouTube"
She is running one of the most special corner of paper crafts that are all quick and easier and require no skill!

About "Talha"
Hey, I’m Talha, the Crafter on Craftstive.com. I love to share guides on folding cute origami models and paper crafts, and I am always ready to inspire your next craft project with my weekly craft discussions.