
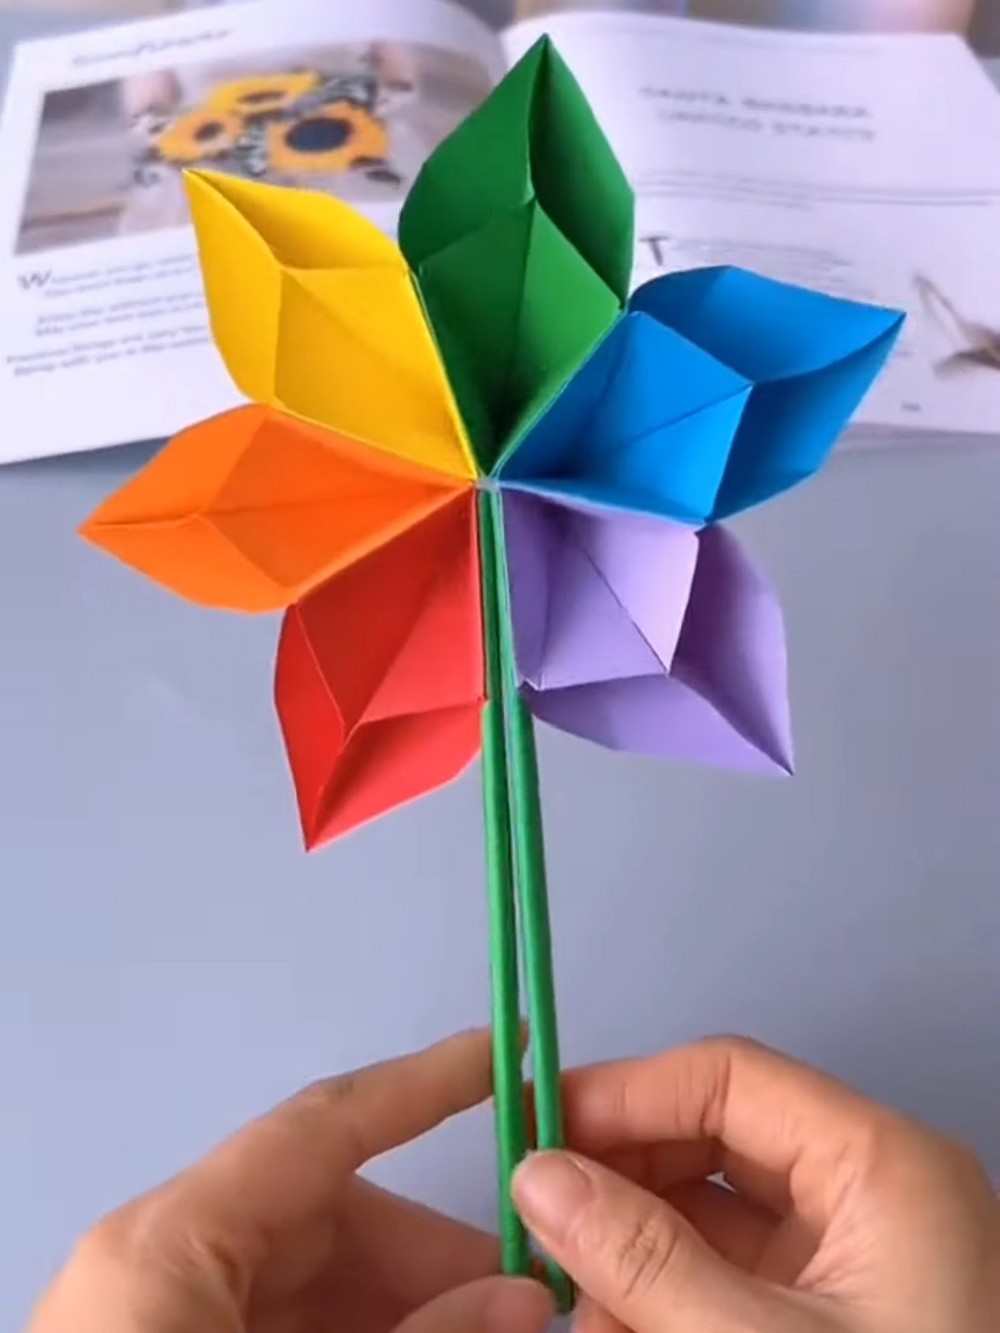
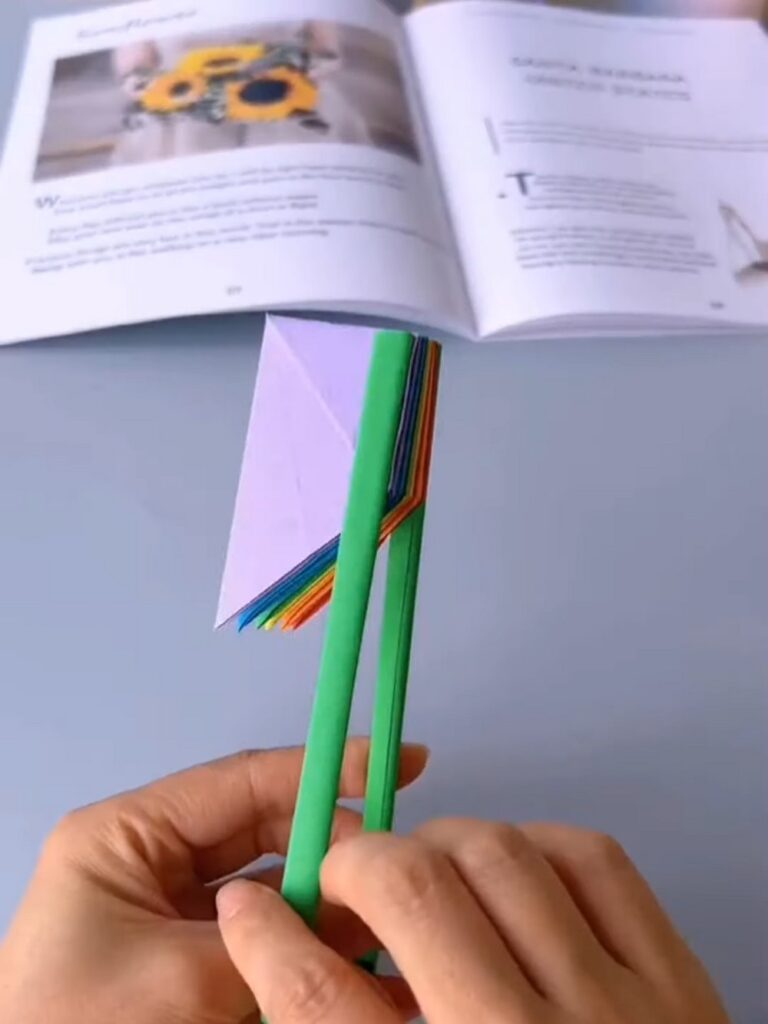
These instructions will show you how to make a kinetic rainbow flower toy using modular origami and square sheets of paper. This can be reversed to folded petals, and when you pull the stems on opposite sides, it will bloom like a 3D colorful flower.
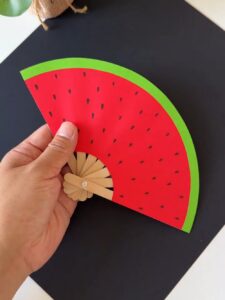
It functions similarly to the watermelon paper fan, so you can carry it anywhere to show your friends. While there are many variations of this origami flower, the one we shall make is the one with pointy petals in 6 colors.
You can put it in the painted bottle vase or the paper star basket and add color to your crafting or study table. You will love the Pop-Up Petal idea of this thing. Let me show you how you can make one by yourself!
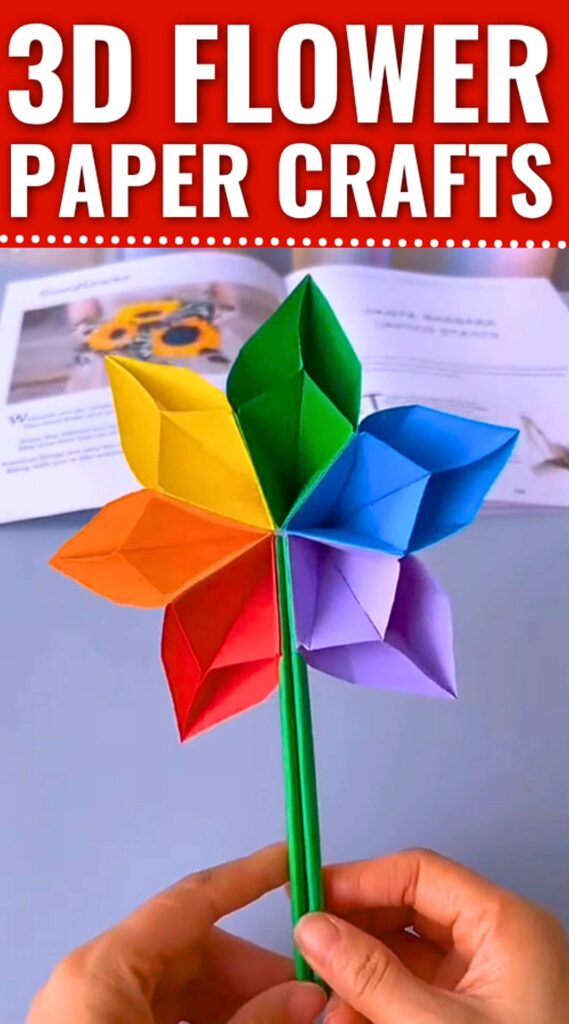
Model Type: Origami with Glue (Modular Origami)
Difficulty Level: Beginner Level 2
Recommended Paper: Use the Tant paper for Texture
Materials Needed
- A square sheet of paper in many colors, preferably about 10cm by 10cm. You can easily take from the Tant paper and that’s what I used in my origami tutorials.
- Glue: A standard glue stick or a small amount of liquid craft glue.
- Green Craft Paper: For the stem.
- Glue: A strong glue stick or a dab of hot glue for the stem attachment.
- Thin Skewer or Pencil: To help roll the paper tube.
Petal Paper Origami: Step-by-Step Instructions
Here is the detailed, step-by-step method to fold a modular origami flower petal, often known as a Kusudama petal.
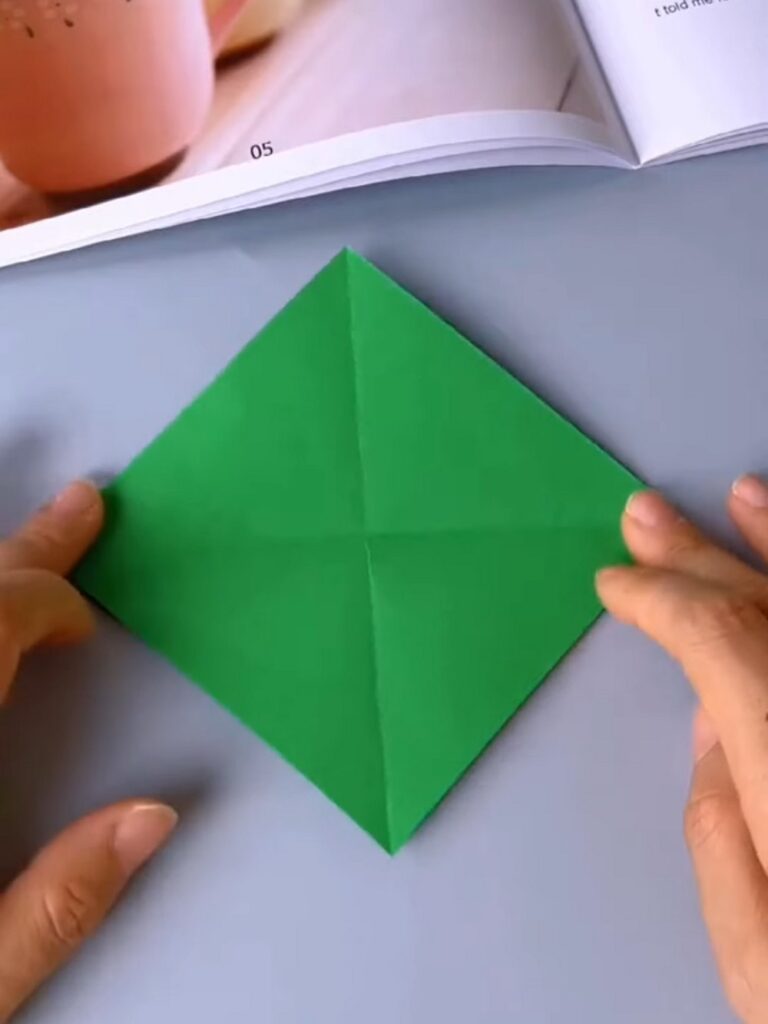
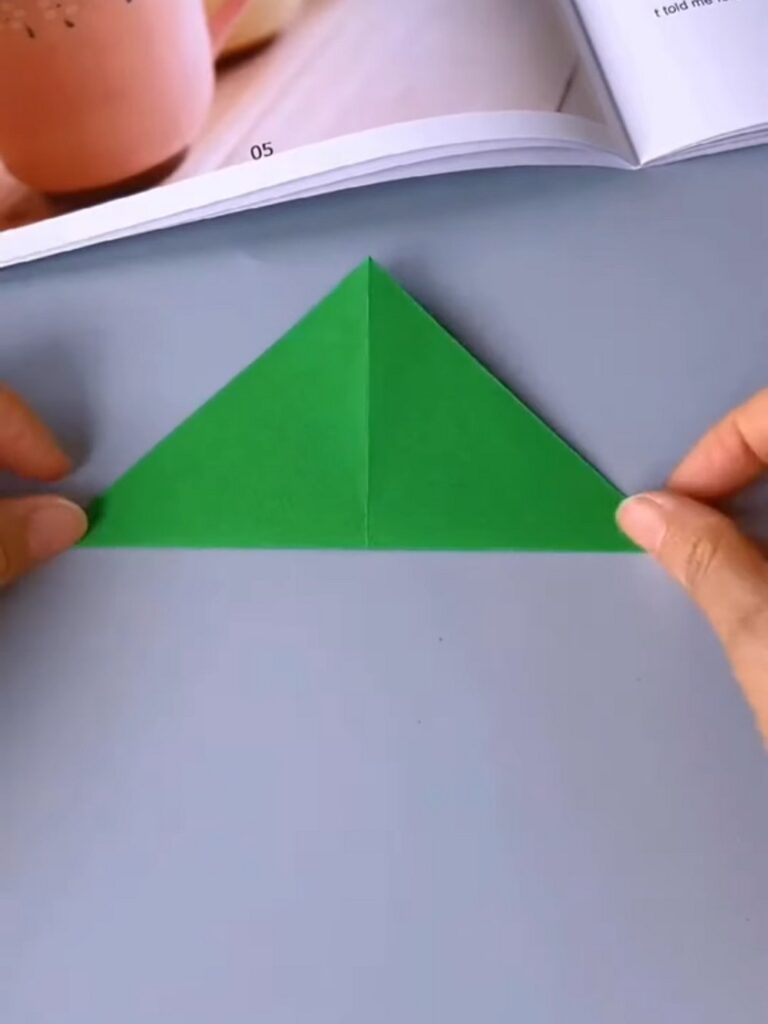
Step 1: The Triangle Base
- Place your square sheet of paper flat on the table, oriented like a diamond.
- Fold the bottom corner up to the top point and crease the bottom edge, leaving you with a large triangle.
Step 2: Forming the Diamond
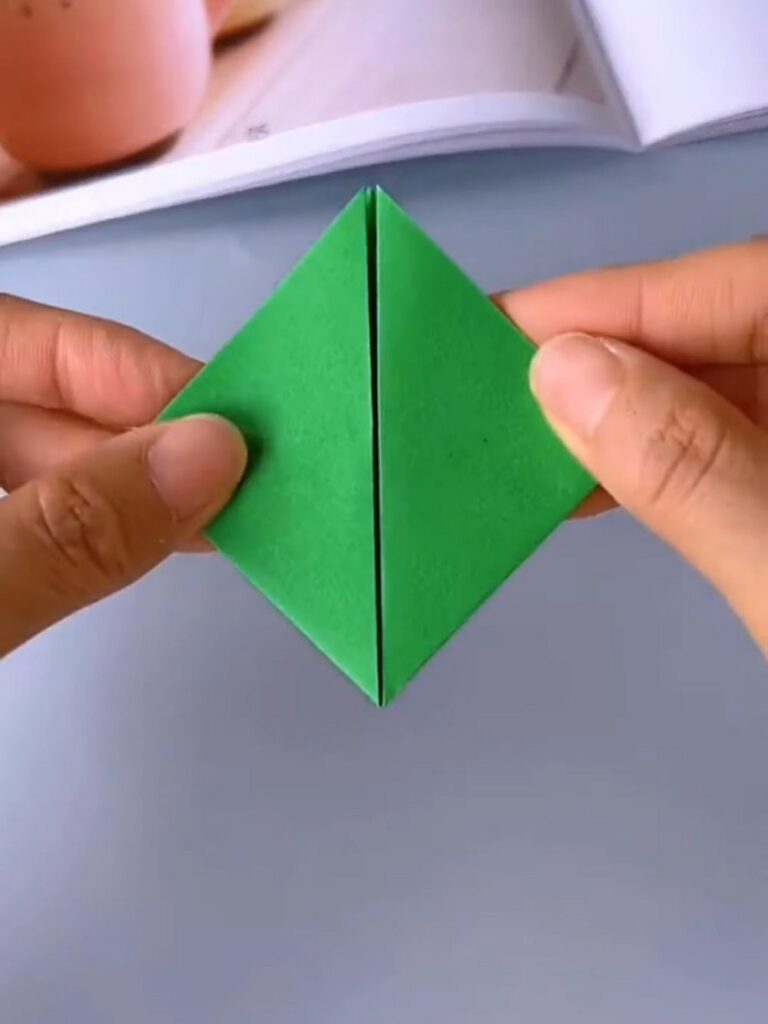
- Take the bottom right to the left of the triangle and fold it upwards so the point meets the top corner of the triangle.
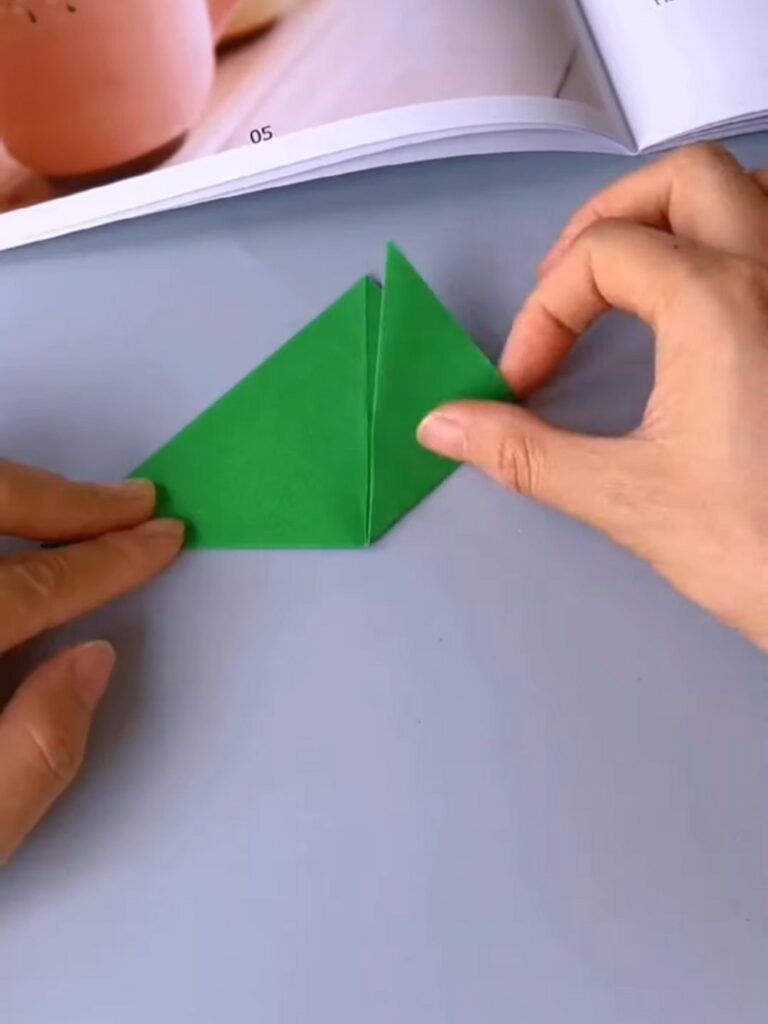
- Repeat this with the bottom left corner.
- Ensure the creases are sharp. Your paper will now be shaped like a smaller diamond.
Step 3: Folding the Side Flaps
- Take the right flap that you just folded up. Fold it in half outwards, back towards the right.
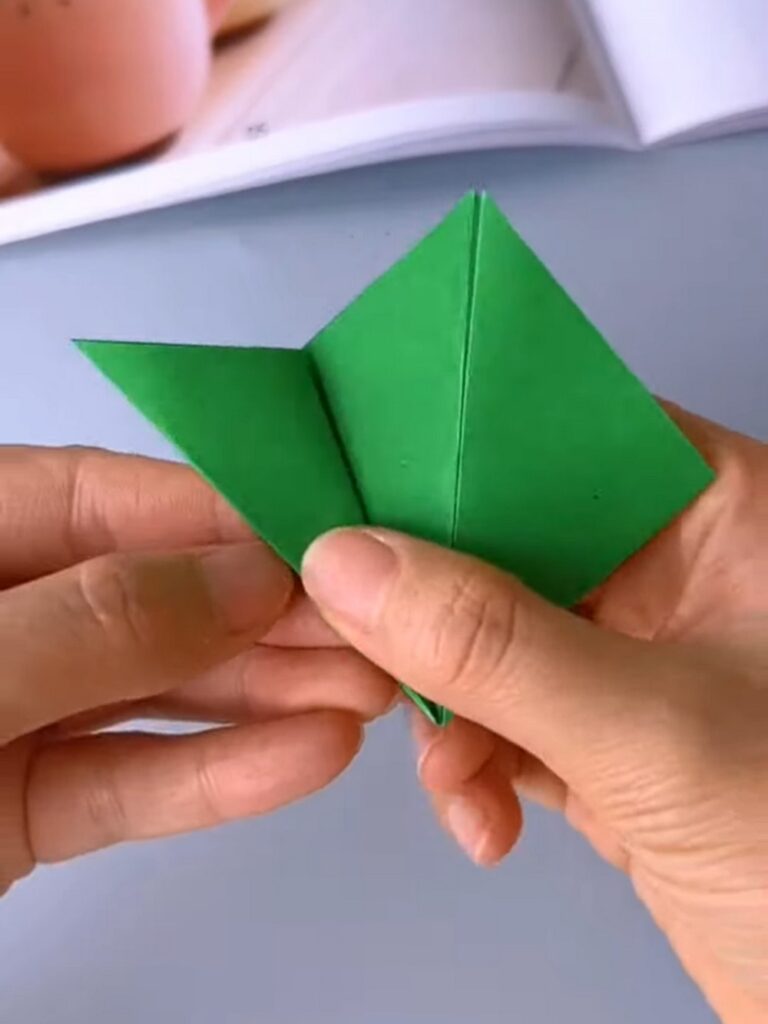
- Repeat this outward fold with the left flap.
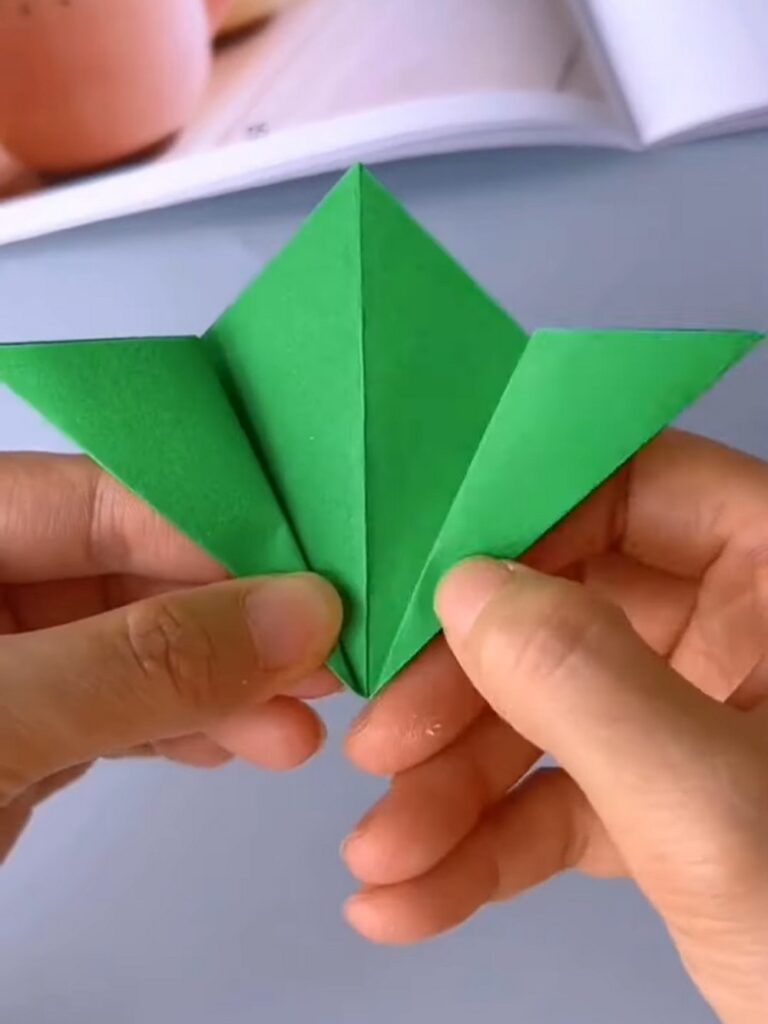
Step 4: Resetting and Center Folding
- Undo the fold from Steps 2 and 3, returning the flaps to the triangle shape. This was all done as a creasing step, which will let us make the petals 3D in the end.
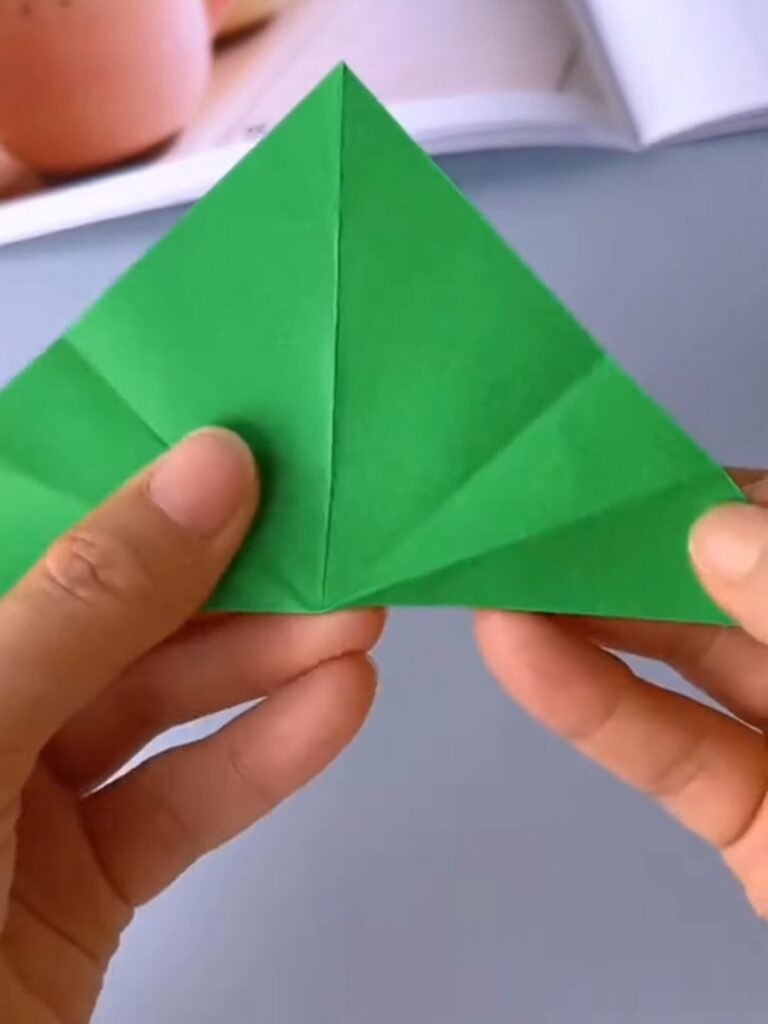
- Take the top corner of the triangle and fold it straight down until the corner touches the bottom edge of the model.
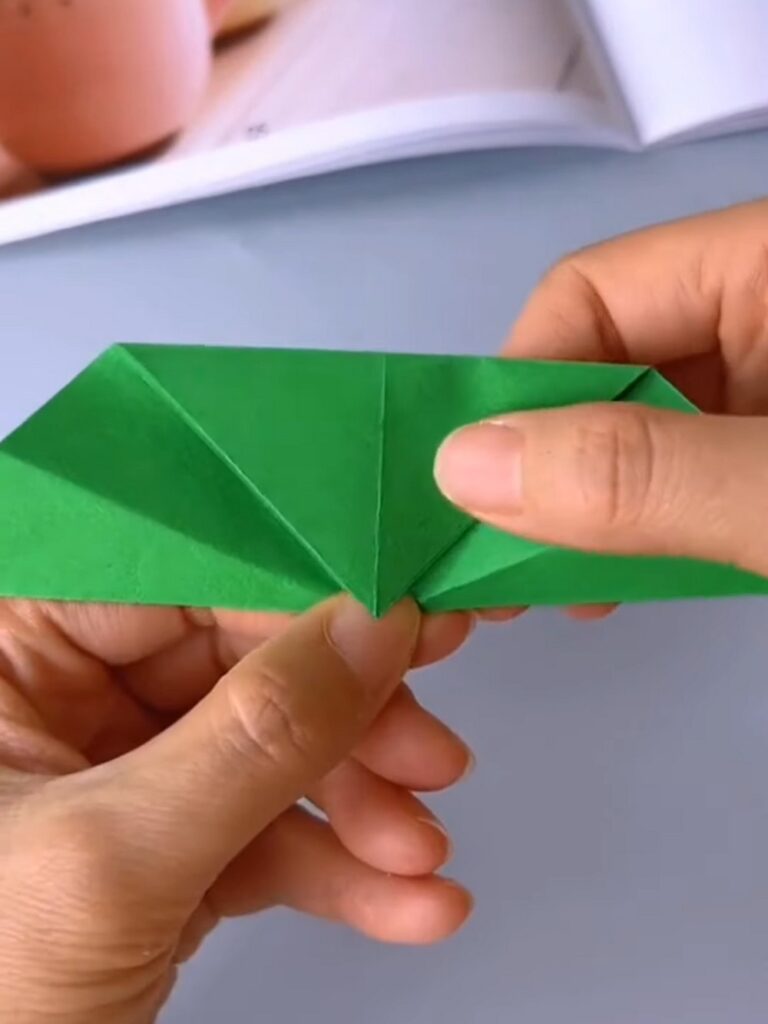
Step 5: Rotation
- Rotate the while paper model 90 degrees sideways. This will reposition and allow for easier handling during the final gluing phase.
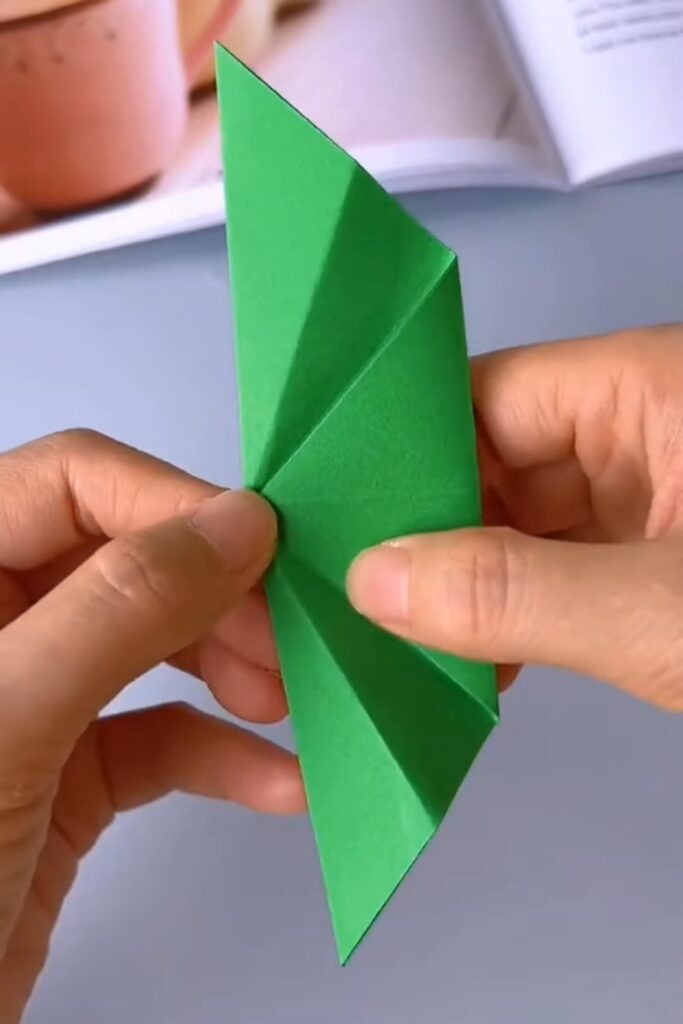
Step 6: Applying Glue
- Identify the side flap creases created in Step 3.
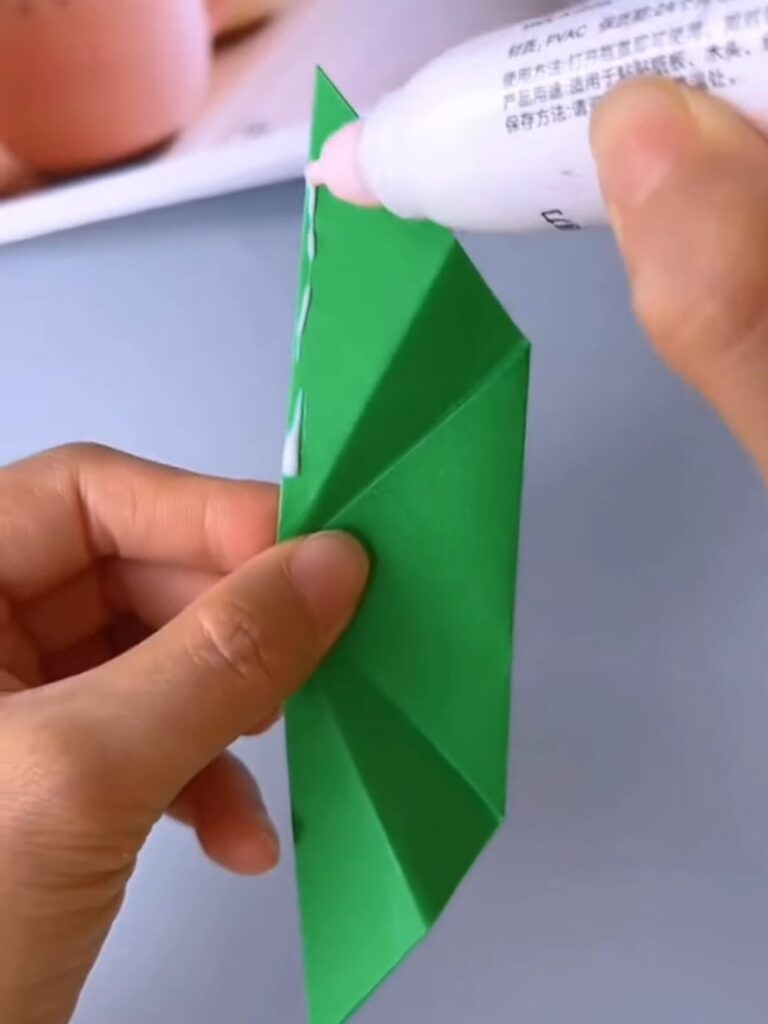
- Apply a thin, even layer of white glue to the surface of one of these top-side flaps.
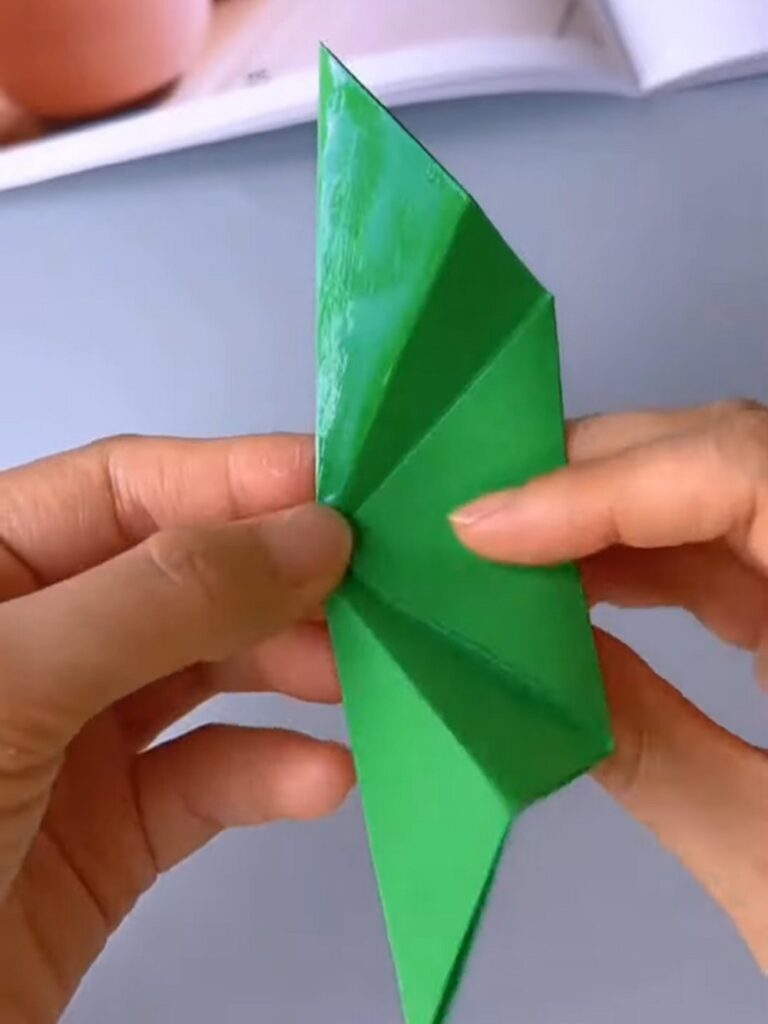
Step 7: Completing the Petal
- Fold the entire model in half, along the horizontal, bringing the two sides together.
- Press the glued flap against the opposite side firmly for several seconds.
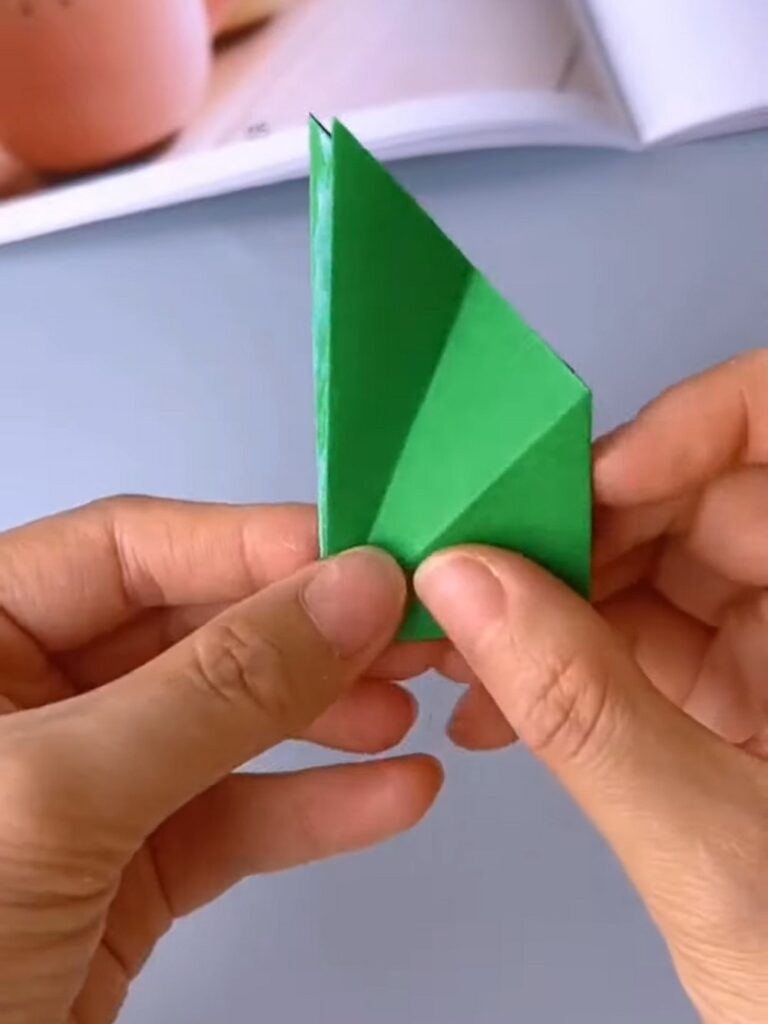
- As the glue sets, the center will naturally open up, resulting in a finished, three-dimensional petal.
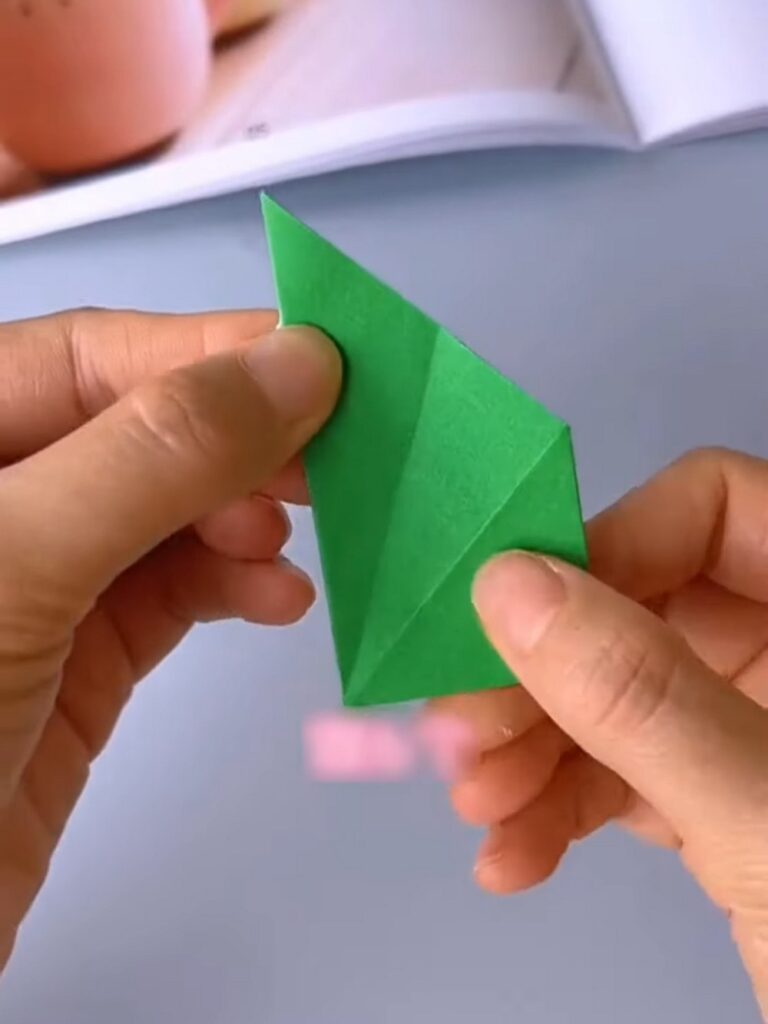
Step 8: More Petals
- Repeat the folding and gluing from the previous steps until you have a set of six petals.
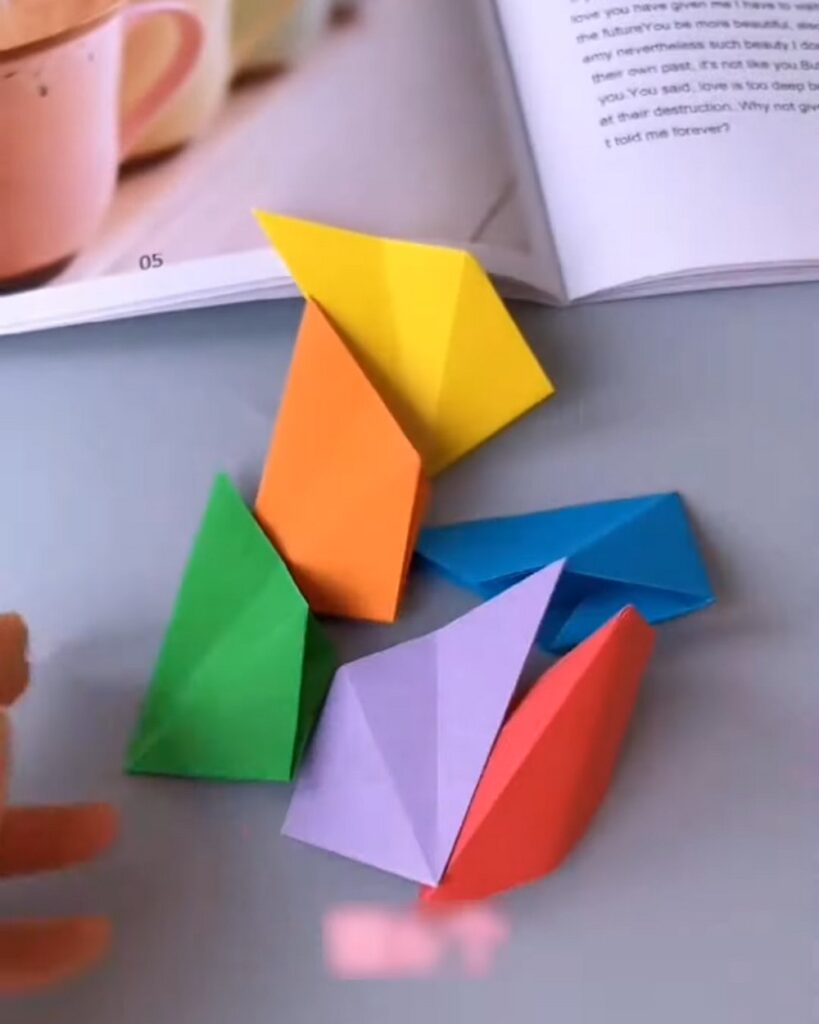
- Be sure every petal is folded well so they fit together symmetrically in a perfect circle.
Feels Difficult?
Step 9: Rolling the Paper Stem
- Take a rectangular sheet of green craft paper and lay it flat.
- Place a thin wooden skewer or a pencil at one corner of the bottom edge.
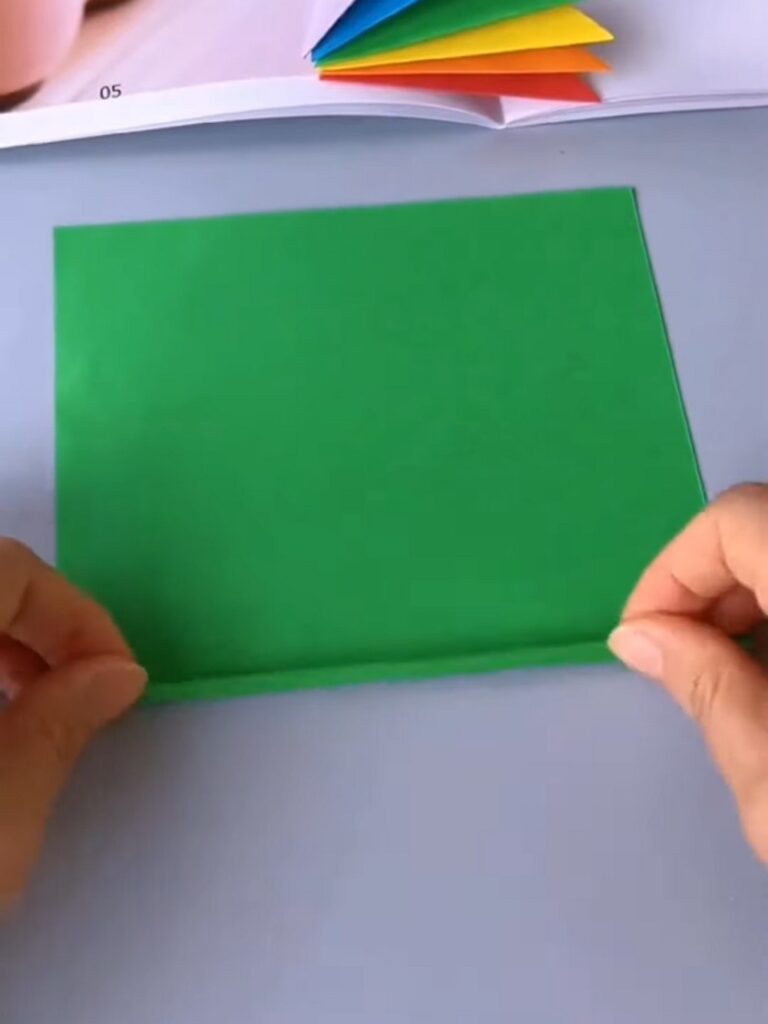
- Roll the paper tightly around the skewer to make a long, sturdy paper tube.
- Apply a thin line of glue along the remaining edge of the paper to secure the tube, then slide the skewer out.
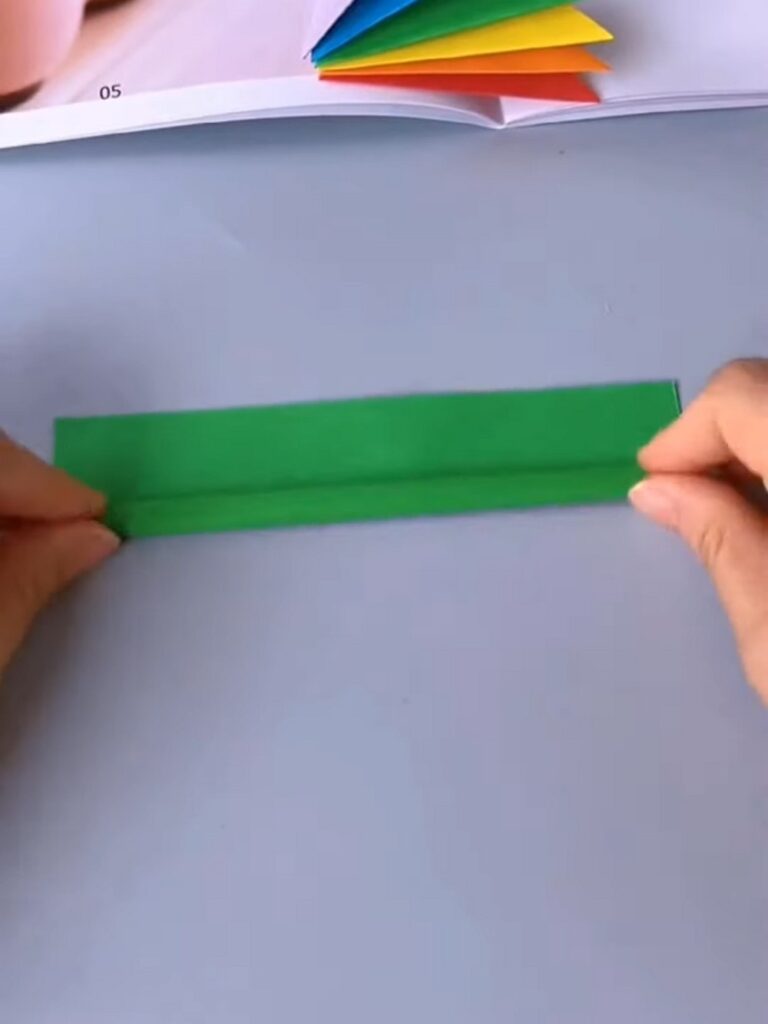
Step 10: Assembling the Flower Head
- Apply a thin layer of glue to the outer side seam of one petal.
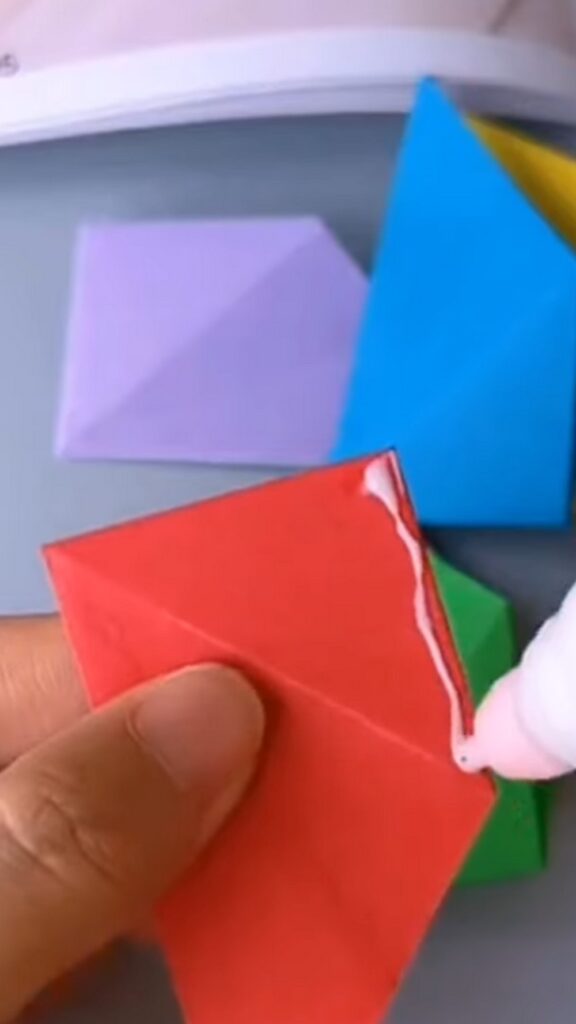
- Press the side seam of a second petal against it, aligning the bottom points perfectly. Be sure to apply glue on one edge as shown. Make two of these.
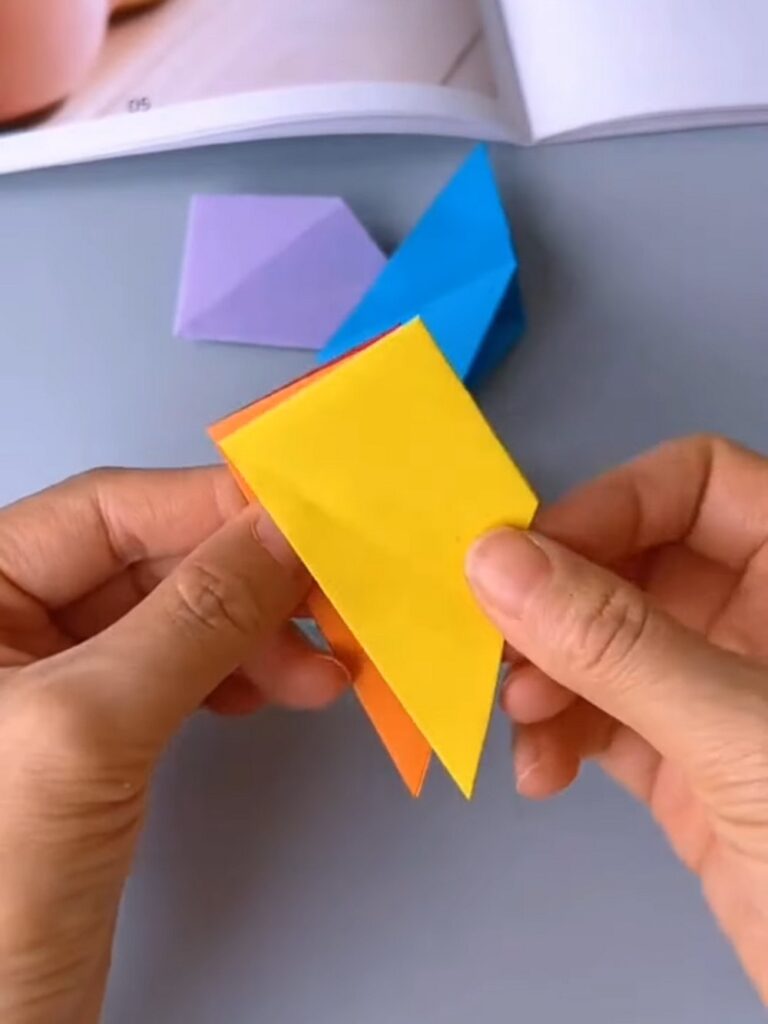
- Continue joining the petals side-by-side.
Step 11: Attaching the Stem to the Center Opening
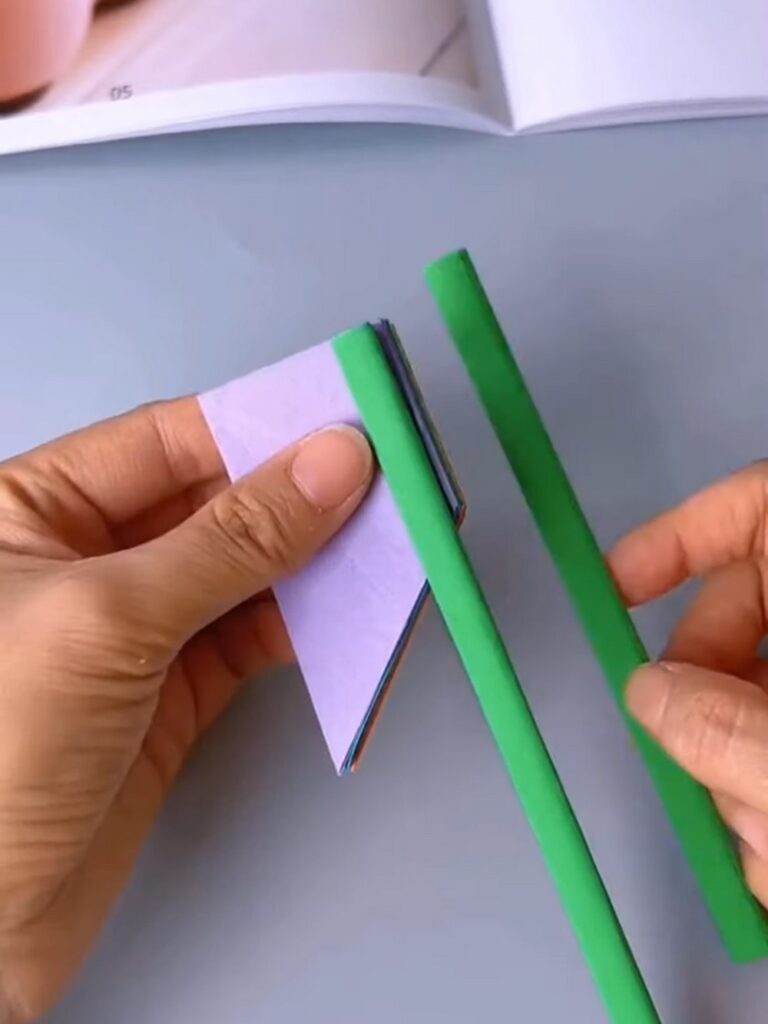
- Apply a small amount of glue to the top 1/2 inch of your green paper tube.
- Attach to the top and bottom, and top on the top edge.
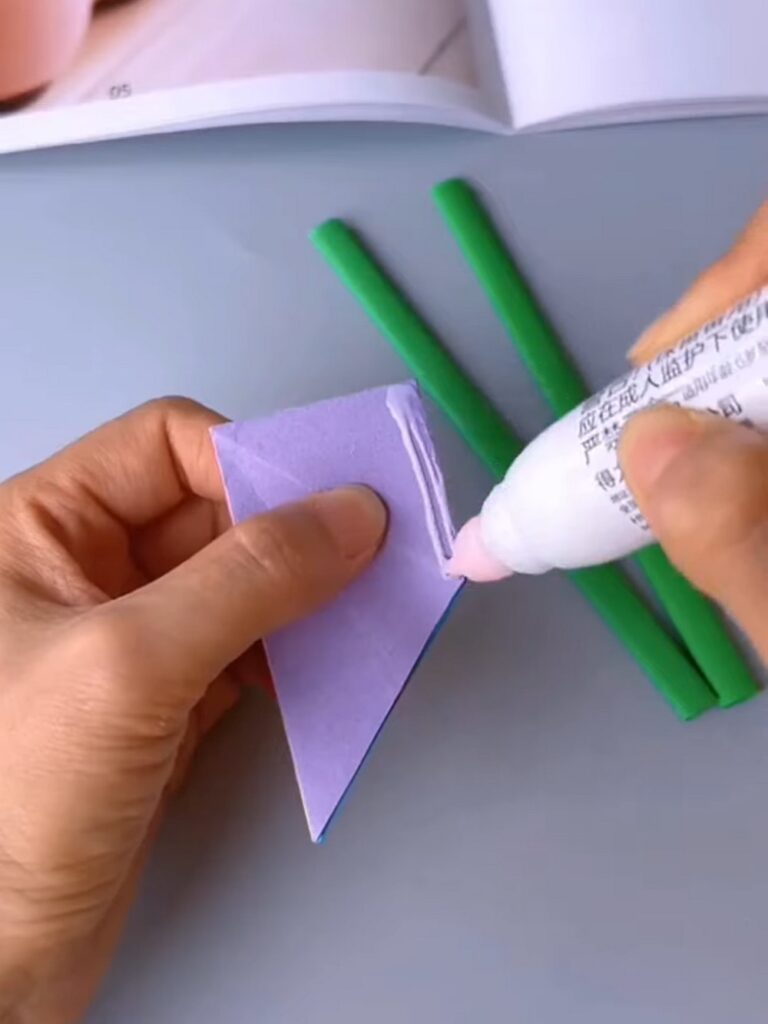
- Hold the stem in place for at least 60 seconds to have a permanent bond.
How to Open?
Hold the top and bottom stems and pull both outwards to open the modular flower.
About "MAKE DIY via YouTube"
She is running one of the most special corner of paper crafts that are all quick and easier and require no skill!

About "Talha"
Hey, I’m Talha, the Crafter on Craftstive.com. I love to share guides on folding cute origami models and paper crafts, and I am always ready to inspire your next craft project with my weekly craft discussions.