Show support for CraftBe9!
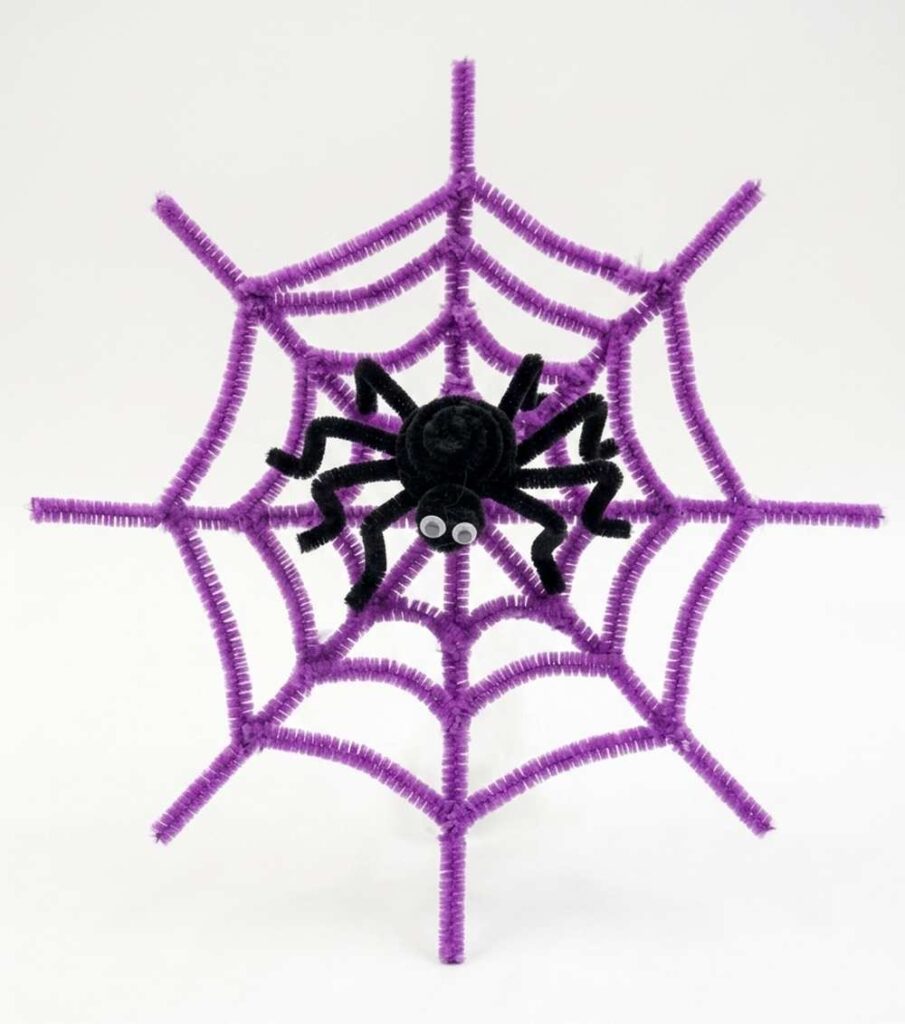
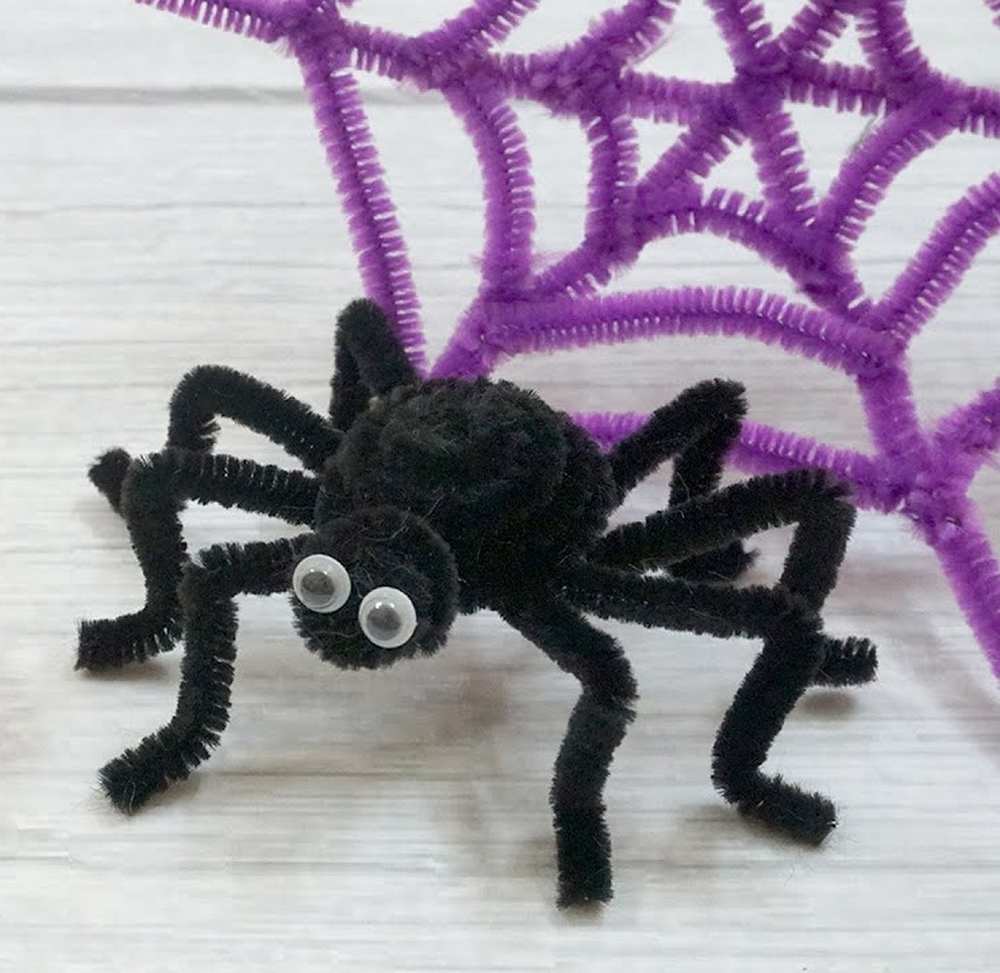
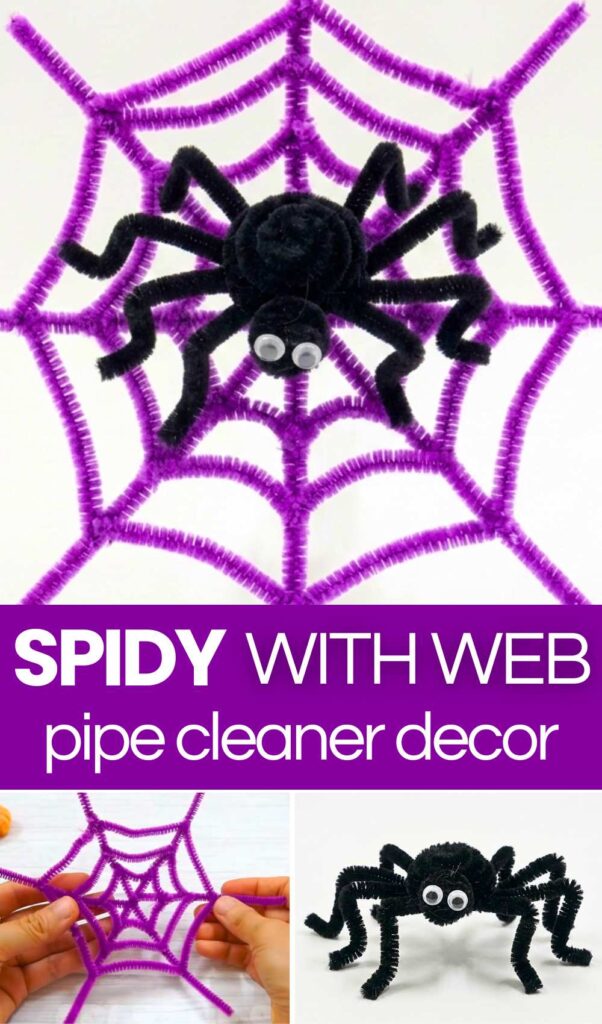
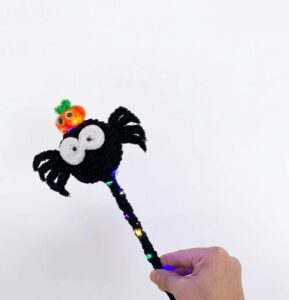
I have been recommending making a pipe cleaner spider and a spiderweb as a Halloween decoration this year. So, today, I am practically sharing this 2-in-1 spider crawling on a spiderweb pipe cleaner crafting guide that requires absolutely zero experience with pipe cleaners. The idea is to craft a googly-eyed black spider plushie sitting on a pipe cleaner purple spiderweb. You can decorate the doorway, porch, and even a magic wand with this craft.
Or you can also craft this set of pipe cleaner spider and spiderweb, weave the fairy lights, and call the kids for trick-or-treating. This method will make a hexagonal spider web pattern, so by changing the size of the base pipe cleaners, you can make it any bigger.
I have already shared 4+ tutorials to DIY a Halloween pipe cleaner spider; if you want to pair one with the pipe cleaner purple spiderweb, learn how to make this googly-eyed black spider plushie. You can also make a small pumpkin to make your DIY spiderweb scene look even more beautiful and appealing. Now, continue reading to learn more about this Halloween spooky project for beginners.
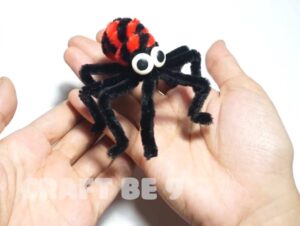
Tutorial to DIY Pipe Cleaner Spider + Spider Web
Making a spooky Halloween decorations is easy and fun with pipe cleaners (chenille stems). This guide covers how to make a purple spider web and a creepy-crawly black spider.
Materials Needed
For the Spider Web:
-
Purple Pipe Cleaners:
-
3 x 20cm (for the base)
-
1 x 20cm (inner ring)
-
1 x 30cm (middle ring)
-
1 x 40cm (outer ring)
-
-
Scissors
For the Spider:
-
Black Pipe Cleaners:
-
4 x 15cm (for the legs)
-
1 x 30cm (for the body)
-
1 x 15cm (for the head)
-
-
Googly Eyes
-
Hot Glue Gun
Beginner?
Part 1: The Spider Web
-
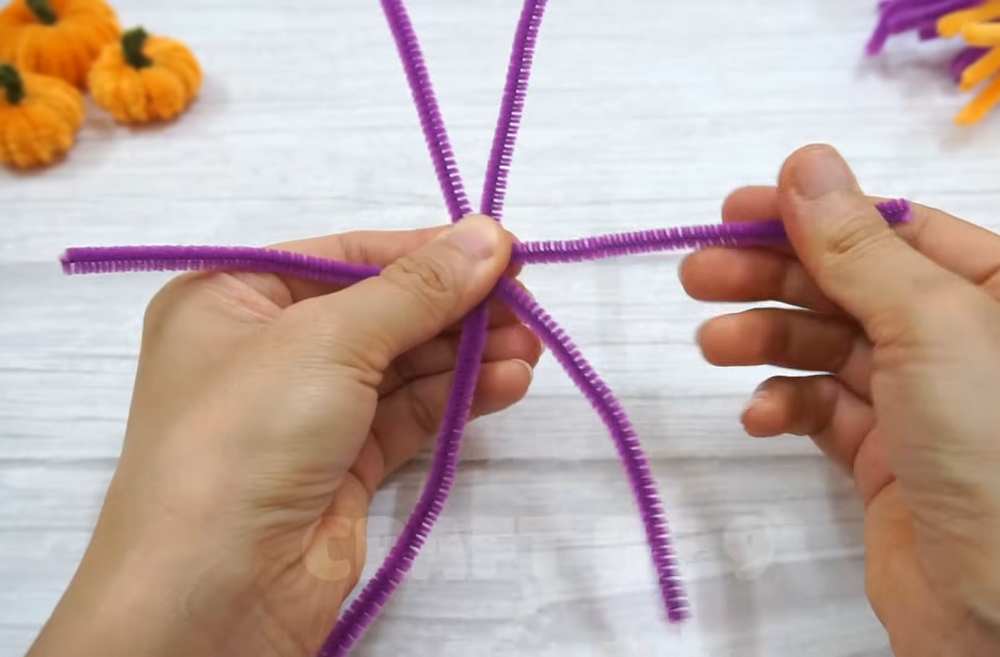
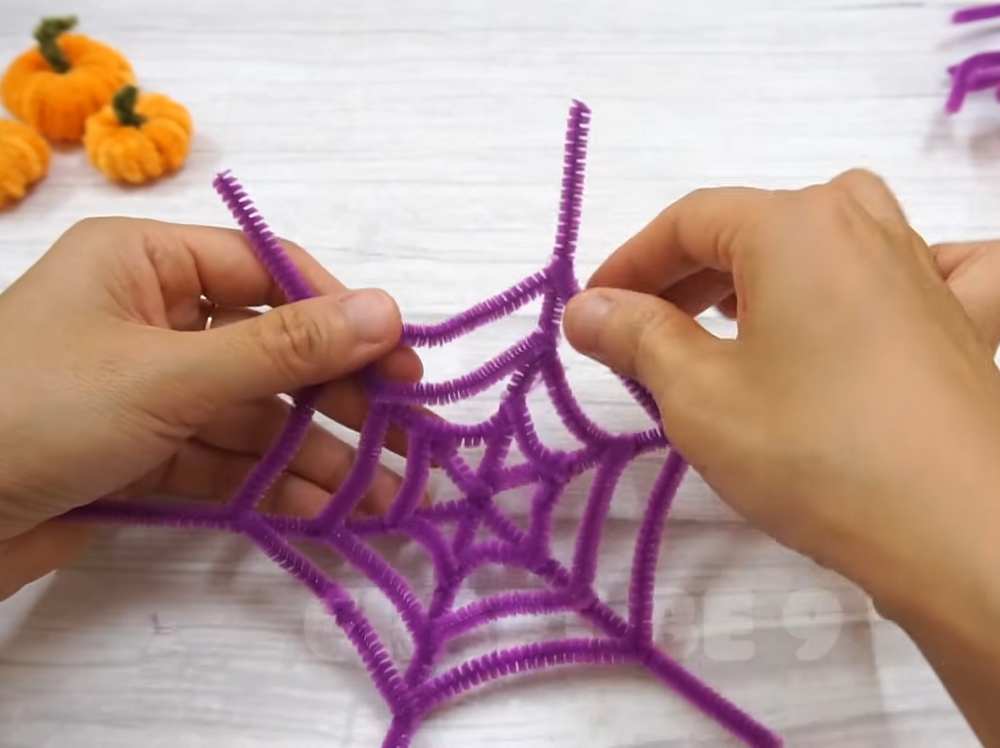
Create the Base: Take the three 20cm purple pipe cleaners and lay them across each other in a star shape. Twist them together tightly in the very center so you have six “legs” of equal length poking out.
-
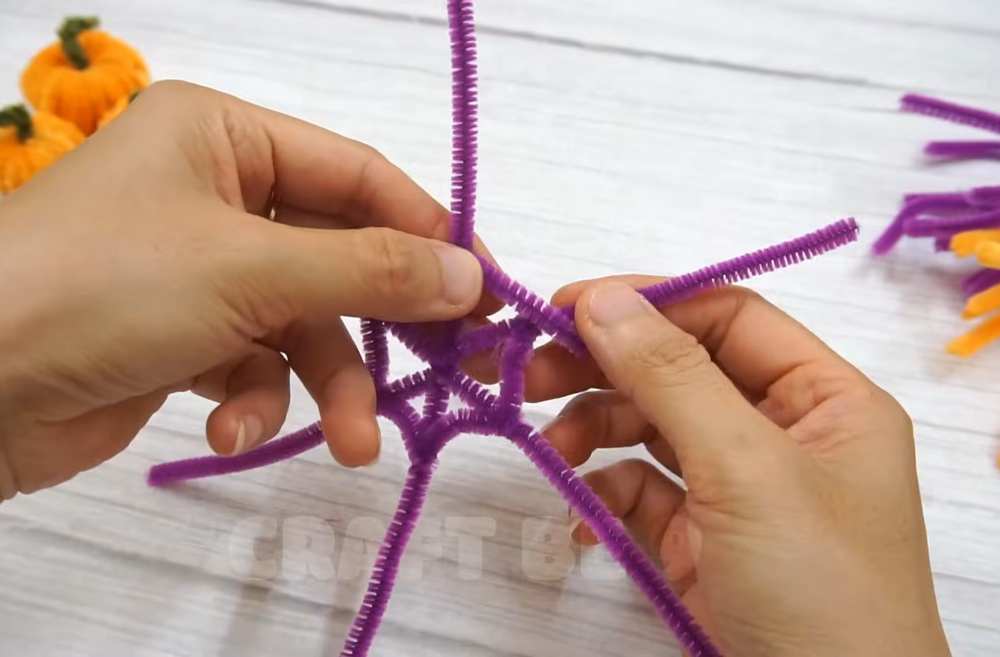
The Inner Ring: Take another 20cm purple pipe cleaner. Start near the center of your star base. Wrap the end of this pipe cleaner around one of the star legs, then move to the next leg, wrapping it once around that leg to secure it. Continue until you have a full circle. Trim any excess.
-
The Middle Ring: Take the 30cm pipe cleaner and repeat the weaving process about 2–3 cm further out from the center. Twist it once around each leg as you go to keep the web taut.
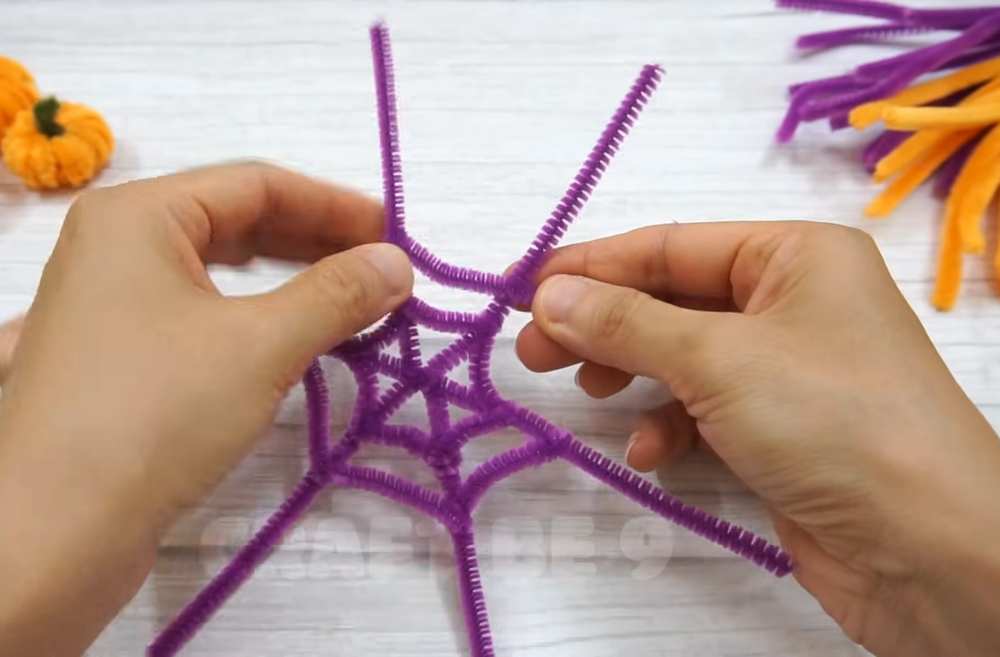
- The Outer Ring: Take the 40cm pipe cleaner and weave it near the outer edges of the star legs.
-
Finish: Trim any protruding ends of the base legs if they are uneven. Your web is now complete!
Part 2: The Spider
-
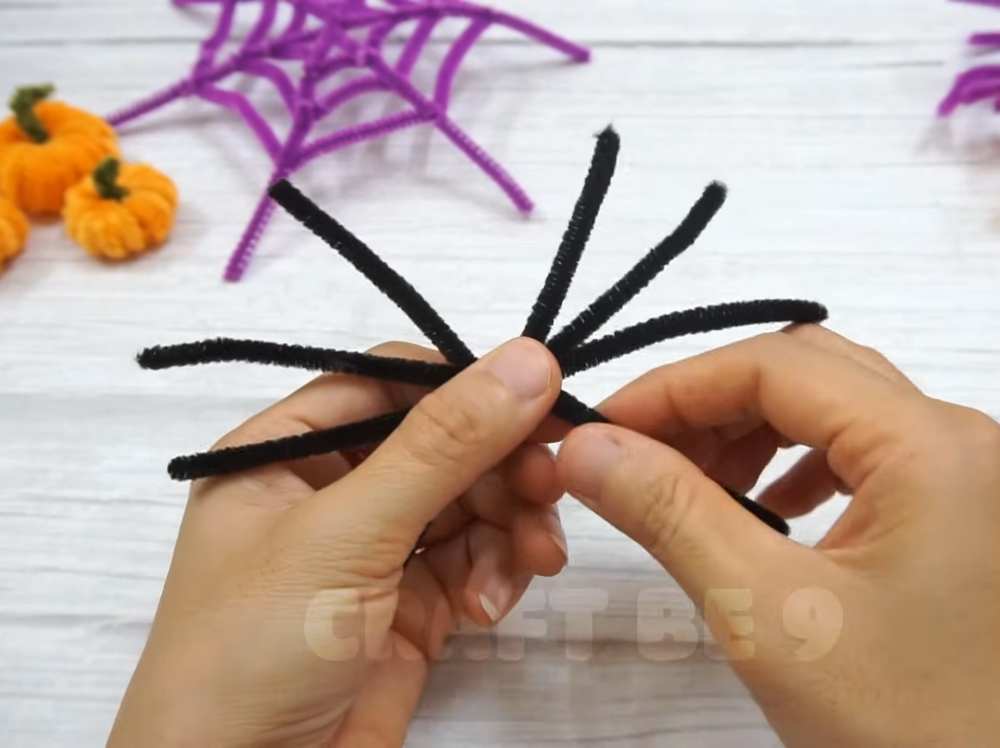
Form the Legs: Take the four 15cm black pipe cleaners. Align them and twist them together in the center. Spread the ends out so you have four legs on each side (eight legs total).
-
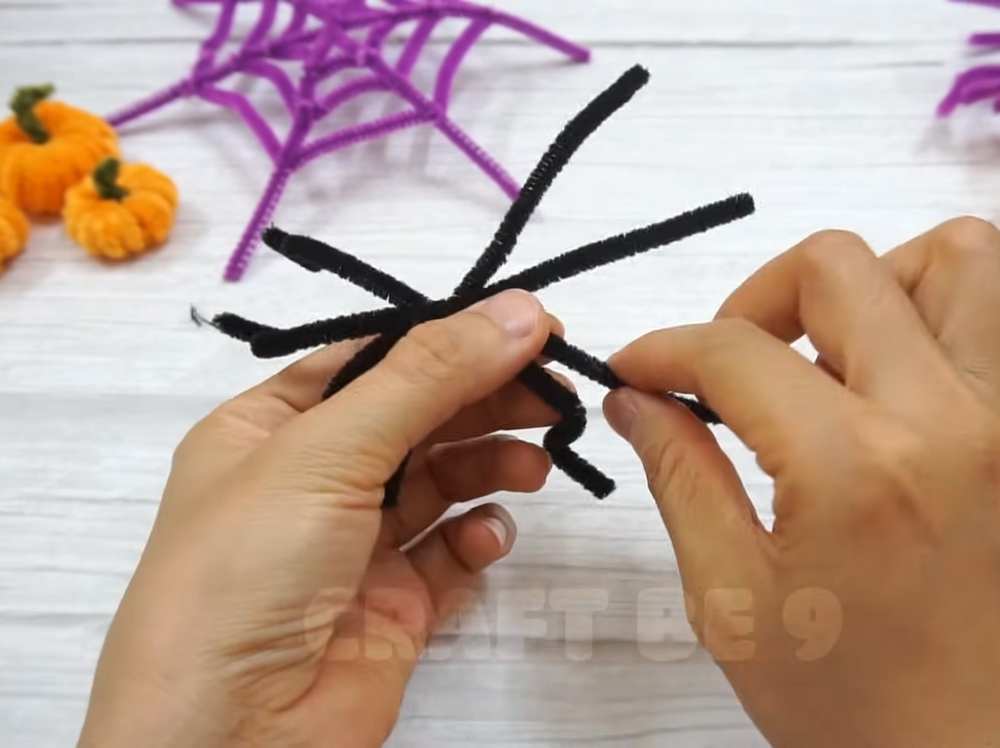
Shape the Posture: To make the spider look realistic, bend each leg upward near the body, and then bend it downward about halfway down the leg. This gives the spider its “standing” look.
-
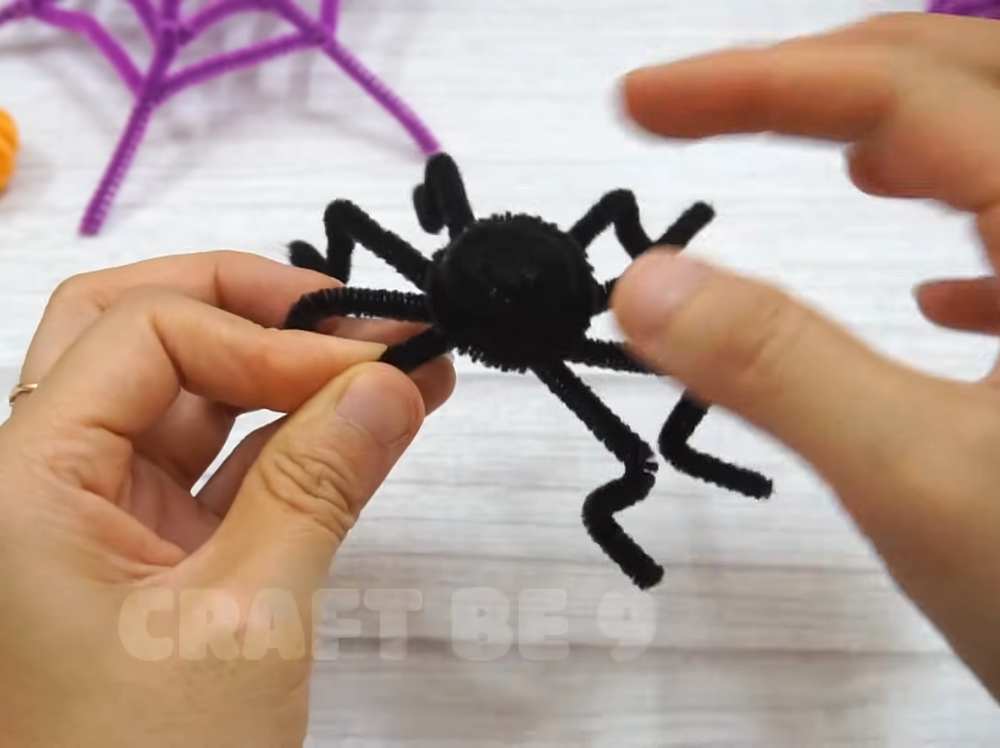
Craft the Body: Take the 30cm black pipe cleaner. Start at one end and roll it into a tight, flat spiral (like a cinnamon roll). Secure the end with a dab of hot glue. This is the spider’s abdomen.
-
Assemble the Body: Use hot glue to attach the center of the leg structure to the bottom of the body spiral.
-
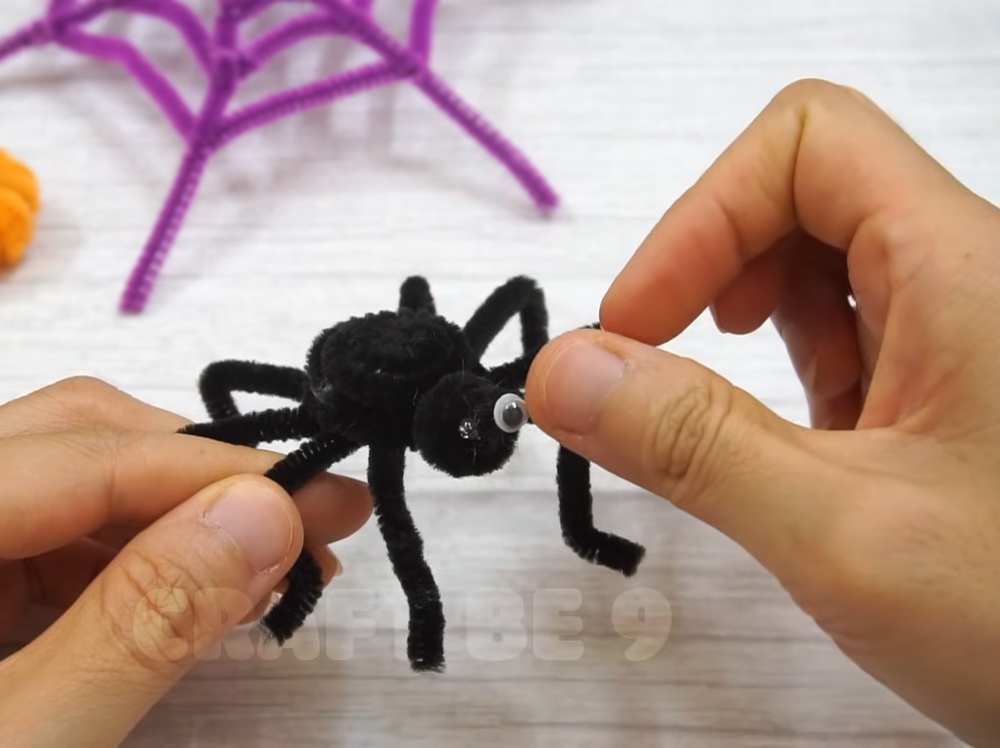
Craft the Head: Take the 15cm black pipe cleaner and roll it into a smaller spiral. Glue this smaller spiral onto the front of the body.
-
Add Eyes: Use two small drops of hot glue to attach googly eyes to the front of the head.
-
Final Touch: Place your spider onto the purple web! You can hook its legs over the rings of the web to keep it in place.