
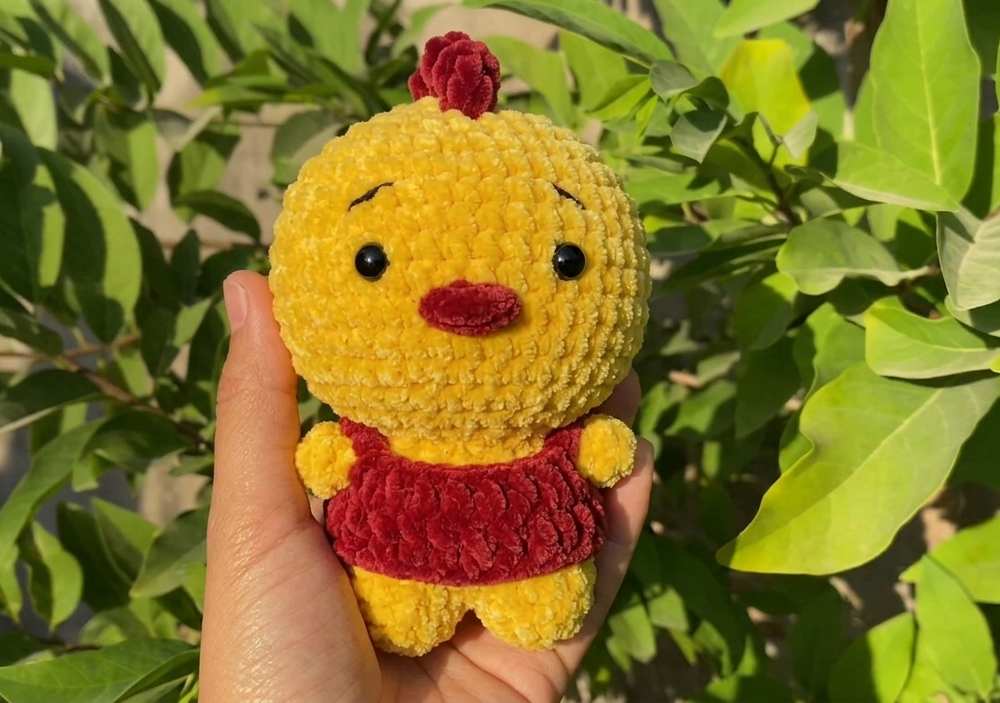
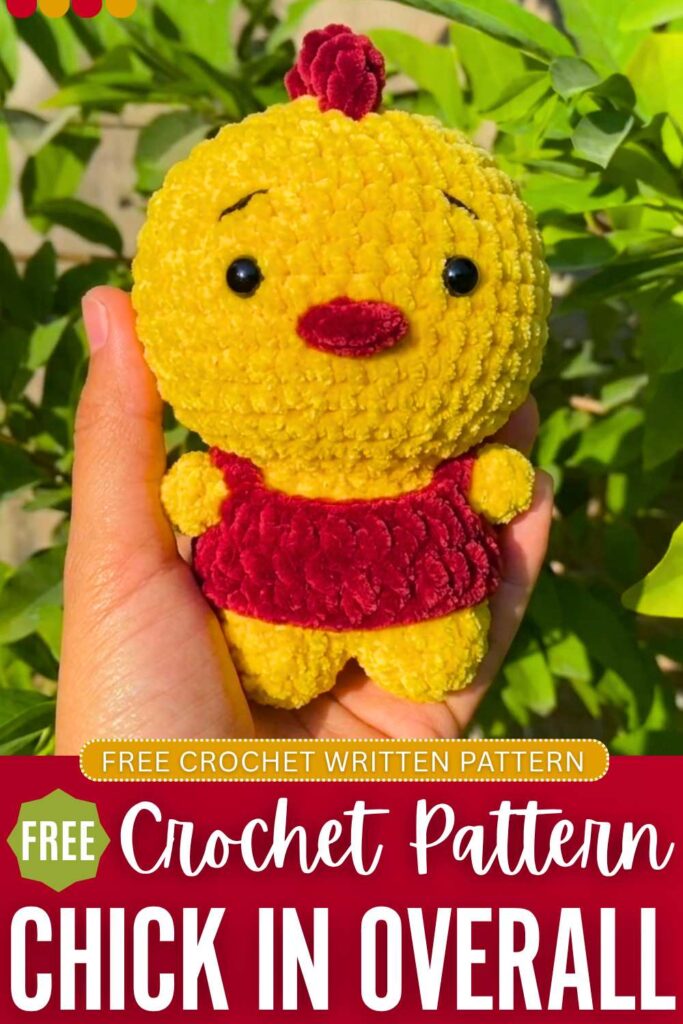
Welcome to part 3 of the four miniature dressed animal crochet plushies series. Today, I will show you how to crochet this cute little chick in an overalls plush that is SIMPLY ADORABLE. This version also requires the same base pattern, which is again low-sew and quick to crochet. You can also crochet it for Thanksgiving, fall, or for gifting to a baby shower. Will make a Winnie the Pooh color-combo (the red and the yellow) to crochet it.
You can also use a little bigger eyes, as I think it would look even cuter that way. We shall crochet the comb and the beak as additional parts while everything stays the same. The only one left in this series now is the dog plushie. I will soon provide a pattern for that one, too. Now, continue reading for a full pattern to crochet this animal plush.
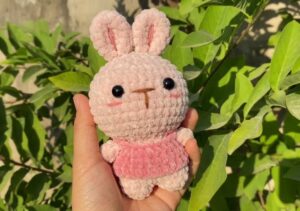
This is from part 1 if you missed crocheting it!
Crochet Baby Chicken Keychain Plush: Row-by-Row Pattern
Below is the pattern to crochet this miniature chicken plushie doll and keychain with the assembly in the end:
Materials Needed
- Main Color (MC) Yarn: Yellow plush chenille or velvet yarn (for the head, body, and arms).
- Contrast Color 1 (CC1) Yarn: Red plush yarn (for the comb and beak).
- Contrast Color 2 (CC2) Yarn: Teal (#008080) or Pink (#FF6B81) to give the camisole a vibrant, on-brand pop of color.
- Crochet Hook: Size appropriate for your chenille yarn (typically 4.0mm to 5.0mm).
- Safety Eyes: 8mm (recommended size for plush yarn).
- Other Supplies: Fiberfill stuffing, tapestry needle, stitch markers, and scissors.
Abbreviations (US Terms)
- MR: Magic Ring (Vòng tròn ma thuật)
- CH: Chain (Mũi bính)
- SC: Single Crochet (Mũi đơn)
- DC: Double Crochet (Mũi kép đơn)
- INC: Increase – 2 sc in one stitch (Tăng mũi)
- DEC: Decrease – 2 sc together (Giảm mũi)
- SK: Skip (Bỏ qua)
- ST(S): Stitch(es) (Mũi)
- ( … ) * x: Repeat instructions inside parentheses the specified number of times
- [ … ]: Total number of stitches at the end of the round
1. Head (Đầu)
- Use Yellow yarn. Stuff firmly as you go.
- R1: MR, 6 sc [6]
- R2: 6 inc [12]
- R3: (1 sc, 1 inc) * 6 [18]
- R4: (2 sc, 1 inc) * 6 [24]
- R5: (3 sc, 1 inc) * 6 [30]
- R6: (2 sc, 1 inc, 2 sc) * 6 [36]
- R7: (5 sc, 1 inc) * 6 [42]
- R8: (3 sc, 1 inc, 3 sc) * 6 [48]
- R9 – R16: 48 sc [48 for 8 rounds]
- Tip: Insert safety eyes between Rounds 13 and 14, spaced about 7 to 8 stitches apart.
- R17: (3 sc, 1 dec, 3 sc) * 6 [42]
- R18: (5 sc, 1 dec) * 6 [36]
- R19: (2 sc, 1 dec, 2 sc) * 6 [30]
- R20: (3 sc, 1 dec) * 6 [24]
- R21: (2 sc, 1 dec) * 6 [18]
- Fasten off, leaving a long tail for sewing. Finish stuffing the head completely so it is perfectly round.
2. Chicken Comb (Mào gà)
- Use Red yarn. Do not stuff these pieces.
- Small Piece (Make 1 or 2, depending on preference):
- R1: MR, 6 sc [6]
- R2: 6 sc [6]
- Fasten off, leaving a tail for sewing.
- Big Piece (Make 1):
- R1: MR, 6 sc [6]
- R2 – R3: 6 sc [6 for 2 rounds]
- Fasten off, leaving a tail for sewing.
3. Beak (Mỏ) – Make 2
- Use Red or Orange yarn.
- R1: ch 3. Skip the 1st ch from the hook, work 1 dec across the remaining 2 chains (insert hook into first ch, pull up a loop, insert hook into next ch, pull up a loop, yarn over and pull through all 3 loops on hook).
- Fasten off, leaving a long tail for sewing. These two triangle pieces will form the upper and lower beak.
4. Legs and Body (Chân và cơ thể)
- Use Yellow yarn. This is a low-sew base joined directly at the legs.
- Leg 1:
- R1: MR, 9 sc [9]
- R2 – R3: 9 sc [9 for 2 rounds]
- Fasten off Leg 1.
- Leg 2 & Body Join:
- R1 – R3: Repeat instructions for Leg 1. Do NOT fasten off Leg 2.
- R4 (The Join): Continue from Leg 2, insert your hook directly into any stitch on Leg 1. Crochet 9 sc around Leg 1. Then, crochet 9 sc around Leg 2. [18 total stitches]
- R5 – R9: 18 sc [18 for 5 rounds]
- Fasten off, leaving a long tail. Stuff the body and legs firmly.
5. Arms (Tay) – Make 2
- Use Yellow yarn. These do not require stuffing.
- R1: MR, 6 sc [6]
- R2 – R3: 6 sc [6 for 2 rounds]
- Fasten off, leaving a long tail for sewing.
6. Clothing: Camisole Vest
- Use Teal or Pink yarn. This piece is worked flat in rows, turning at the end of each row.
- Row 1: ch 25. Skip the first 3 chains (counts as 1 dc). Work 1 dc in each of the remaining 22 chains. [23 total stitches including the turning chain]
- Row 2: ch 1, turn. Work 4 sc, ch 5, skip 3 stitches (creates the first armhole), 8 sc, ch 5, skip 3 stitches (creates the second armhole), 4 sc.
- Fasten off and weave in the ends.
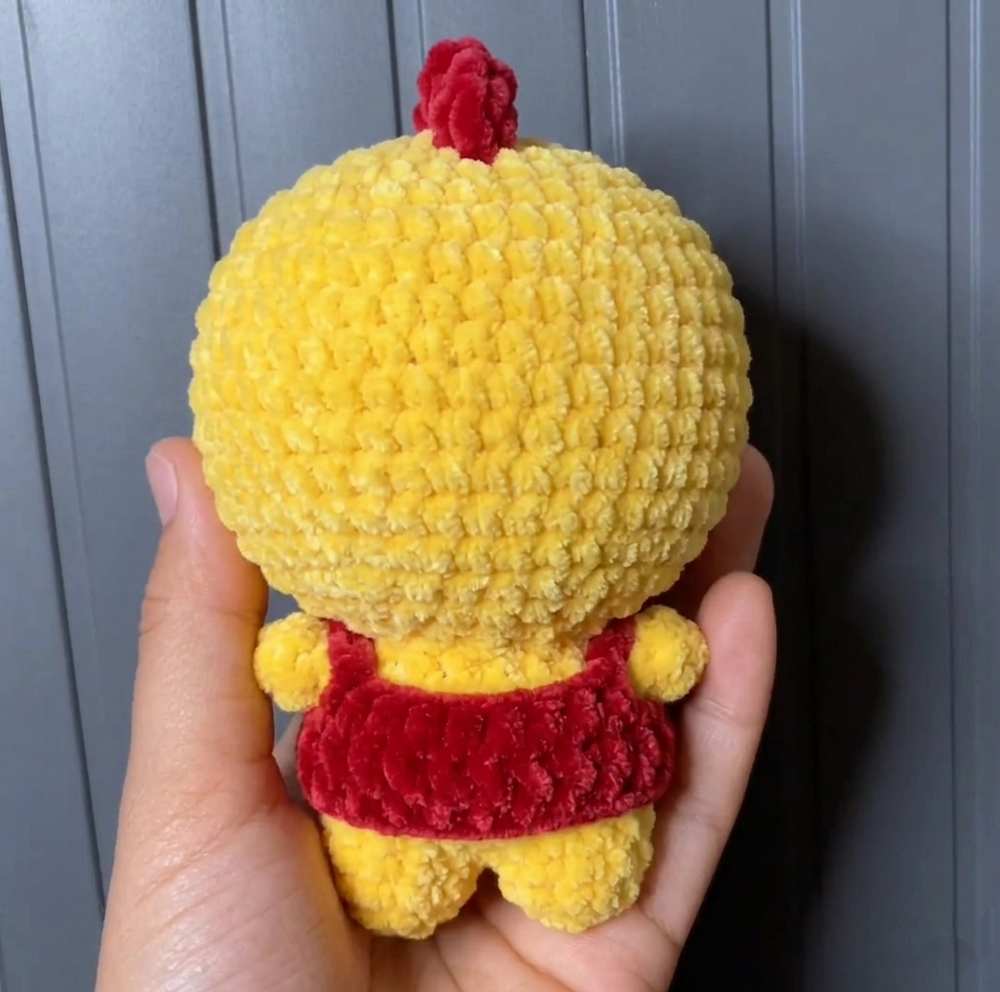
7. Detailed Assembly Guide
- Attaching Head to Body:
- Position the head squarely on top of the open neck of the body.
- Whipstitch the opening of the body (18 sts) to the opening of the head (18 sts). Add extra stuffing to the neck cavity right before closing the seam to keep the heavy head secure and upright.
- Assembling the Comb:
- Flatten the Small and Big red comb pieces.
- Pin them in a row across the top center of the head (e.g., Small, Big, Small).
- Sew them securely in place along Rounds 3 to 5 of the head.
- Attaching the Beak:
- Pin the two beak triangles directly between the eyes (around Rounds 13 and 14). Place one pointing slightly up and the other directly below it pointing slightly down.
- Sew the base of both beaks firmly to the face.
- Attaching the Arms:
- Pin the arms to the sides of the body, right below the neck seam.
- Sew the flat top of the arms securely to the body.
- Dressing the Chicken:
- Wrap the camisole around the chicken’s body, guiding the arms through the chain-5 armholes from Row 2.
- You can use a small piece of matching yarn to tie the vest closed at the front, or leave it hanging open.

About "Talha"
Hey, I’m Talha, the Crafter on Craftstive.com. I love to share guides on folding cute origami models and paper crafts, and I am always ready to inspire your next craft project with my weekly craft discussions.