
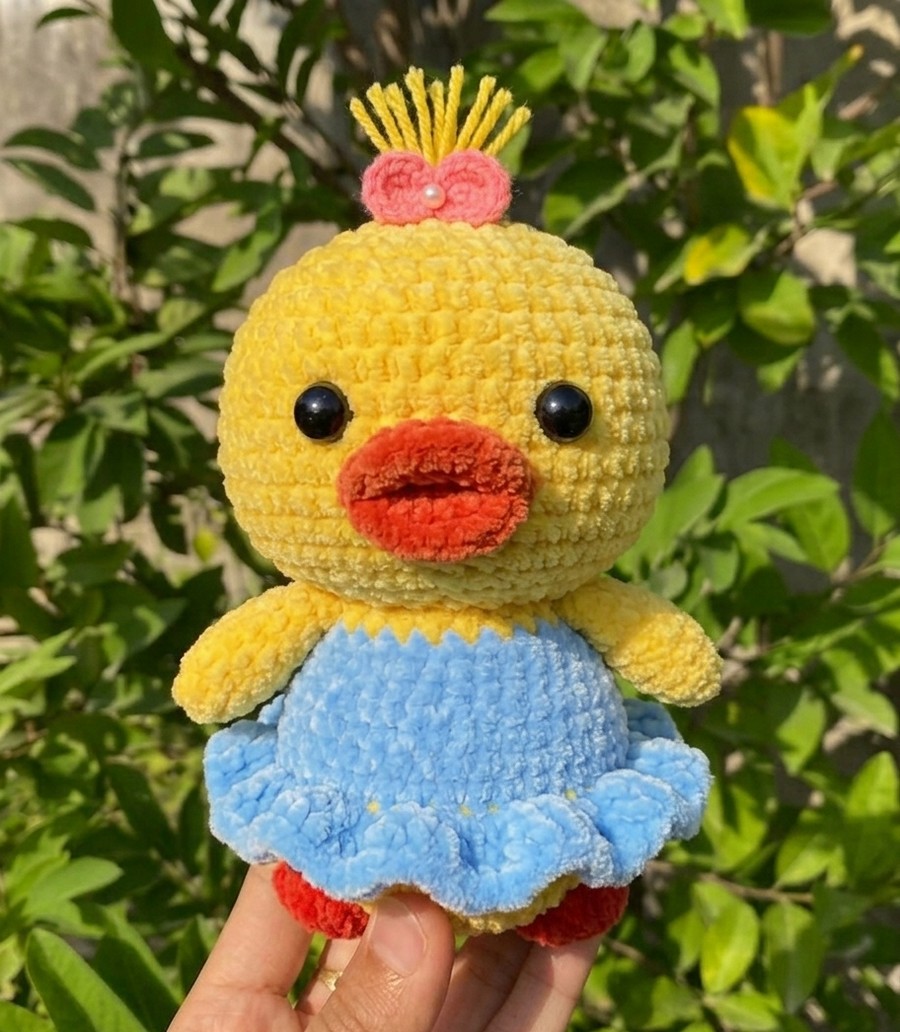
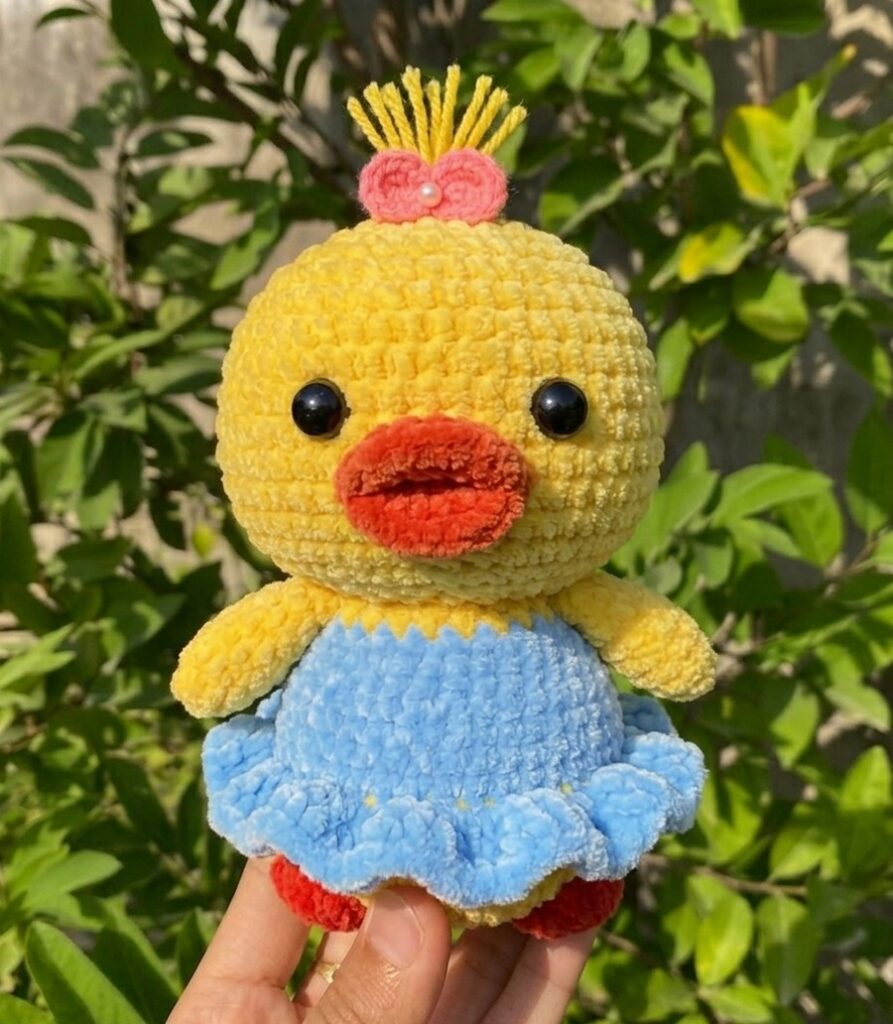
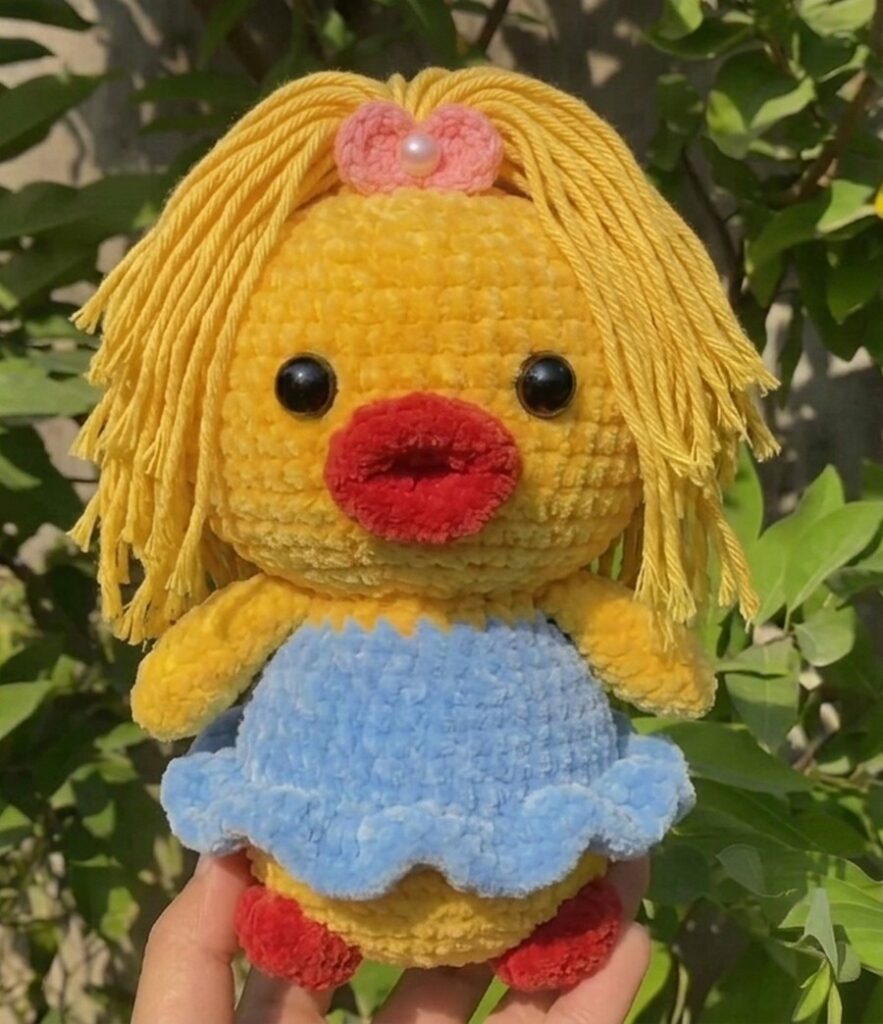
Looking for the CUTEST summer plushie gift for a baby girl? Learn how to crochet this dress like a princess – crochet a duck plushie doll with a free pattern that you can find here. She wears a no-sew ruffled skirt, a girl’s dress, and a sweet little bow tie on her head. I will share the pattern for the plush, as well as its tiny accessories and how to make its hair. Even with a 2mm plush yarn, you will end up with a big duck plushie similar to the flower duck plush I have shared already.
Well, it is not the extension of the crochet duck face plush. Instead, we are crocheting a plush from scratch, and it is simply adorable. We will crochet it in many parts. You can easily crochet it as one piece by crocheting in the pieces. Now, continue reading for the full duck plushie pattern.
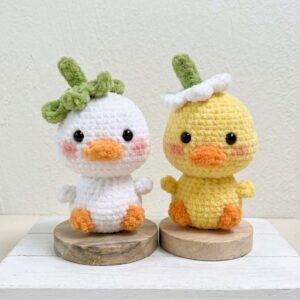
Well, this is not the only crochet duck plushie I have shared. Here is one more of them:
Crochet Dressed Girl Duck Plush: Round-by-Round Pattern
Note: This crochet pattern will guide you to crochet the head, beak, feet, bow tie, and wings of this crochet duck plush. And below is this crocheted girl duck pattern with the assembly in the end:
Materials Needed
- Yarn: Chenile yarn (Yellow for head/body/wings, Blue for the dress, Red/Orange for beak/feet)
- Hook: 5mm crochet hook
- Yellow cotton yarn for the hair and pink cotton yarn for the bow)
- Eyes: 15 mm safety eyes
- Stuffing: Fiberfill
- Pins: Stitch markers
- Needle: Tapestry needle / kim khâu len
- Scissors
Abbreviations (US Terms)
- MR: Magic Ring
- ch: chain
- sc: single crochet
- hdc: half double crochet
- dc: double crochet
- tr: treble crochet
- inc: increase (2 sc in one stitch)
- dec: decrease (sc 2 stitches together)
- tr inc: treble crochet increase (2 tr in one stitch)
- sl st: slip stitch
- BLO: Back Loops Only
- FLO: Front Loops Only
- [ ] or ( ): Repeat instructions within brackets/parentheses as directed
Pattern Instructions
Head
Use Yellow yarn.
- R1: MR, 7 sc (7)
- R2: 7 inc (14)
- R3: (sc, inc) * 7 (21)
- R4: (sc, inc, sc) * 7 (28)
- R5: (3 sc, inc) * 7 (35)
- R6: (2 sc, inc, 2 sc) * 7 (42)
- R7: (5 sc, inc) * 7 (49)
- R8 – R9: 49 sc (49)
- R10: (3 sc, inc, 3 sc) * 7 (56)
- R11 – R12: 56 sc (56)
- R13: (3 sc, inc) * 14 (70)
- R14 – R21: 70 sc (70)
- R22: (3 sc, dec) * 14 (56)
- R23: (sc, dec, sc) * 14 (42)
- R24: (sc, dec) * 14 (28) Fasten off and leave a long tail for sewing. Stuff the head firmly.
Body (Wearing a Dress)
Start with Yellow yarn.
- R1: MR, 7 sc (7)
- R2: 7 inc (14)
- R3: (sc, inc) * 7 (21)
- R4: (sc, inc, sc) * 7 (28)
- R5: (3 sc, inc) * 7 (35)
- R6: (2 sc, inc, 2 sc) * 7 (42)
- R7: (5 sc, inc) * 7 (49)
- R8 – R13: 49 sc (49) Change to Blue yarn.
- R14: BLO (49 sc) (49)
- R15 – R16: 49 sc (49)
- R17: (5 sc, dec) * 7 (42)
- R18 – R19: 42 sc (42)
- R20: (2 sc, dec, 2 sc) * 7 (35)
- R21 – R22: 35 sc (35) Change back to Yellow yarn.
- R23: (3 sc, dec) * 7 (28)
- R24: 28 sc (28) Fasten off. Stuff the body firmly.
Dress Ruffle (Back to R14)
Attach Blue yarn to the unworked Front Loops (FLO) of Row 14 on the body.
- FLO: [ch 3, 1 tr in the same stitch], [2 tr inc] * 48
(This means you will place 2 treble crochets into every single stitch around to create the ruffle.)
Fasten off and weave in the ends.
Wings (Make 2)
Use Yellow yarn.
- R1: MR, 6 sc (6)
- R2: (sc, inc) * 3 (9)
- R3: 9 sc (9)
- R4: (2 sc, inc) * 3 (12)
- R5: 12 sc (12)
- R6: (3 sc, inc) * 3 (15)
- R7 – R8: 15 sc (15)
- R9: (3 sc, dec) * 3 (12)
- R10 – R12: 12 sc (12)
Do not stuff heavily so they lay flat against the body. Fasten off, leaving a tail for sewing.
Feet (Make 2)
Use Red/Orange yarn.
- R1: 4 ch, skip 1 chain, inc, sc, [4 sc in 1 stitch],
(working down the other side of the chain) sc, inc (10) - R2 – R5: 10 sc (10)
Fasten off, leave a tail for sewing. Leave flat.
Beak
Use Red/Orange yarn.
- R1: MR, 7 sc (7)
- R2: 7 inc (14)
- R3: 3 sc, hdc, 3 sc, 3 hdc, dc, 3 hdc, sl st
Fasten off, leaving a long tail for sewing.
Bow Pattern
MR, ( 4 ch, 3 tr , 4 ch, sl st )*2
Assembly Instructions
1. Facial Features:
- Eyes: Insert the 10mm safety eyes between R13 and R16
of the head. Space them exactly 8 stitches apart.
Secure the backings inside before closing up or sewing the head. - Folding and Attaching the Beak: Take the completed beak piece
and fold the circle directly in half. The cluster of taller stitches
(3 hdc, dc, 3 hdc) from Row 3 should sit at the front
center to form the pointed tip of the bill. Pin the folded, straight
open edge horizontally onto the face between R15 and R18,
centering it exactly between the eyes. Sew the top and bottom edges
of the opening securely to the face. - Hair Strands: Cut 4 or 5 short pieces of yellow yarn. Then, using your
crochet hook or tapestry needle, attach them securely to the very top
center of the head (right at the Magic Ring) by tying them or looping
them through. Trim them to your desired length to stick up like a cute
tuft of hair. You can also crochet many long hairs instead of just like the what I showed.
2. Body Assembly:
- Attach Head to Body: Align the 28 stitches of the head’s final
row with the 28 stitches of the body’s final row. Whip stitch them
together around the neck, adding a little extra stuffing right before
closing to ensure the neck doesn’t wobble. - Attach Wings: Pinch the open ends of the wings flat. Sew them
to the sides of the yellow portion of the upper body (around R23/R24),
angled slightly backward or straight down over the dress. - Attach Feet: Sew the flat, open tops of the feet to the bottom
center of the body (around the starting magic ring) side-by-side,
pointing slightly outward so the duck can sit evenly.