
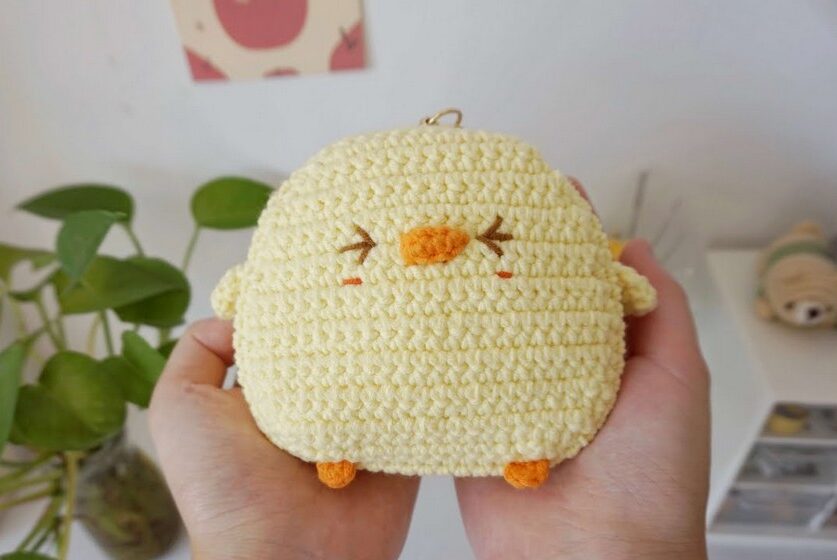
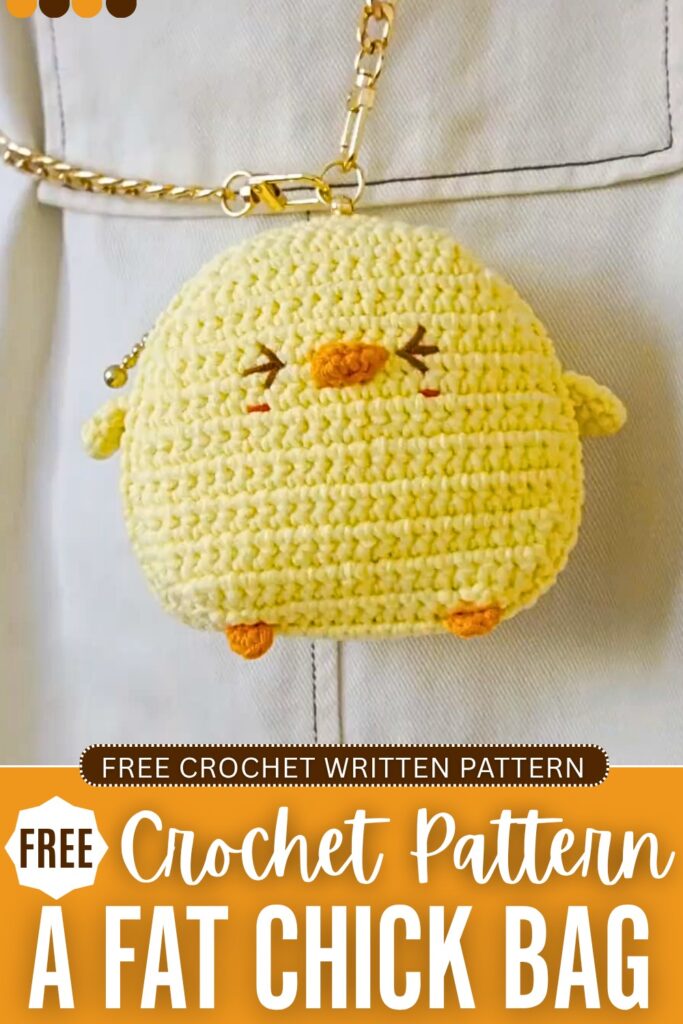
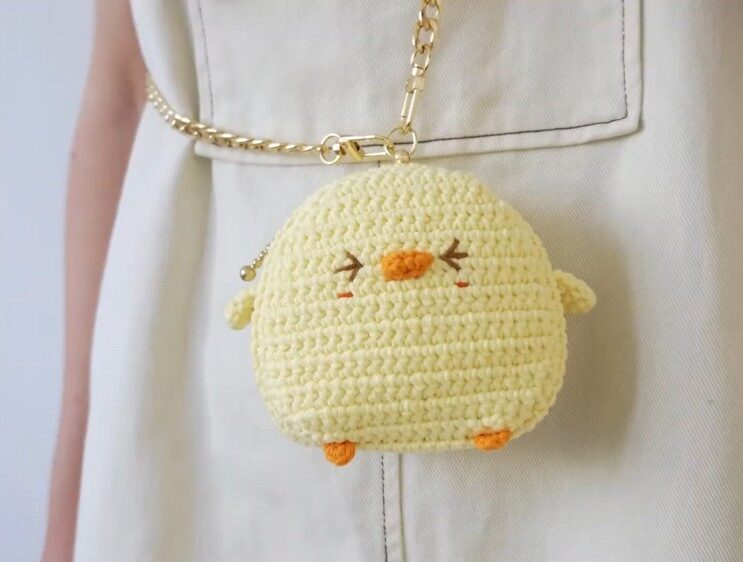
Other than looking funny and CUTE, a fat chick crochet pouch is also spacious naturally! So, this summer, make this crochet chubby chick crochet shoulder purse your ultimate travel buddy. This crochet pouch will come with a zipper and a jewelry chain strap that can be attached to the bag with the D-ring/pacifier nail.
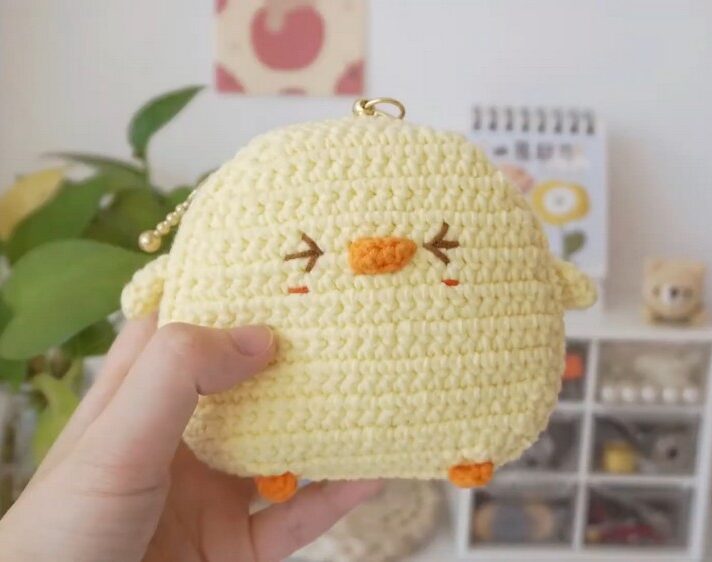
There are also those oh-so-cute sleeping eyes and the crochet mouth, just like the chick character you see in the kawaii art. To crochet it, you can use both the cotton and the plush yarn, and the results will definitely impress you.
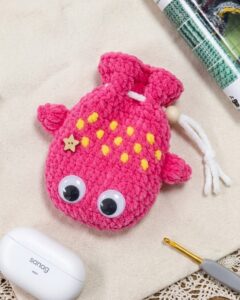
Kids will, in particular, be more than happy to receive it as a sling pouch and backpack (yes, you can crochet shoulder straps, too). Now, continue reading for the full fat chicken bag pattern. Well, you can also check other bag patterns, such as the loopy monster pouch and pig pouch!
Crochet Chubby Chicken Bag: Round-by-Round Pattern
Below is the free crochet pattern for this CUTE chubby chicken bag and gift, with the assembly in the end:
Materials Needed
- Yarn: 5-ply milk cotton yarn in yellow (main color), orange (feet/beak/blush), and brown (eyes).
- Hook: 3.0 mm crochet hook
- Other tools: Scissors, yarn needle, stitch markers, hot glue gun (for the zipper).
- Hardware/Notions: A short zipper, a D-ring/pacifier nail for attaching a strap (optional), stuffing (just a tiny bit for the bottom).
- Heat-erasable pen (optional, for marking facial features).
Abbreviations (US Terms)
- ch: chain
- sc: single crochet
- inc: single crochet increase (2 sc in the same stitch)
- dec: single crochet decrease (sc 2 together)
- hdc: half double crochet
- sl st: slip stitch
- st/sts: stitch/stitches
- MR: Magic Ring
- (…) x: Repeat the instructions within parentheses the indicated number of times
- […]: Total number of stitches at the end of the row/round
Main Body Panels (Make 2)
The panels are worked in rows back and forth. Ch 1 at the end of each row to turn; the ch 1 does not count as a stitch.
- Row 1: ch 12. Starting in the 2nd ch from the hook (working in the back bumps), sc 11. [11]
- Row 2: ch 1, turn. inc, 9 sc, inc. [13]
- Row 3: ch 1, turn. inc, 11 sc, inc. [15]
- Row 4: ch 1, turn. inc, 13 sc, inc. [17]
- Row 5: ch 1, turn. inc, 15 sc, inc. [19]
- Row 6: ch 1, turn. 19 sc. [19]
- Row 7: ch 1, turn. inc, 17 sc, inc. [21]
- Rows 8 – 10 (3 rows): ch 1, turn. 21 sc. [21]
- Row 11: ch 1, turn. inc, 19 sc, inc. [23]
- Rows 12 – 16 (5 rows): ch 1, turn. 23 sc. [23]
- Row 17: ch 1, turn. dec, 19 sc, dec. [21]
- Row 18: ch 1, turn. 21 sc. [21]
- Row 19: ch 1, turn. dec, 17 sc, dec. [19]
- Row 20: ch 1, turn. dec, 15 sc, dec. [17]
- Row 21: ch 1, turn. dec, skip 1 st, 11 sc, skip 1 st, dec. Fasten off.
Note: Make a second panel exactly the same way. For the first panel, fasten off. For the second panel, DO NOT fasten off, as you will continue crocheting the gusset (side panels) from it.
Facial Features & Details
Beak (Orange Yarn)
- Row 1: ch 4. Starting in the 2nd ch from the hook, 2 sc, 3 sc in the last ch. Working down the other side of the foundation chain: 1 sc, inc in the final st. sl st to the first st to join. Fasten off, leaving a long tail for sewing.
Facial Assembly Sew the beak, eyes, and blush onto the first panel (the one you fastened off).
- Beak: Sew the beak onto the panel, approximately around Row 9.
- Eyes: Use a heat-erasable pen to mark the placement for the eyes above the beak. Embroider the eyes using brown yarn.
- Blush: Use orange yarn to embroider small lines for blush horizontally next to the eyes.
Connecting the Panels & Creating the Gusset
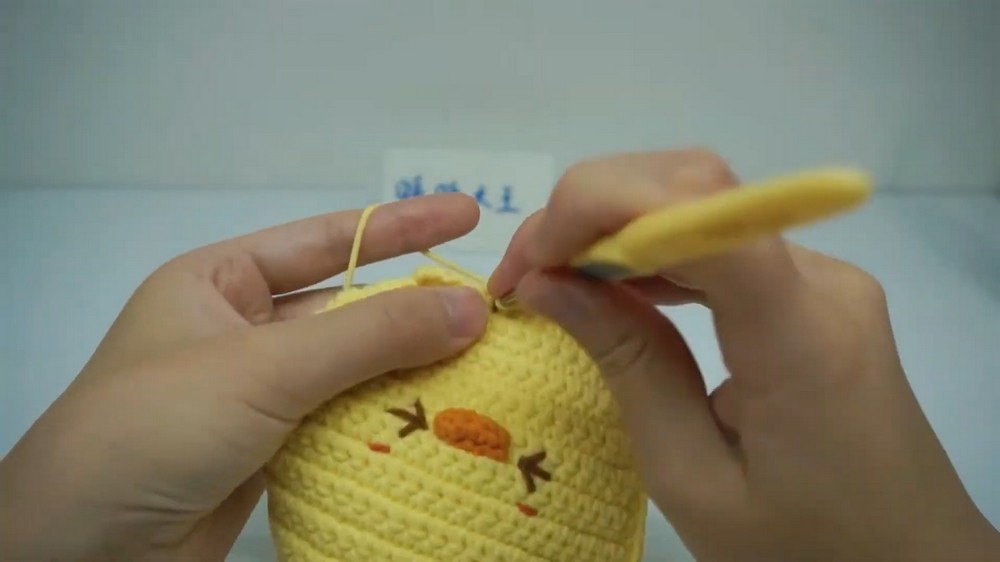
- Step 1: Sc Edging Take both panels (wrong sides facing each other) and line them up. You will now crochet an edging through both panels to join them together. Using the working yarn from the second panel, ch 1, and crochet 20 sc down the side edge (inserting the hook between rows). At the bottom straight edge, crochet 11 sc across. Crochet 20 sc up the other side edge. At the top straight edge, crochet 13 sc across. (Optional: Before closing the top completely, lightly stuff a tiny bit of fiberfill into the bottom corners for structure). Join with a sl st to the first sc. You should have 64 sc around the border.
- Step 2: Crocheting the Gusset (Depth) The gusset is worked in joined rounds of HDC.
- Round 1: ch 2. hdc in every st around. sl st to join. [64]
- Round 2: ch 2. hdc in every st around. sl st to join. [64]
- Round 3 (Creating the Zipper Opening): ch 2. 13 hdc. ch 25. Skip the next 25 sts on the previous round. 26 hdc. sl st to join. [64 sts total, counting the chains]
- Round 4: ch 2. 13 hdc. hdc in each of the 25 chains. 26 hdc. sl st to join. [64]
- Round 5: ch 2. hdc in every st around. sl st to join. [64] Fasten off, leaving a very long tail (enough to wrap around the piece 2.5 times) for sewing the back panel later.
Feet (Make 2, Orange Yarn)
- Make a MR, ch 1.
- Crochet 3 sc into the ring.
- Pull tight to close. Fasten off, leaving a tail for sewing.
Wings (Make 2, Yellow Yarn)
- Round 1: Make a MR, ch 1, 6 sc into the ring. sl st to join. [6]
- Round 2: ch 1, inc, 2 sc, inc, 2 sc. sl st to join. [8]
- Round 3: ch 1, inc, 3 sc, inc, 3 sc. sl st to join. [10]
- Round 4: ch 1, sc in each st around. sl st to join. [10]
- Fasten off, leaving a tail for sewing. Flatten the wings.
Final Assembly
- Attach Feet: Sew the feet onto the bottom edge of the front panel.
- Attach Wings: Sew the flattened wings onto the sides of the front panel, near the zipper opening.
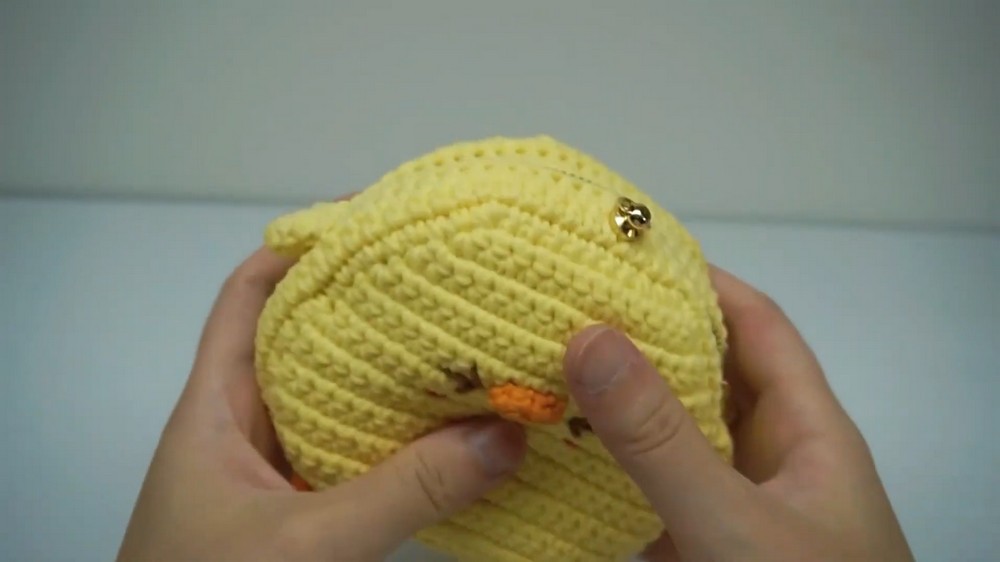
- Attach Zipper: Use a hot glue gun to carefully glue a zipper into the opening created in Round 3 of the gusset. Ensure the zipper functions smoothly before the glue fully sets.
- Hardware (Optional): If using a D-ring or pacifier nail for a strap, pierce a small hole through the top of the zipper fabric (centered) and attach the hardware securely.
- Close the Back: Using the long yellow tail left from the gusset, whip stitch the back edge of the gusset to the back panel to close the bag. For a neat finish, sew through the inner loops (back loop of the front piece, front loop of the back piece).
- Weave in all remaining ends.
Learn with the Video Tutorial

About "Talha"
Hey, I’m Talha, the Crafter on Craftstive.com. I love to share guides on folding cute origami models and paper crafts, and I am always ready to inspire your next craft project with my weekly craft discussions.