
Subscribe to @craftbee!
Today’s DIY Christmas tree stand-alone decoration craft is one of my favorites; you will also like it for three reasons: it has a pretty life-like pinecone tree design, features metal jingle bells in many colors, and can stand on the table with its wide brown stem! So, this year, learn how to DIY this shimmering Christmas tree as a table decoration and a treat holder as well. This time, the chenille stem Christmas tree is also decorated with the rainbow metallic pipe cleaner that functions as a mimic of the jingle bell string.
This is the BEST pipe cleaner version of last year’s popular crocheted desk buddy Christmas tree decoration. We shall make each tier with the same pipe cleaner loops and keep on increasing the number from the top for each tier.
So, you can practically DIY this Christmas tree out of whatever number of pipe cleaners you have in any size! Now, you can continue reading to learn more about this crochet Christmas tree project and learn the full pattern. So, craft this Christmas tree for both gifting and decorating your room! It is made around a cone base!



Tutorial to Make A Pipe Cleaner Christmas Tree with Bells
This project makes a small Christmas tree. It uses paper and pipe cleaners. First, you make a cone from brown paper. You draw lines on the paper to help. Next, you cut green pipe cleaners into small pieces. You fold each piece to make a loop.
You glue these loops to the paper cone in rows. Start at the bottom and go to the top. Then, you wrap a brown pipe cleaner around a cup to make the base. Glue the tree on the cup. Put a yellow star on top. Add tiny bells and lights to finish it.
How to Make a Pipe Cleaner Christmas Tree
What you will need:
-
Brown thick paper (cardstock)
-
Green, brown, and yellow pipe cleaners
-
One silver tinsel pipe cleaner
-
Small paper cup
-
Hot glue gun
-
Scissors and Pencil
-
Compass (for drawing circles)
-
Small colorful bells or beads
-
Mini fairy lights
Video Tutorial?
Step-by-Step Instructions
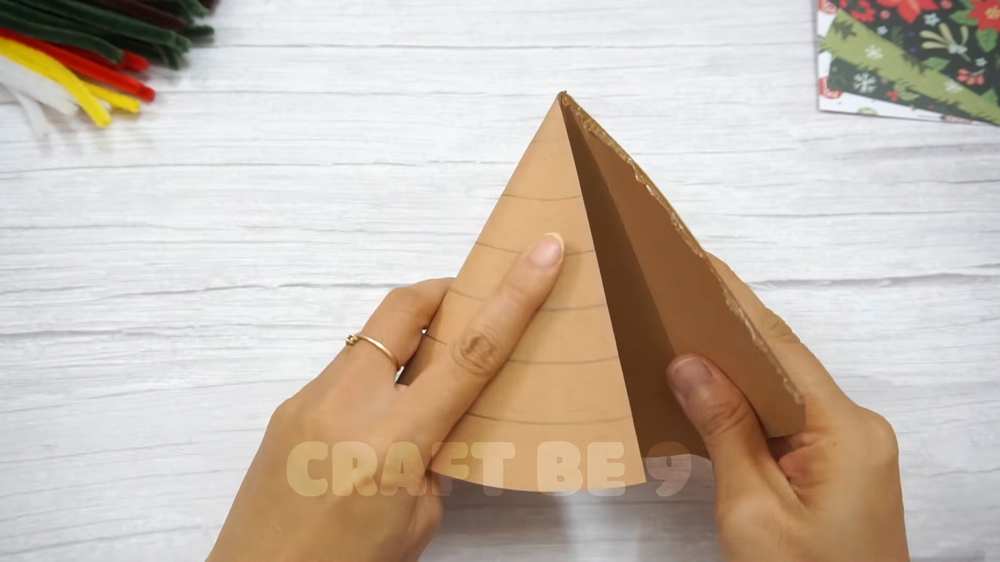
1. Create the Paper Cone
-
Cut a semi-circle out of brown paper with a radius of 14cm.
-
Use a compass to draw curved pencil lines across the semi-circle. Make each line 2cm apart. These will be your guides.
-
Roll the paper into a cone shape and use hot glue to secure the edge.
2. Make the Green Branches
-
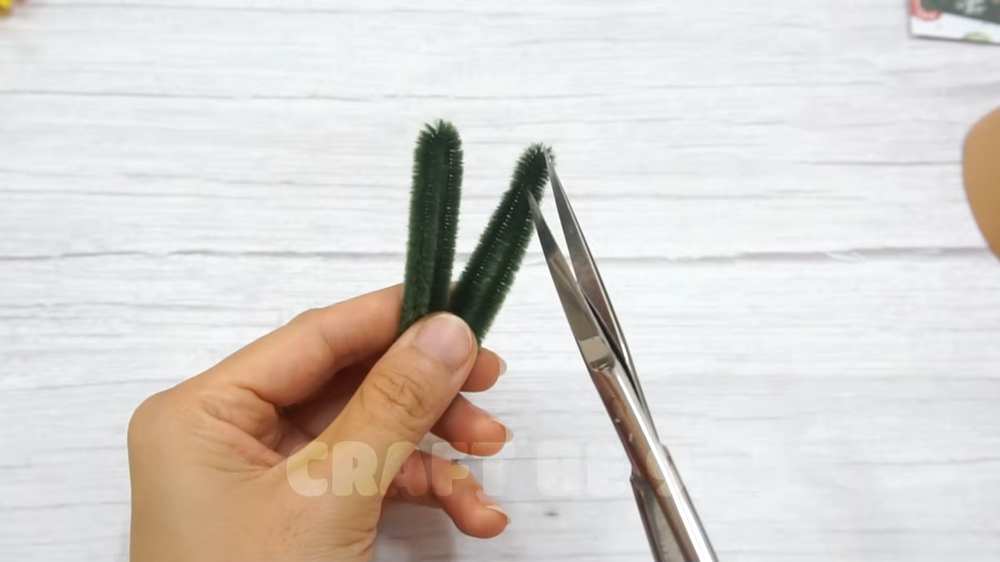
Take a green pipe cleaner and cut it into four equal pieces.
-
Fold each small piece into a loop (teardrop shape) and twist the ends together to hold the shape.
-
Make many of these green loops (you will need a lot to cover the tree).
3. Glue the Branches to the Cone
-
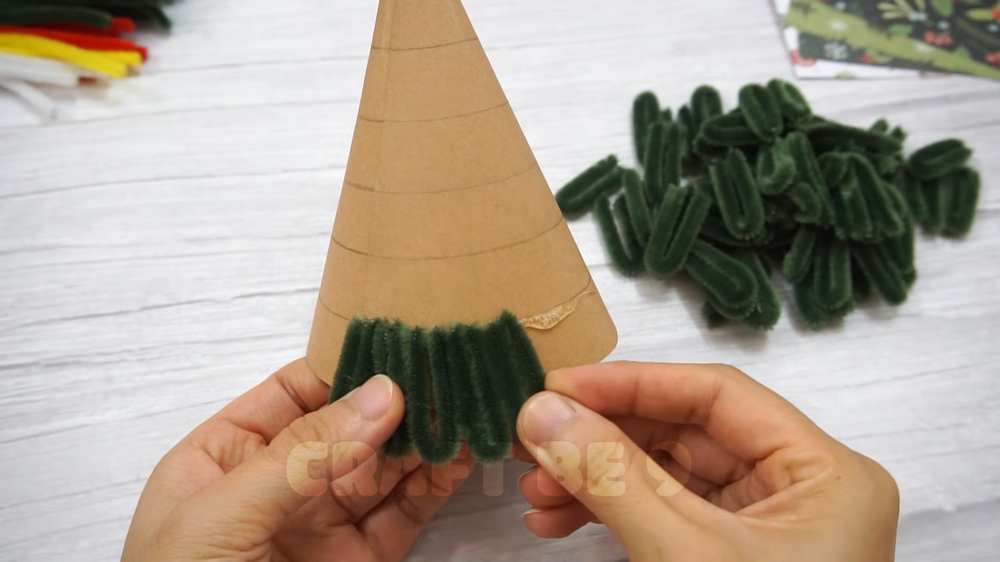
Starting at the very bottom pencil line, glue a row of green loops all the way around the cone. The rounded part of the loop should point down.
-
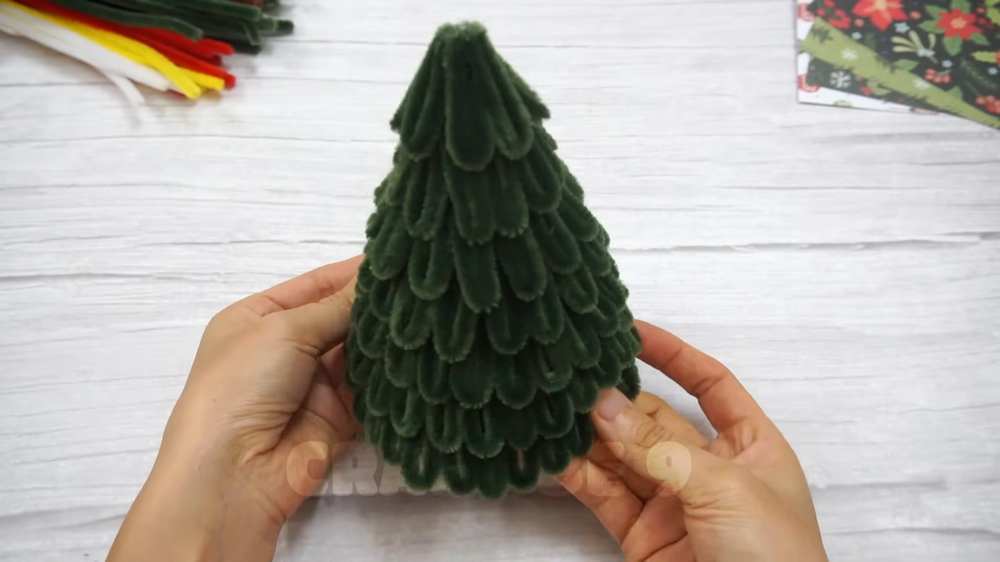
Move to the next line up and glue another row of loops. Make sure they overlap the bottom row slightly so the brown paper doesn’t show.
-
Continue doing this row by row until you reach the very top of the cone.
4. Prepare the Tree Pot
-
Take a small paper cup.
-
Apply glue to the top rim and start wrapping a brown pipe cleaner around it horizontally.
-
Keep wrapping and gluing until the entire outside of the cup is covered in brown.

5. Put the Tree in the Pot
-
Put glue around the top inside rim of the brown cup.
-
Place the green cone tree onto the cup and press down to make sure it sticks.
6. Make the Topper and Decorations
-
The Star: Take a yellow pipe cleaner and bend it into a five-pointed star shape. Glue it to the peak of the tree.
-
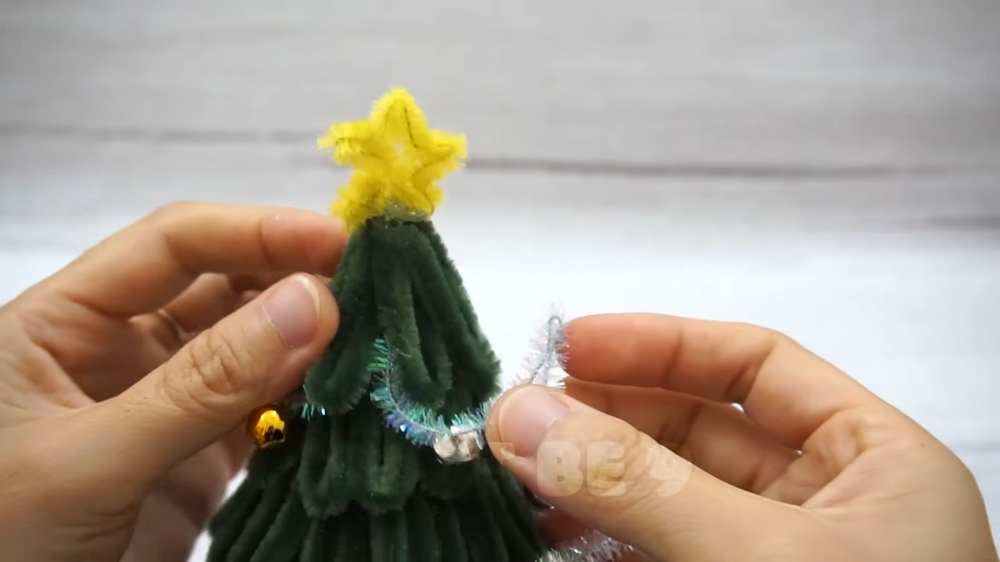
The Garland: Slide several small colorful bells onto a silver tinsel pipe cleaner.
-
Glue the silver cleaner to the tree, wrapping it around in a downward spiral.
-
The Lights: Wrap a string of mini fairy lights around the tree.

Your beautiful pipe cleaner Christmas tree is now finished!
Share on Social Media!