
Subscribe to Craft Be 9!
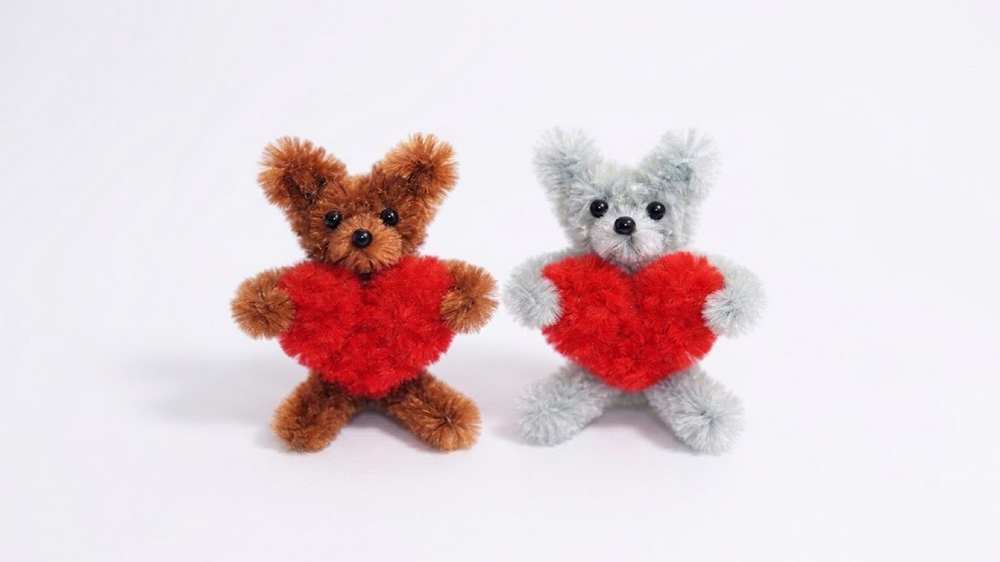
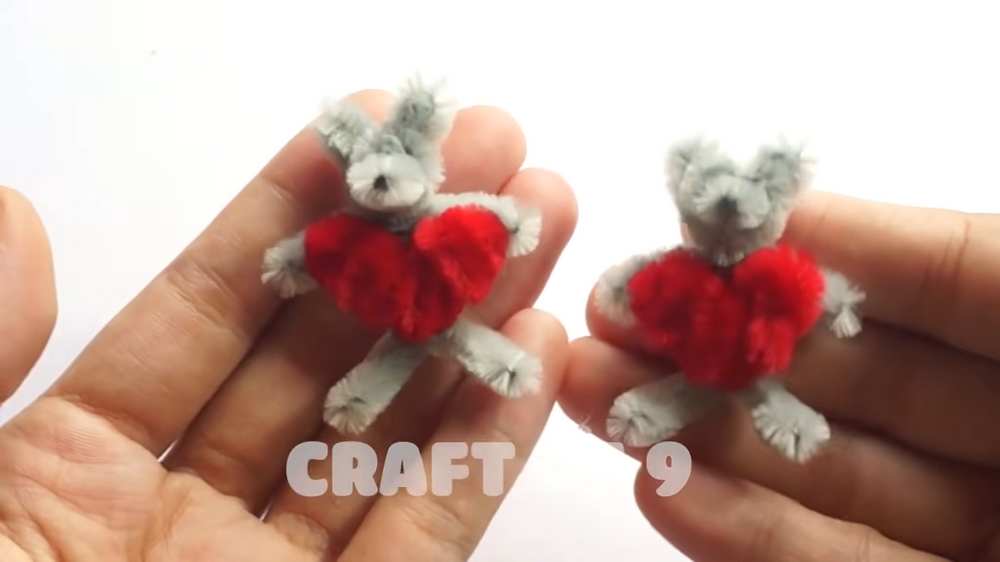
Christmas is an irresistible gift occasion for couples as well! So, today, learn how to DIY this Couple of Bears holding Heart Plushies out of just pipe cleaners with a step-by-step tutorial + a written guide as well. These are small 5-minute bear plushies that only require 2 pipe cleaners per bear + the heart plushie. You can also make these chenille stem bears in grey, black, and brown (for a teddy bear theme).
You can also prepare many of them as Valentine’s Day decorations and presents. So, just have two 30cm pipe cleaners and start preparing this super last-minute Halloween gift idea for all skill levels.
Or if you are looking for a teddy bear card, you can check my discussion on Bear Love Card craft ideas. Anyway, continue reading to learn more about this couple gift. Preparing one will literally take less than 3 minutes!

Tutorial to Make a Bear in Love Plushie
This project is a small toy bear. It is made from fuzzy wires called pipe cleaners. You use one grey wire to make the bear. You twist the wire to make the head, ears, arms, and legs. You use a red wire to make a heart. You twist the red wire until it looks like a heart.
Then, you use a hot glue gun to stick the heart on the bear’s chest. Last, you use a black pen to draw the eyes and nose. It is a very cute and easy toy to make. It is good for a gift.
Detailed Step-by-Step Instructions
What You Need:
-
One grey pipe cleaner
-
One red pipe cleaner
-
Hot glue gun
-
Black permanent marker
-
Scissors (if needed)
Video Tutorial?
Step 1: Make the Bear’s Head and Ears
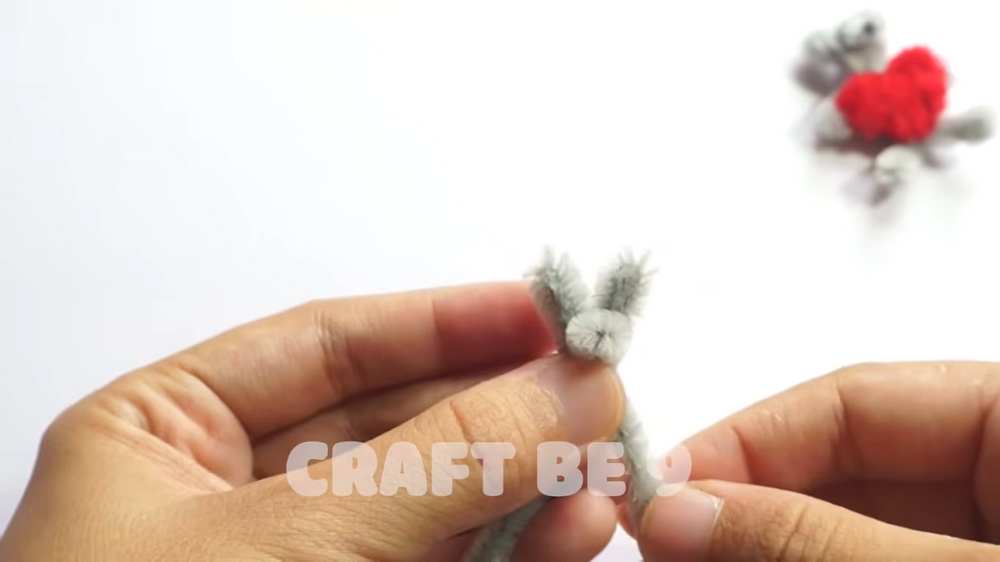
Take the grey pipe cleaner and fold it in half. Near the top (the folded end), twist the wire to create a small bend. This will be the bear’s head. At the very top of this circle, twist two tiny loops to make the ears by pulling the ends above, leaving about 1cm loop pressed length.
Cross the pipe cleaner ends (left is on right and right is on the left and start wrapping both around their respective ears. Two wraps would be enough for now. Then, press around and twist just below to secure.
Step 2: Form the Arms
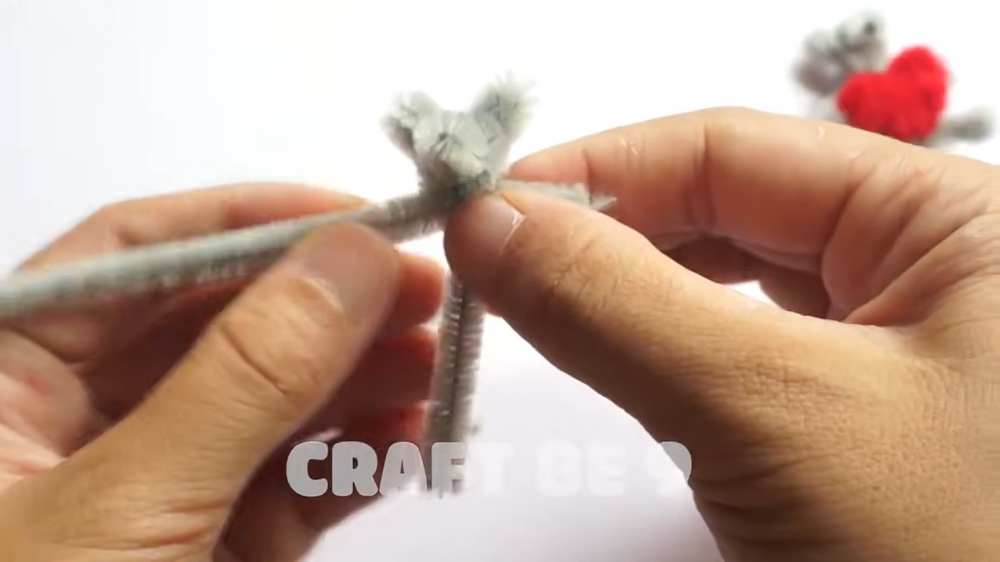
Below the head, pull the two ends of the pipe cleaner out to the sides. Bend them slightly to create two short arms (about 2cm). Twist the wire once or twice at the “shoulders” and press tight to keep the arms in place.
Step 3: Create the Body and Legs
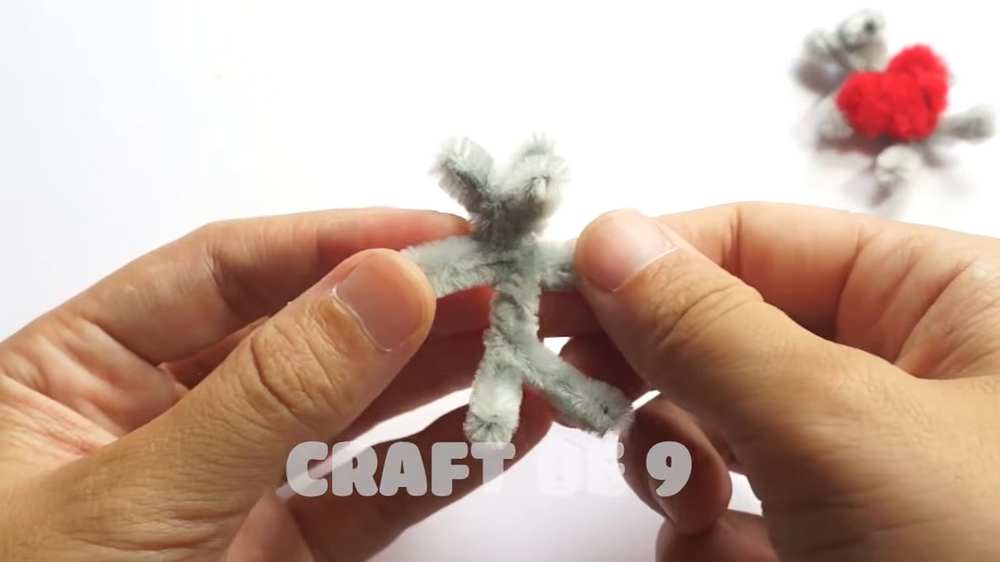
Continue twisting about the 4cm length of the two remaining ends of the wire together to form a short torso (the middle part of the body). At the bottom, separate the two ends and bend them downwards to create the legs. Make sure the legs are even so the bear looks balanced.
Step 4: Make the Red Heart
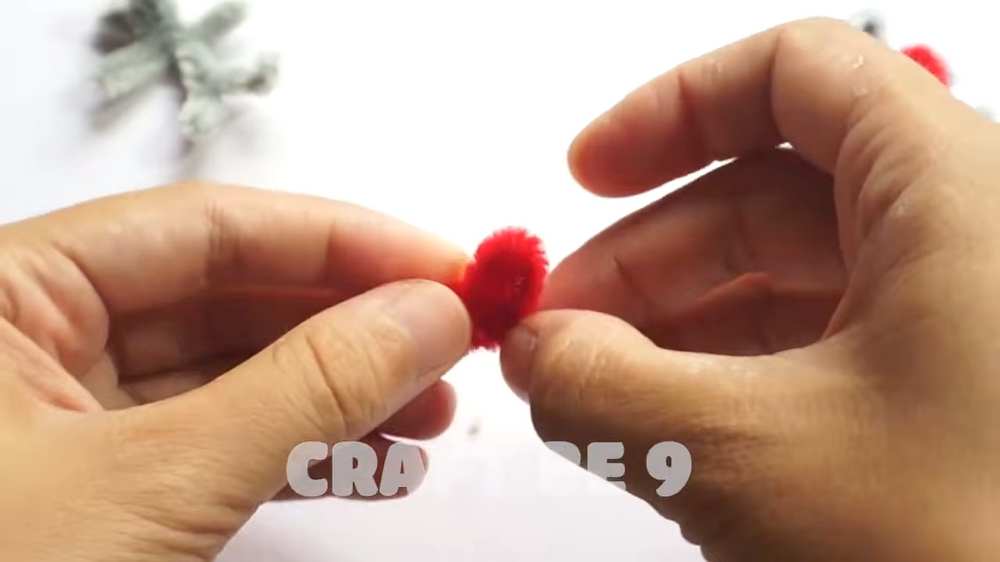
Take the red pipe cleaner. Bend it in the middle to form a “V” shape. Take the two loose ends and roll them inward toward the center of the “V”. This will create the two rounded tops of the heart. Press the coils together to make a solid heart shape.
Step 5: Attach the Heart
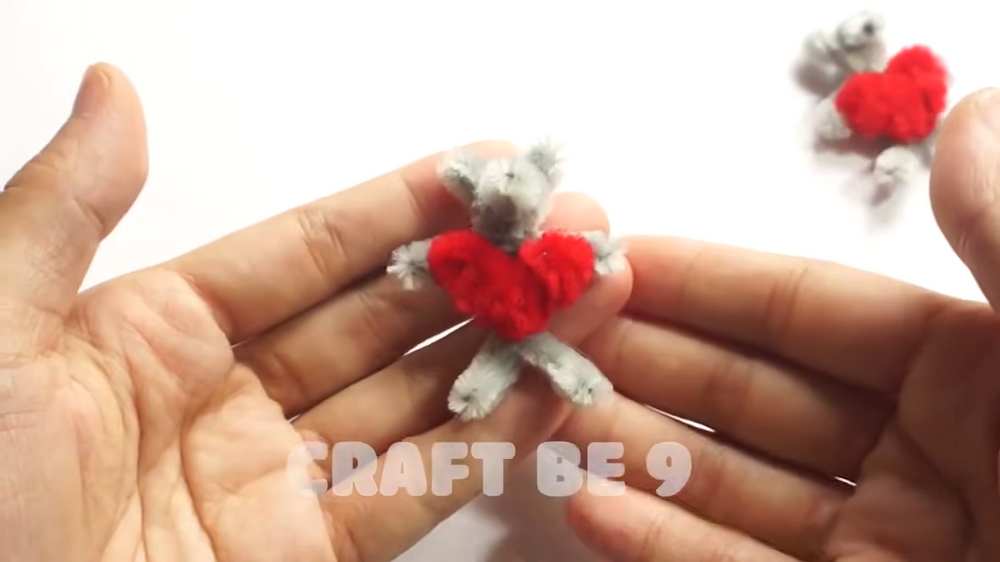
Use a hot glue gun to put a small dot of glue on the bear’s chest. Carefully press the red heart onto the glue. Hold it for a few seconds until it stays in place.
Step 6: Draw the Face
Take the half beads and attach on the face.
Step 7: Final Touch
Adjust the arms so it looks like the bear is hugging the heart. Your pipe cleaner bear plushie is now finished!
About "Craftbee 9"
She makes incredible fabric, recycle and pipe cleaner crafts.