
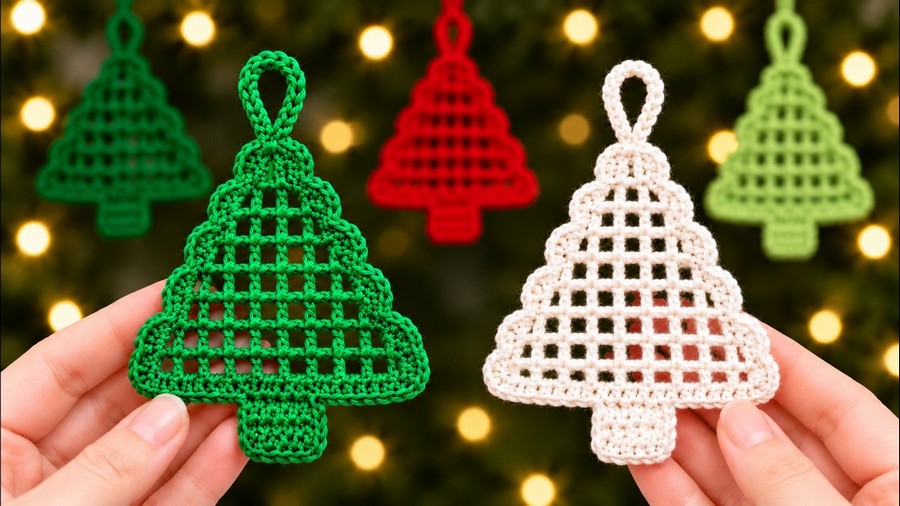
Bring holiday magic to life with this sweet and delicate crochet Christmas tree ornament! This fun project creates a lovely lacy tree that is perfect for holiday gifts, garlands, or festive home decor. Using soft white yarn, this tutorial guides you step by step through every stitch. You will love watching this charming winter piece come together quickly to brighten your festive season with warm handmade joy.
Christmas Mesh Tree Bunting & Ornaments

To make this piece, you start by crocheting an open mesh triangle with double crochet and chain spaces. Next, you work a scalloped border around the edges and add a chain loop at the top for hanging. Finally, you join yarn at the bottom edge to crochet five neat rows for the tree trunk. Fasten off your yarn, weave in the loose ends, and your cute tree ornament is finished.

Difficulty Level
-
Level: Easy / Advanced Beginner
-
Why: The pattern uses standard, beginner-friendly stitches (chains, single crochet, and double crochet). The only small challenge is skipping stitches evenly to create the open mesh grid and shaping the triangular decrease, making it a great project for confident beginners.

Pattern Abbreviations
-
ch: chain
-
sc: single crochet
-
hdc: half double crochet
-
dc: double crochet
-
slst: slip stitch
-
sk: skip
-
st / sts: stitch / stitches
-
spc: space
-
rep: repeat

Materials
-
2.5 mm crochet hook
-
Acrylic yarn (white)
-
Scissors & yarn needle (to weave in ends)

Stitch Guide: Double Crochet (dc)
This project does not use complicated stitches. The main stitch used for the body is the Double Crochet (dc):
-
Yarn over your hook.
-
Insert your hook into the indicated stitch or chain.
-
Yarn over and pull up a loop (you now have 3 loops on your hook).
-
Yarn over and pull through the first 2 loops on your hook (2 loops remain).
-
Yarn over once more and pull through the remaining 2 loops to complete the stitch.
Video Guide:
