Pattern Type: Video pattern by Crochet Aura
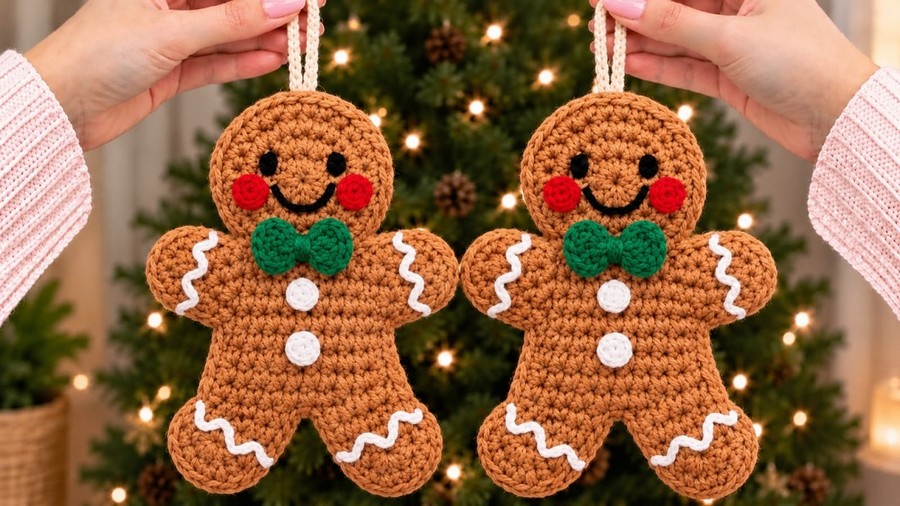
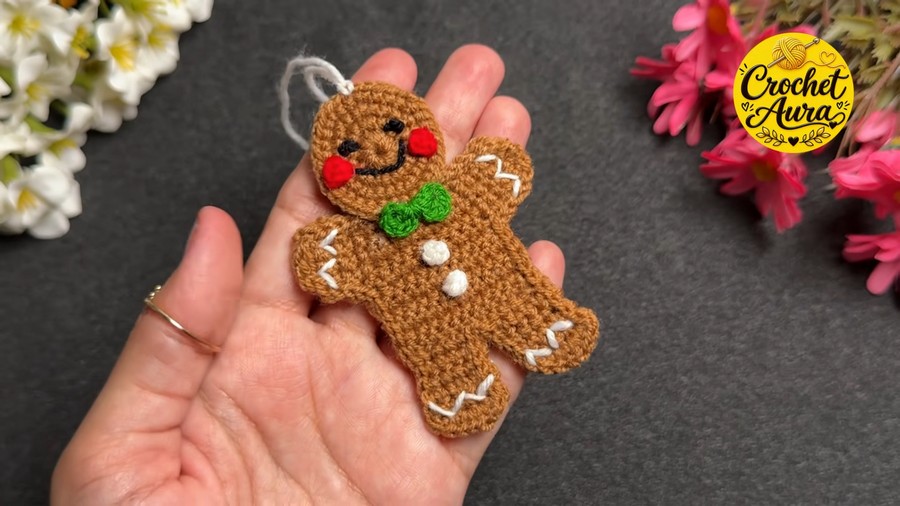
Want to bake a cute holiday friend without turning on your oven? This fun crochet tutorial shows you how to make a sweet gingerbread man charm step by step. This flat little toy has a warm brown body, bright red cheeks, a green bow tie, white buttons, and cute icing lines. Hang it on your Christmas tree, bag, or car mirror to spread cozy holiday joy all around your home.
Crochet Christmas Gingerbread Man Applique To Hang
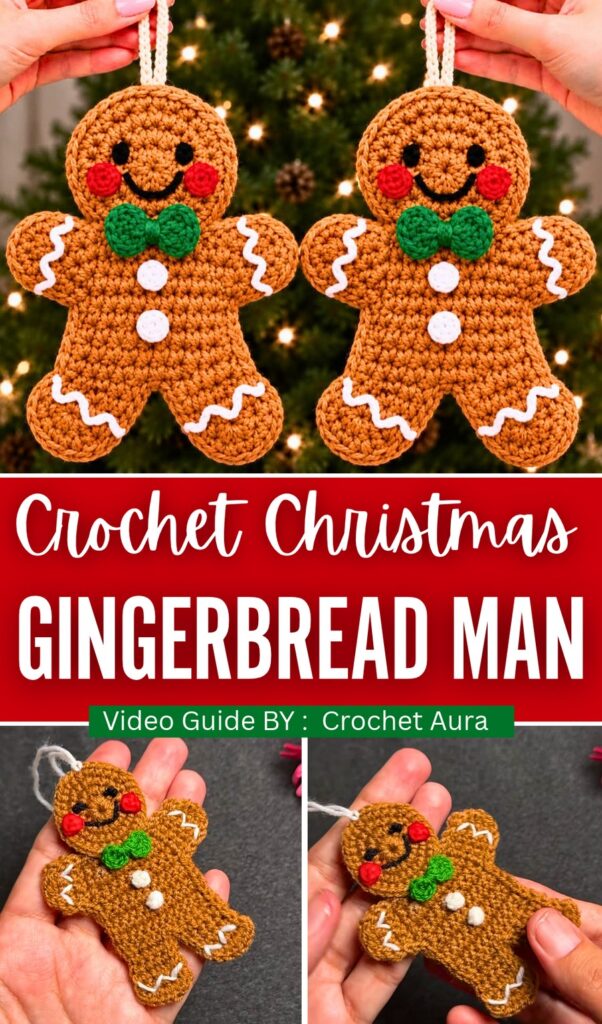
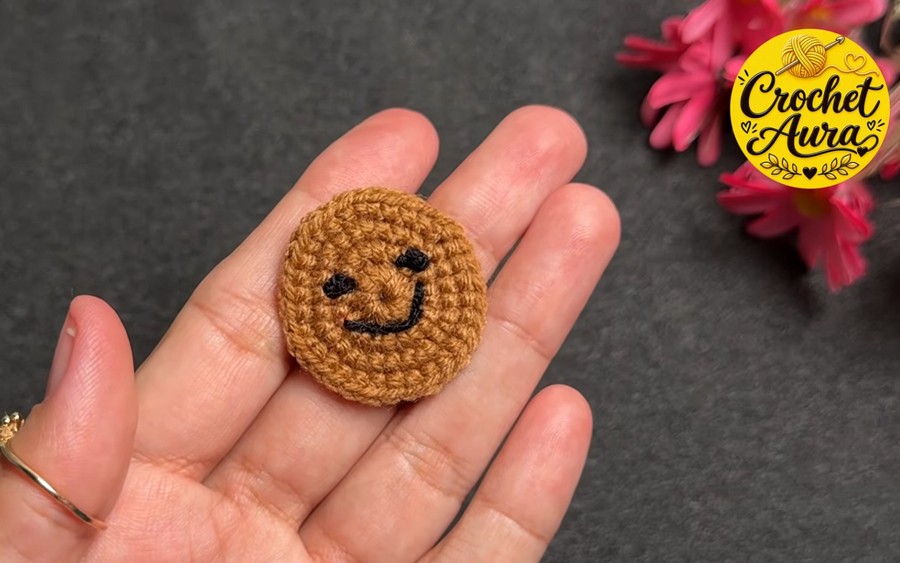
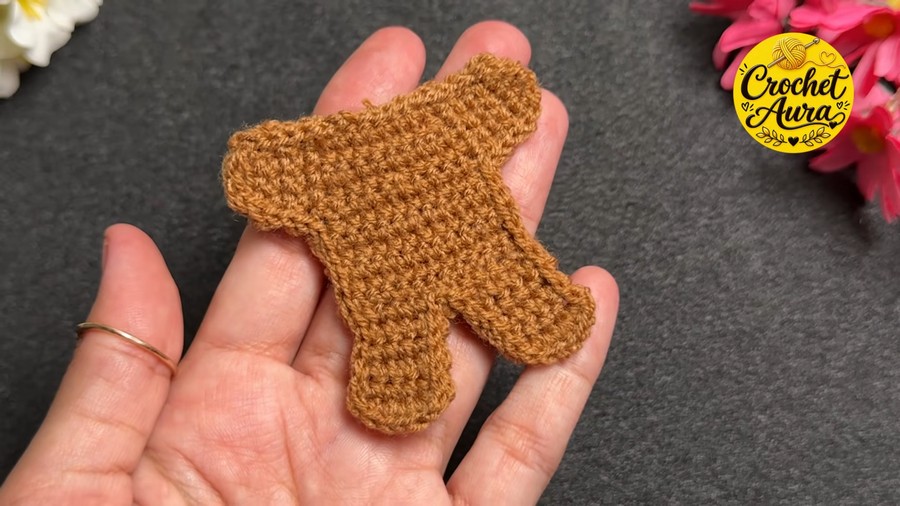
Making this sweet charm is easy and fun from start to finish. First, you crochet the flat brown body, arms, and legs in neat rows, then stitch around the edges. Next, you make a round head, red cheeks, green bow tie, and white buttons. Then, you sew black eyes, a smile, and white icing lines with a needle. Last, you glue the parts together and add a white hanging string.
Difficulty Level: Confident Beginner
Why this is the difficulty:
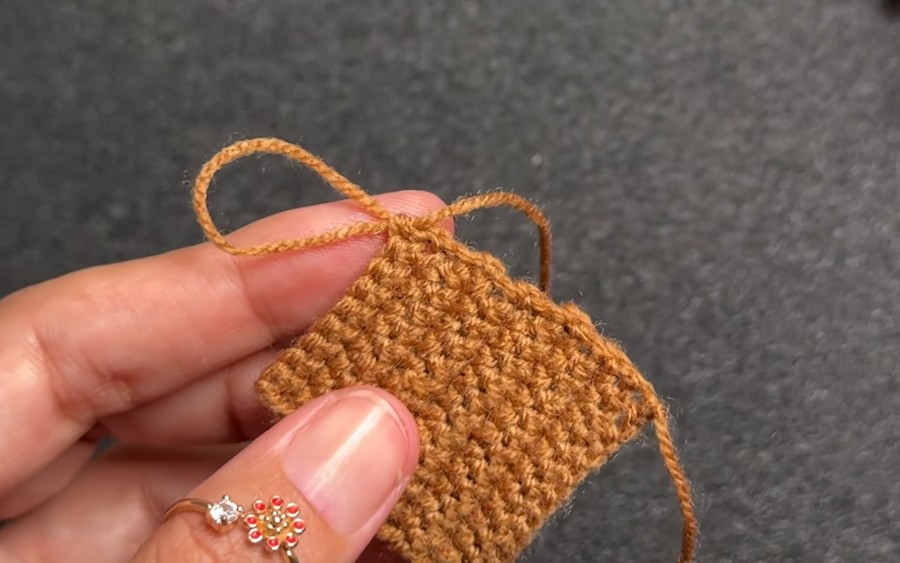
Most of this flat gingerbread man uses simple rows of single crochet (sc) with no stuffing needed. However, it takes a bit more skill than a total-beginner pattern because you use a small 2.0 mm hook, join new yarn to shape the arms and legs separately, make tiny parts in a magic ring, work a clean slip stitch border around the whole shape, and hand-sew the face and zigzag icing.
Materials & Tools
-
Yarn: Acrylic yarn in brown (body and head), red (cheeks), green (bow tie), white (buttons, icing, hanging loop), and black (eyes and smile)
-
Crochet Hook: 2.0 mm crochet hook
-
Tools & Supplies: Scissors, yarn/sewing needle, and a hot glue gun (to attach the head, cheeks, bow tie, and buttons)
Pattern Abbreviations
-
ch: chain
-
sc: single crochet
-
dc: double crochet
-
slip (sl st): slip stitch
-
Magic ring: adjustable starting yarn loop
How to Make the 3 Difficult Stitches Used
-
Magic Ring (used for the round head, cheeks, buttons, and bow tie)
-
Wrap the yarn around your fingers to make a crossed loop (“X”).
-
Slide your hook under the first strand, grab the working yarn, and pull up a loop.
-
Chain 1 (1 ch)—or 3 ch for the bow tie—and crochet all the stitches directly inside that loop. When done, pull the short yarn tail tight to close the center hole.
-
-
Double Crochet (dc) (used to make the green bow tie)
-
Wrap the yarn over your hook once.
-
Insert your hook into the magic ring, wrap yarn over, and pull up a loop (3 loops on your hook).
-
Wrap yarn over and pull through the first 2 loops.
-
Wrap yarn over again and pull through the last 2 loops.
-
-
Single Crochet Increase (2 sc in same stitch) (used for shaping the head and leg corners)
-
Insert your hook into the stitch and work 1 normal single crochet.
-
Insert your hook back into the exact same stitch and work a second single crochet so 2 stitches share one spot, helping the shape widen smoothly.
-
Video Guide:
