
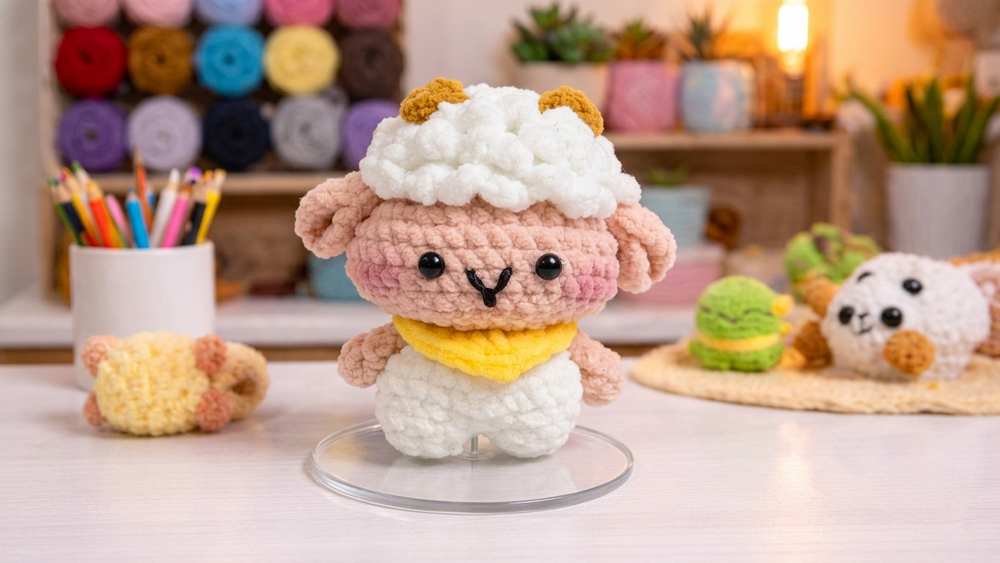
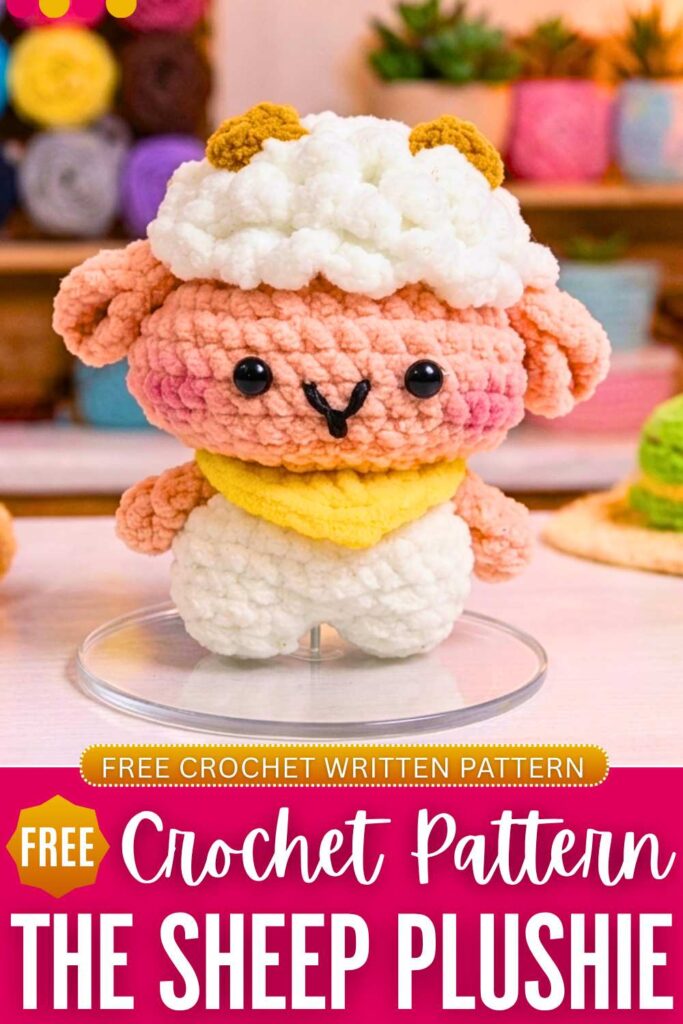
Learn how to crochet a CUTE miniature baby sheep doll plushie with this FREE PATTERN. This crochet sheep doll wears a cute little collar, and you can use it as a spring and summer keychain. It is so small that you can easily fit it in your palm and also in your pocket. You can also crochet a sheep with the pink collar, as you will see in the demonstration.
You can also gift this no-sew plushie at a baby shower or present it on Valentine’s Day; it is just so cute. With the blush on the cheeks, it will start looking even cuter and gift-ready. Now, continue reading for the full crochet baby sheep plushie pattern for kids.
Crochet Low-Sew Sheep Plushie: Round-by-Round Pattern
Here is the written crochet pattern for the plush sheep amigurumi for kids, with the assembly in the end:
Abbreviations Used
- ch: Chain
- st / sts: Stitch / Stitches
- sl st: Slip stitch
- sc: Single crochet
- hdc: Half double crochet
- dc: Double crochet
- inc: Increase (2 sc in the same stitch loop)
- dec: Decrease (crochet 2 stitches together)
- BLO: Back Loop Only
- FLO: Front Loop Only
1. The Head (Skin Tone / Beige Yarn)
The head starts with rows worked in Back Loop Only (BLO) to leave front loops exposed for crocheting the curly sheep wool texture later.
- Round 1: Start with a magic ring. Ch 1, work 6 sc into the ring. Sl st to join. [6 sts]
- Round 2: Ch 1. Working in BLO only, work 6 inc around (2 sc in each back loop). Sl st to join. [12 sts]
- Round 3: Ch 1. Working in BLO only, repeat a pattern of [1 sc, 1 inc] 6 times around. Sl st to join. [18 sts]
- Round 4: Ch 1. Working in BLO only, repeat a pattern of [2 sc, 1 inc] 6 times around. Sl st to join. [24 sts]
- Rounds 5–6: Ch 1. Working in BLO only, work 24 sc around (1 sc in each st). Sl st to join. [24 sts]
- Round 7: Ch 1. Switch to working through both loops for the rest of the head. Work 3 sc, followed by 6 inc (over the next 6 sts), then work 6 sc, followed by another 6 inc, and finish with 3 sc. Sl st to join. [36 sts]
- Rounds 8–11: Ch 1. Work 36 sc around (1 sc in each st) through both loops. Sl st to join. [36 sts]
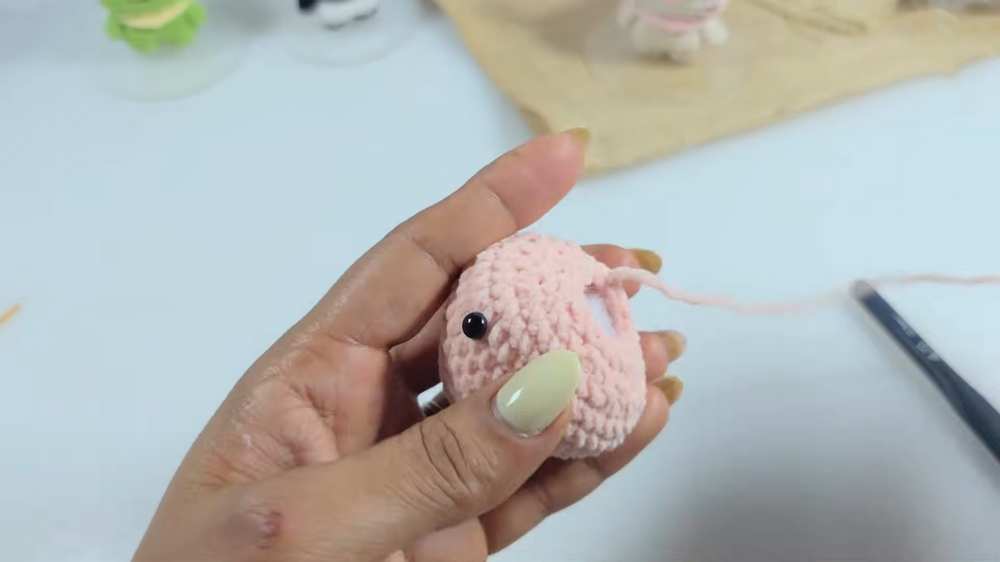
- Placement for Safety Eyes: Insert safety eyes between Rounds 9 and 10, leaving 5 unworked stitches of separation between them. Secure the backings tightly.
- Round 12: Ch 1. Work 3 sc, followed by 6 consecutive decreases (
dec6 times), then work 6 sc, followed by another 6 consecutive decreases, and finish with 3 sc. Sl st to join. [24 sts] - Round 13: Ch 1. Repeat a pattern of [2 sc, 1 dec] around. Sl st to join. [18 sts]
- Stuffing: Firmly stuff the head with fiberfill at this point.
- Round 14: Ch 1. Repeat a pattern of [1 sc, 1 dec] around. Sl st to join. Fasten off, leaving a long yarn tail for assembly. [12 sts]
2. The Curly Wool Texture (White Yarn)
- Setup: Attach your white yarn into any of the exposed front loops (FLO) left over from the crown rows on top of the head.
- Wool Pattern: Work a slip stitch into the loop, ch 3, and work another sl st directly back into that same loop.
- Transition: Sl st into the very next available front loop, ch 3, and sl st into the same loop.
- Completion: Progress loop-by-loop down through all the spiraling front loops across the top and back of the head until the entire textured hair cap is complete. Fasten off and hide the yarn tails inside the head.
3. The Legs and Body (White Yarn)
You will crochet two separate legs first, then join them together to form the body.
Legs (Make 2):
- Round 1: Start with a magic ring. Ch 1, work 6 sc into the ring. Sl st to join. [6 sts]
- Round 2: Ch 1. Repeat a pattern of [1 sc, 1 inc] 3 times around. Sl st to join. [9 sts]
- Finishing Leg 1: Fasten off and clip the yarn.
- Finishing Leg 2: Do not cut the yarn; ch 1 directly from the leg to begin connecting them.
Body Assembly:
- Round 3 (Joining Round): Insert your hook into the joining stitch of the first leg and work 1 sc. Crochet 9 sc around the first leg, work 1 sc along the connecting chain loop, crochet 9 sc around the second leg, and finish with 1 sc along the opposite side of the connecting chain loop. Sl st to join. [20 sts total]
- Round 4: Ch 1. Work 4 sc, followed by a sequence of [1 inc, 1 sc] repeated 6 times total across the front curves, then finish with 4 sc. Sl st to join. [28 sts]
- Rounds 5–6: Ch 1. Work 28 sc around (1 sc in each st). Sl st to join. [28 sts]
- Round 7: Ch 1. Work 4 sc, followed by a sequence of [1 dec, 1 sc] repeated 6 times total, then finish with 4 sc. Sl st to join. [20 sts]
- Round 8: Ch 1. Repeat a pattern of [2 sc, 1 dec] around. Sl st to join. [15 sts]
- Stuffing: Fill the body firmly with fiberfill stuffing.
- Round 9: Ch 1. Repeat a pattern of [1 sc, 1 dec] around. Sl st to join. Fasten off and weave in the end. [10 sts]
4. The Arms (Make 2 – Skin Tone Yarn)
- Round 1: Start with a magic ring. Ch 1, work 6 sc into the ring. Sl st to join. [6 sts]
- Round 2: Ch 1. Work 6 sc around (1 sc in each st). Sl st to join. [6 sts]
- Round 3: Press the open edges of the arm flat. Insert your hook through both parallel layers at once and work 3 sc across to seal it shut.
- Round 4: Ch 1, turn. Work 1 sc, skip the middle stitch, and work 1 sc in the last stitch. Fasten off, leaving a long sewing tail. [2 sts]
5. Ears and Horns
Ears (Make 2 – Skin Tone Yarn):
- Round 1: Start with a magic ring. Ch 1, work 6 sc into the ring. Sl st to join. [6 sts]
- Round 2: Ch 1. Repeat a pattern of [1 sc, 1 inc] around. Sl st to join. Fasten off, leaving a long tail. [9 sts]
Horns (Make 2 – Darker Accent Yarn):
- Round 1: Start with a magic ring. Ch 1, work 4 sc into the ring. Sl st to join. [4 sts]
- Round 2: Ch 1. Repeat a pattern of [1 sc, 1 inc] around. Sl st to join. Fasten off, leaving a tail. [6 sts]
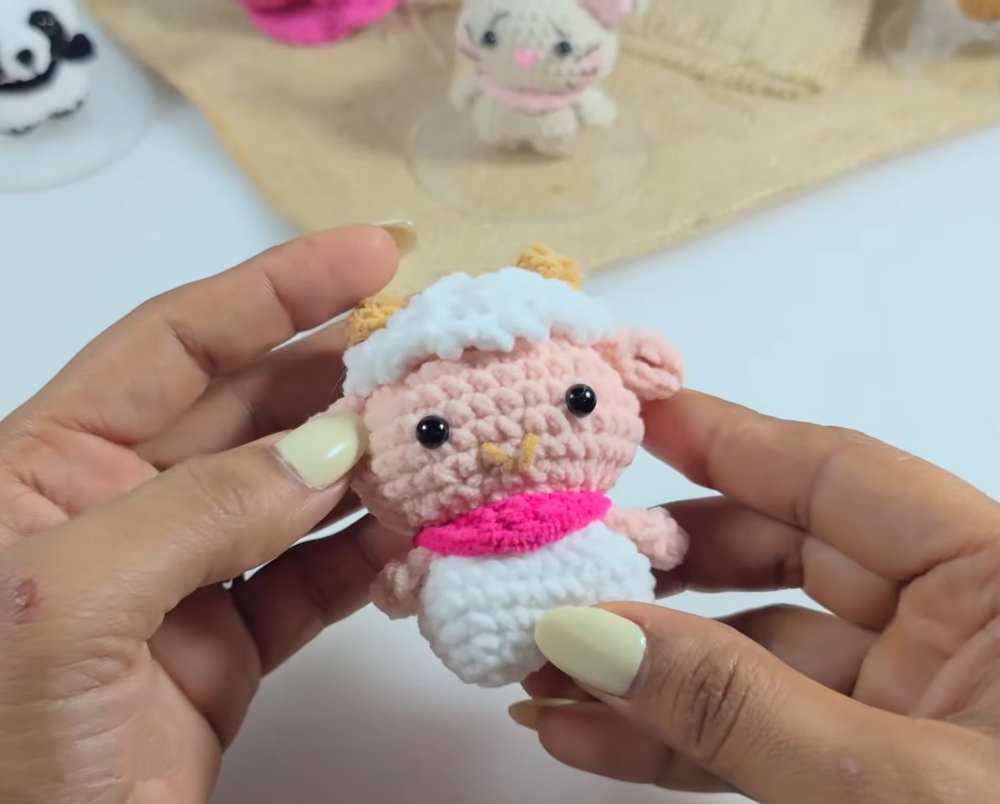
6. The Scarf / Bandana Accessory (Pink Yarn)
- Row 1: Ch 14. Starting in the second chain from your hook, work 5 sc across the next 5 chains.
- Row 2: Work 1 hdc, 1 dc, and 1 hdc across the center 3 chains to form a slight pointed triangle shape.
- Row 3: Finish by working 5 sc across the last 5 remaining chains. Fasten off, keeping a tail to wrap or tie the bandana around the sheep’s neck.
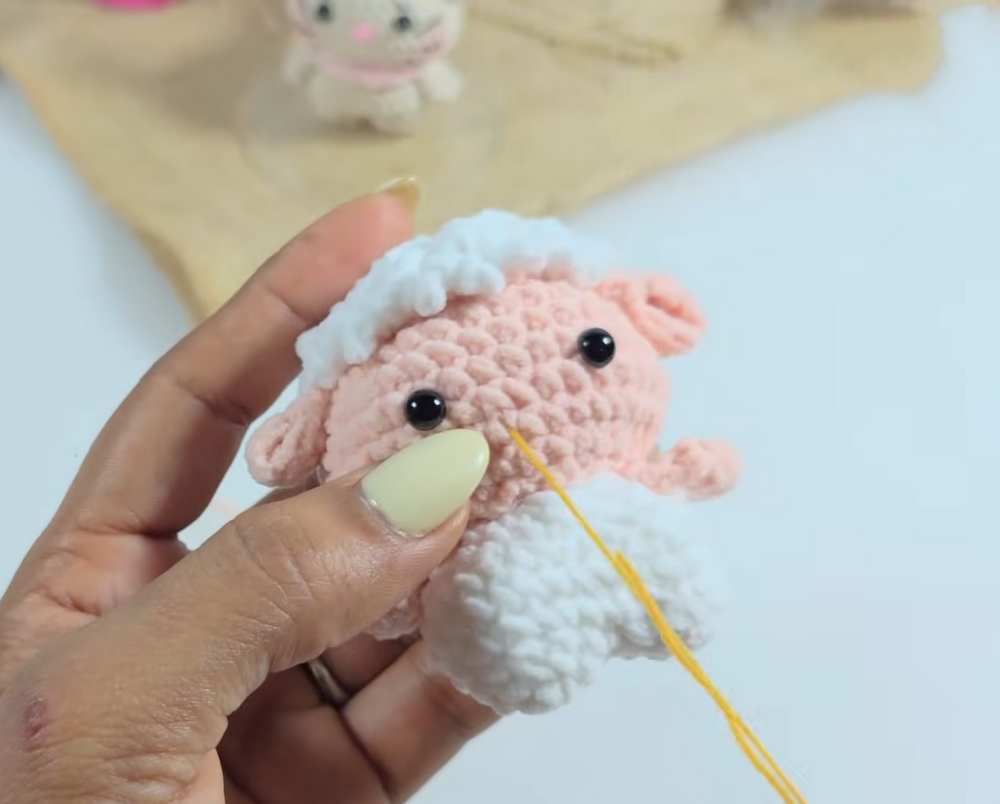
Assembly Instructions
- Use the long head tail to securely sew the base of the head onto the open neck hole of the body.
- Sew the arms symmetrically to the upper sides of the body just below the neckline.
- Fold the ears slightly at their base to pinch them, sew the edges shut, and attach them onto the sides of the head roughly 3 to 4 stitches away from the eyes.
- Using a tapestry needle and dark embroidery thread, stitch a small “Y” shape centered below the eyes to make the sheep’s muzzle and mouth.
- Attach the small horns tightly on top of the head just above the ears using a stitch or a small drop of hot glue.
- Tie the pink bandana neatly around the neck to complete your handmade amigurumi sheep!

About "Talha"
Hey, I’m Talha, the Crafter on Craftstive.com. I love to share guides on folding cute origami models and paper crafts, and I am always ready to inspire your next craft project with my weekly craft discussions.