
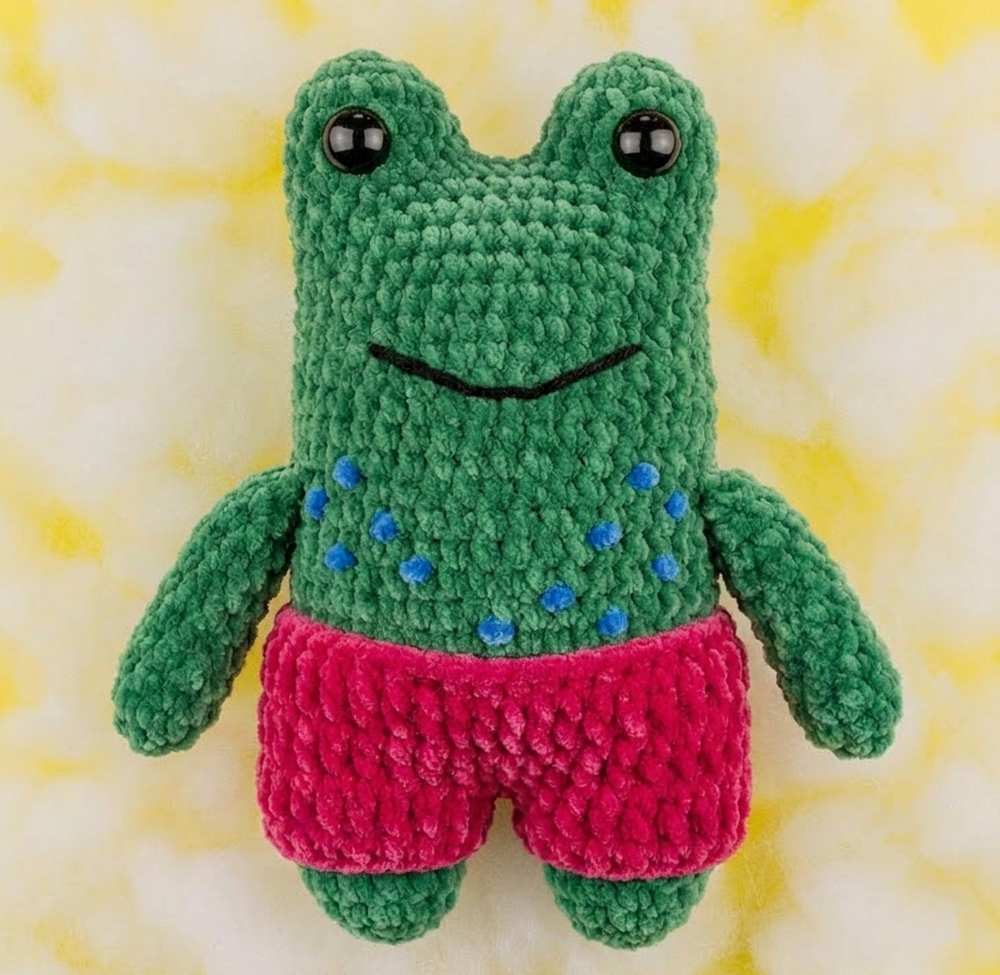
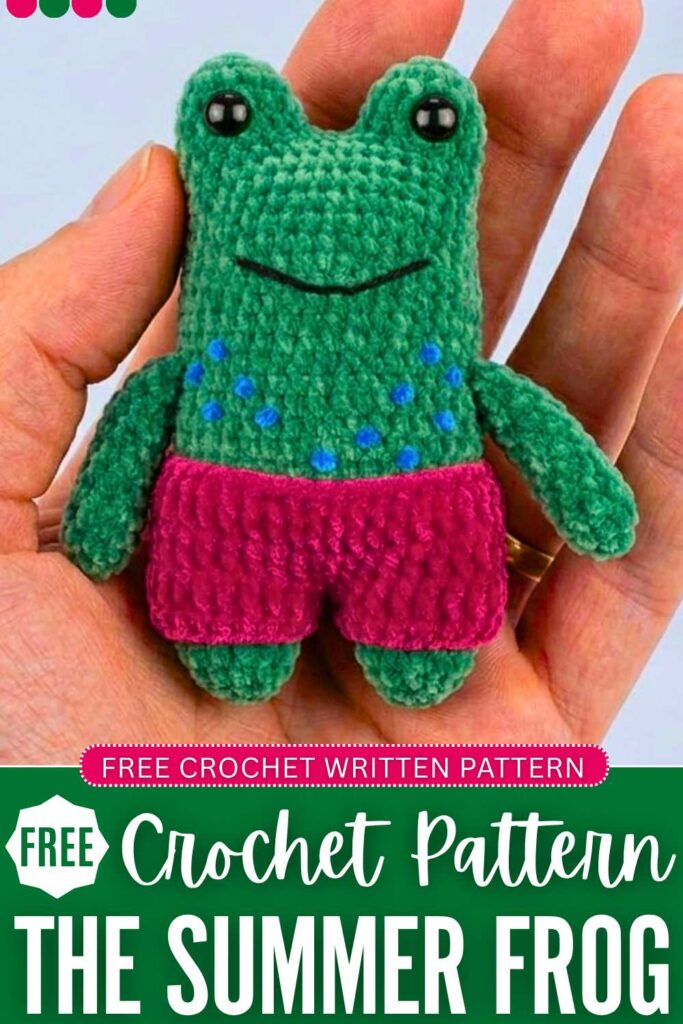
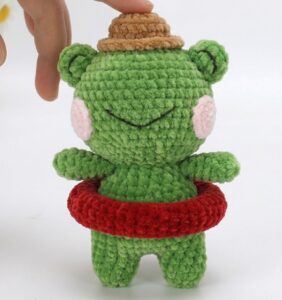
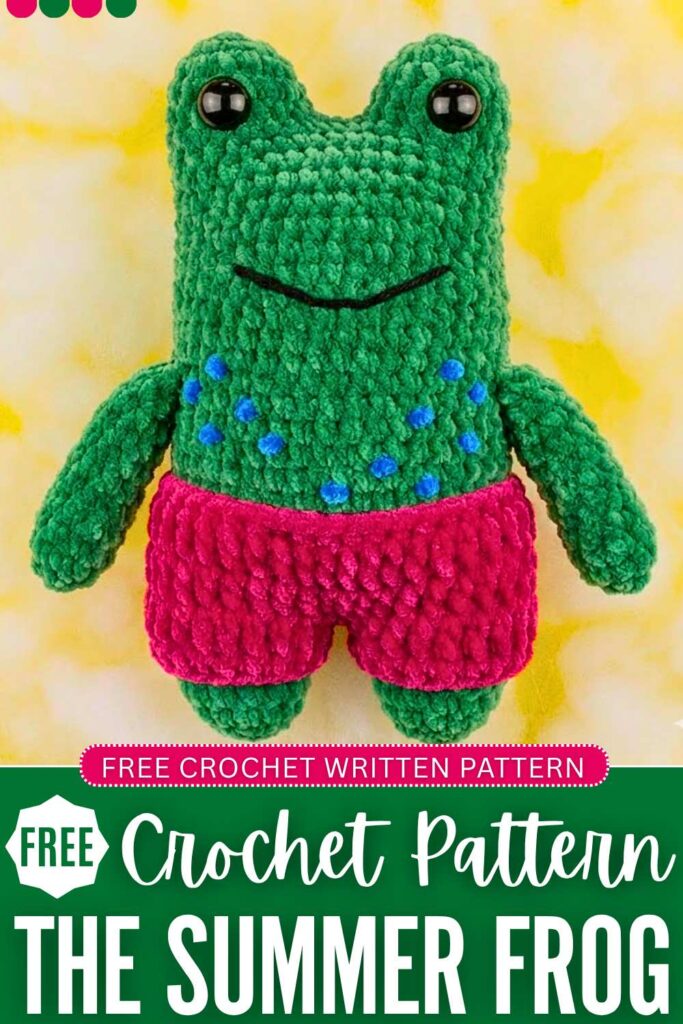
Summer is already here! So, crochet this little no-sew frog doll plushie wearing red summer shorts as a gift for a little one with a FREE PATTERN for beginners. This also has embroidery spots over its belly. You can also customize it with a daisy flower, just like the King Frog plushie, or with a swim tube, too, for a swimming frog doll plush. You can crochet it in other shades of green, too.
Another customization I like to offer is to crochet it with blush cheeks. The embroidery smile is simple and looks oh-so cute. With the amigurumi yarn, you will end up with a 15cm doll. It will also make a great couple and Valentine’s Day present. Now, continue reading for the full pattern.
Crochet Frog in a Short Plush: Round-by-Round Pattern
Below is the pattern to crochet this summer’s frog plush with the assembly in the end:
Materials Needed
- Green Yarn: 1 ball (60% Cotton / 40% Acrylic, Tex 357 – similar to sport or light worsted weight). For the plushie version, just use the chenille yarn.
- Pink Yarn: 1 ball (for the shorts, same yarn weight/type).
- Black & Blue Yarn Remnants: For embroidery details (smile and textured spots).
- Crochet Hook: 2.5 mm size.
- Safety Eyes: 1 pair, 10 mm size (with safety washers).
- Fiberfill: Polyester stuffing.
- Tools: Tapestry needle, scissors, stitch markers, and pins for positioning.
Abbreviations
- MR: Magic Ring (Anel Mágico)
- Sc: Single Crochet (Ponto Baixo)
- Inc: Increase (Aumento – 2 sc in one stitch)
- Dec: Invisible Decrease (Diminuição)
- Ch: Chain (Correntinha)
- Sl st: Slip Stitch (Ponto Baixíssimo)
- Dc: Double Crochet (Ponto Alto)
The Frog Body Pattern
Legs & Lower Body
- Round 1: In green yarn, make 6 sc into a MR. (6)
- Round 2: 6 inc around. (12)
- Rounds 3–7: Sc around. (12)
- For Leg 1: Cut yarn, leave a tail, weave through back loops of a few stitches to finish, and push the tail inside.
- For Leg 2: Repeat Rounds 1–7, but do not cut the yarn.
- Round 8 (Joining the Legs): From Leg 2, ch 6. Take Leg 1, insert hook into the first open stitch after its finish point, and work 12 sc around Leg 1. Next, work 6 sc across one side of the joining chain. Work 12 sc around Leg 2. Work 6 sc across the remaining loop side of the joining chain. (36) Place your stitch marker at the end of this round.
- Rounds 9–33: Sc around evenly for 25 straight rows. (36) Stuff the legs firmly and add fiberfill gradually as the body grows.
Head Splitting & Eye Shaping
The head splits dynamically at the top into two distinct domes for the eyes.
Right Eye Dome
- Round 34: Work 16 sc. Skip the next 3 stitches on the main body. Jump directly into the next stitch to close a loop of 14 stitches, leaving the remaining body stitches behind for later. (14)
- Rounds 35–36: Sc around. (14)
- Eye Placement: Place a 10 mm safety eye between Rounds 35 and 36 (counting 2 rows down from the top), centered. Secure firmly with a safety washer inside. Add fiberfill.
- Round 37: 7 Dec around. (7)
- Finishing: Cut yarn with a long tail. Thread a needle through the front loops of the 7 stitches, pull tight to close. Wrap the tail horizontally over the top curve of the plastic eye twice to create a raised eyelid effect. Secure the yarn inside.
Left Eye Dome
- Round 34 (Left side): Join green yarn with a slip knot to the front of the remaining open body stitches. Skip 4 open stitches from the base of the right eye, and start working in the 5th stitch. Work 14 sc across to create the second head loop. (14)
- Rounds 35–36: Sc around. (14)
- Eye Placement: Mirror the first side. Place the 10 mm safety eye between rows 35 and 36, secure with a washer, and stuff.
- Round 37: 7 dec around. (7)
- Finishing: Close the 7-stitch opening using front loops. Repeat the horizontal wrapping over the plastic eye to duplicate the eyelid feature. Use your initial yarn tail to sew closed the small gap left between the two eye domes.
Arms (Make 2)
- Round 1: In green yarn, 6 sc into a MR. (6)
- Rounds 2–10: Sc around. (6)
- Stuffing: Fill the lower half of the arm with a small amount of fiberfill (up to Round 7). Leave the top 3 rounds empty so the arms sit flat against the body.
- Assembly: Flatten the top opening and work 3 sc through both layers to seal it closed. Pin the arms horizontally to the sides of the body between Rounds 19 and 20, keeping them aligned symmetrically with the legs. Sew securely using a tapestry needle.
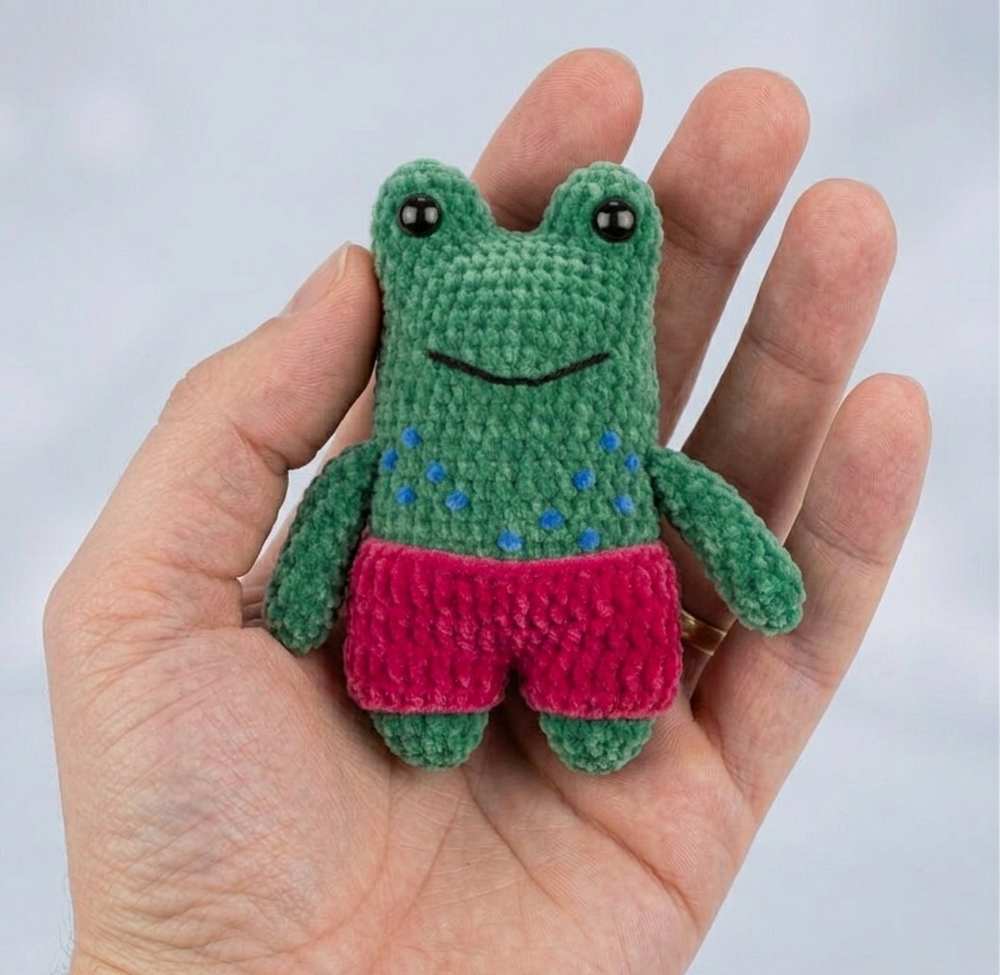
Removable Shorts Pattern
The shorts are worked in pink yarn starting from the waist downward.
- Foundation: Ch 37.
- Row 1: Starting in the 2nd ch from your hook, work 36 sc across. (36) Do not twist the strip; join the first and last sc with a sl st to create a round.
- Round 2: Ch 2 (counts as your first dc). Work 35 dc around. Join with a sl st to the top of the ch-2. (36)
- Round 3: Ch 2. Work 35 dc around. Join with a sl st to the top of the ch-2. (36)
Separating the Pant Legs
- Round 4 (First Leg): Ch 2. Count 17 dc stitches over, place a marker, and sl st into the 18th stitch to split the piece exactly in half. Ch 2 again, then work 17 dc around that single leg loop. Work 1 dc into the base sl st, and 1 dc into the back loop of each dividing chain. Join with a sl st. (21)
- Round 5: Ch 1 (counts as first sc). Work 20 sc around the leg cuff. Fasten off and weave in ends using a false-stitch closure for a seamless rim.
- Round 4 & 5 (Second Leg): Attach pink yarn with a slip knot to the back base of the dividing split. Replicate the process: work 18 dc around the second loop, adding dc increases at the joint and over the dividing chain loops (21). Finish with an identical round of 21 sc for the cuff. Fasten off and secure all loose yarn tails inside.
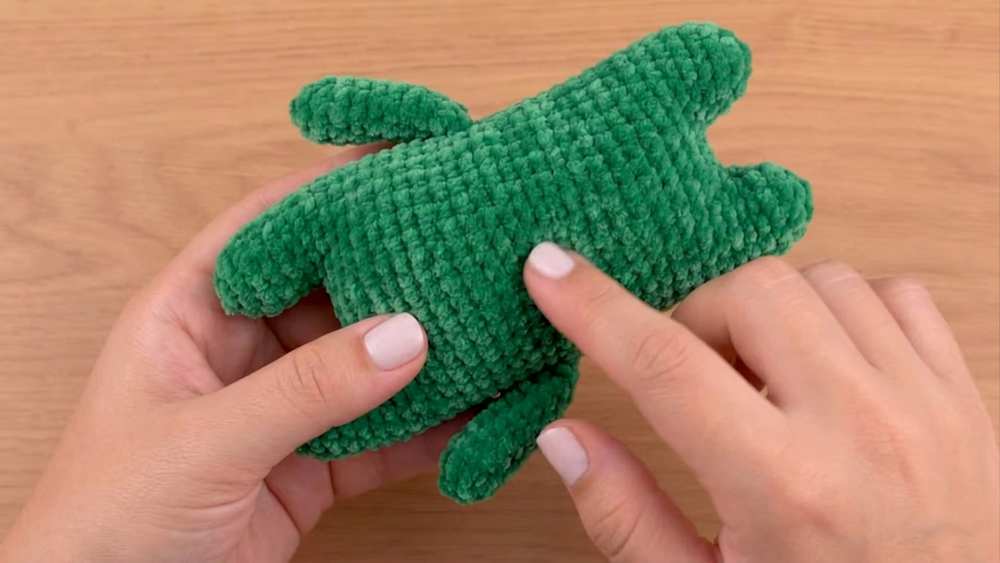
Embroidery & Finishing Touches
- The Smile: Thread your tapestry needle with black yarn. Find the center line of the face, roughly 24 rows up from the bottom feet (between Rounds 24 and 25). Stitch a wide line across 10 single-crochet stitches. Catch the center bottom of that thread one row below to pull it down into a gentle “V” shape, securing a sweet smile.
- Textured Spots (French Knots / Picot Embroidery): Thread a needle with blue yarn. Slide the needle randomly into the frog’s skin around its back and sides.
- Wrap the yarn around your needle twice right against the surface, insert the needle back into a tiny fabric strand nearby, and pull gently to drop a textured, raised spot onto the body. Mix these randomly across the back and lower sides to complete the classic frog look before pulling on its pink shorts!

About "Talha"
Hey, I’m Talha, the Crafter on Craftstive.com. I love to share guides on folding cute origami models and paper crafts, and I am always ready to inspire your next craft project with my weekly craft discussions.