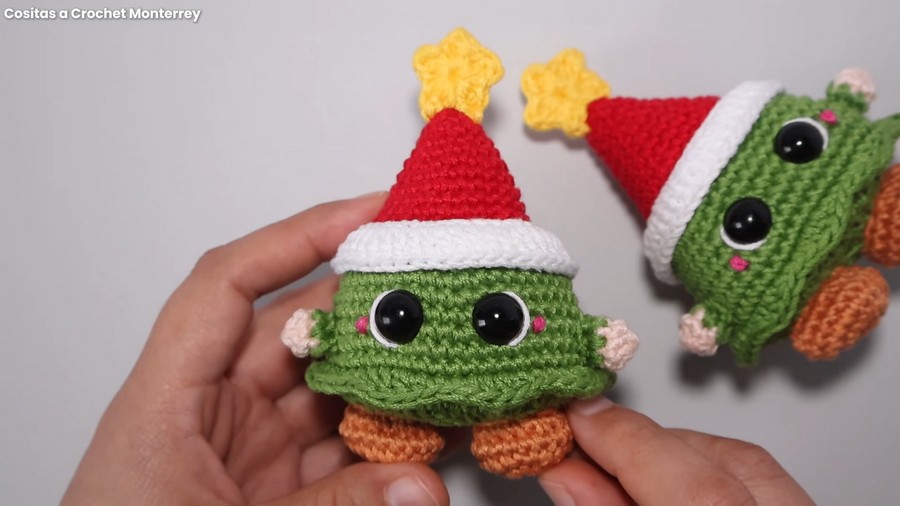
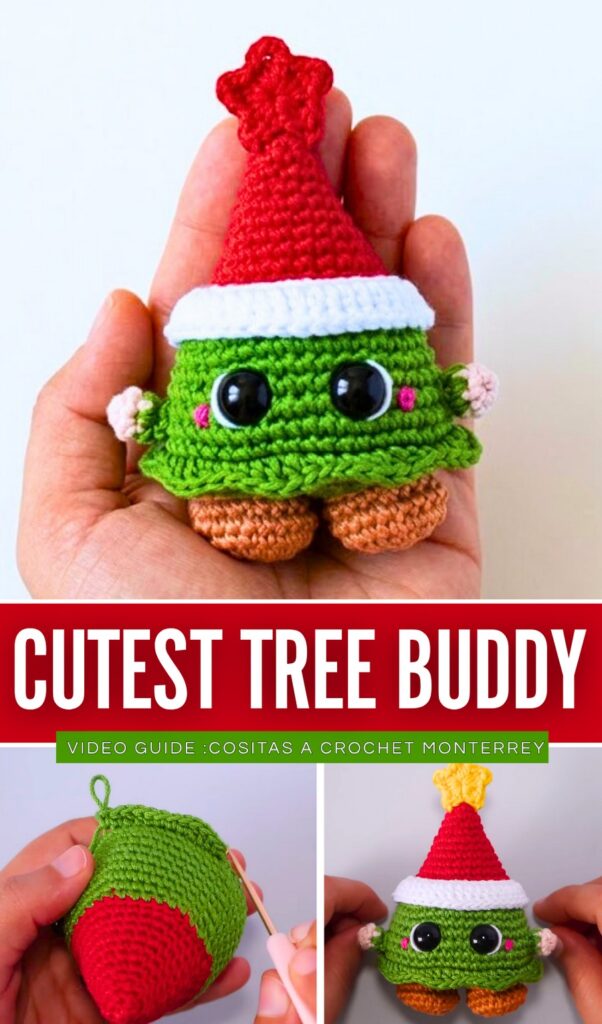
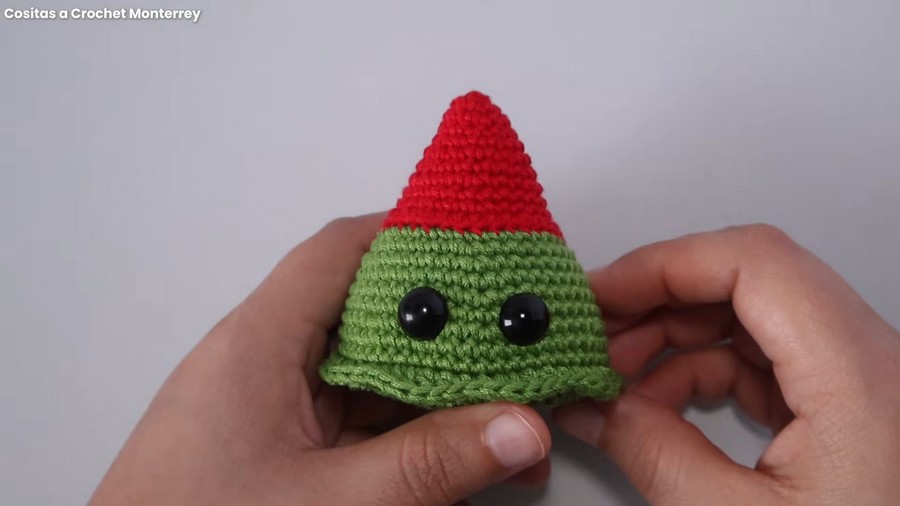
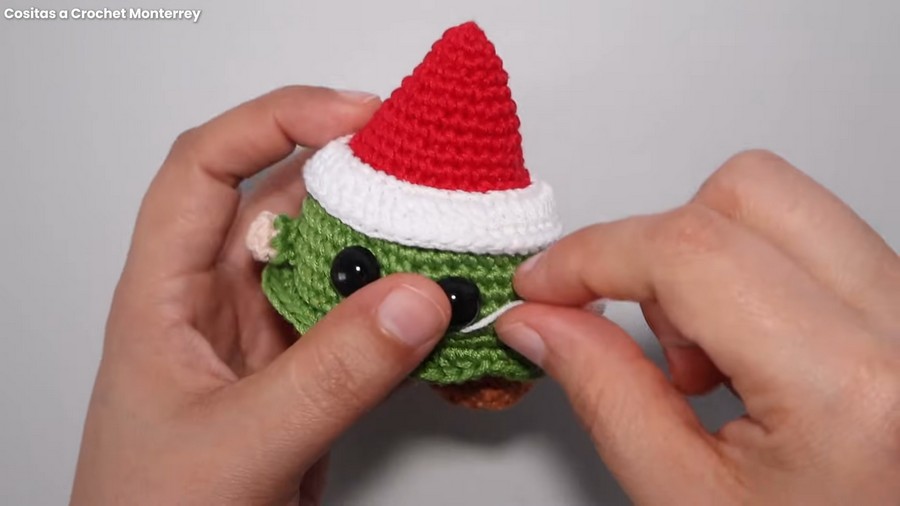
This video is a step-by-step crochet tutorial on how to make a cute Christmas tree amigurumi. The creator guides you through crocheting the individual parts: the red body/hat, the green tree base with a ruffled trim, the star, the feet, and the hands. Afterward, the video demonstrates how to assemble and sew all the pieces together, attach safety eyes, embroider the cheeks, and add the white hat band.
Mini Amigurumi tree Buddy
Difficulty Level: Medium
-
Why this level?
-
It involves working in the round, increasing and decreasing stitches across various shapes (cones, spheres, stars).
-
It requires changing yarn colors mid-project (red to green, white, yellow, and skin tone).
-
Assembly requires precise placement, alignment, and sewing multiple separate limbs onto the main body, which can be challenging for absolute beginners.
-
Materials Needed
-
Mercerized cotton yarn (approx. 2 mm thickness) in:
-
Red
-
Green
-
White
-
Yellow
-
Skin tone (flesh/beige)
-
Cinnamon/Brown
-
-
Pink yarn or embroidery thread for cheeks
-
Crochet hook (2 mm)
-
Tapestry needle / Yarn needle
-
Scissors
-
Stitch markers (or a contrasting yarn piece)
-
Pliers (optional, to help pull needles through tight stitches)
-
12 mm safety eyes with backs
-
Sewing pins
-
Polyester fiberfill (toy stuffing)
Pattern Abbreviations
-
ch: Chain stitch
-
sc / pb: Single crochet / Punto bajo
-
hdc / mpa: Half double crochet / Medio punto alto
-
dc / pa: Double crochet / Punto alto
-
inc / aum: Increase / Aumento
-
dec / dism: Decrease / Disminución
-
sl st / pd: Slip stitch / Punto deslizado
-
BLO / hebra trasera: Back Loop Only / Tomando solamente la hebra trasera
-
FLO / hebra delantera: Front Loop Only / Tomando solamente la hebra delantera
Difficult Stitch Explanation
-
Back Loop Only (BLO) & Front Loop Only (FLO) Stitches:
-
Normally, when you insert your crochet hook, you go under both loops of the “V” shape at the top of a stitch.
-
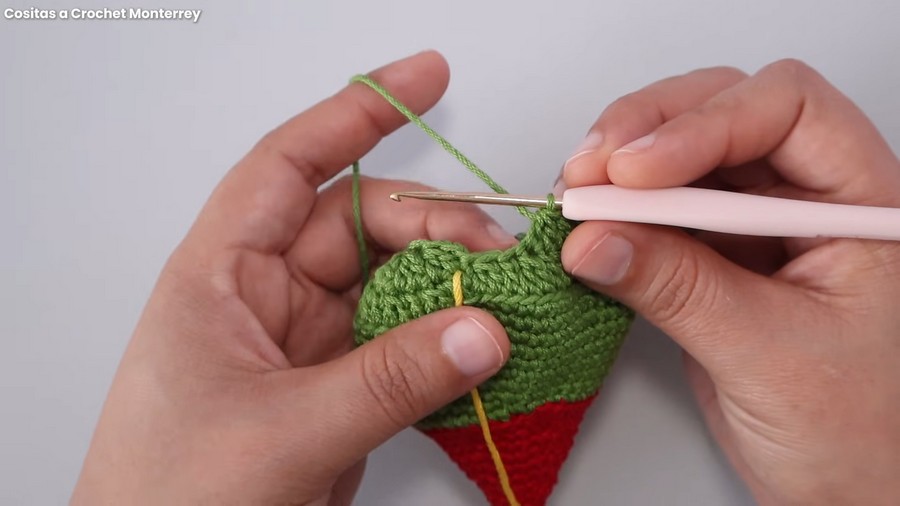
BLO (Back Loop Only): You insert your hook under only the loop farthest away from you. This leaves the front loop exposed, creating a distinct horizontal ridge or line. In this tutorial, it is used to create clean transition lines for the tree ruffles and hat brim.
-
FLO (Front Loop Only): You insert your hook under only the loop closest to you, leaving the back loop free
-