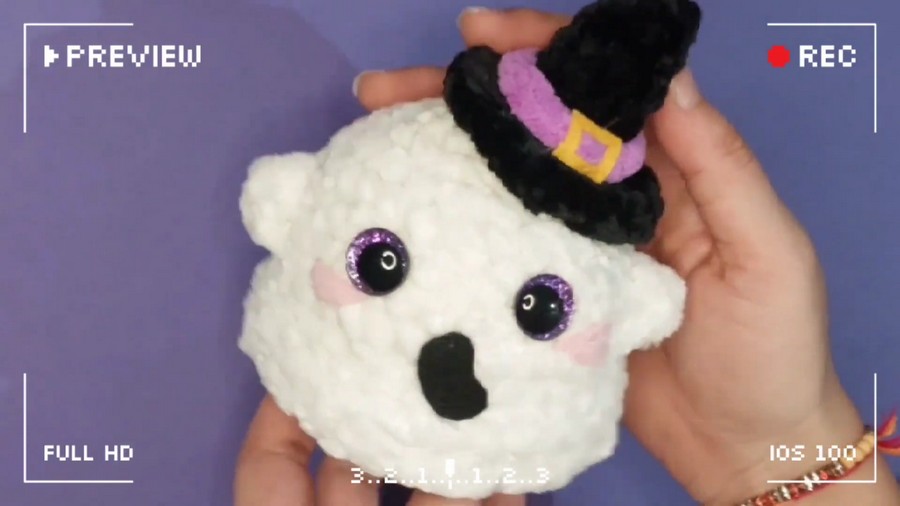
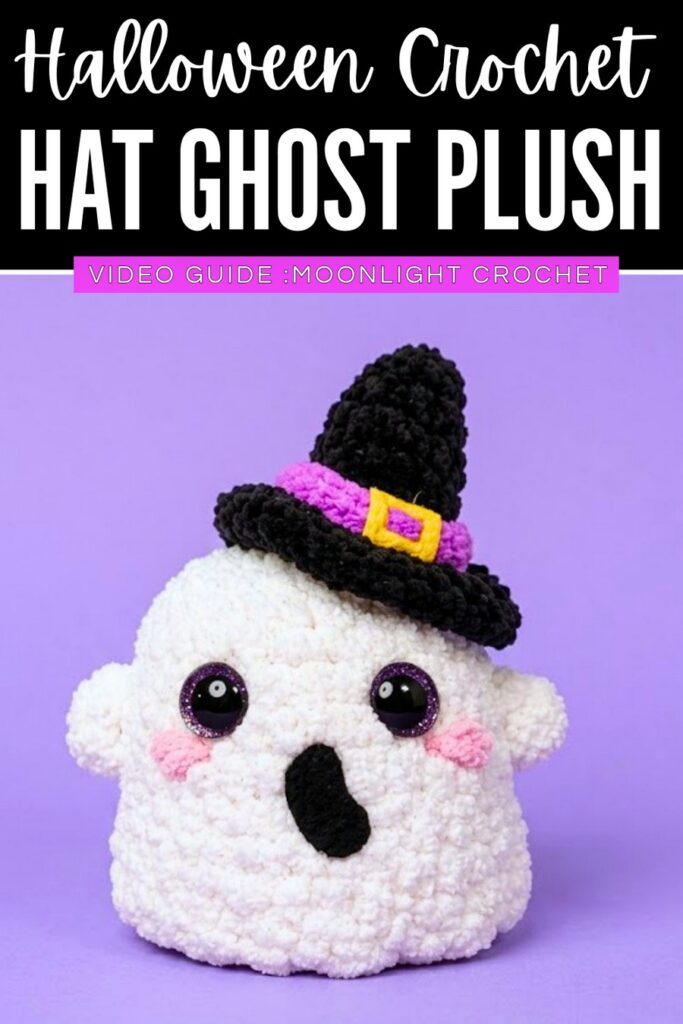
This tutorial guides you through making a plush amigurumi ghost without sewing pieces together. You start from the top of the head using a magic ring and expand outward with increases. As you work down the main body, the hands are crocheted directly into the rounds. Safety eyes are placed before closing the bottom opening with decreases and filling the shape with fiberfill stuffing. Finally, a wavy ruffle skirt is worked around the bottom loops to complete the ghost appearance.
No-Sew Ghost With Witch Hat Plushie
Difficulty Level: Easy / Beginner-Friendly
-
Why: The project relies entirely on fundamental amigurumi techniques like working in continuous rounds, basic increases, and basic decreases. Because it is a “no-sew” design, you crochet the hands and bottom skirt directly into the body, eliminating the need to align and sew separate limbs or parts.
Pattern Abbreviations
-
MR: Magic Ring
-
sc: Single Crochet
-
inc: Single Crochet Increase (two single crochets in one stitch)
-
dec: Single Crochet Decrease (crocheting two stitches together)
-
ch: Chain
-
sl st: Slip Stitch
-
dc: Double Crochet
-
BLO: Back Loops Only
-
FLO: Front Loops Only
Materials Required
-
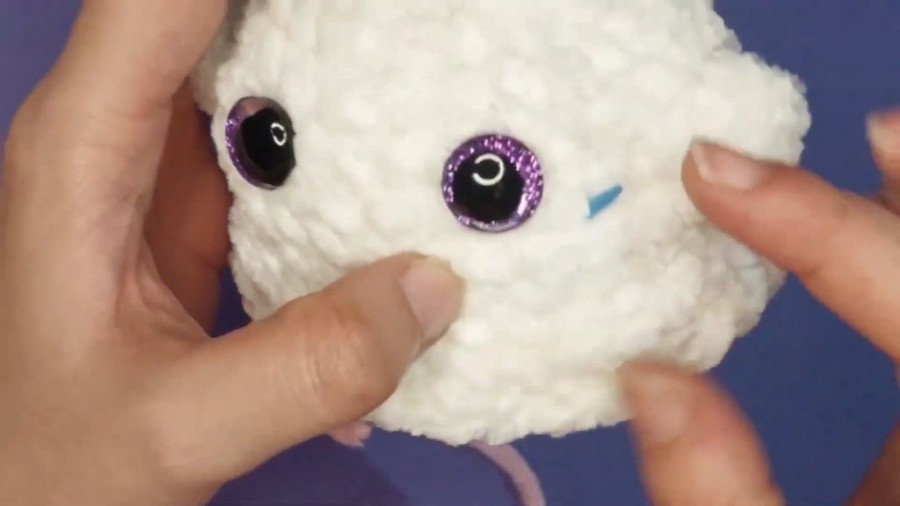
Yarn: Plush / Chenille yarn (White)
-
Crochet Hook: Sized to match yarn thickness (typically 4.0 mm – 6.0 mm)
-
Safety Eyes: Black safety eyes or safety eyes with backings
-
Stuffing: Fiberfill / Polyester toy stuffing
-
Tools: Stitch markers, scissors, and a yarn/tapestry needle (for weaving in yarn ends)
Difficult Stitch Detail: Invisible Decrease (dec)
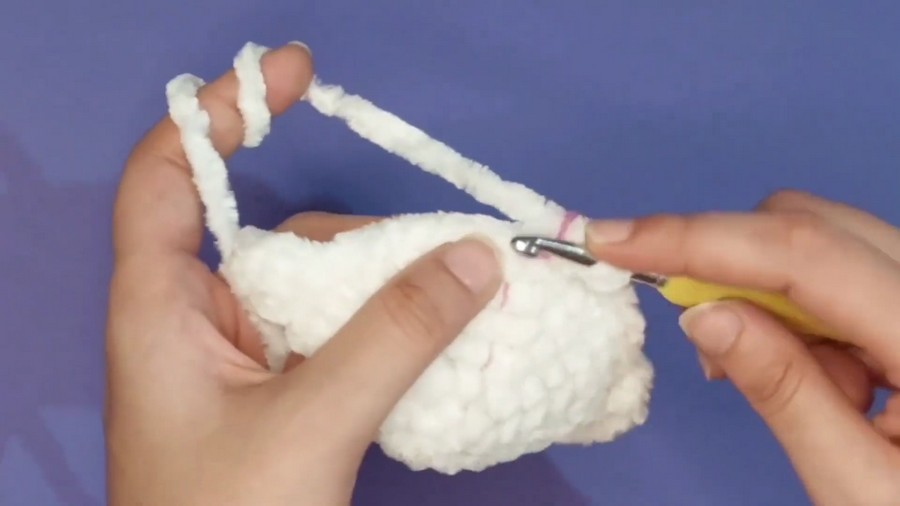
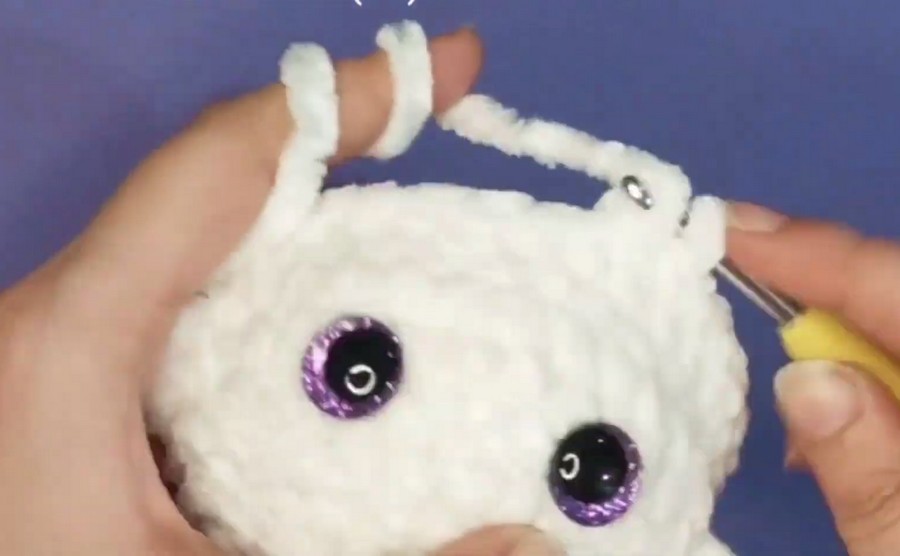
While standard amigurumi uses basic single crochets, the Invisible Decrease is the key technique used when shaping and closing plush items to prevent visible gaps or bumps.
How to make an Invisible Decrease:
-
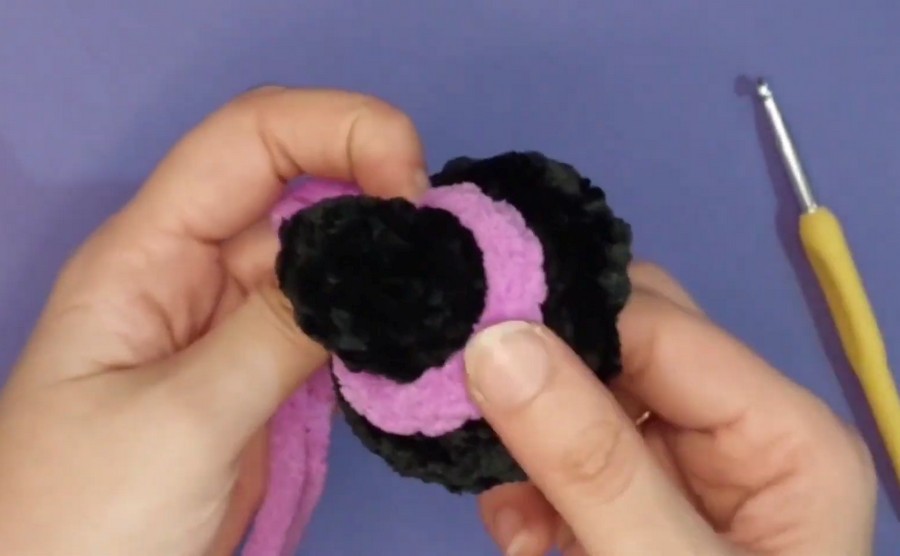
Insert hook into Front Loop Only: Insert your hook under the front loop only of the first stitch.
-
Insert hook into Next Front Loop: Without yarning over, immediately insert your hook under the front loop only of the second stitch (you now have 2 front loops on your hook plus your original loop).
-
Yarn over and pull through: Yarn over and pull the yarn through the first two front loops on your hook.
-
Complete stitch: Yarn over once more and pull through the remaining two loops on your hook.
Video Tutorial: