
Tutorial Type: Video Tutorial by Patoys
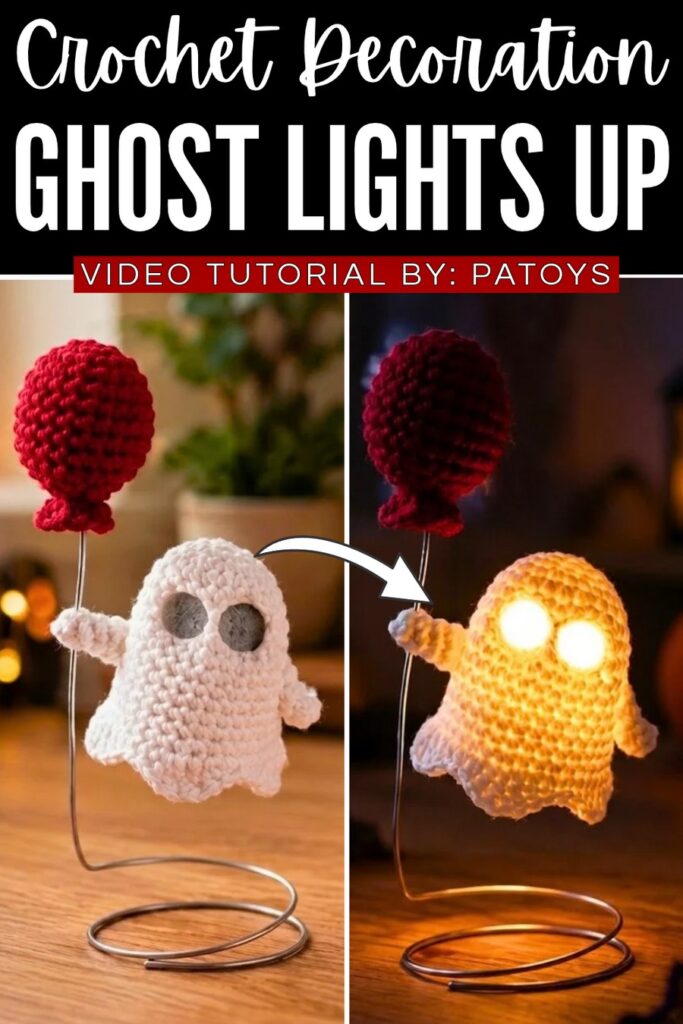
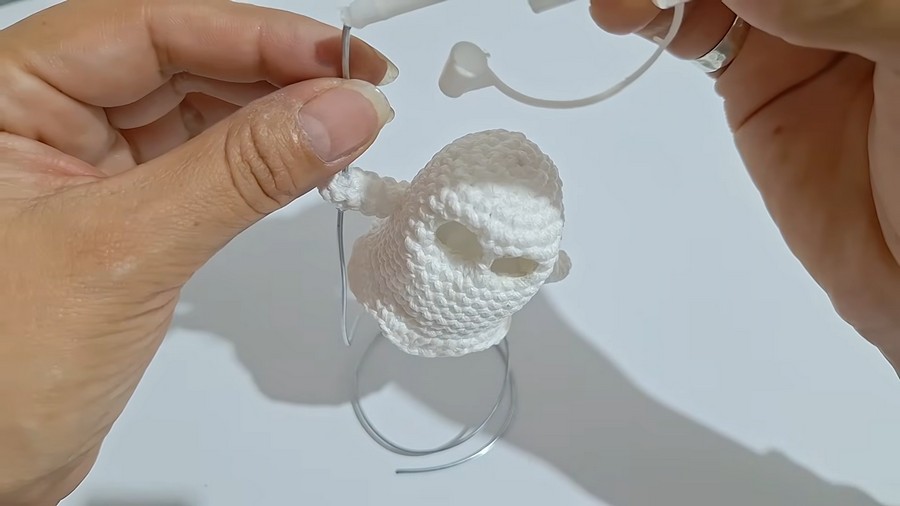
Showcasing a unique glowing Halloween design, this crochet tutorial guides you through making an adorable ghost equipped with an internal LED light mechanism. The finished plushie features a smooth white bell-shaped body, short side arms, black safety eyes, an embroidered mouth, and an open bottom base designed to hold a small LED light module. Ideal as a decorative seasonal accent, this illuminated figure functions as a cozy nightlight, Halloween table centerpiece, desk accessory, or festive glowing toy.
Crochet Lights Up Ghost With Balloon Decor
Difficulty Level
Easy to Intermediate
Why this difficulty:
The pattern uses basic amigurumi stitches worked in continuous rounds, making the body straightforward to construct. However, shaping the internal light pocket housing and ensuring accurate opening dimensions for the light module require precise stitch counts and careful assembly.
Pattern Abbreviations
-
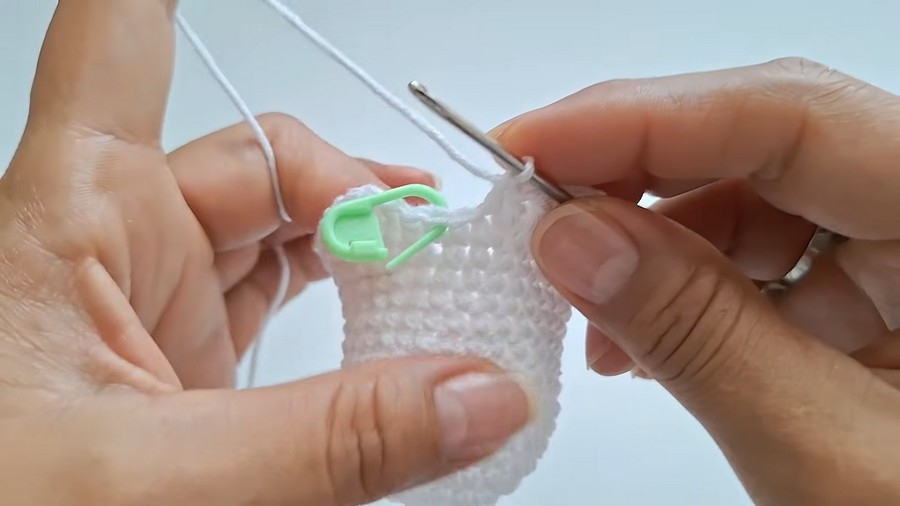
MR: Magic ring
-
sc: Single crochet
-
inc: Increase (two single crochets in the same stitch)
-
dec / inv dec: Invisible decrease (single crochet two stitches together)
-
sl st: Slip stitch
-
ch: Chain
-
BLO: Back loop only
-
FLO: Front loop only
Materials
-
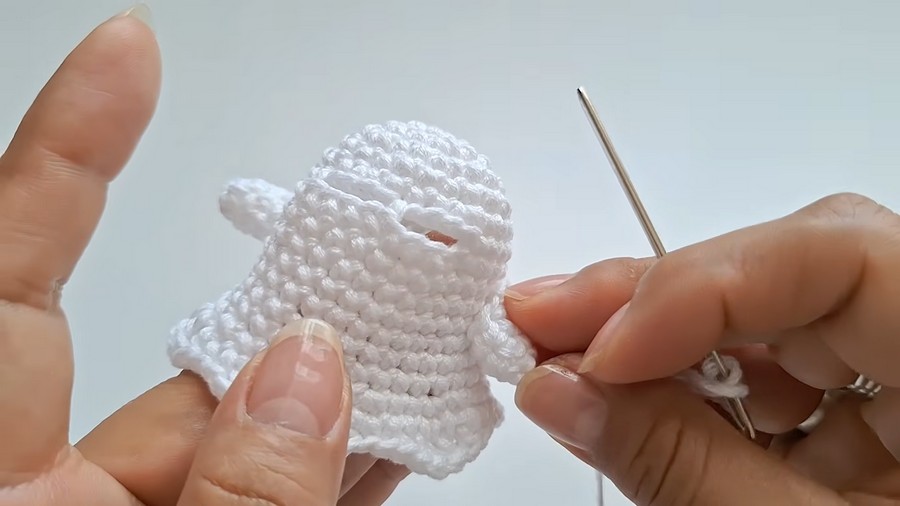
White plush chenille or worsted yarn
-
Black embroidery thread / thin yarn (for facial details)
-
Crochet hook appropriate for yarn weight (e.g., 3.5 mm – 4.5 mm)
-
Small LED push light / tea light module
-
Safety eyes
-
Fiberfill stuffing
-
Stitch marker, tapestry needle, and scissors
Difficult Stitches:
-
Invisible Decrease (inv dec):
-
Insert hook into the front loop only (
FLO) of the next stitch. -
Insert hook directly into the front loop only of the following stitch without yarning over first.
-
Yarn over and pull through the first 2 loops on your hook.
-
Yarn over again and pull through the remaining 2 loops on your hook to complete the seamless decrease.
-
-
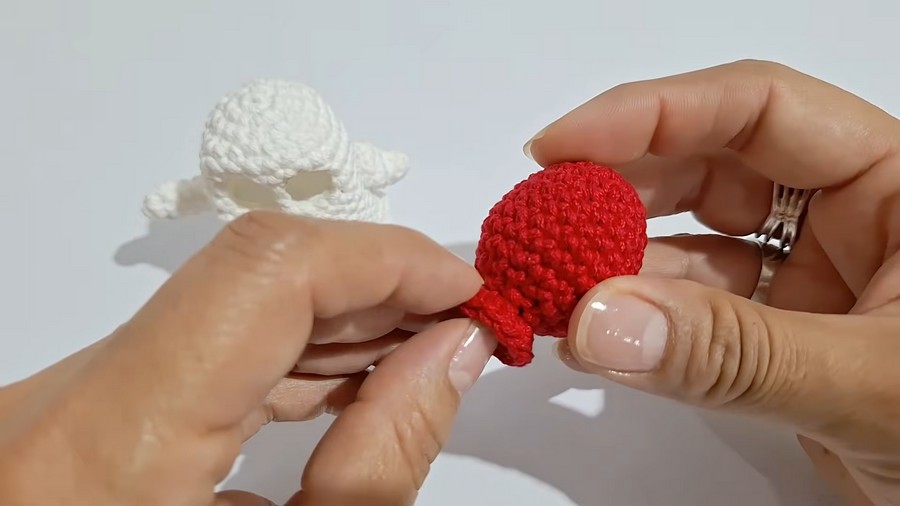
Working in Back Loops Only (BLO) for Light Pocket Base:
-
Identify the top V-shape of the stitch.
-
Insert your hook only under the rear strand (the loop farthest away from you), leaving the front loop unworked.
-
Complete your standard single crochet or decrease stitch as usual, creating a defined edge ridge that allows the base to fold cleanly inward to house the LED light module.
-
Video Guide: