
Show support for DIY dreams!
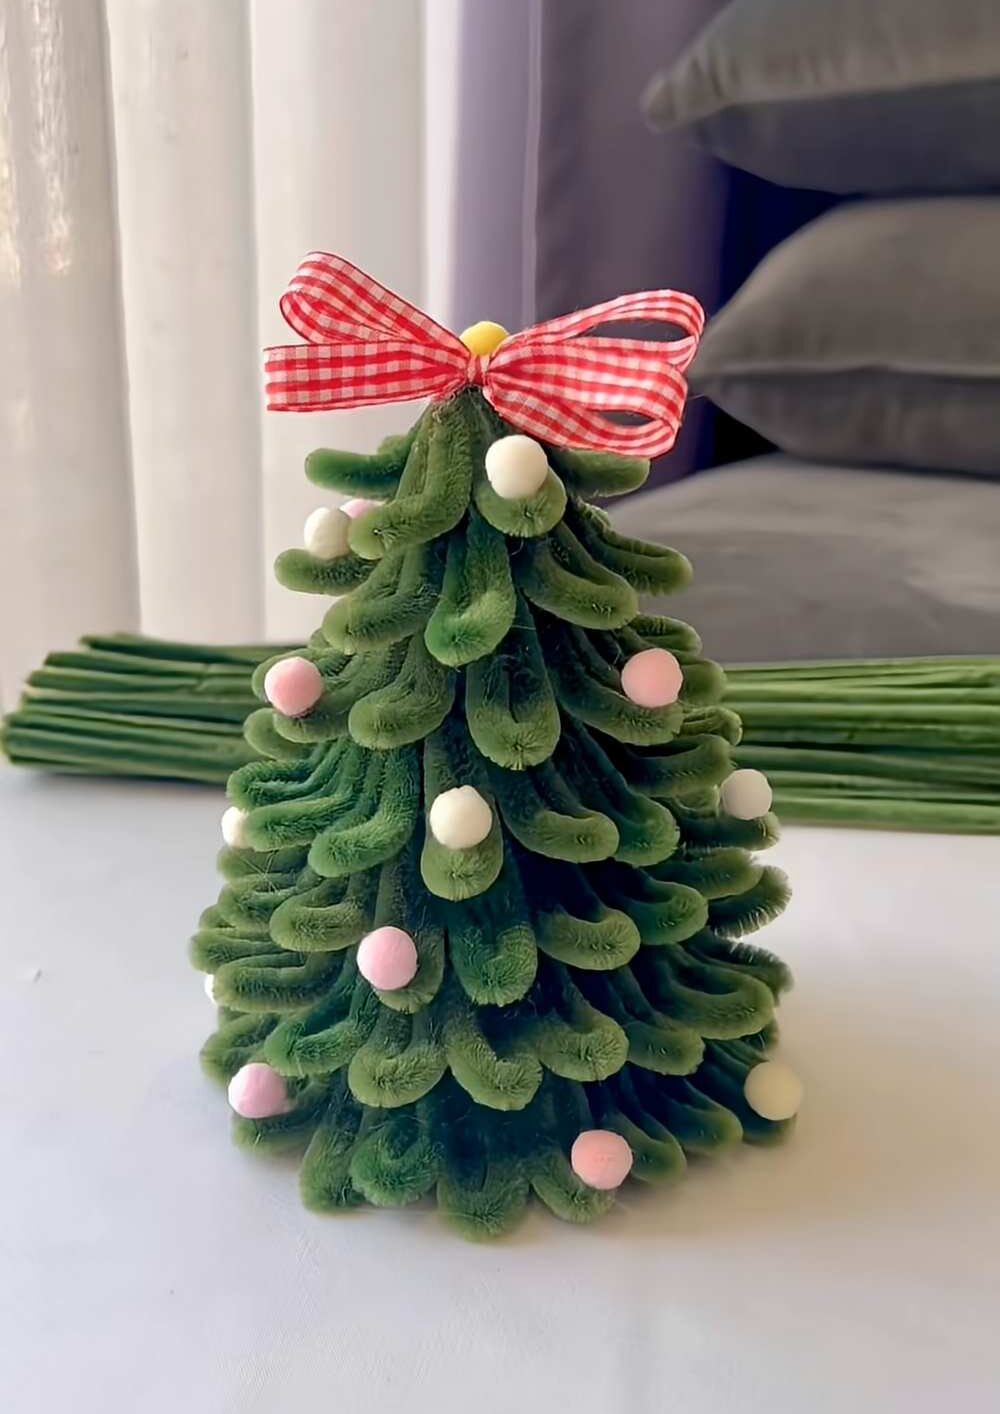
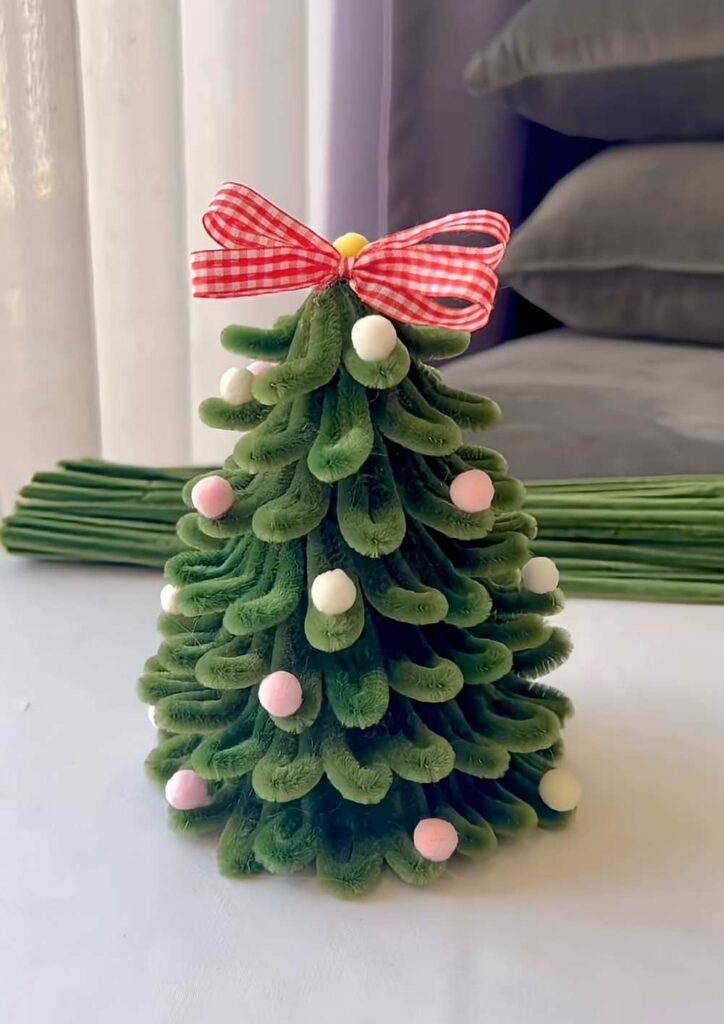
Finding the fastest and easiest way to make a table decoration pipe cleaner Christmas tree? Learn how to make this pom-pom-decorated chenille stem Christmas tree out of just cardboard (used as a base), pipe cleaners, pom-pom, and hot glue. This pipe cleaner Christmas tree plushie has a PERFECT tiered pine cone texture obtained by just cutting small pipe cleaner pressed loops. This decoration Christams tree is further charmed up with a farmhouse red & white bow on the top.
This DIY pipe cleaner Christmas tree also doesn’t need a stem. It is flowy and looks so elegant when placed on the Christmas table. You can also prepare this Christmas tree plushie as a present.
Requires less than 25 pipe cleaners to make a fuller Christmas tree. You can also use a styrofoam cone as a base, as it may be sturdier. But if you are planning to hide a present under this Christmas tree, be sure to use a hollow cone base made of cardboard or Tant paper. You can also stuff it. Now, continue reading to learn more about this DIY pipe cleaner Christmas tree project.

Tutorial to Make a Pipe Cleaner Tiered Christmas Tree
This project is a Christmas tree made of pipe cleaners. It is very easy and fun to make. First, you take green paper and roll it into a cone. This is the base of the tree. Next, you cut many small pieces of green pipe cleaners. You fold these pieces to look like small leaves.
You use a glue gun to stick the pipe cleaner leaves on the paper cone. You start from the bottom and go to the top. Finally, you add a red bow and small pink and white balls to the tree. The tree looks very pretty when it is done.
Materials Needed
-
Green Cardstock or Thick Paper: To make the cone.
-
Green Pipe Cleaners: A large pack (about 20–30).
-
Hot Glue Gun & Glue Sticks.
-
Scissors.
-
Red Bow: For the top.
-
Small Pom-poms or Beads: Pink and white for ornaments.
Step-by-Step Instructions
Feels Difficult?
Step 1: Make the Cone Base
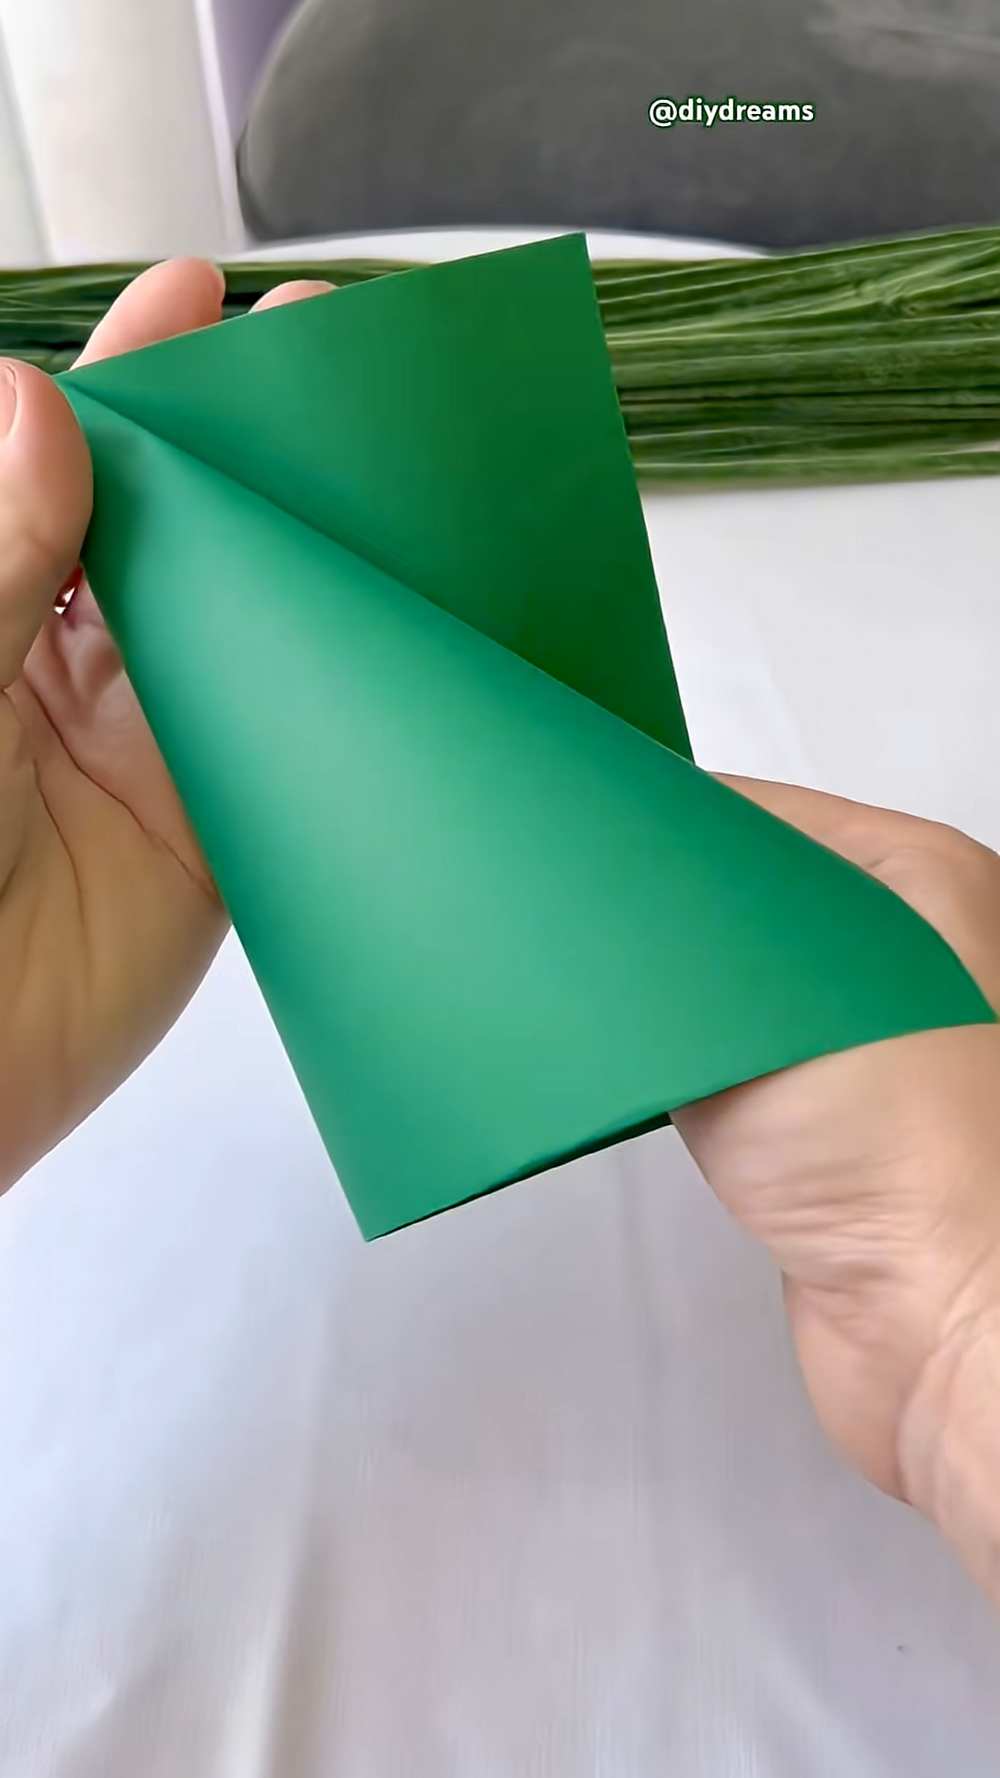
Take your green paper and roll it into a cone shape. Apply a line of hot glue along the edge to seal it. Use your scissors to trim the bottom of the cone so that it sits flat on your table.
Step 2: Prepare the Pipe Cleaners
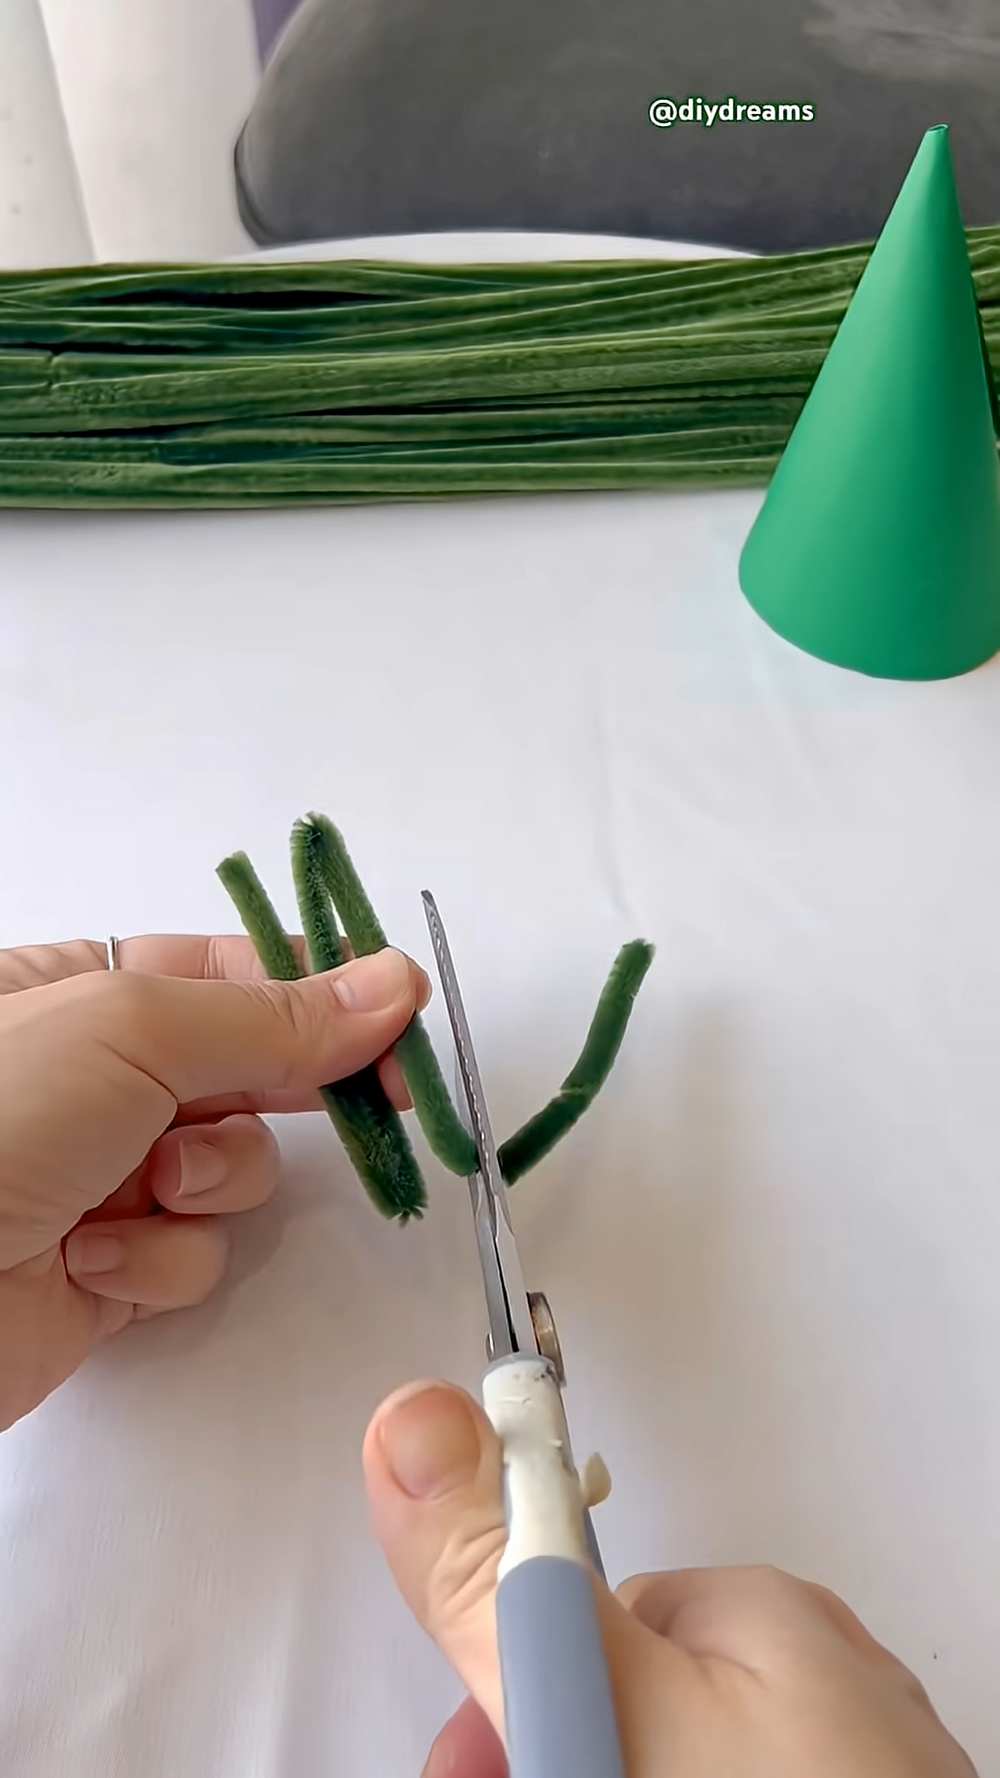
Take several green pipe cleaners. Fold them in half and cut them, then fold those in half and cut again. You want many small pieces that are about 2 to 3 inches long.
Step 3: Shape the “Leaves”
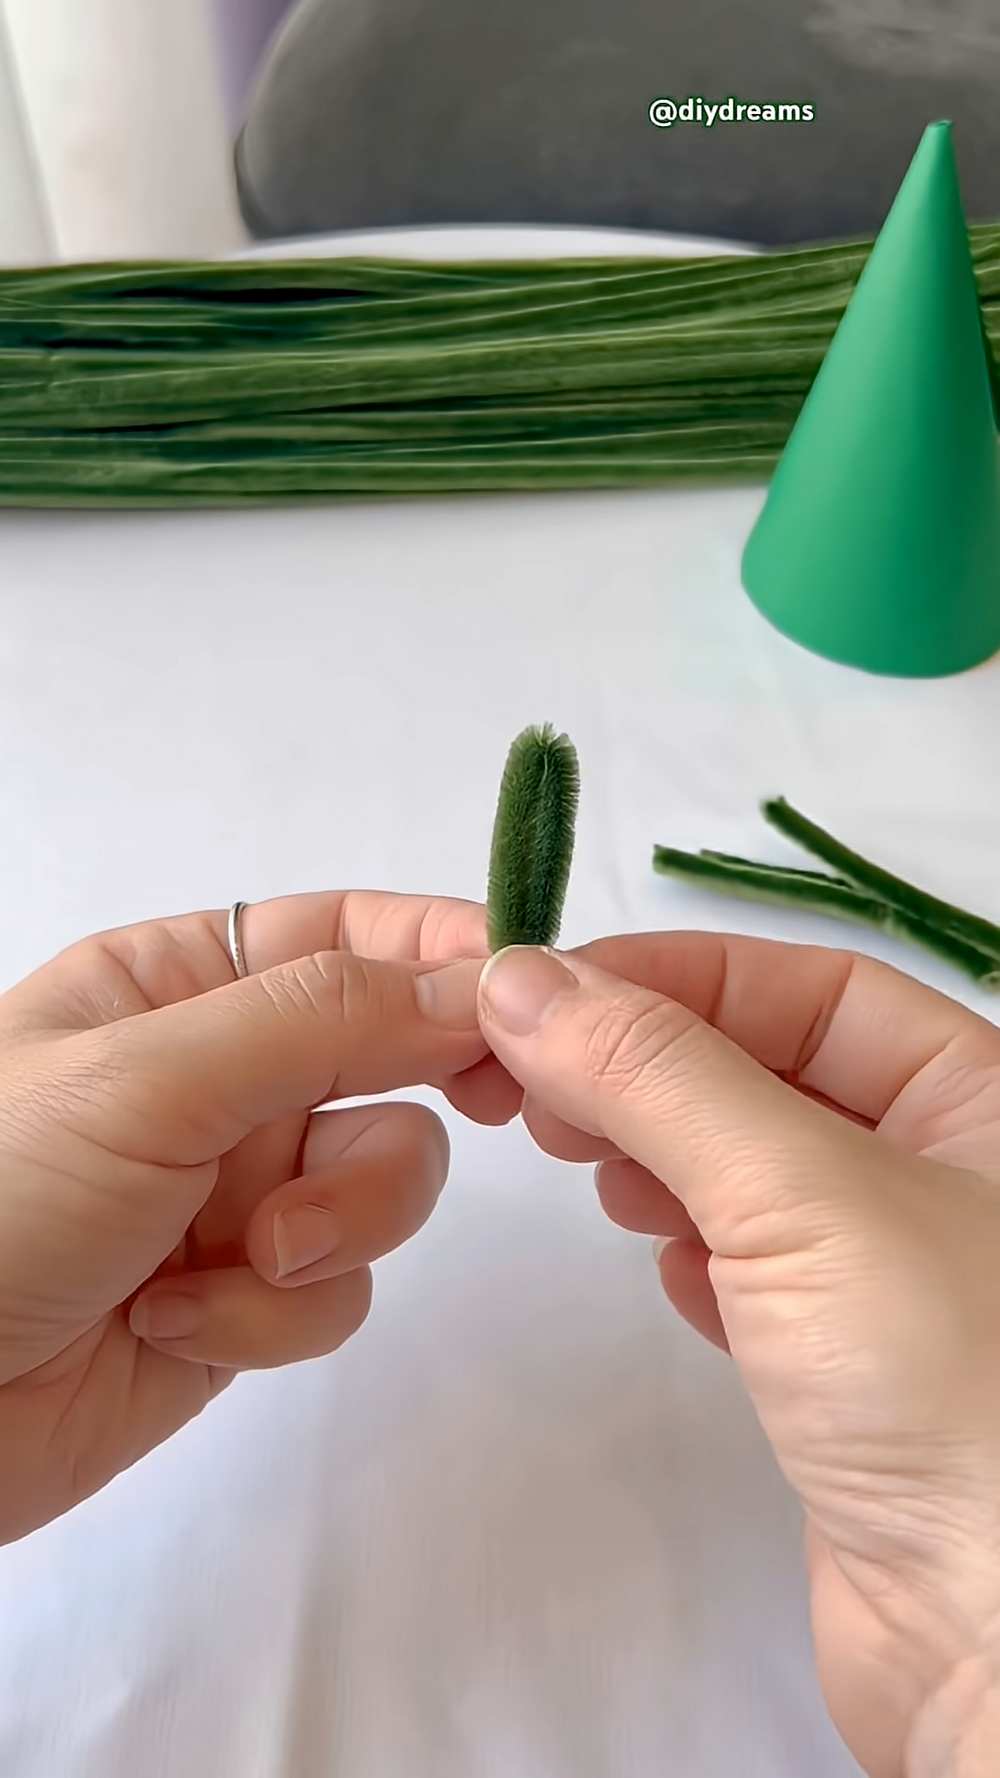
Take one small piece of pipe cleaner. Fold it in half to make a loop (a U-shape). Twist the two ends together at the bottom to lock the loop. Repeat this until you have a large pile of these green loops. These will be the branches of your tree.
Step 4: Glue the Bottom Row
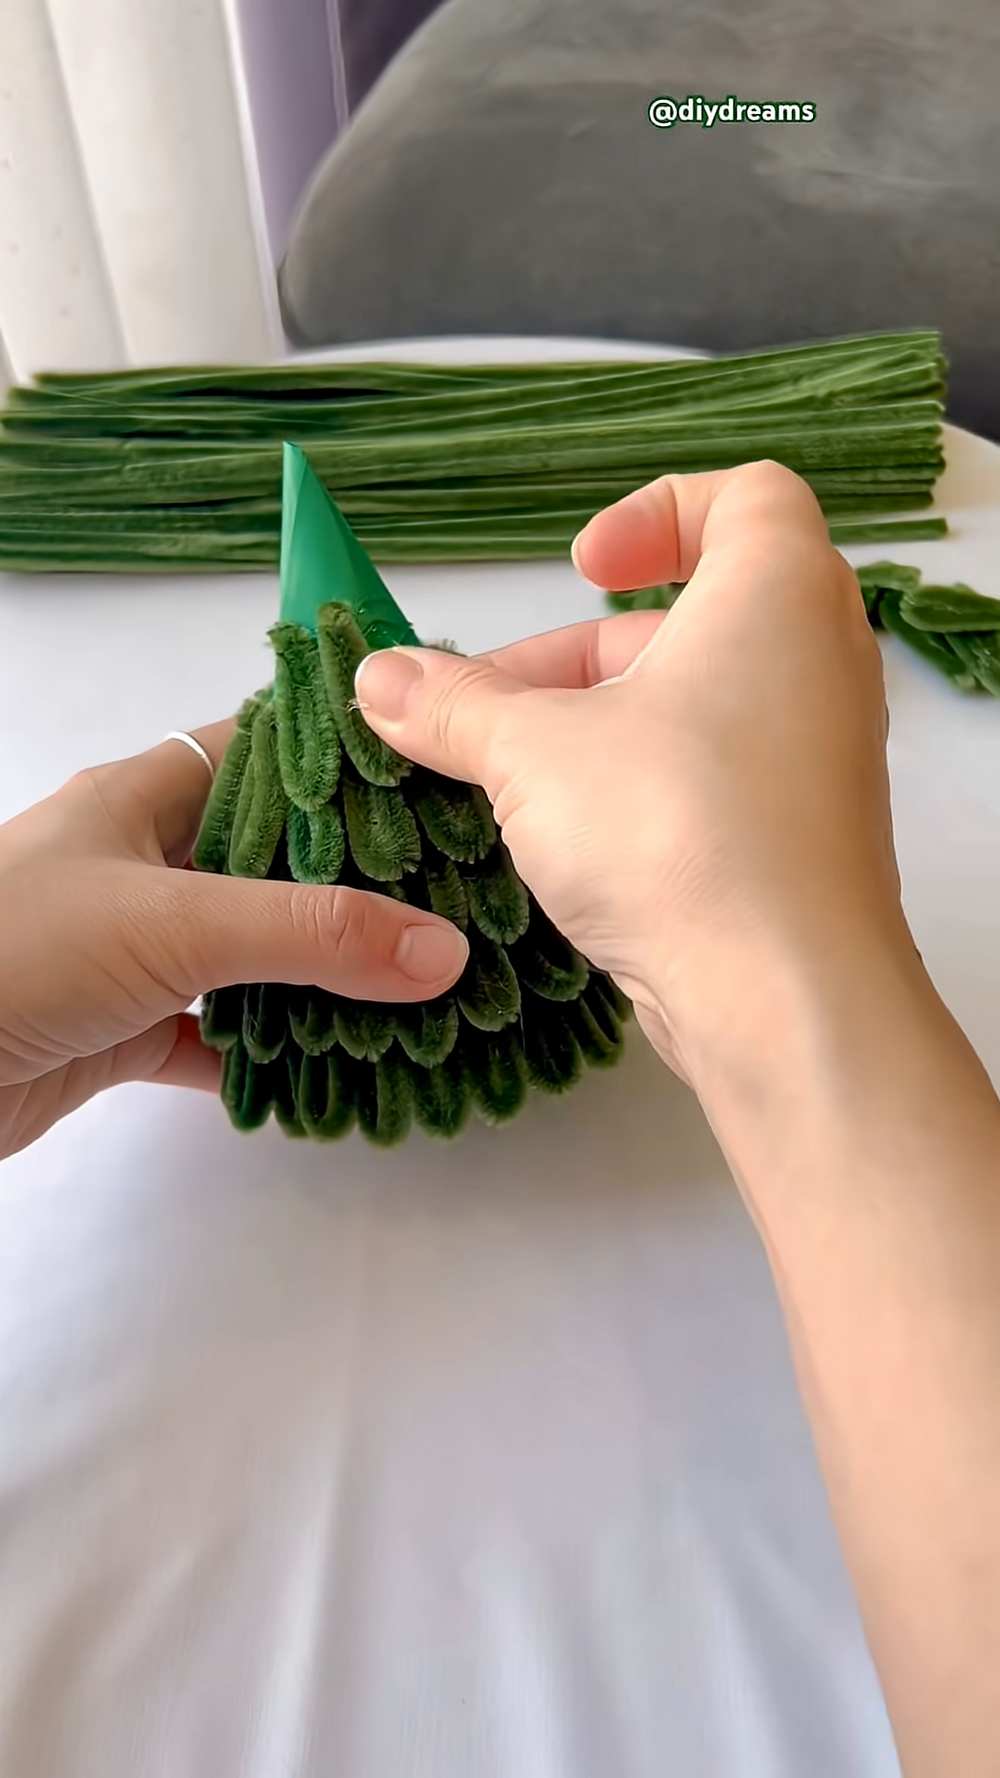
Apply a line of hot glue around the very bottom edge of your paper cone. Press the twisted ends of your pipe cleaner loops into the glue, one by one, until you have a full circle of “branches” around the base.
Step 5: Layer the Rest of the Tree
Apply another line of glue about half an inch above the first row. Stick another row of pipe cleaner loops onto the cone. Make sure this row slightly overlaps the bottom row so you cannot see the paper underneath. Continue adding rows until you reach the very top of the cone.
Step 6: Add the Topper
Apply a dab of hot glue to the very top point of the tree. Press your red bow into the glue and hold it for a few seconds until it stays.
Step 7: Decorate the Tree
Use your glue gun to put tiny dots of glue on different parts of the pipe cleaner branches. Press your pink and white pom-poms (or beads) onto the glue dots. Spread them out evenly to make the tree look like it is covered in ornaments.
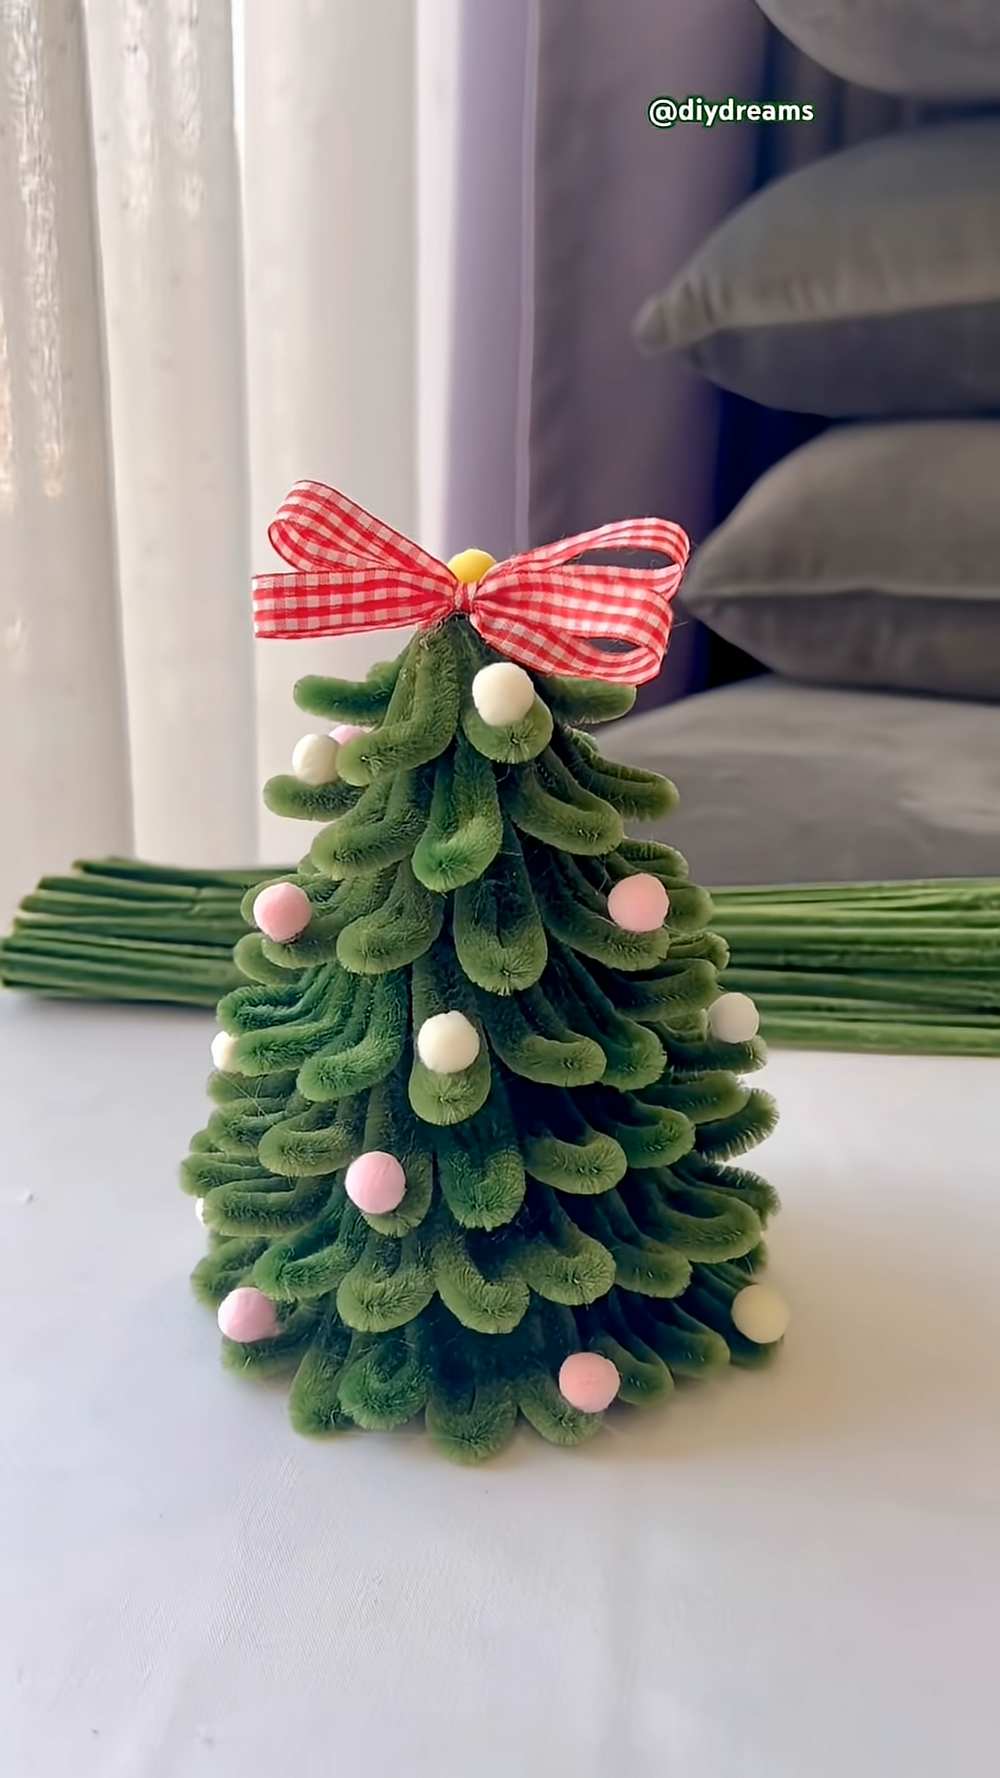
Your Pipe Cleaner Christmas Tree is now finished!