
Show support for DIY dreams!
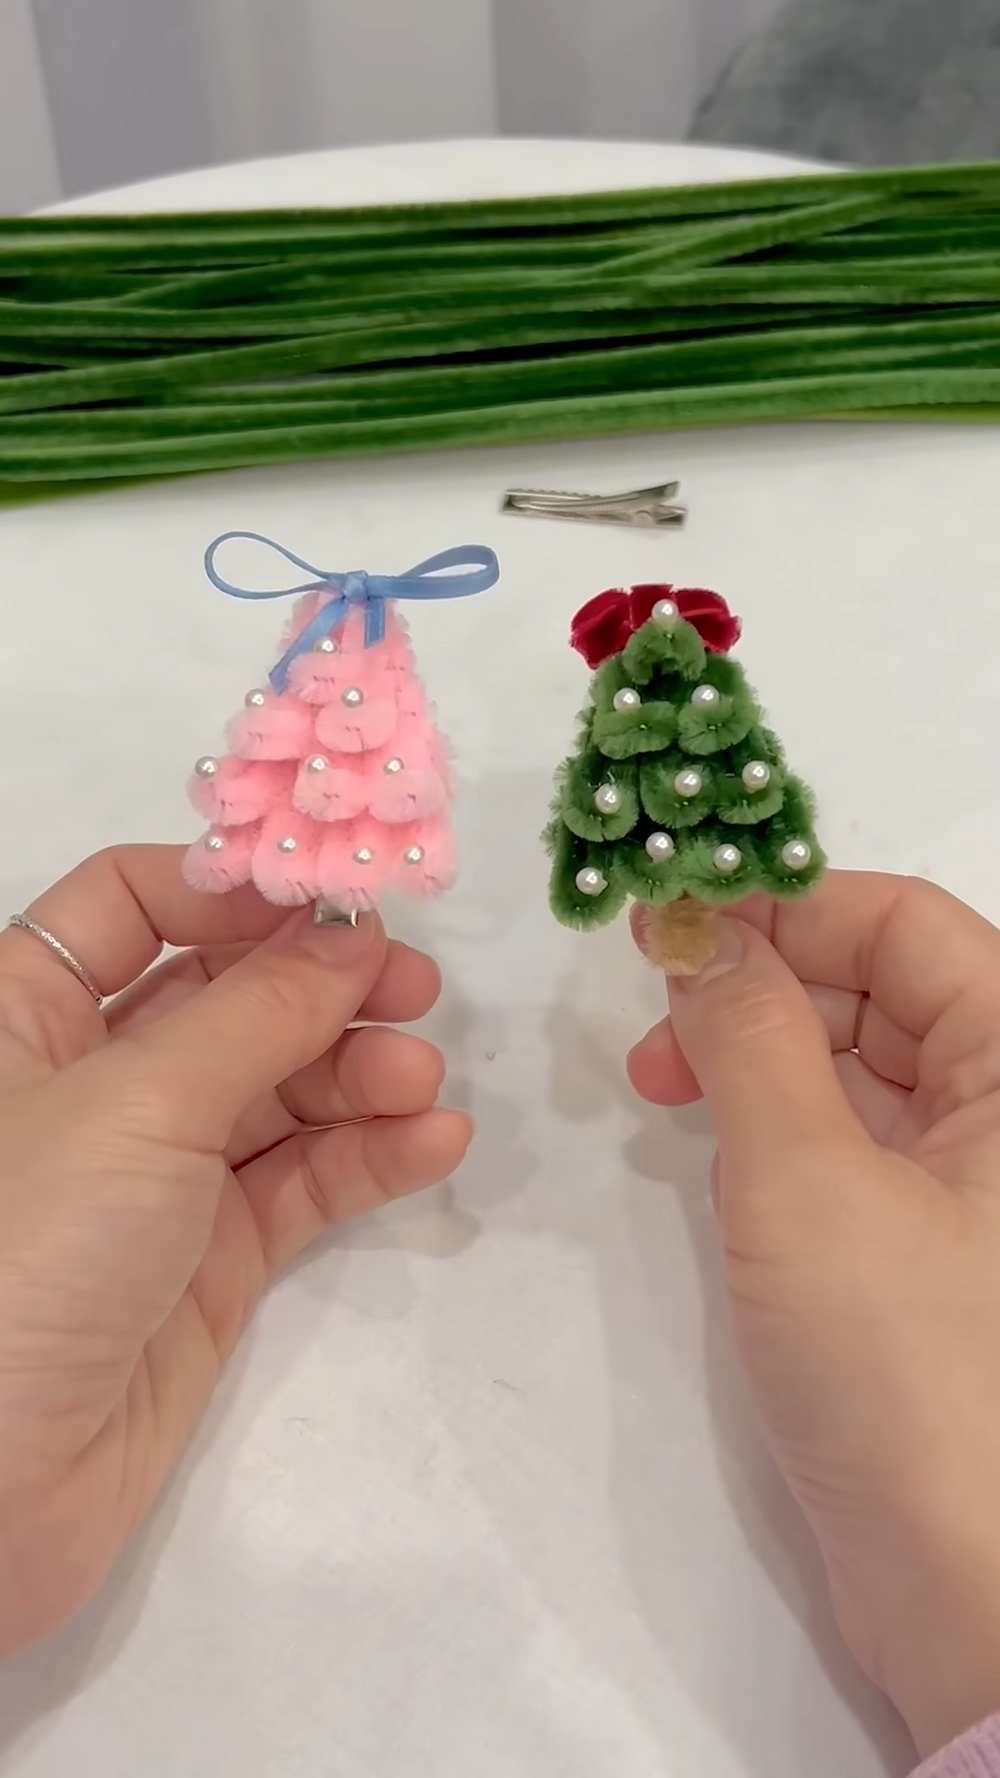
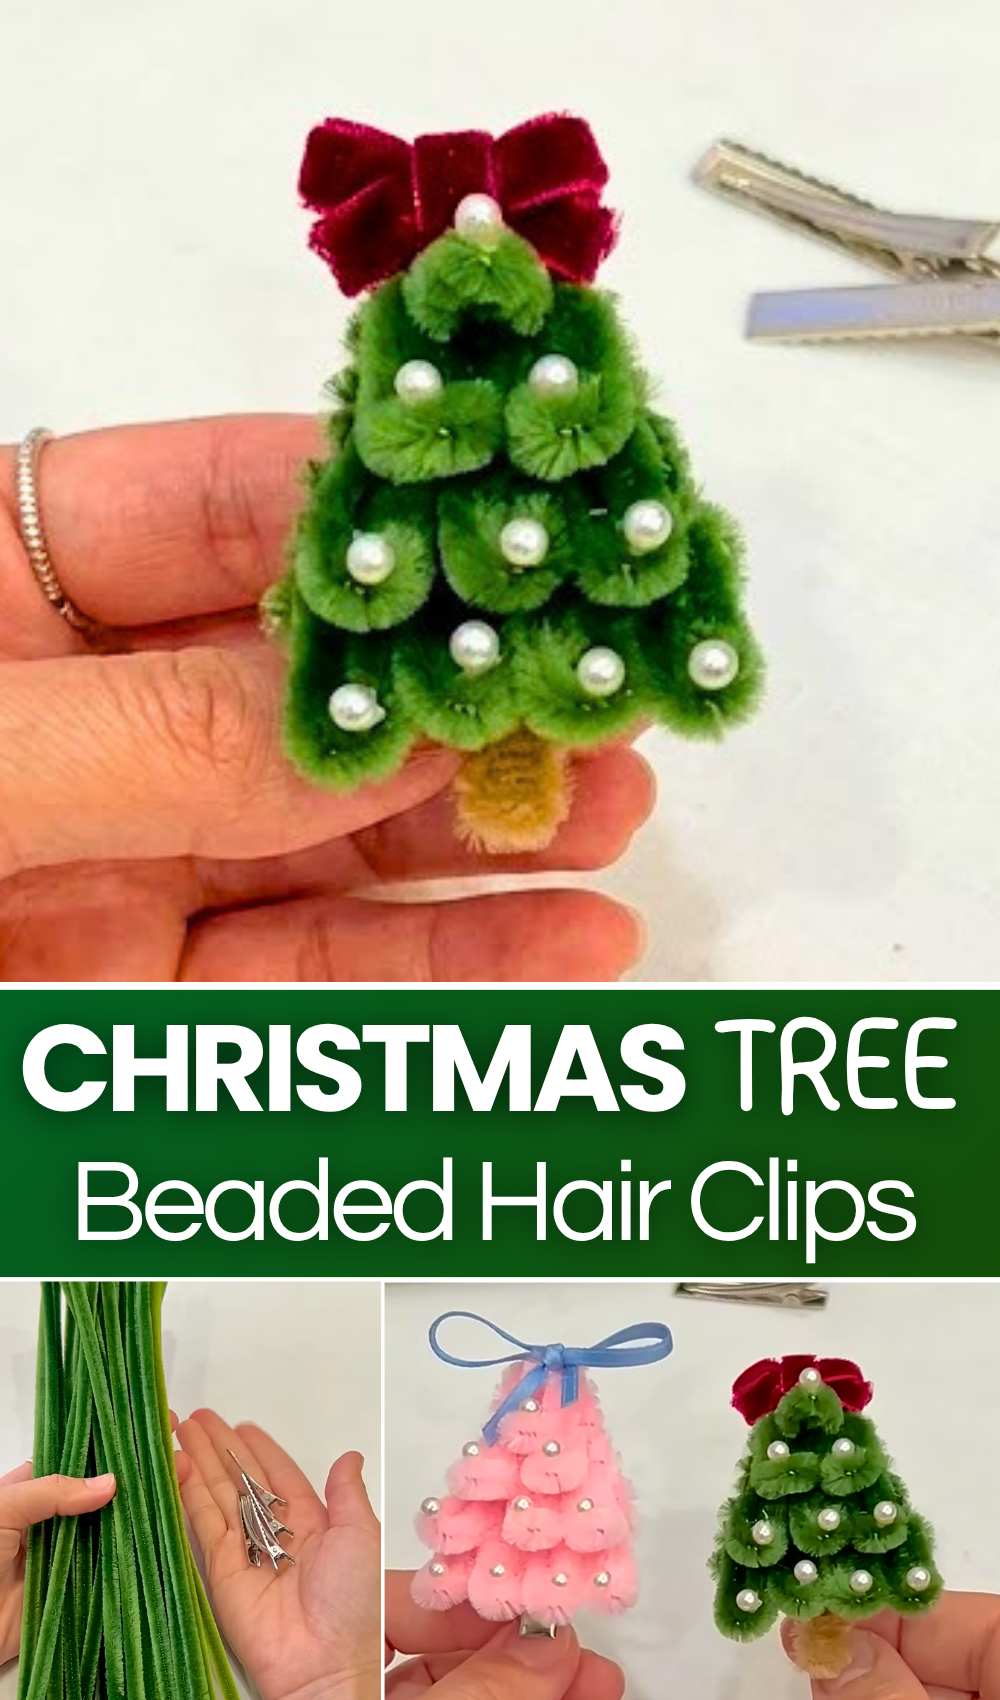
This Christmas, learn how to DIY the MOST BEAUTIFUL beaded pipe cleaner Christmas tree hair clips for little girls following this 5-minute method. These hair clips are further adorned with a velvet bow and feature an alligator-clip base. The idea is to make a miniature 3-tier pipe cleaner Christmas tree. With this chenille Christmas tree, you can also decorate a metal hairband and scrunchie or turn it into a Christmas tree ornament, too.
If you like the couquette aethetic, you can also DIY a pink and brown version of this chenille stem beaded Christmas tree hairclip. You can also charm up a gift box with this quick pipe cleaner Christmas tree.
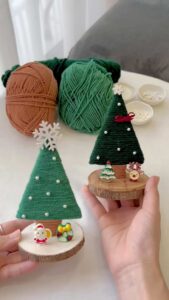
One side of the hairclip base will make a perfect stem. You can also cover that part with a brown pipe cleaner bit. One Christmas tree hairclip can easily be made within 10 minutes by following just 1 pipe cleaner bending pattern. Now, continue reading to learn more about this quick Christmas tree project for all skill levels. You can also explore the yarn Christmas tree, foaming sheet Christmas tree, and many tutorials afterwards.
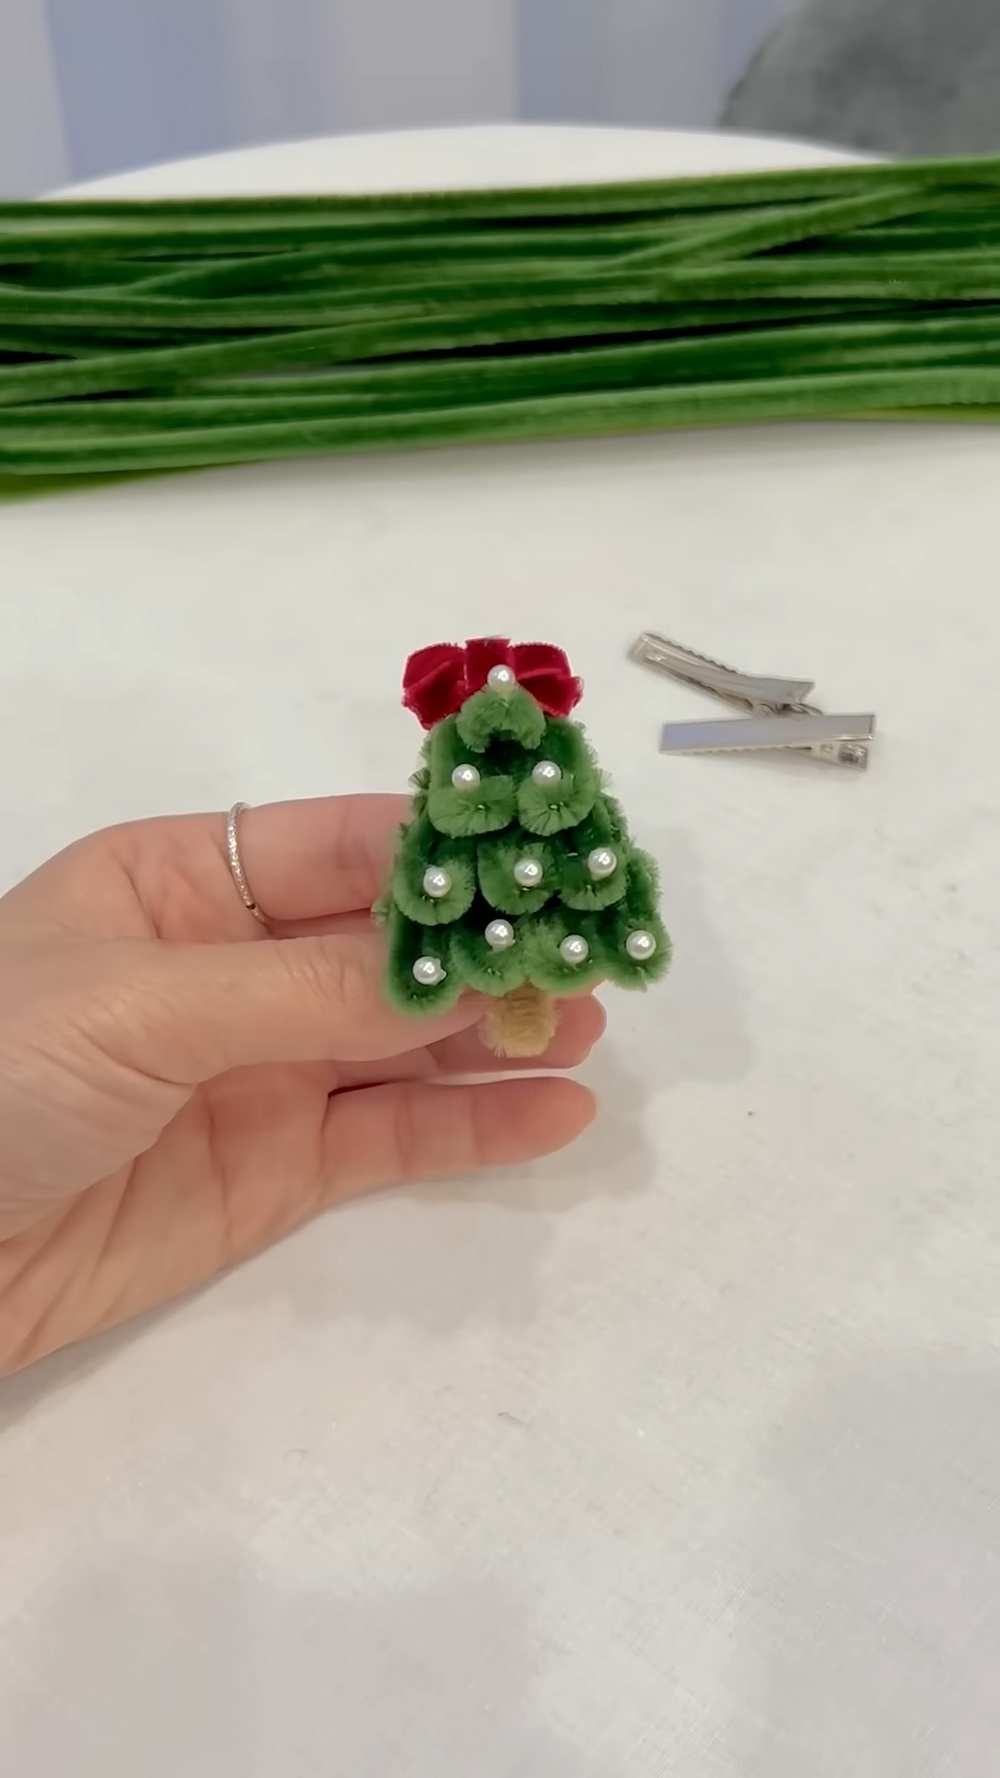
Tutorial to DIY Pipe Cleaner Christmas Tree Hairclip Guide
This DIY Pipe Cleaner Christmas Tree Hairclip shiny and appealing accessory. It combines simple craft materials like fuzzy pipe cleaners, pearls, and mini bows to create a charming miniature 3D Christmas tree.
The project involves layering small, cut pipe cleaner segments onto a sturdy cardboard base to mimic the textured branches of an evergreen.
Once decorated, the tree is securely glued onto a metal hairclip. It is an easy, budget-friendly craft that makes for great gifts or a fun holiday activity for all ages.
Materials Needed
-
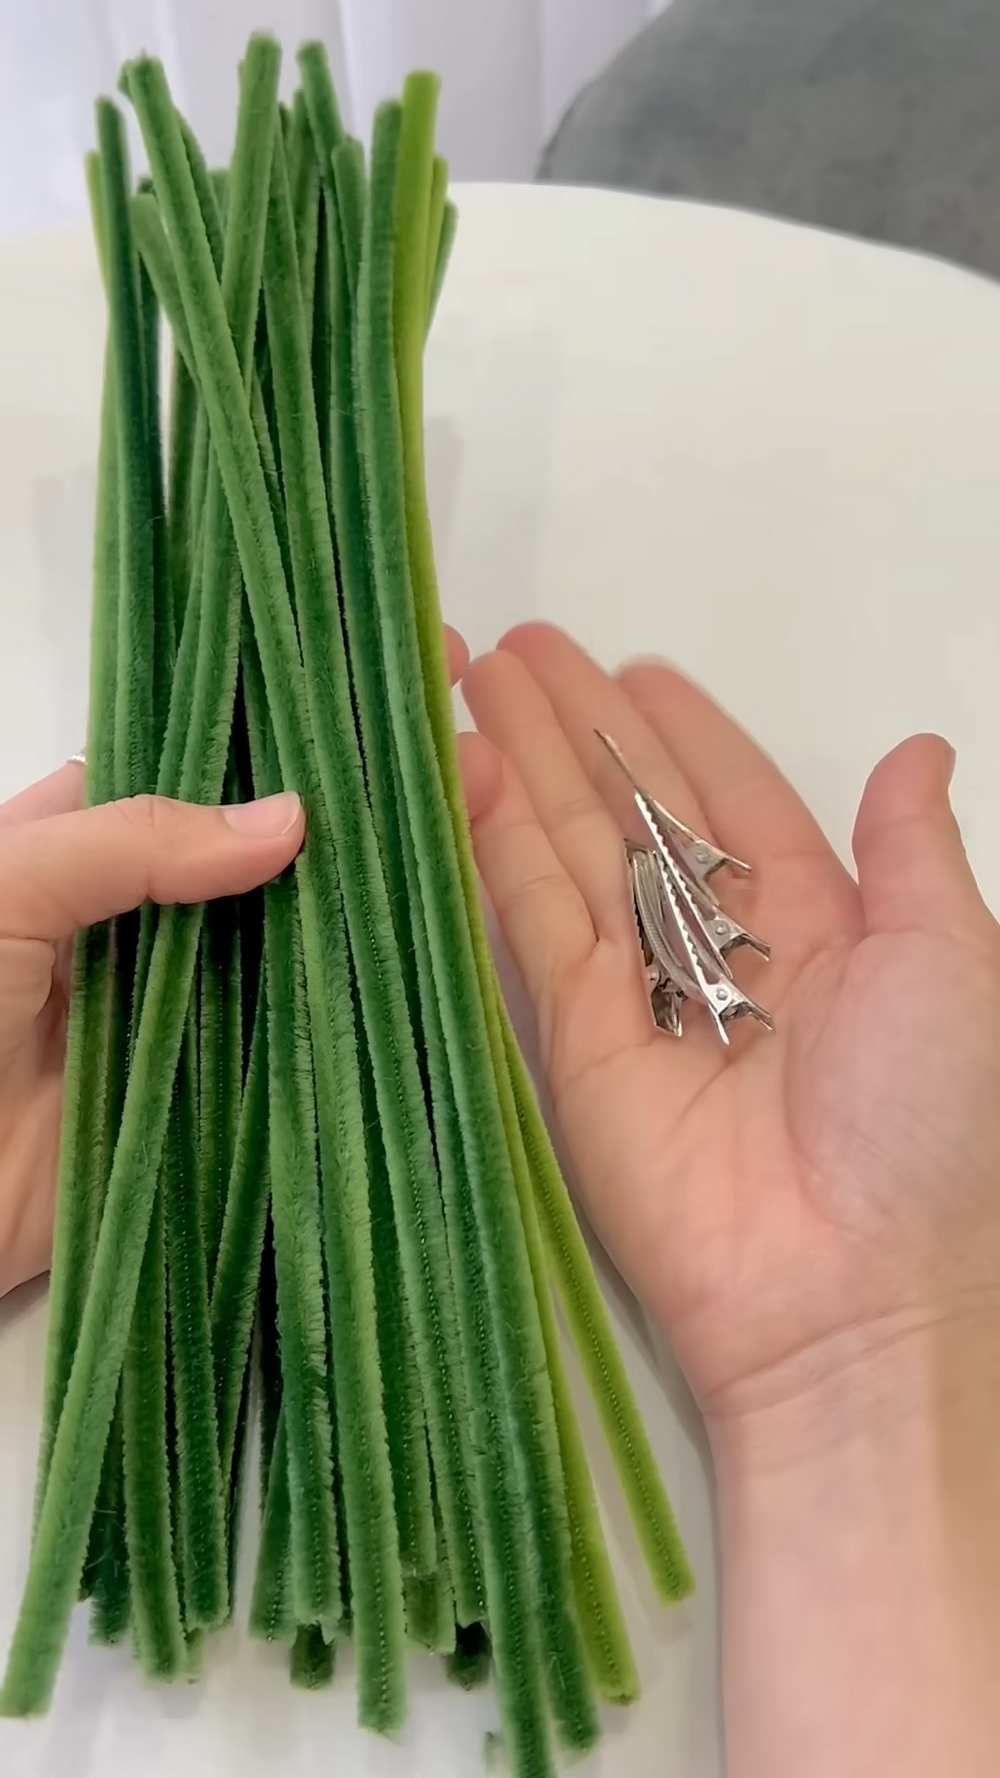
Pipe Cleaners: Green for a traditional look (or pink for a modern look).
-
Cardboard: A small piece of thin cardboard or stiff felt for the base.
-
Metal Hairclips: Plain “alligator” style clips.
-
Small Pearls/Beads: To act as ornaments.
-
Mini Bows: For the tree topper.
-
Hot Glue Gun & Glue Sticks.
-
Scissors.
-
Tweezers: To help place the small beads.
Feels Difficult?
Step-by-Step Instructions
Step 1: Create the Tree Base
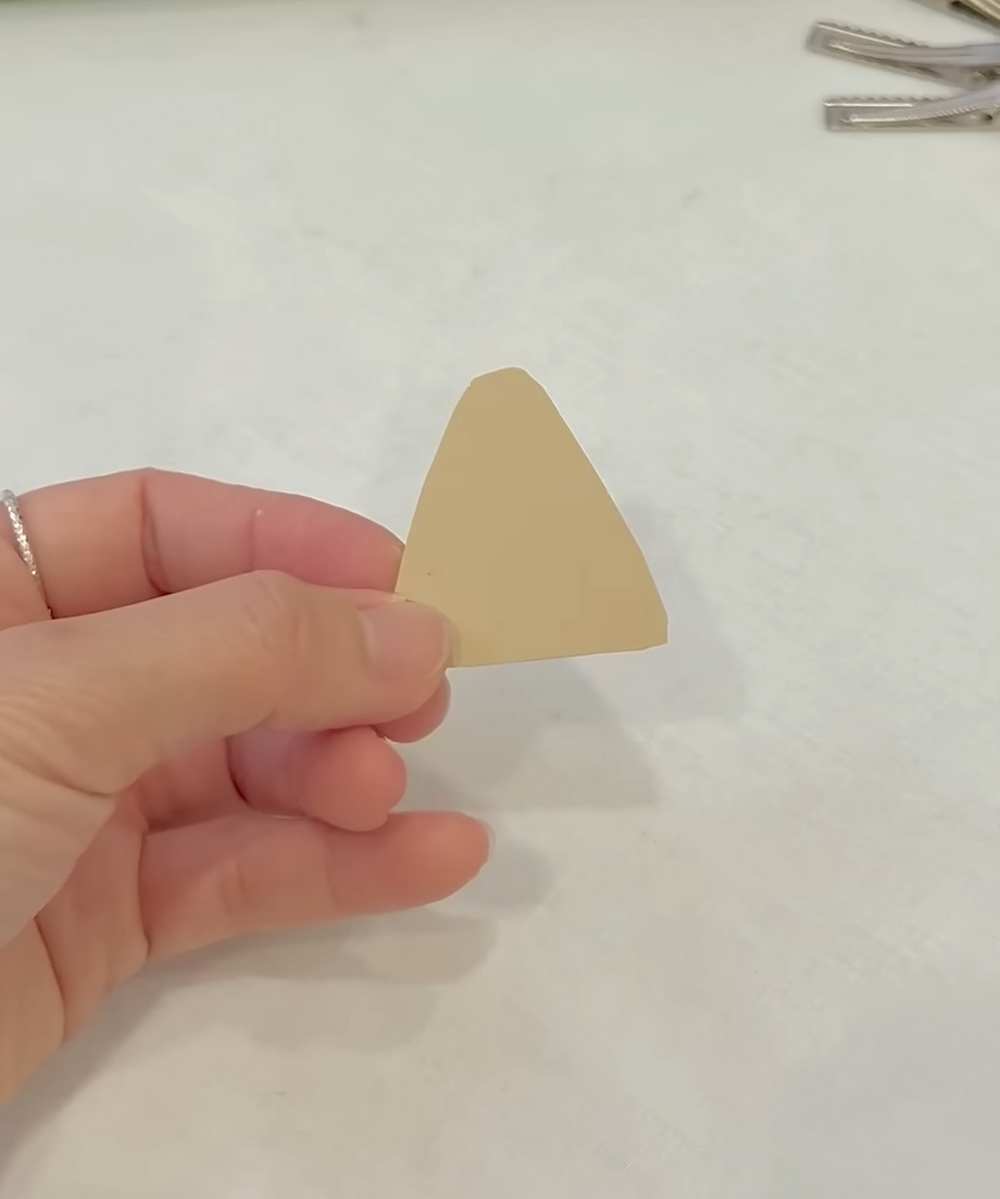
Cut a small triangle out of your cardboard or stiff felt. This triangle should be about 1 to 1.5 inches tall. This will be the “skeleton” that holds your pipe cleaners.
Step 2: Prepare the “Branches”
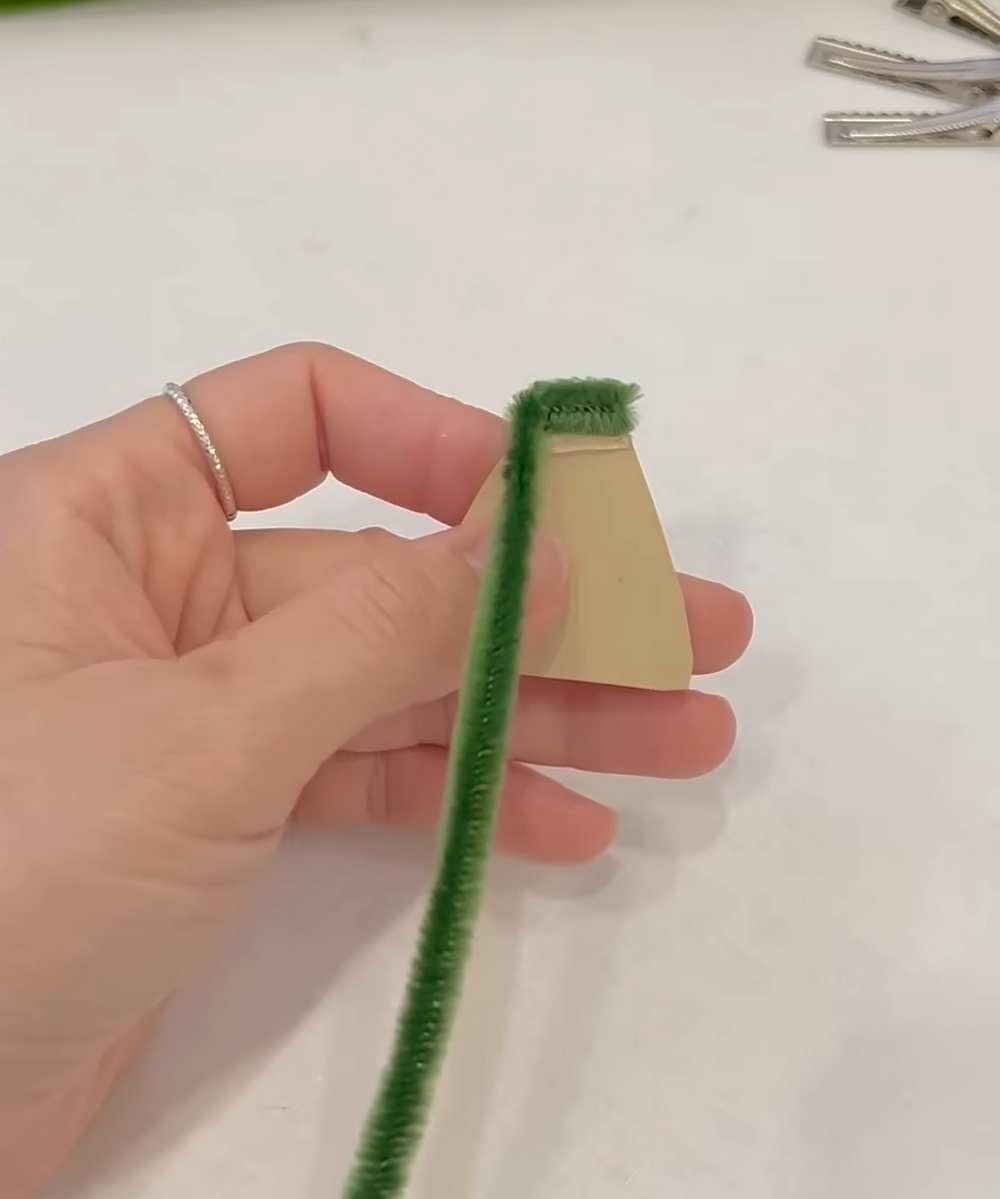
Cut your pipe cleaners into several small segments. They should be just slightly wider than the cardboard triangle. You will need about 10–15 small pieces depending on how full you want your tree to be.
Step 3: Glue the First Layer
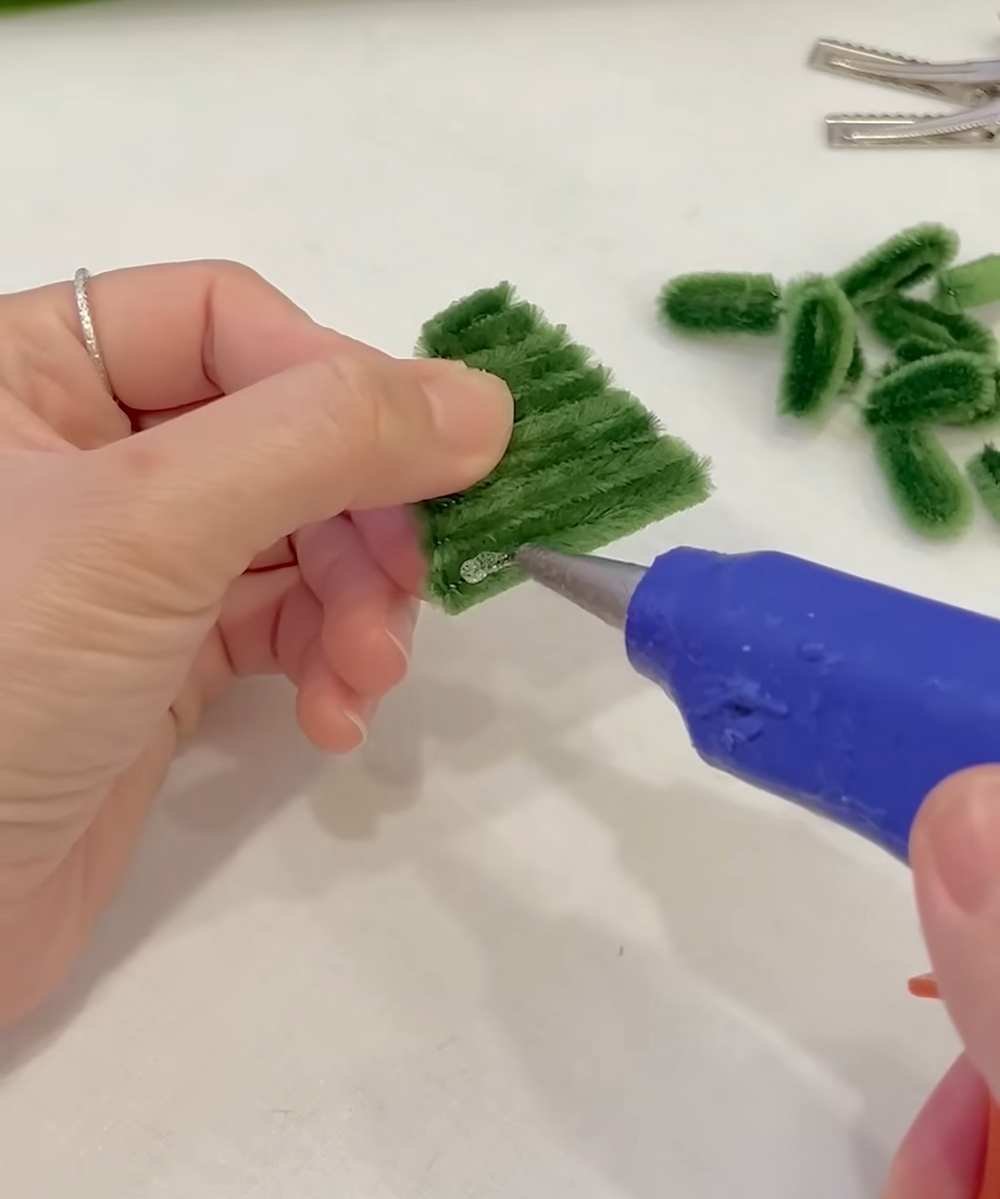
Starting at the bottom of the cardboard triangle, apply a line of hot glue. Press a pipe cleaner segment onto the glue horizontally. Continue gluing segments one on top of the other until the entire cardboard triangle is covered.
Step 4: Build the 3D Texture
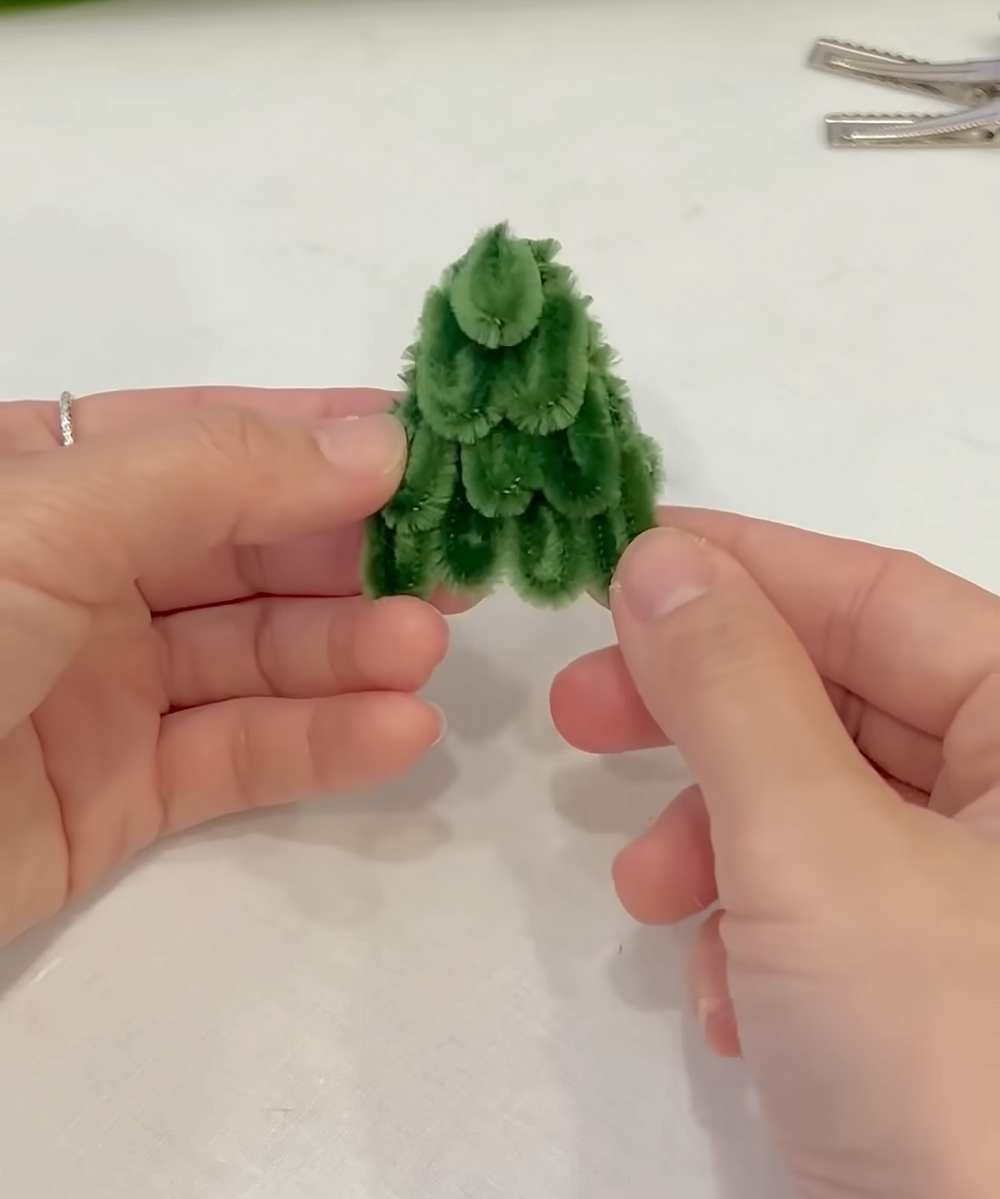
To make the tree look fluffy and 3D, glue a second layer of shorter pipe cleaner segments on top of the first layer. Focus on the center of the tree to give it a rounded shape.
Step 5: Add the Topper
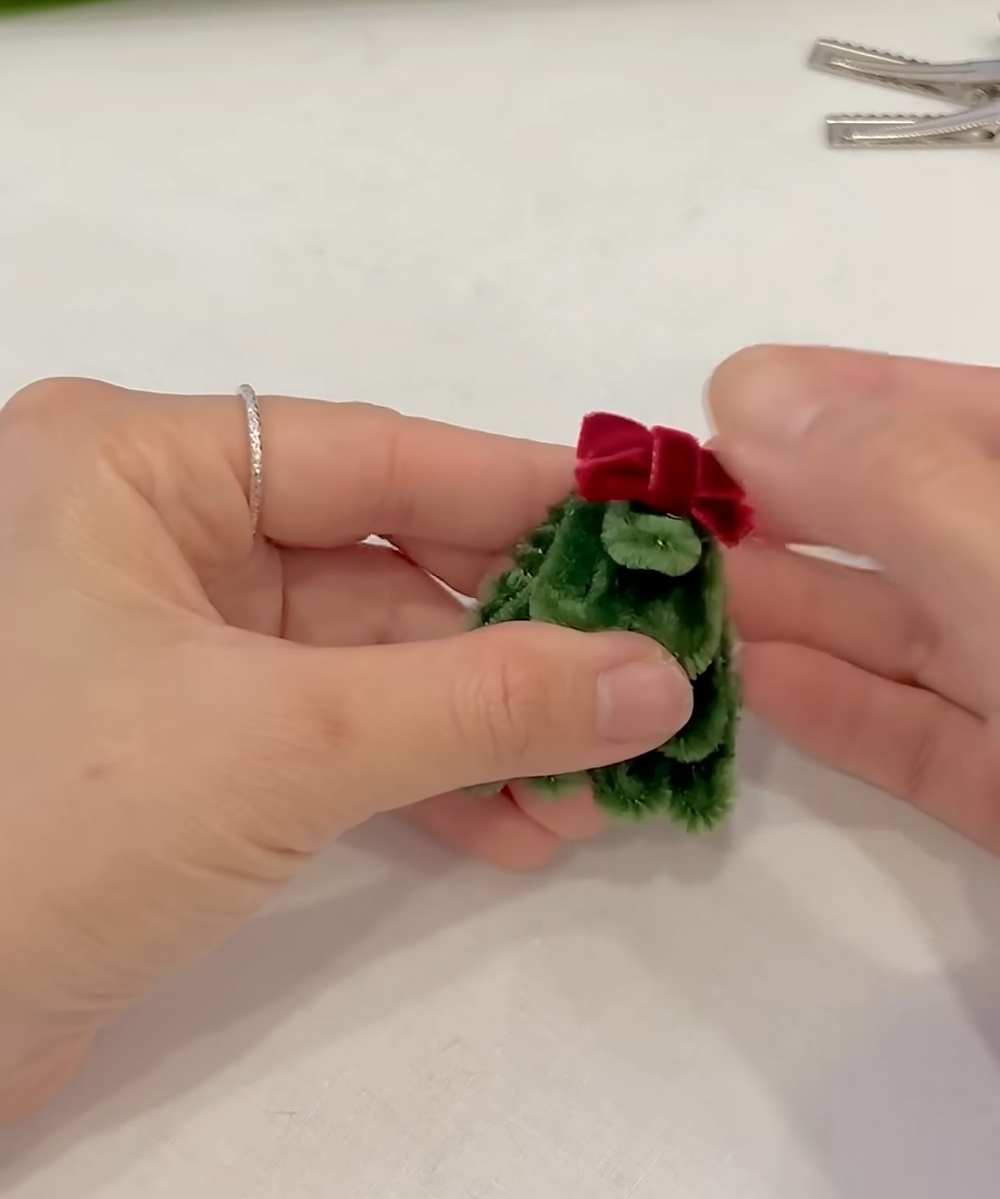
Apply a small dab of hot glue to the very top point of your tree. Press a mini ribbon bow (red or blue) onto the glue and hold it until it is secure.
Step 6: Decorate with Ornaments
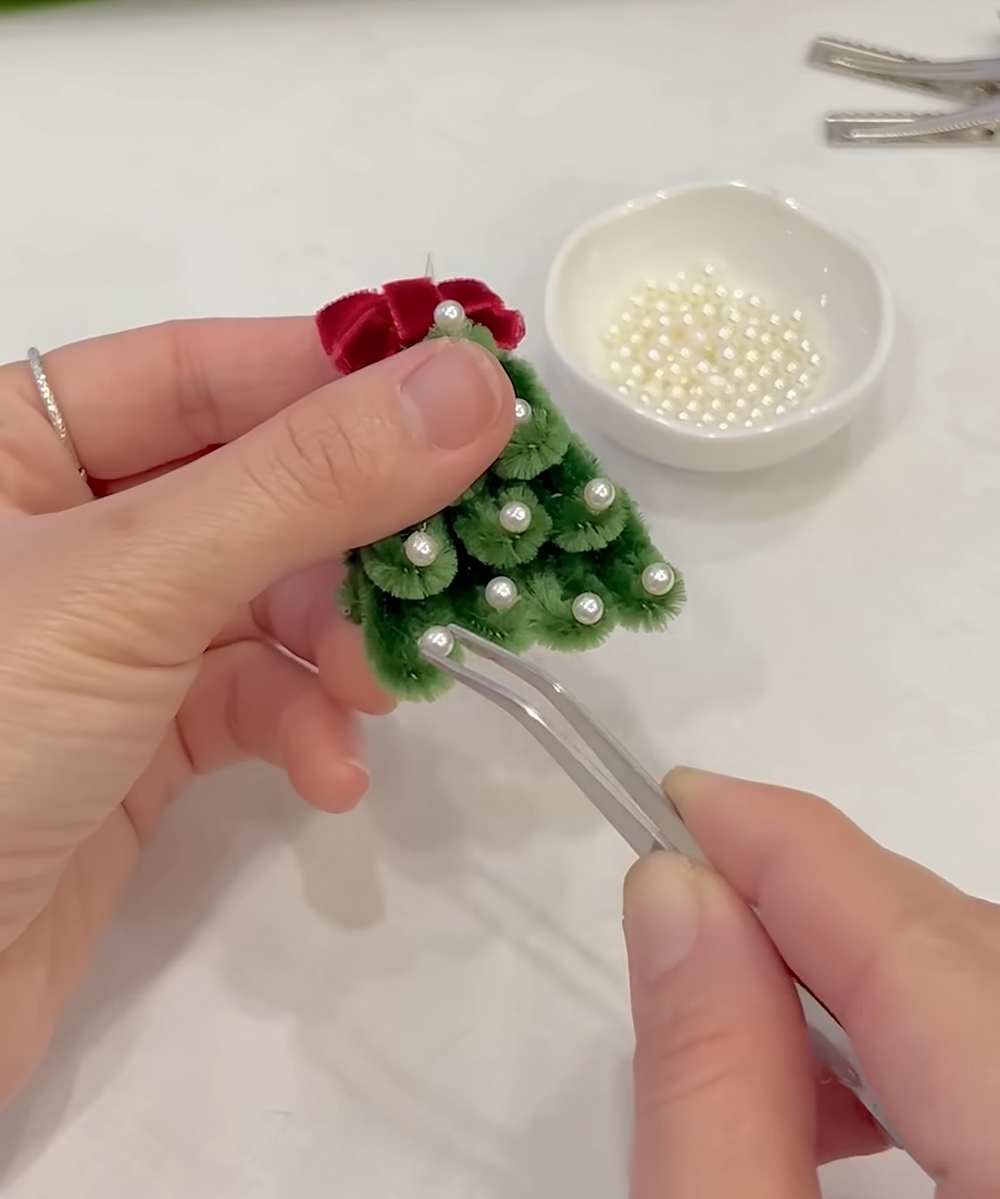
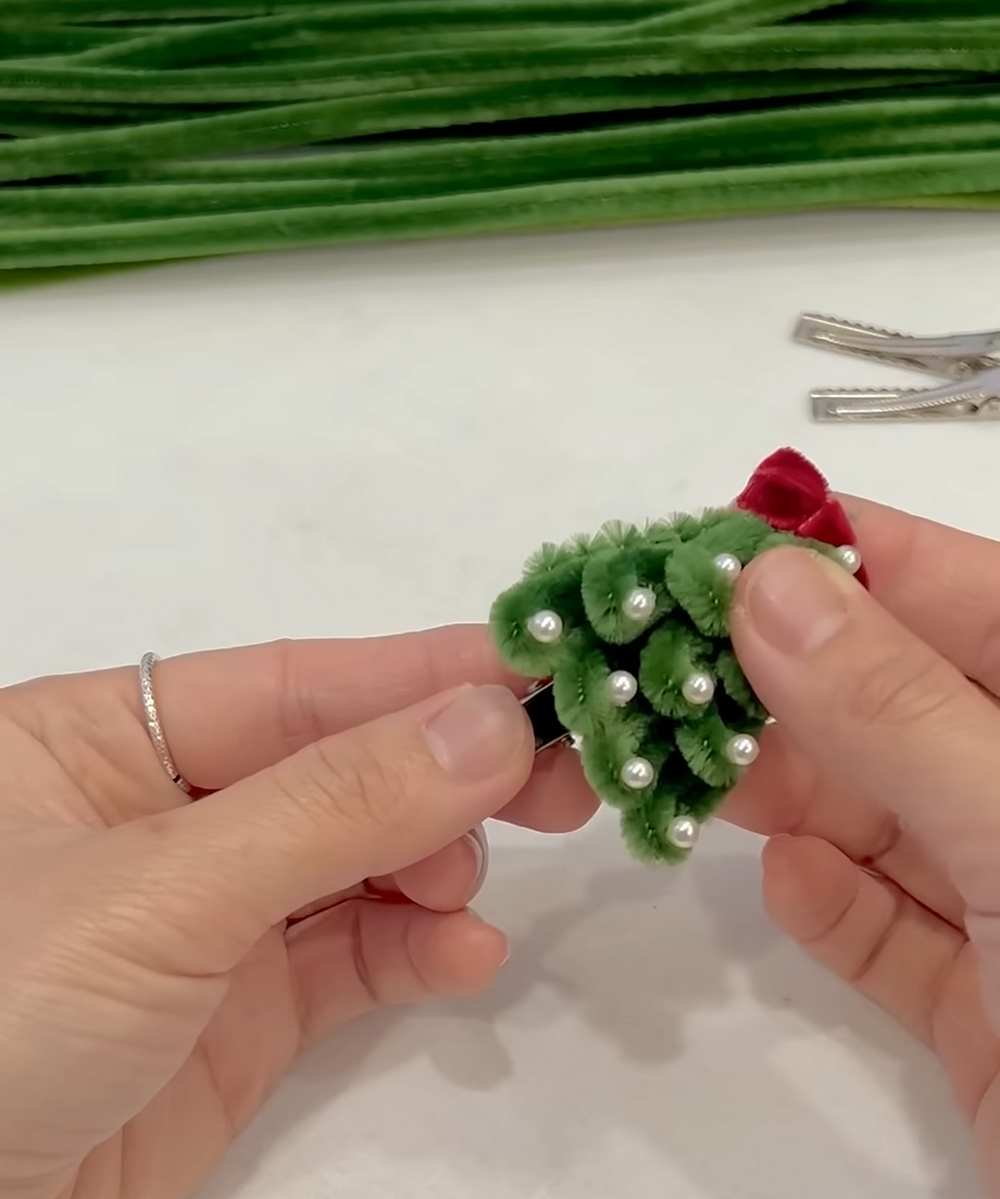
Using your tweezers, pick up a small pearl bead. Apply a tiny dot of glue to the tree “branches” and press the pearl into place. Repeat this all over the tree to make it look like it’s decorated with ornaments.
Step 7: Attach the Hairclip
Turn your finished tree over. Apply a generous line of hot glue to the top of your metal hairclip. Press the back of the cardboard tree onto the clip. Make sure the tree is centered.
Step 8: Add the Trunk
Cut a tiny rectangular piece of tan cardboard or brown pipe cleaner. Glue it to the bottom of the tree (and onto the clip) to represent the tree trunk.
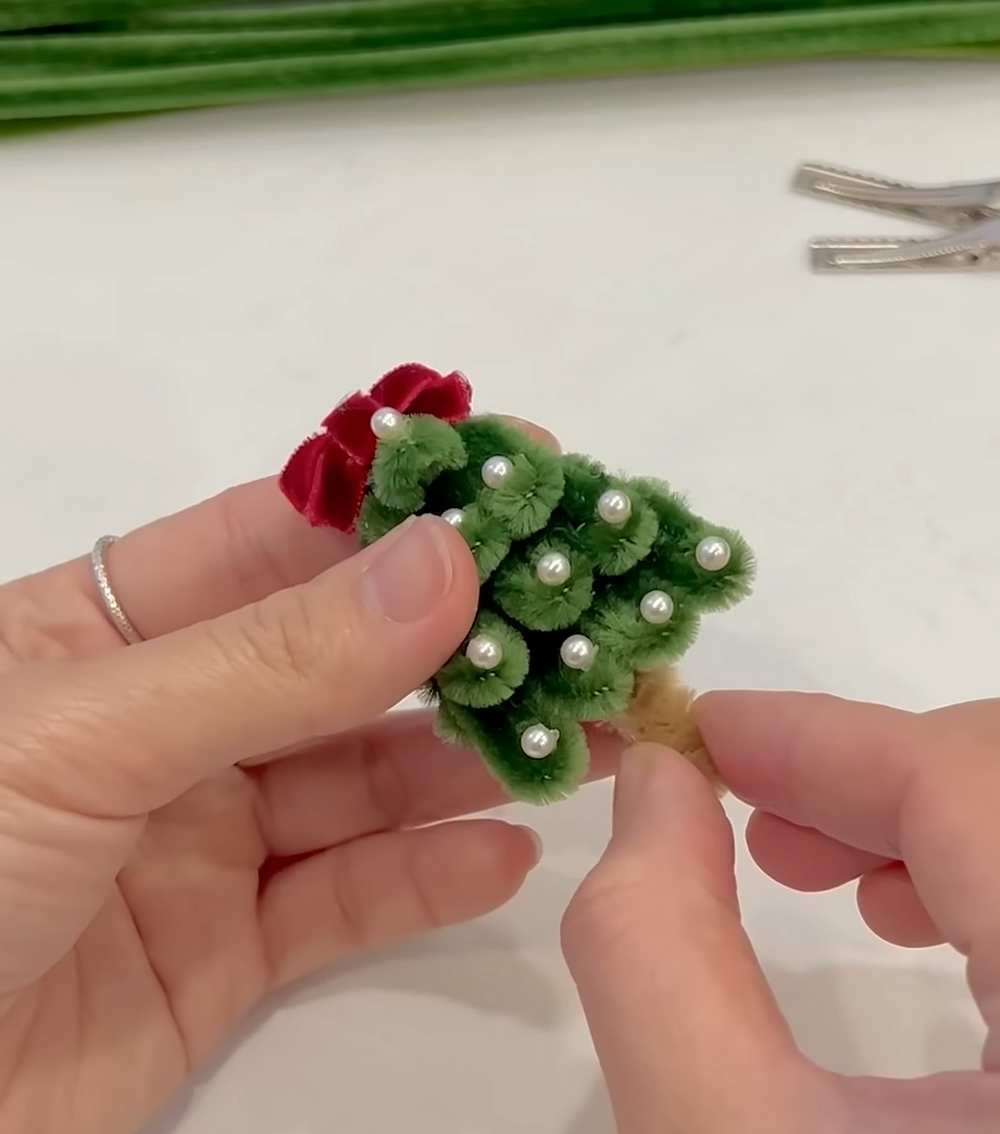
Your festive Christmas Tree Hairclip is now ready to wear!