
Show support for DIY dreams!
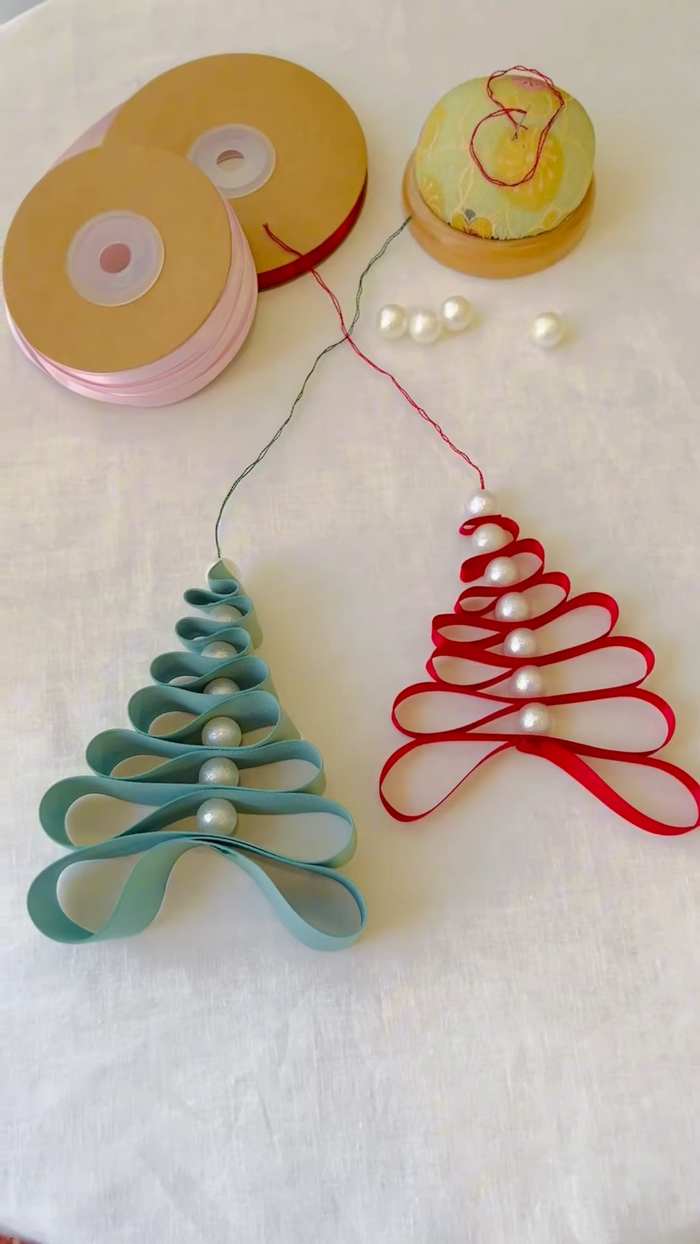
Looking for the FASTEST way to DIY a Christmas tree ornament? Learn how to DIY this satin ribbon beaded Christmas tree ornament with this sewing needle method explained in a step-by-step tutorial for beginners. This is made by layering the satin ribbon such that you sew 1 pearl between each layer. With little ribbon needed, you can cheaply decorate your Christmas tree this year with these ornaments.
This is a tiered Satin ribbon Christmas tree, so you can make it any longer. Make your Christmas tree in green, red, gold, and blue. You can also check other Christmas tree methods such as using foam sheets, yarn, and more.
After Christmas is the New Year, and since these ribbon Christmas trees have a simple design, you can also reuse them for the New Year. You can also use red slide-through beads for your ribbon Christmas trees. Now, continue reading to learn more about this Christmas decoration project.
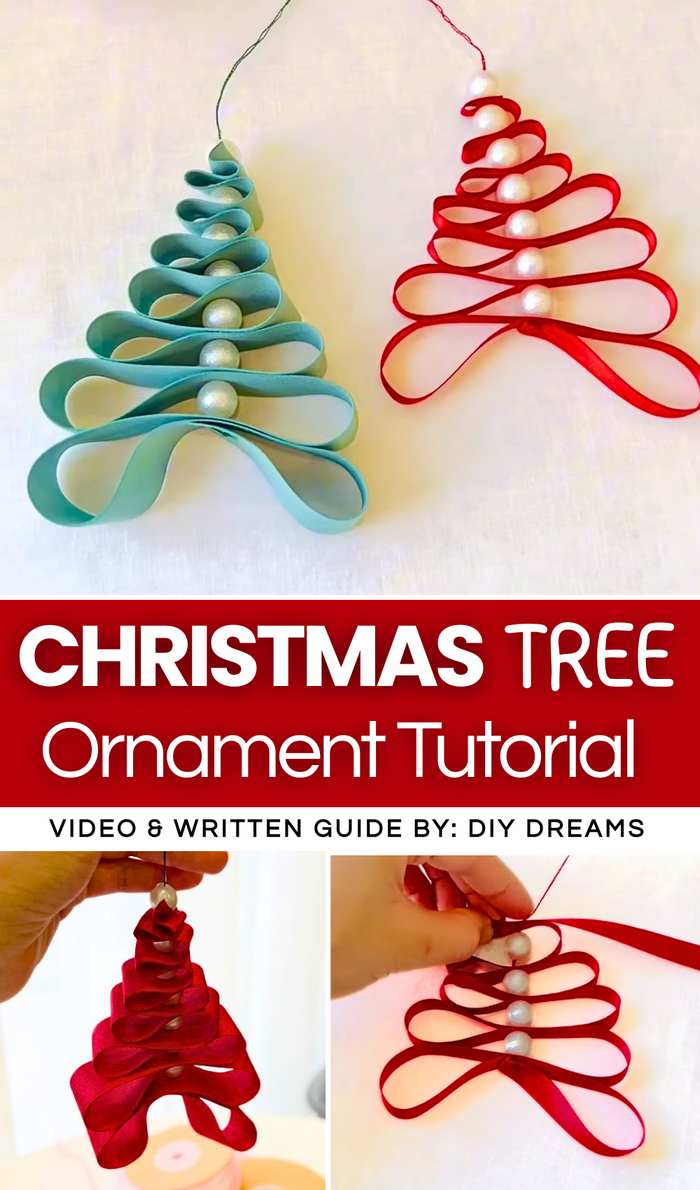


Tutorial to Make A Ribbon Christmas Tree for Decoration
Let’s make handmade holiday decorations using simple materials like ribbon and faux pearls. The craft involves a “stacking” technique where a single piece of ribbon is folded into progressively smaller loops to mimic the shape of a pine tree.
By alternating between ribbon loops and pearls, you create a beautiful 3D effect that looks so CUTE yet is very easy to assemble. This project is perfect for beginners.
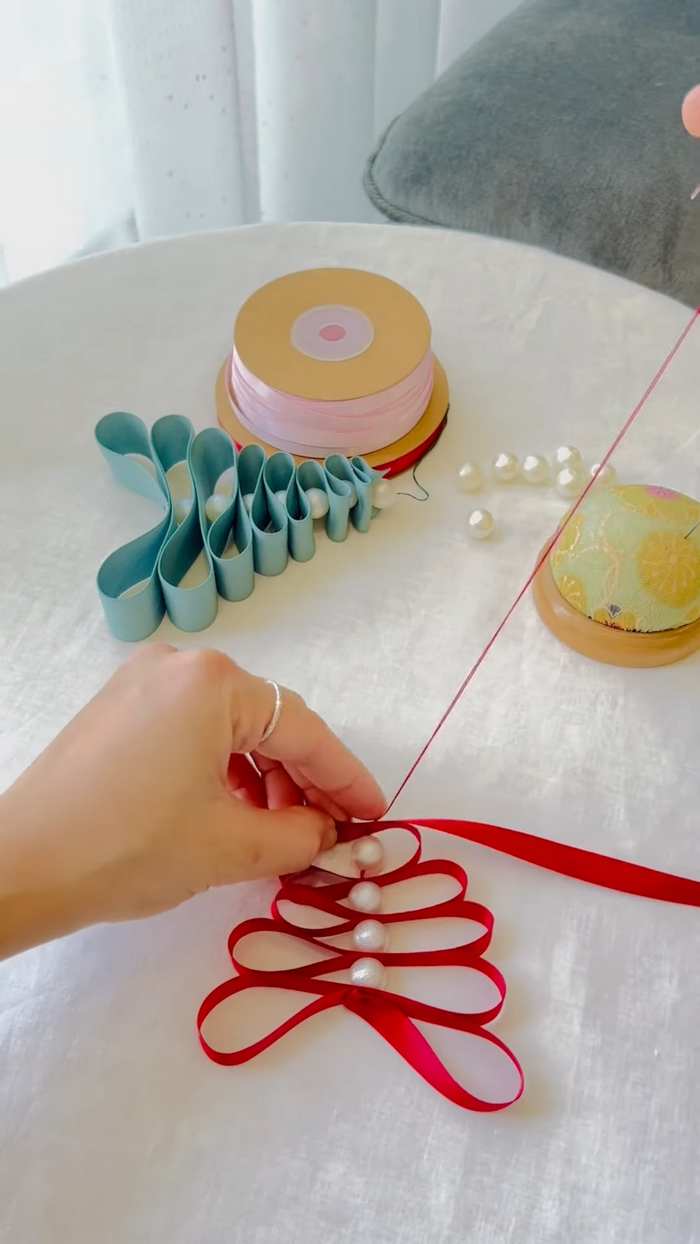
Materials Needed
-
Ribbon: Thin ribbon (about 1/4 or 1/2 inch wide) in your favorite holiday color.
-
Pearls: Small faux pearls (white or cream).
-
Needle and Thread: Use a thread color that matches your ribbon.
-
Scissors: To cut the ribbon and thread.
-
Hot Glue Gun: To secure the ends.
Step-by-Step Instructions
Step 1: Prepare Your Needle
Cut a length of thread (about 10–12 inches long). Thread your needle and tie a sturdy knot at the end.
Step 2: Start the Base of the Tree
Take the end of your ribbon. Fold it over to create a loop about 2 to 3 inches wide. This will be the widest part of your tree. Push your needle through both layers of the ribbon at the center point.
Step 3: Add the First Pearl
Slide one pearl onto the needle and push it all the way down until it rests against the ribbon loop you just made.
Step 4: Create the Next Loop
Fold the ribbon back over the pearl to create a second loop. Important: Make this loop slightly smaller than the first one. Push the needle through the ribbon in the center.
Step 5: Continue the Pattern
Add another pearl onto the needle. Then, create another loop of ribbon that is slightly smaller than the previous one. Push the needle through the center.
Step 6: Build the Shape
Repeat this pattern (Pearl – Smaller Ribbon Loop – Pearl – Smaller Ribbon Loop). As you go up, the loops should get narrower and narrower. This creates the “triangle” shape of the Christmas tree.
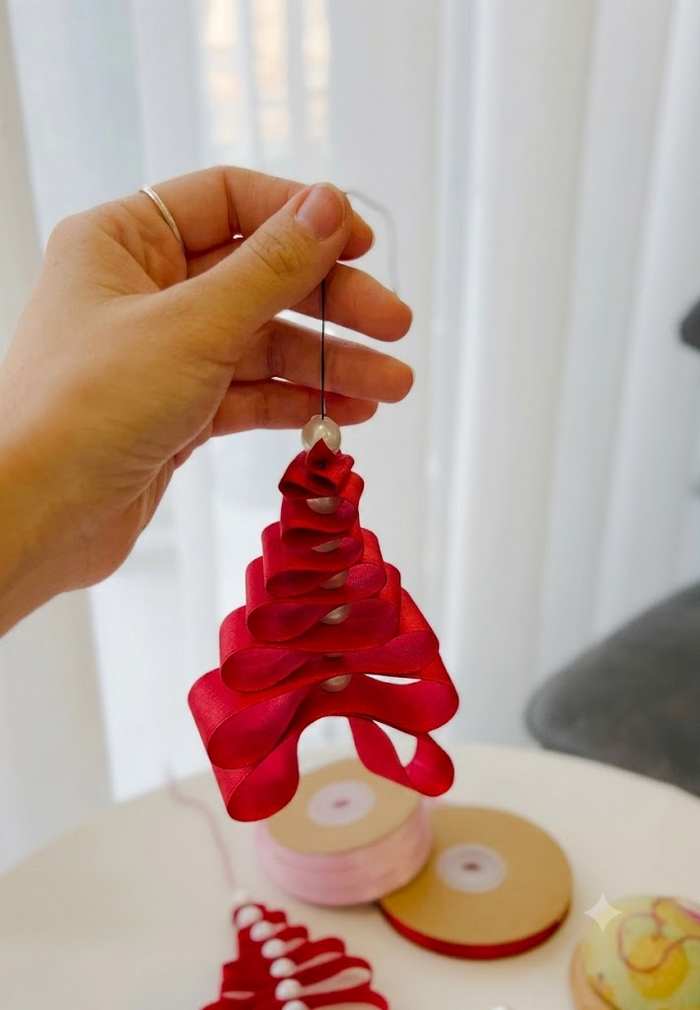
Step 7: Finish the Top
Once your tree is at the desired height and the top loop is very small, add one final pearl to the very top.
Step 8: Secure the Ribbon
Cut the excess ribbon, leaving a small tail. Use a tiny drop of hot glue to fold the end of the ribbon behind the top pearl so it is hidden and won’t fray.

Step 9: Create the Hanging Loop
Tie off the thread securely at the top pearl. If you have extra thread, tie it into a large loop so you can hang your new ornament on the tree. If the thread is short, tie on a new piece of decorative string.
Your ornament is now ready to shine!