
Show support for DIY dreams!
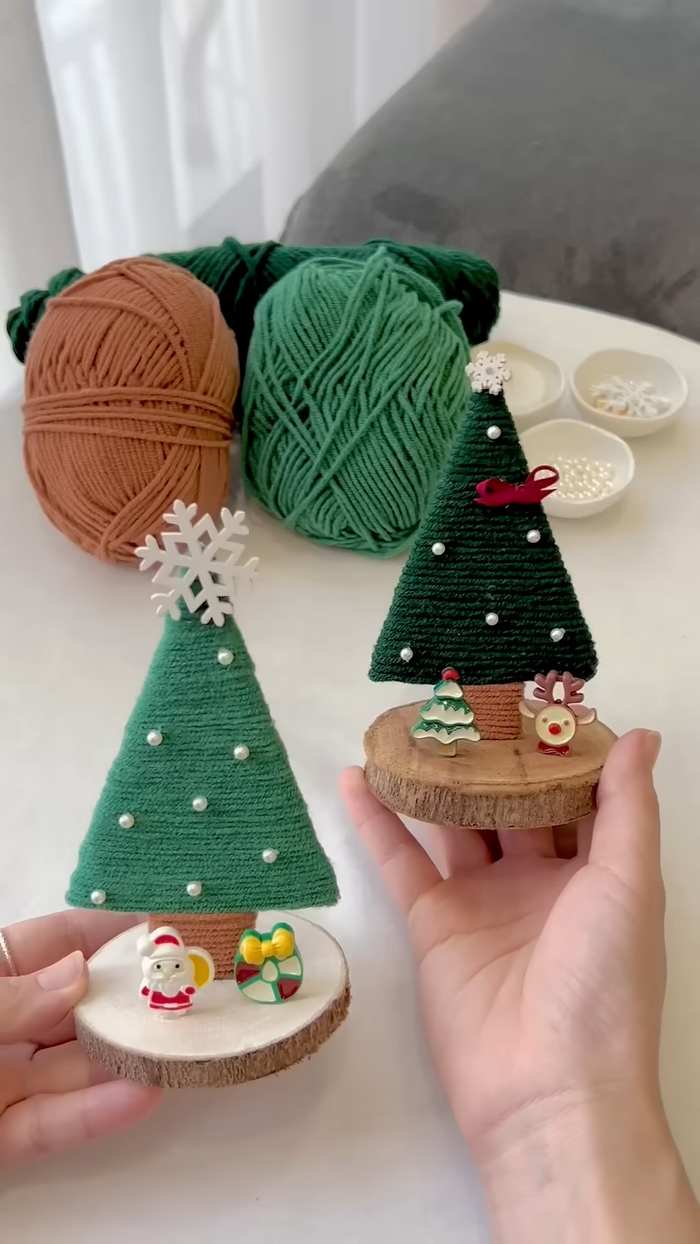
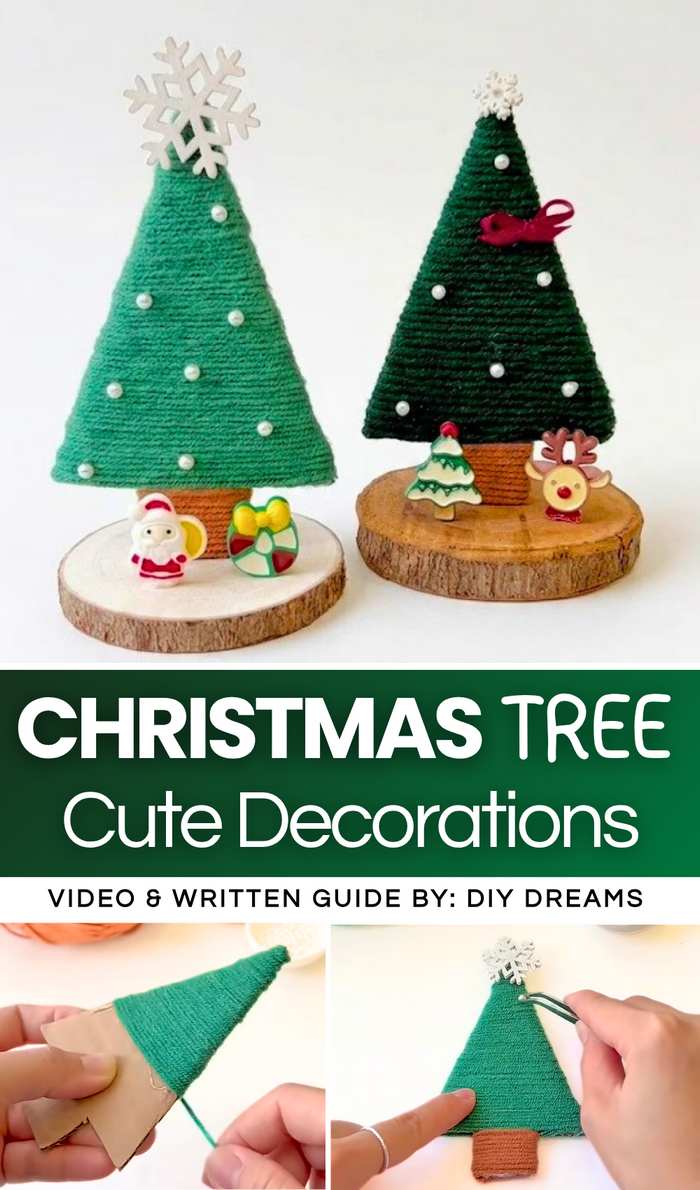
Looking for the FASTEST method to make a DIY Christmas tree ornament? Learn how to DIY yarn-wrapped cardboard Christmas trees that are 2-in-1, last-minute, and super easy to make. You can make a pair of these yarn Christmas trees, attach them to small rustic wooden slices, and use these soft Christmas trees as table decorations. Or you can pass a string through and make these appealing Christmas tree ornaments.
These yarn Christmas trees are also decorated with small and shiny beaded pearls and a large snowflake charm at the top. Or if you are making your Christmas tree using dark green yarn, you can also attach a satin ribbon bow to it.
If you are placing your yarn-wrapped Christmas tree on the table, be sure to also place small plastic buddies over the wooden slice, such as Santa Claus and the reindeer. Note that if you are looking for a pom pom Christmas tree, you can also try other tutorials. Now, continue reading to learn more about this Christmas decoration project for all.


Tutorial to Make a Yarn-Wrapping Christmas Tree Decoration
This DIY Christmas tree yarn craft is a UNIQUE way to DIY Christmas tabletop decorations using basic materials. The project involves wrapping green and brown yarn around a cardboard tree silhouette, creating a soft, textured finish that mimics the look of a pine tree.
Once the base is wrapped, the tree is embellished with delicate pearl beads and topped with a snowflake for a wintry touch.
To complete the scene, the tree is mounted onto a natural wood slice and decorated with miniature holiday charms like Santa and gift boxes. It is a simple yet beautiful craft that adds a cozy, handmade feel to any holiday decor, making it perfect for gifting or decorating your mantel.
Materials Needed
-
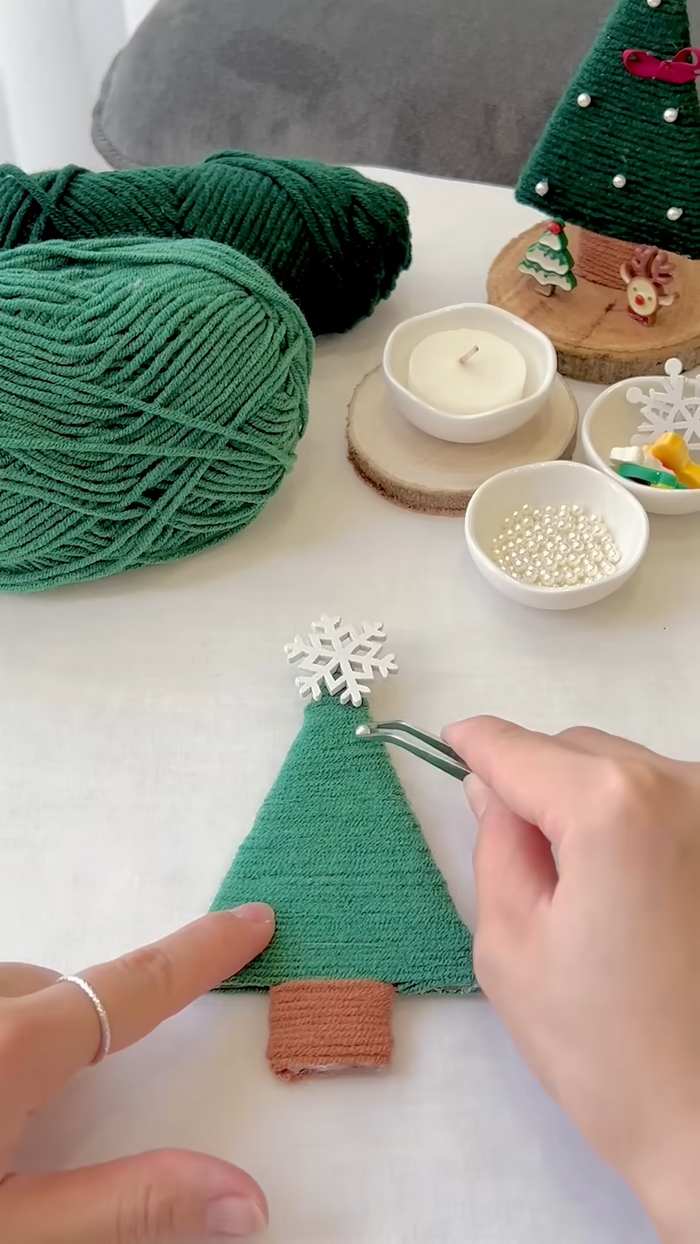
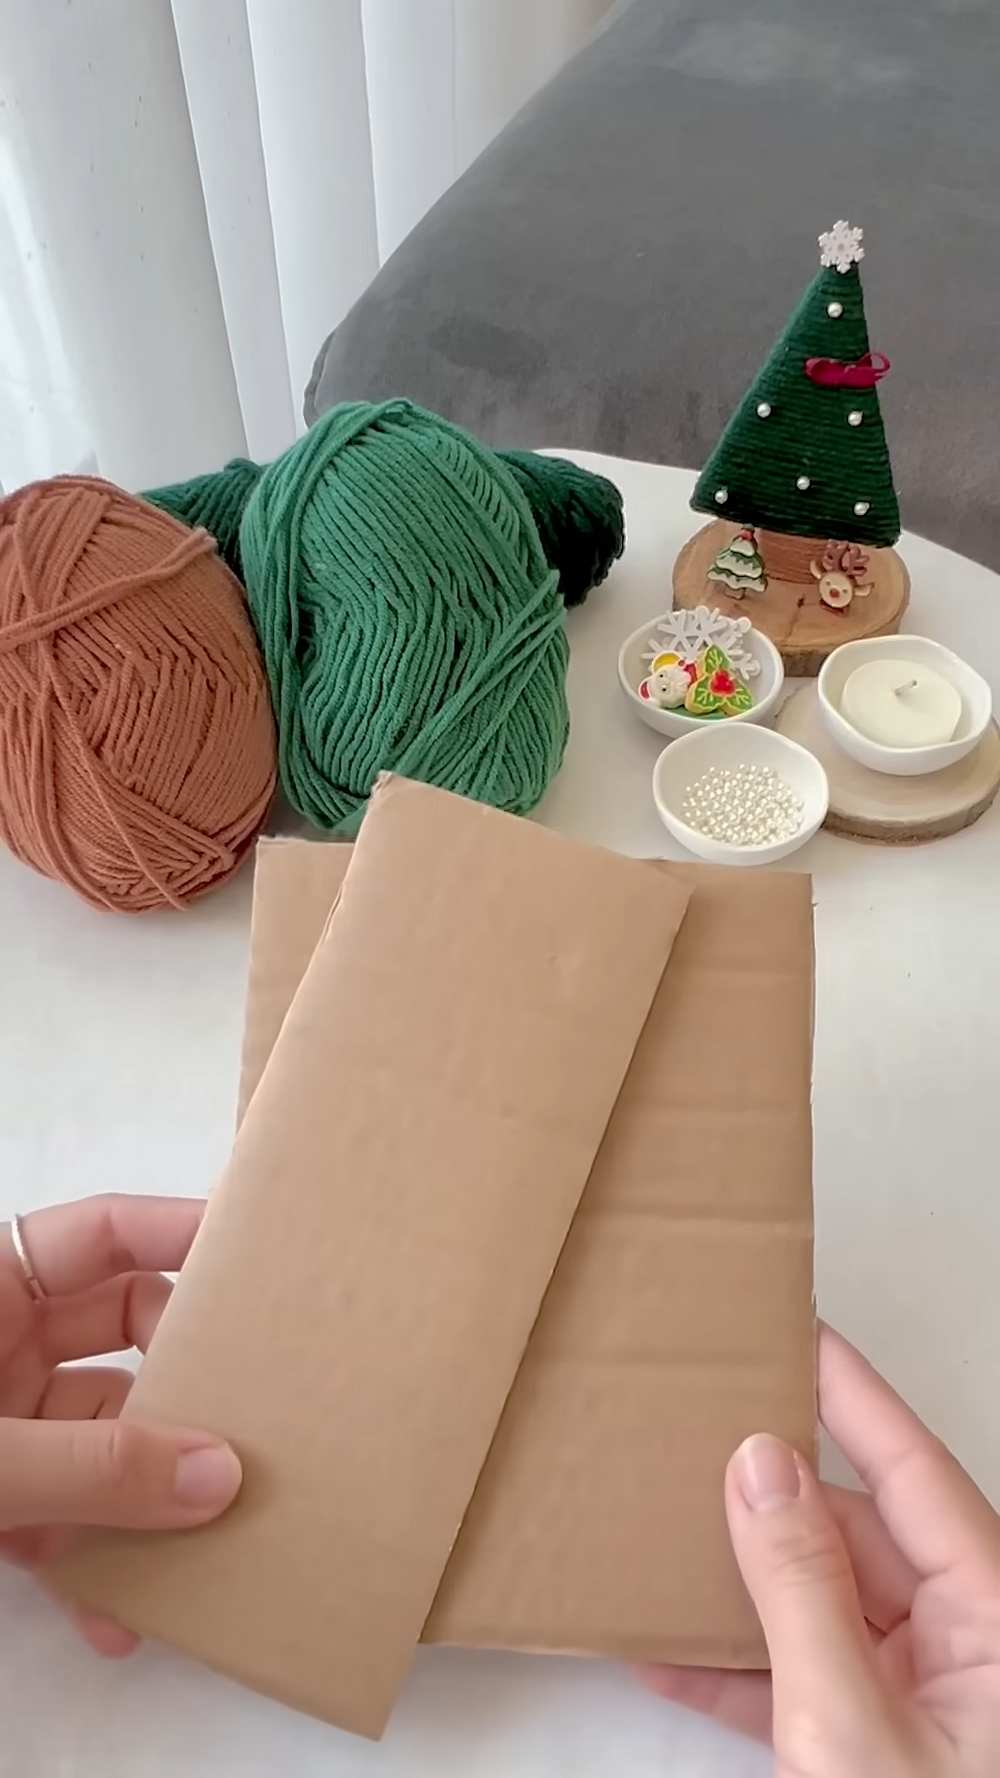
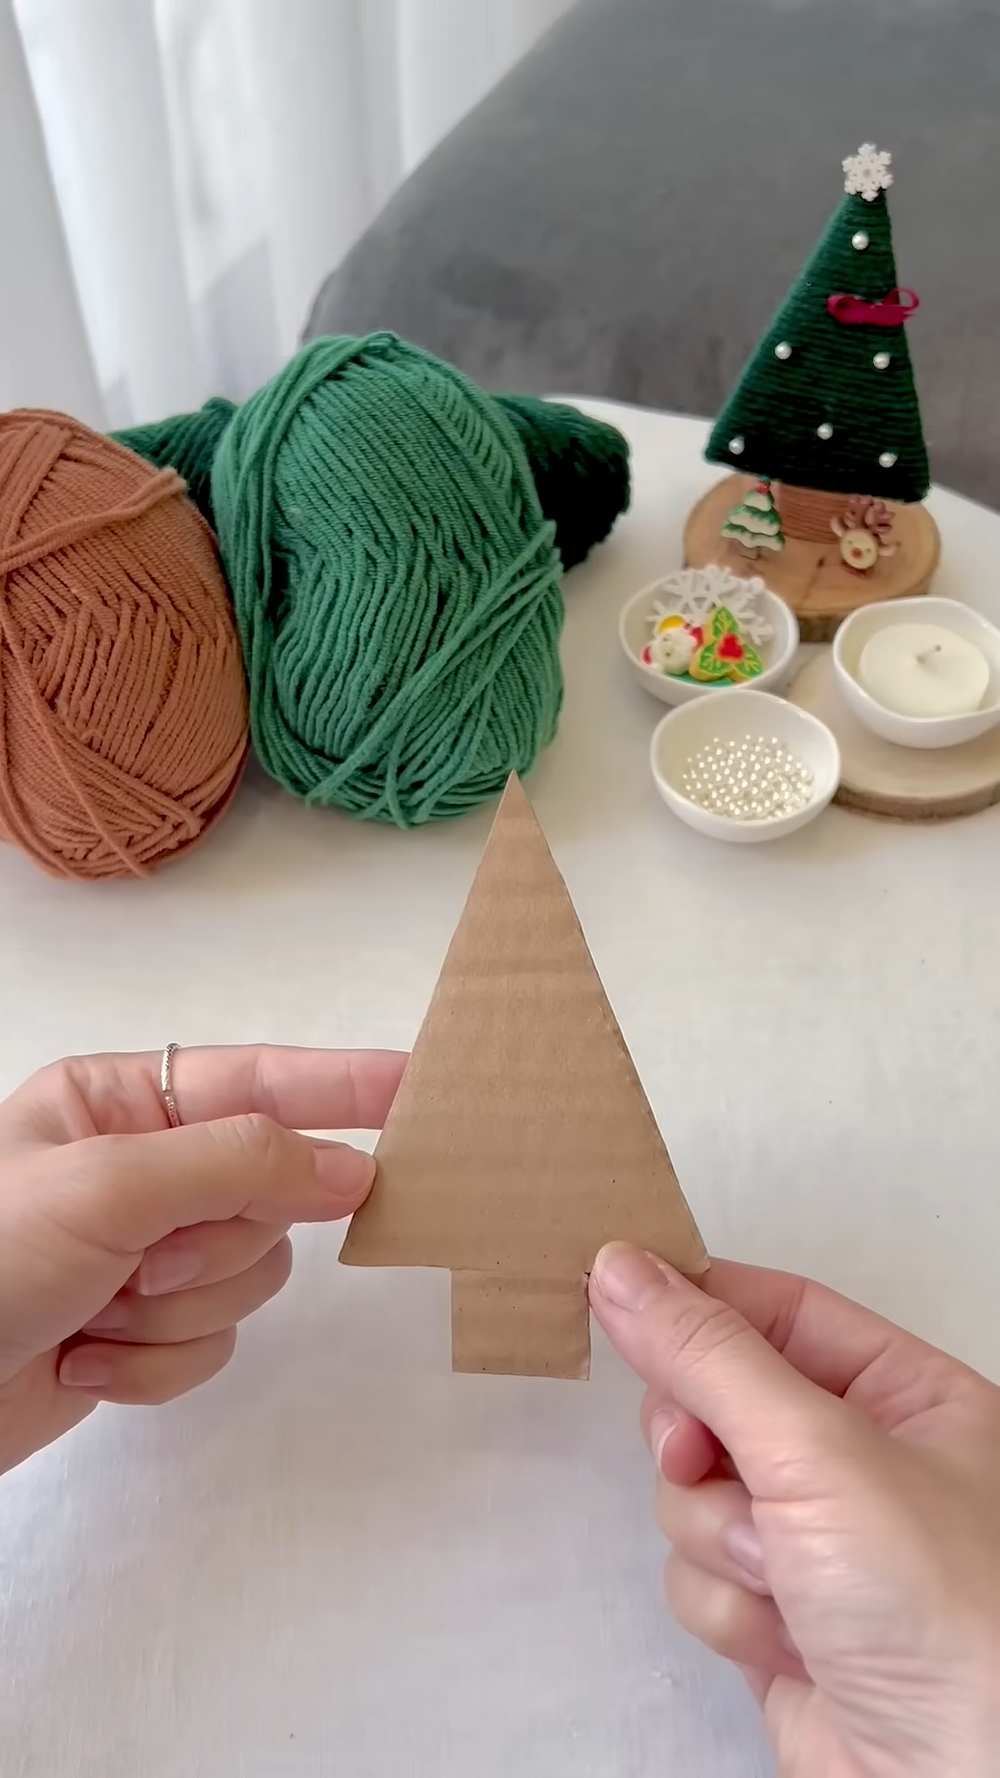
Cardboard: Cut into a simple Christmas tree shape (triangle with a small rectangular trunk).
-
Yarn: Green for the tree and brown for the trunk.
-
Hot Glue Gun & Glue Sticks: To secure the yarn and decorations.
-
White Pearls/Beads: Small beads to act as ornaments.
-
Snowflake Charm: A small wooden or plastic snowflake for the topper.
-
Wood Slice: A natural wood coaster or slice for the base.
-
Miniature Figures: Tiny Santa, reindeer, or gift box charms.
-
Tweezers: To help place small beads precisely.
Feels Difficult?
Step-by-Step Instructions
Step 1: Start at the Top
Apply a small dot of hot glue to the very tip of your cardboard tree. Press the end of the green yarn into the glue and hold it for a second to make sure it stays in place.
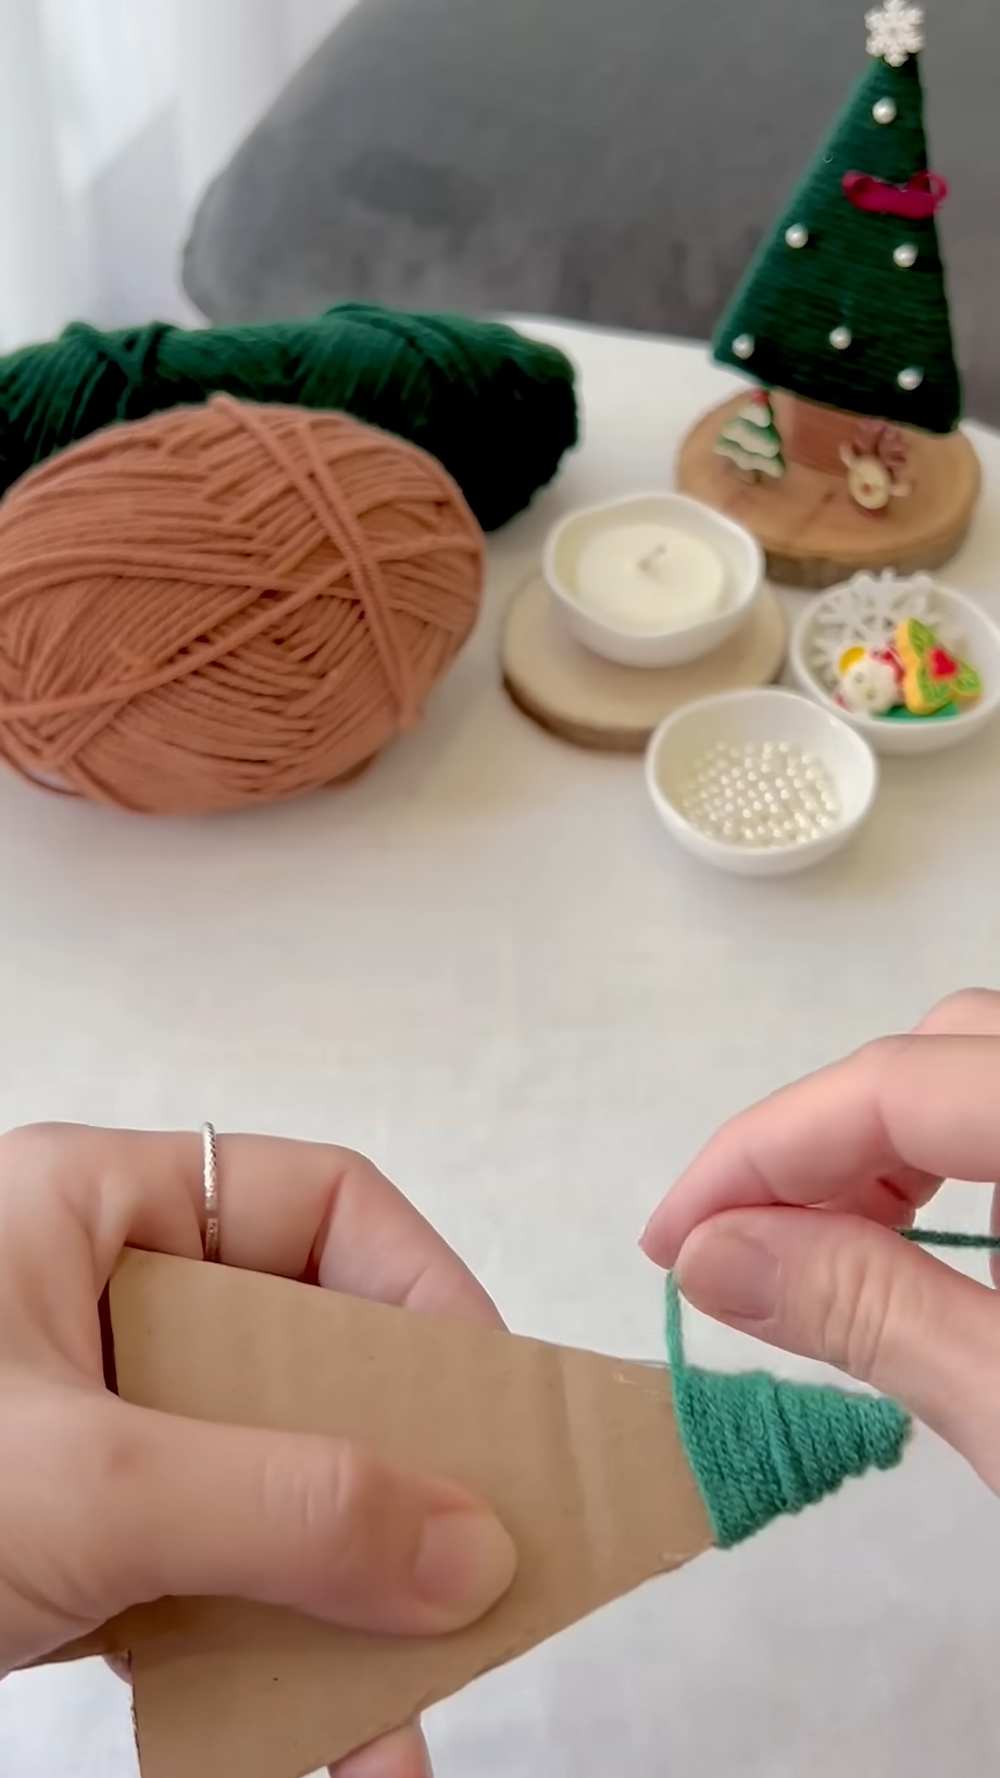
Step 2: Wrap the Tree
Begin wrapping the green yarn around the cardboard triangle. Work from the top down. To keep the yarn from sliding, apply a thin line of hot glue along the edges of the cardboard every few wraps. Make sure the yarn is tight and that no cardboard is showing through. Stop when you reach the top of the trunk.
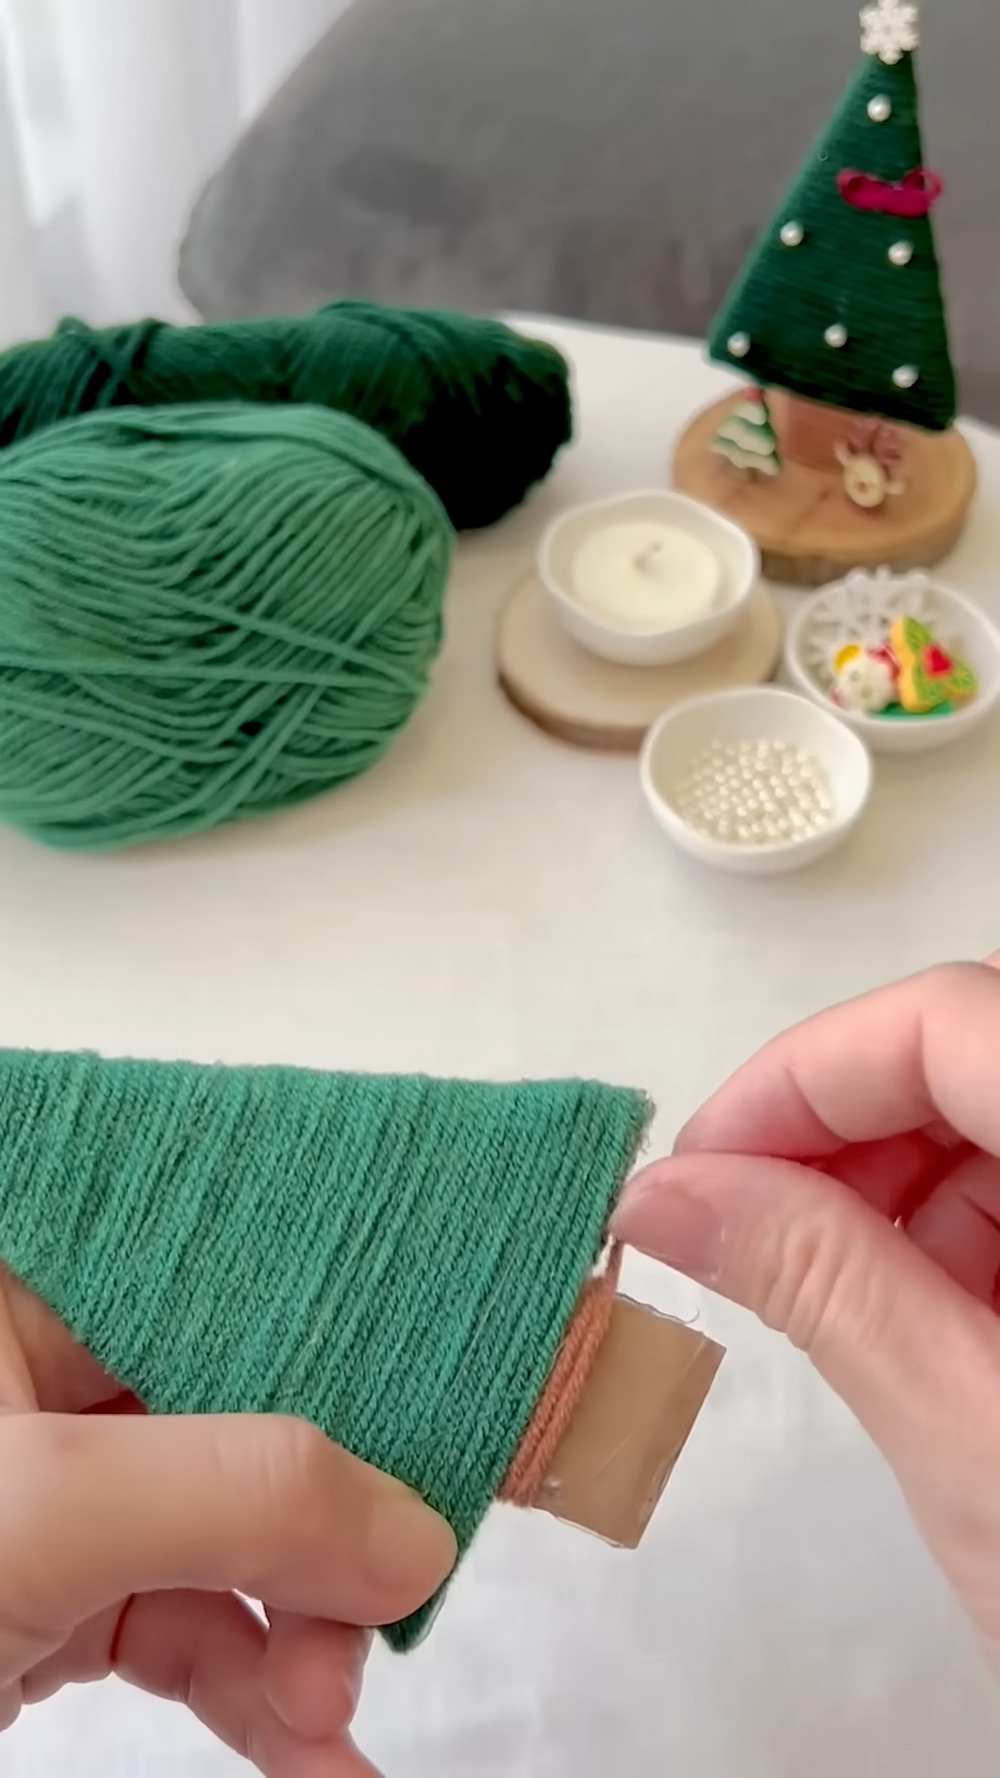
Step 3: Wrap the Trunk
Apply glue to the rectangular trunk at the bottom. Switch to your brown yarn and wrap it tightly around the trunk until the cardboard is completely covered. Secure the end of the yarn with a final dab of glue on the back.
Step 4: Add the Star/Snowflake
Apply a drop of hot glue to the top point of the tree. Press your snowflake charm (or a star) onto the glue and hold it until it sets.
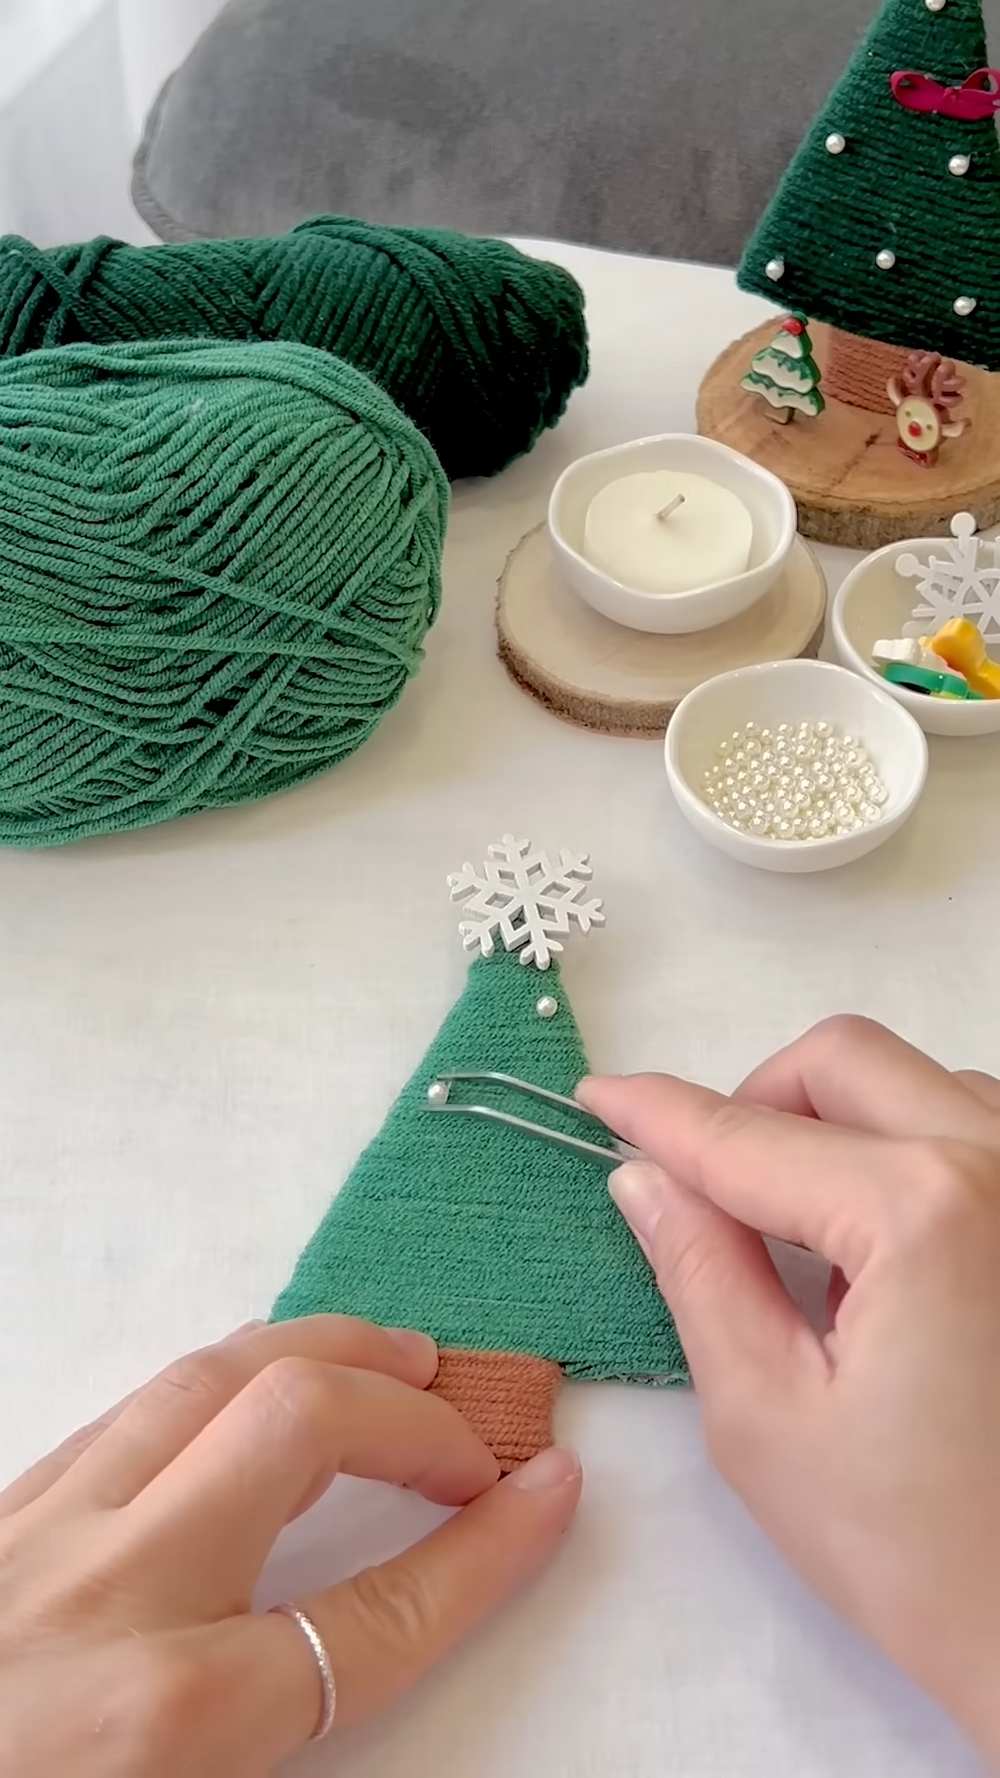
Step 5: Decorate with “Ornaments”
Use your tweezers to pick up small white pearls. Apply a tiny dot of glue to the tree and carefully place the pearl on top. Scatter them across the tree to look like ornaments or snow.
Step 6: Assemble the Base
Apply a generous amount of hot glue to the bottom edge of the tree trunk. Press the tree firmly onto the center of your wood slice. Hold it until it stands up on its own.
Step 7: Final Decorations
Add your miniature figures (like a tiny Santa or gift boxes) to the wood slice around the base of the tree. Glue them down to complete your festive holiday scene!
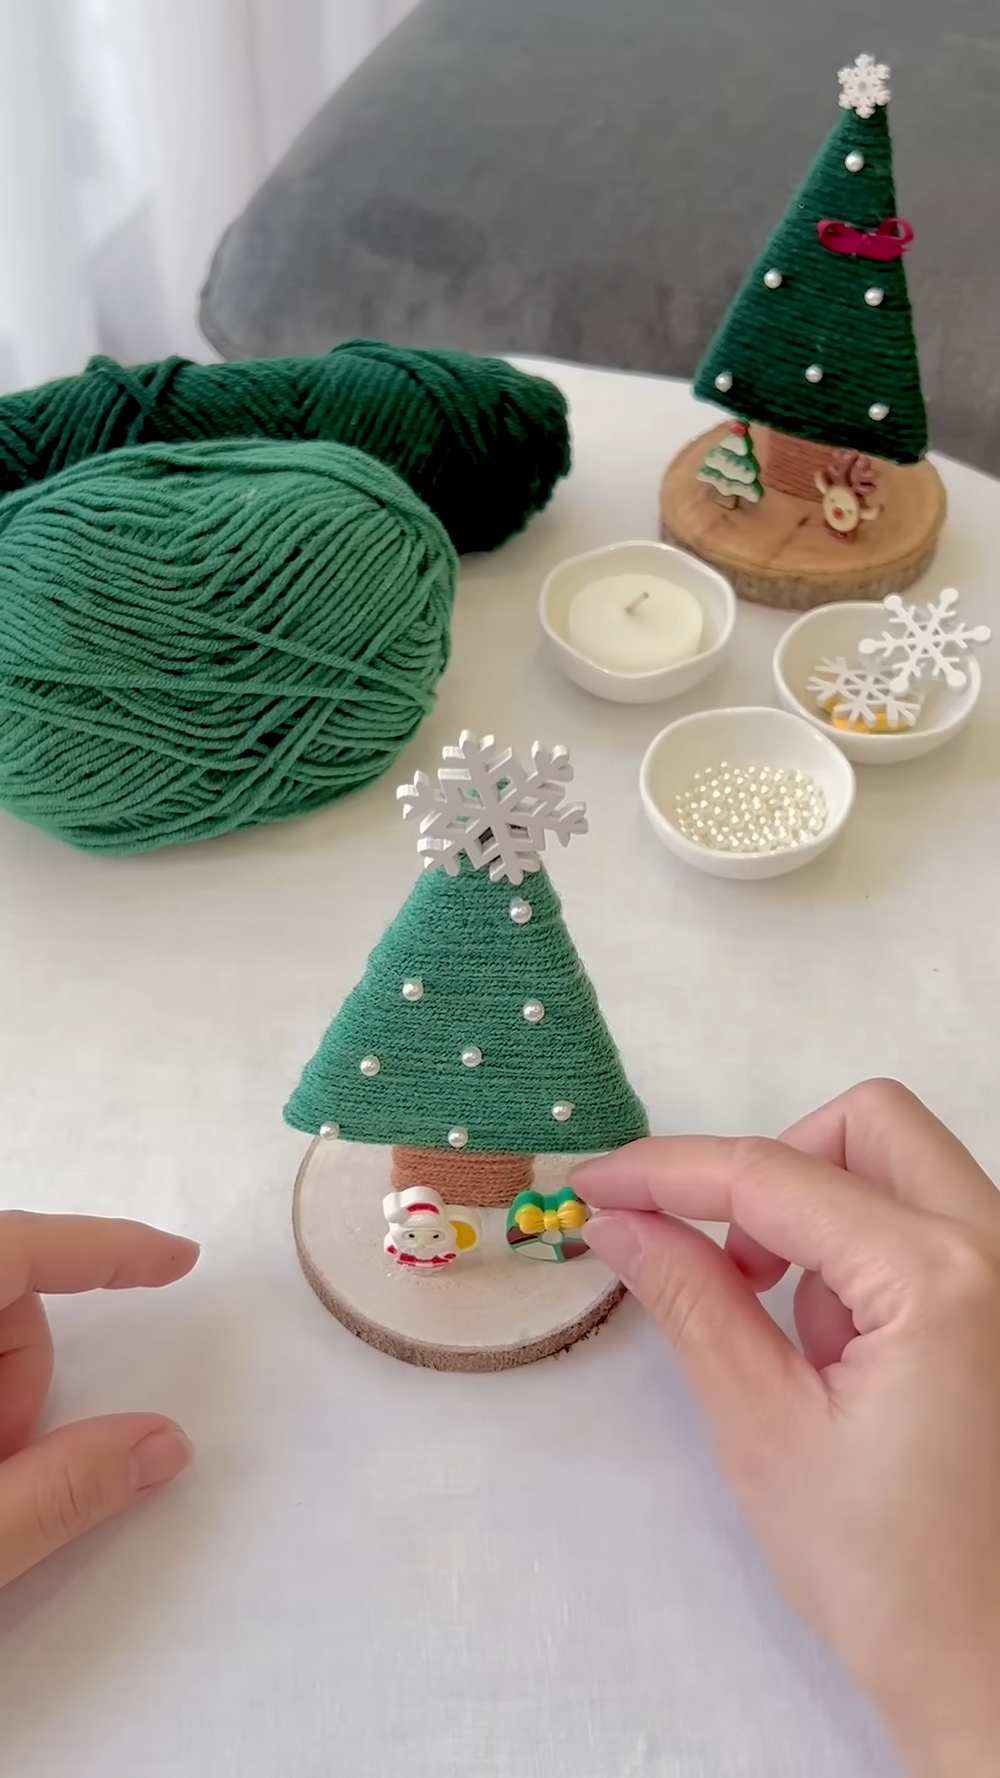
Your Yarn Christmas Tree is now ready to display!