Subscribe to ShemarkCrafts!
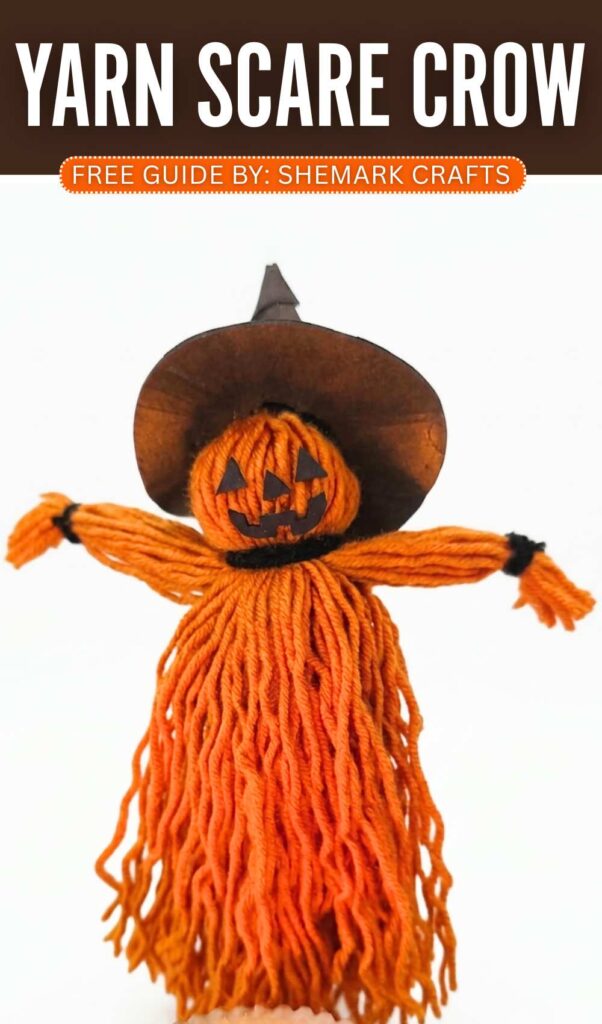
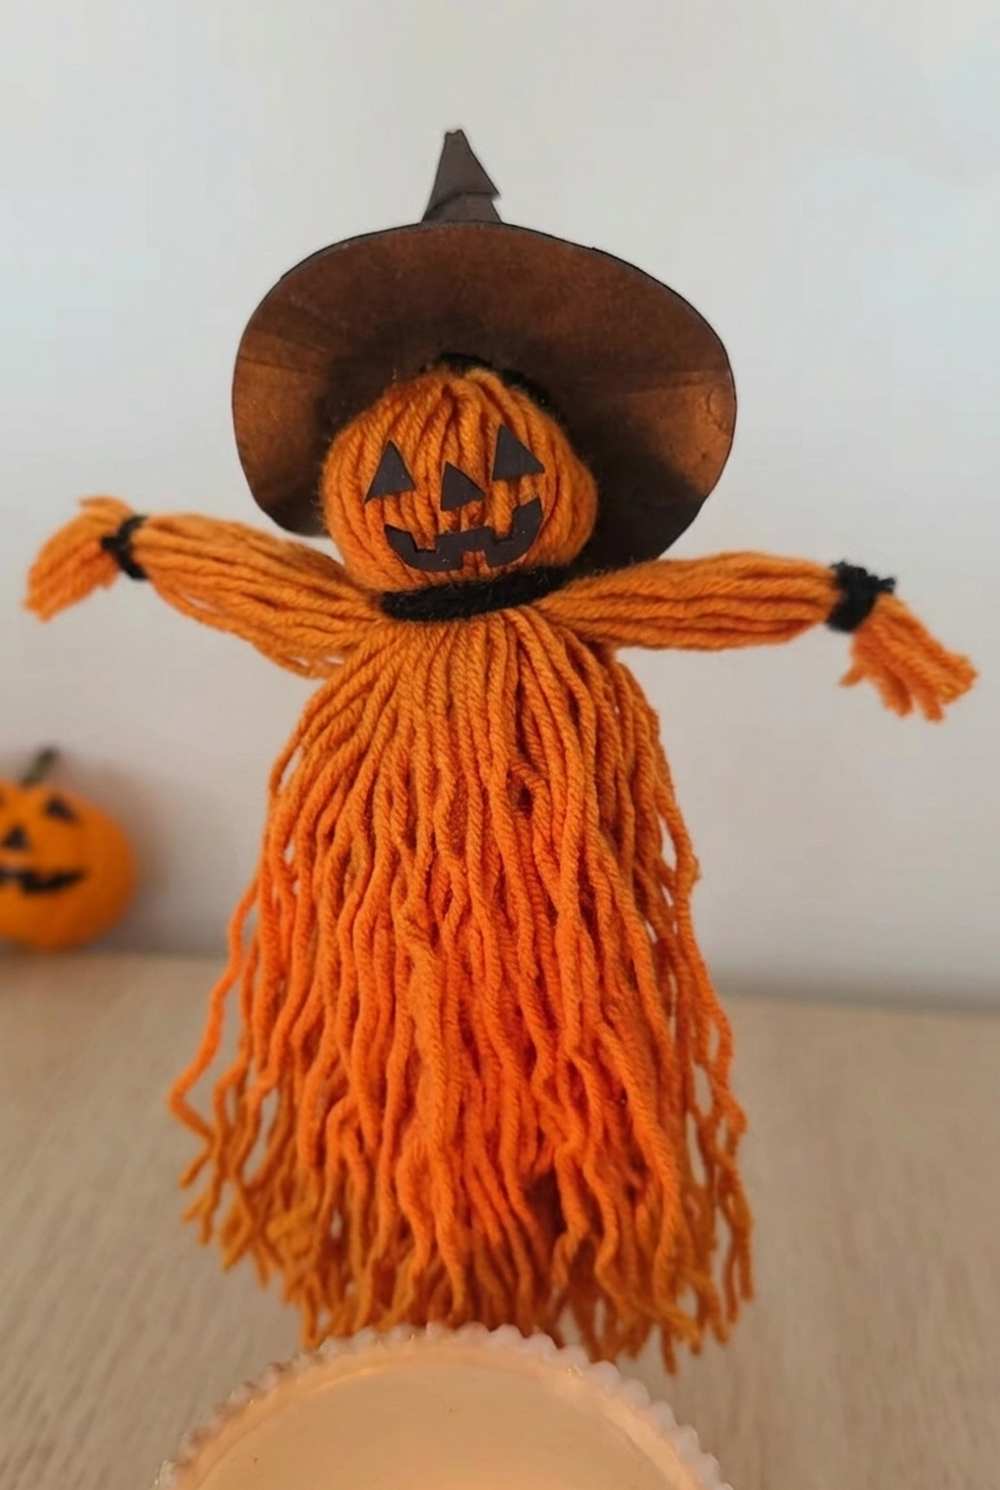
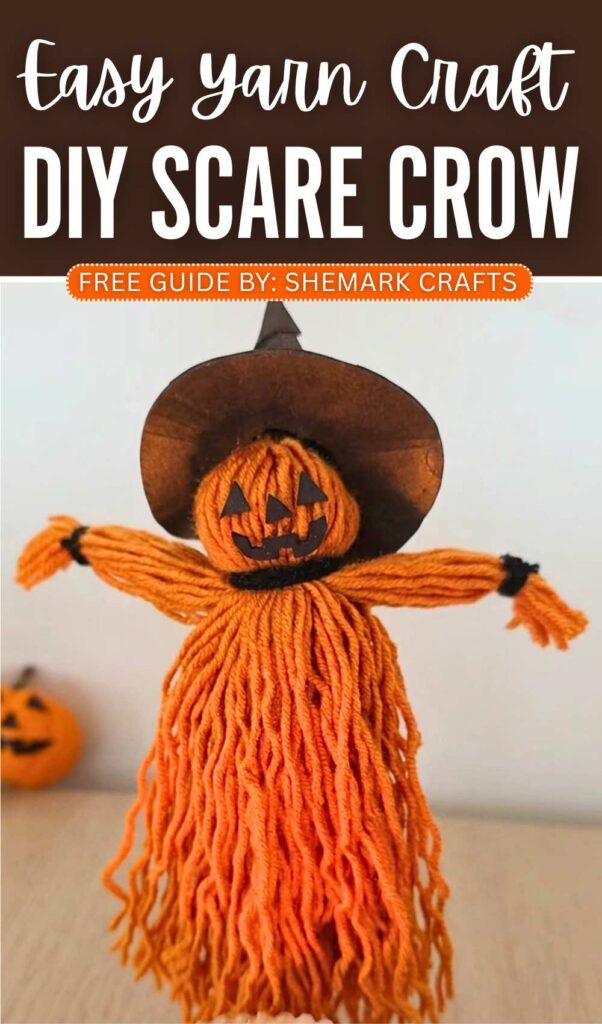
Looking for the EASIEST & absolutely no-fuss method to DIY a scarecrow plushie for Halloween? Learn how to DIY this yarn-wrapping scarecrow plushie following a step-by-step tutorial + a written pattern as well. This scarecrow yarn plushie is also wearing a paper witch hat that makes it look even spookier. Making this yarn-wrapping scarecrow plushie will only require separating yarn strands and knotting black thread to make its parts. Hang it from your front door to welcome the guests.
This DIY scarecrow plushie also has a foaming sheet spooky face by taking easy triangle and mouth cutouts. You can make one scarecrow plushie in minutes, so be sure to hang multiple scarecrows above the dining table as well.
You can also make your scarecrow yarn-wrapping plushie in other colors, such as purple or brown, or try using jute twine instead of the cotton + acrylic yarn. By giving this scarecrow plushie a bit cuter face, you can also make it for Thanksgiving and during harvest. Can also be turned into a fall keychain and a hanging. Now, continue reading to learn more about this scarecrow plushie for kids and adults alike.
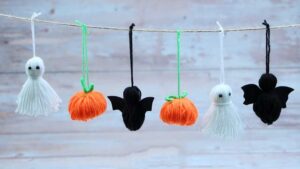
Tutorial to DIY A Halloween Scarecrow Plushie
You can make a cute scarecrow doll with yarn. Use orange yarn to make the body. Tie the top of the yarn to make a head. Tie the sides of the yarn to make arms. Use black string for the ties. Cut the extra yarn with scissors to make it neat.
Use black paper to make eyes and a nose. Make a hat with black paper too. Cut a circle and make a cone for the hat.
Glue the parts together with a glue gun. This is a fun project for Halloween. It is easy to do at home. You only need yarn, string, paper, and glue. The scarecrow looks very nice on a table.
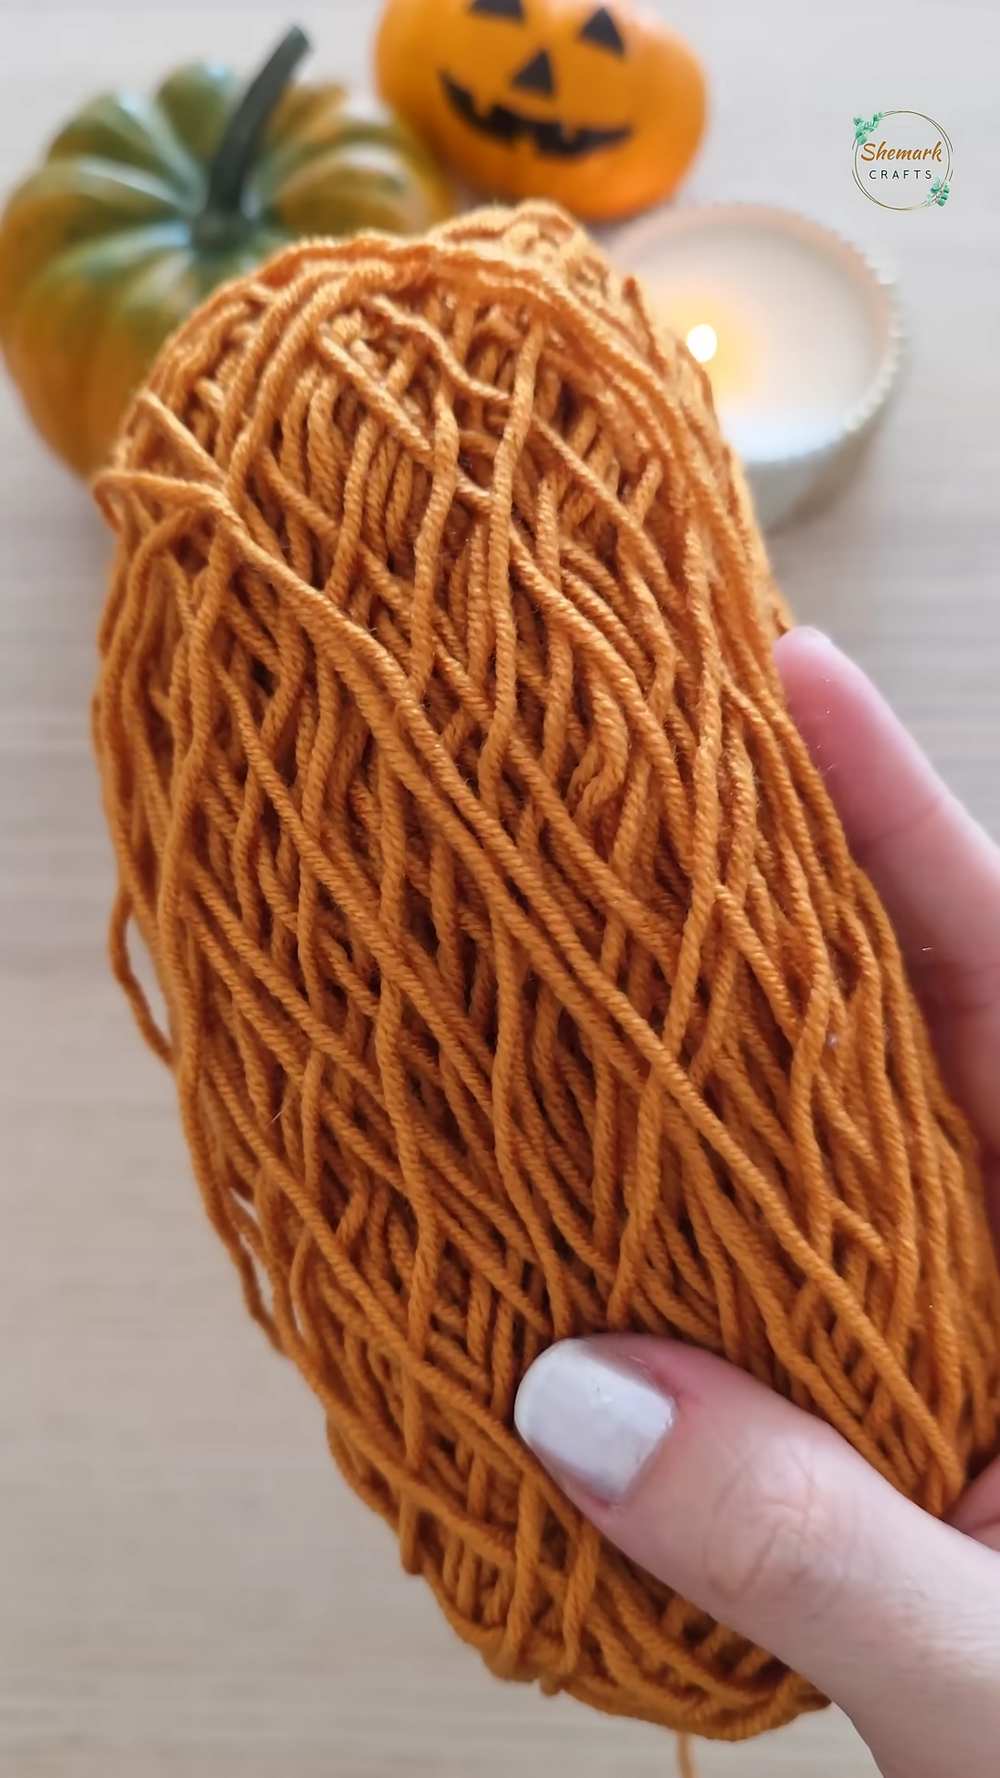
How to Make a DIY Yarn Scarecrow
Materials You Will Need:
-
Orange yarn
-
Black string or thin black yarn
-
Black construction paper
-
Hot glue gun
-
Scissors
Video Tutorial
Step-by-Step Instructions
Step 1: Make the Head
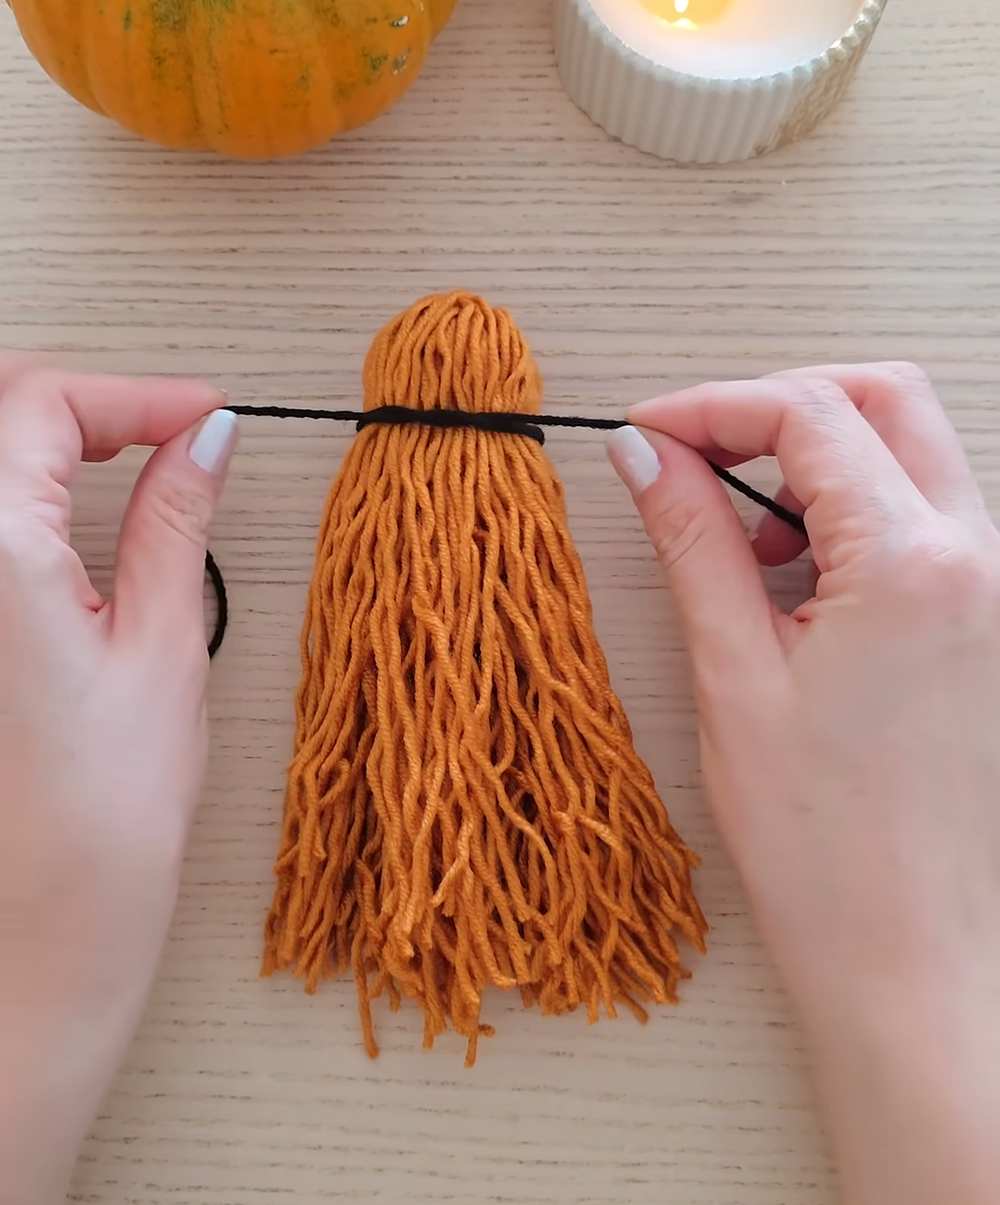
Take a thick bundle of orange yarn and fold it in half so there is a loop at the top. Take a piece of black string and tie it tightly about two inches below the fold. This creates a round ball shape at the top, which is the scarecrow’s head.
Step 2: Make the Arms
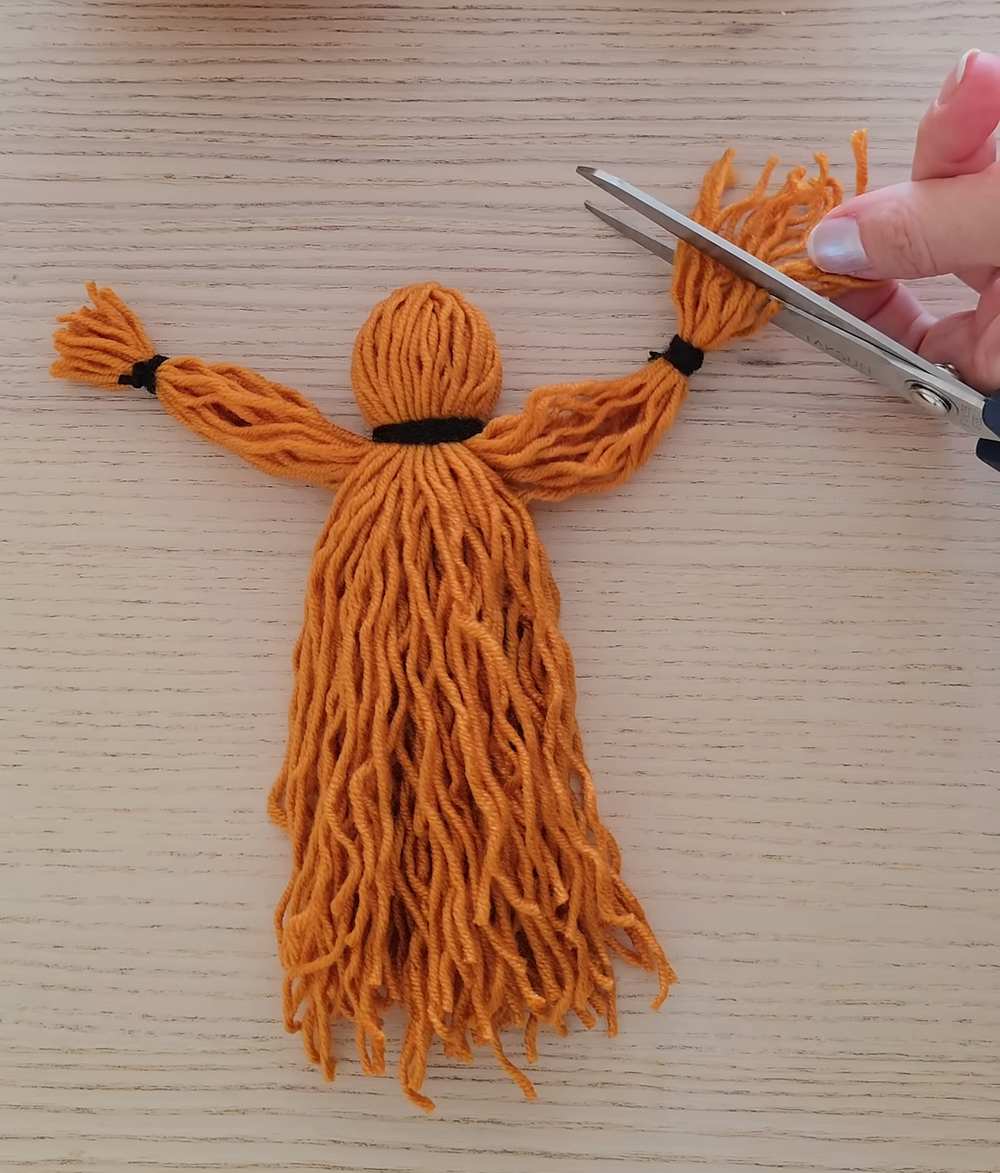
From the middle of the yarn bundle (below the head), pull out a small group of yarn strands on the left side and another small group on the right side. Tie a black string near the end of each group to make “wrists.” Use your scissors to trim the ends of the yarn so the arms are the same length.
Step 3: Make the Face Pieces
Take your black paper and cut out three very small triangles. These will be the eyes and the nose. You can also cut a small, jagged shape for a “stitch” style mouth.
Step 4: Make the Witch Hat
-
The Brim: Cut a medium-sized circle out of the black paper.
-
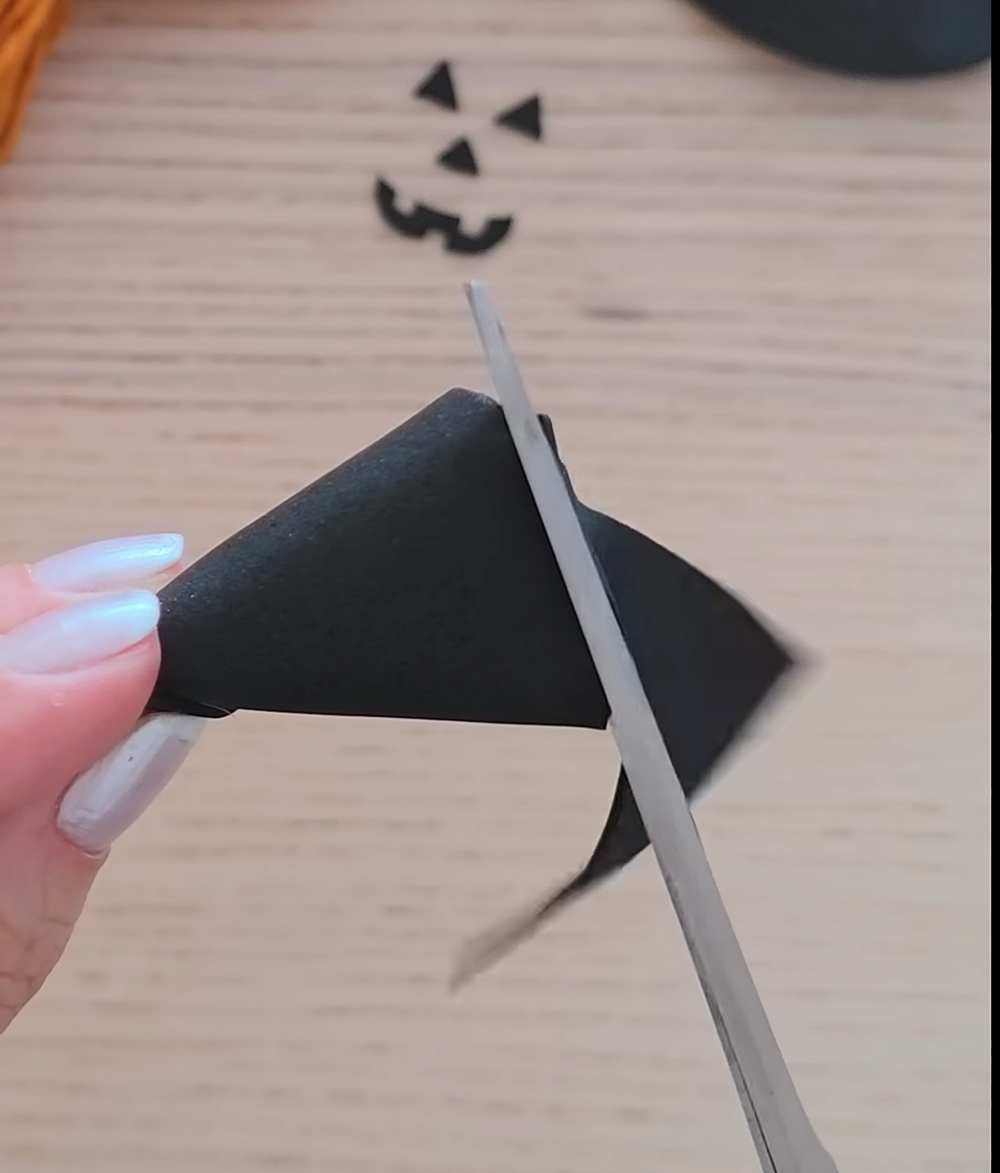
The Top: Cut a smaller piece of black paper and roll it into a cone shape. Glue the edge to hold the cone.
-
Assembly: Use the hot glue gun to stick the cone onto the center of the black circle. Now you have a tiny hat!
Step 5: Assemble the Scarecrow
Use small dots of hot glue to stick the black paper eyes and nose onto the yarn head. Glue the mouthpiece below the nose. Finally, put a line of glue around the bottom of the hat and press it firmly onto the top of the scarecrow’s head.
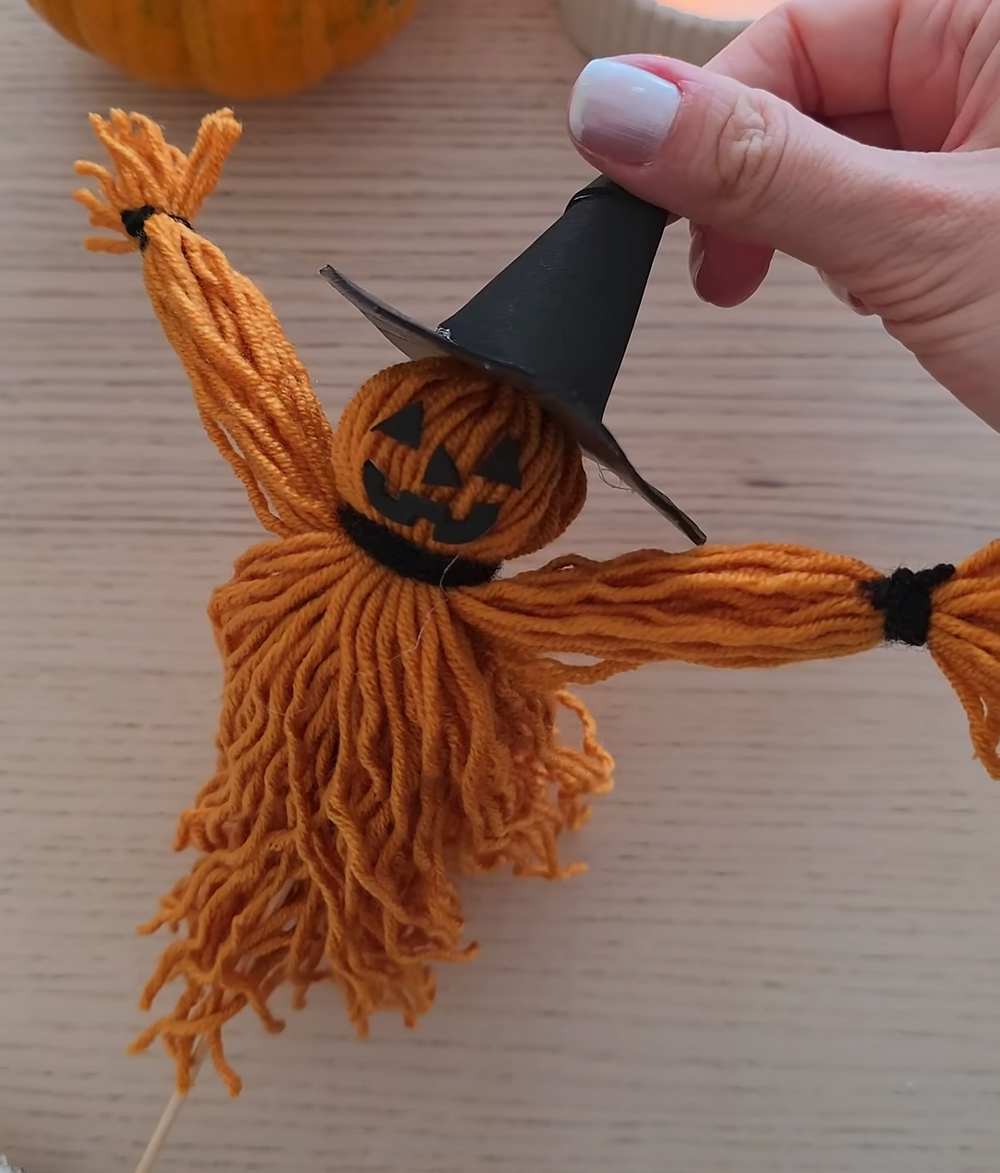
Your yarn scarecrow is finished! You can hang it up or sit it on a shelf for Halloween decoration.
Share on Social Media!