Subscribe to DIY Dreams!
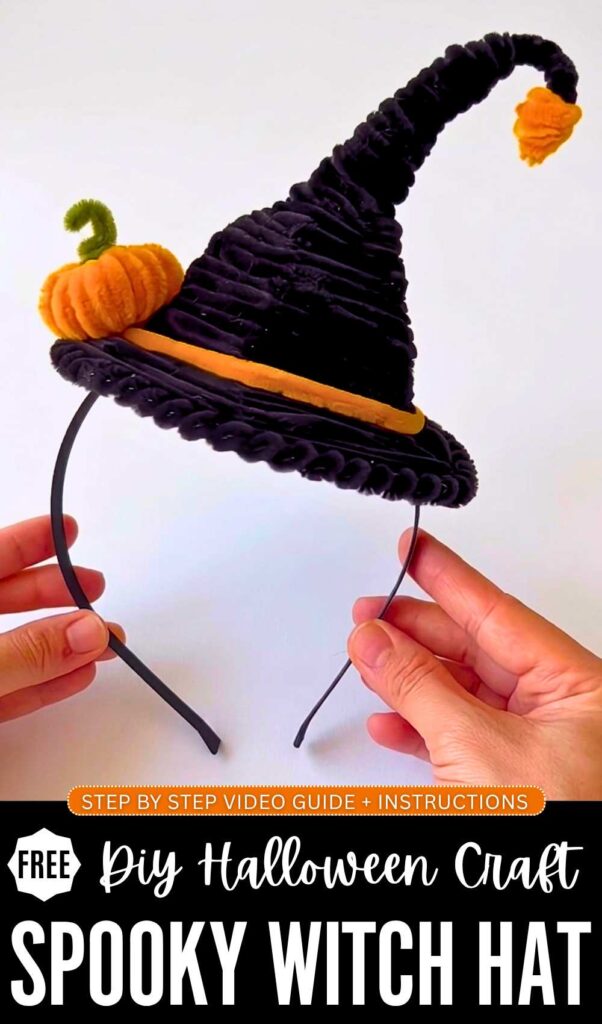
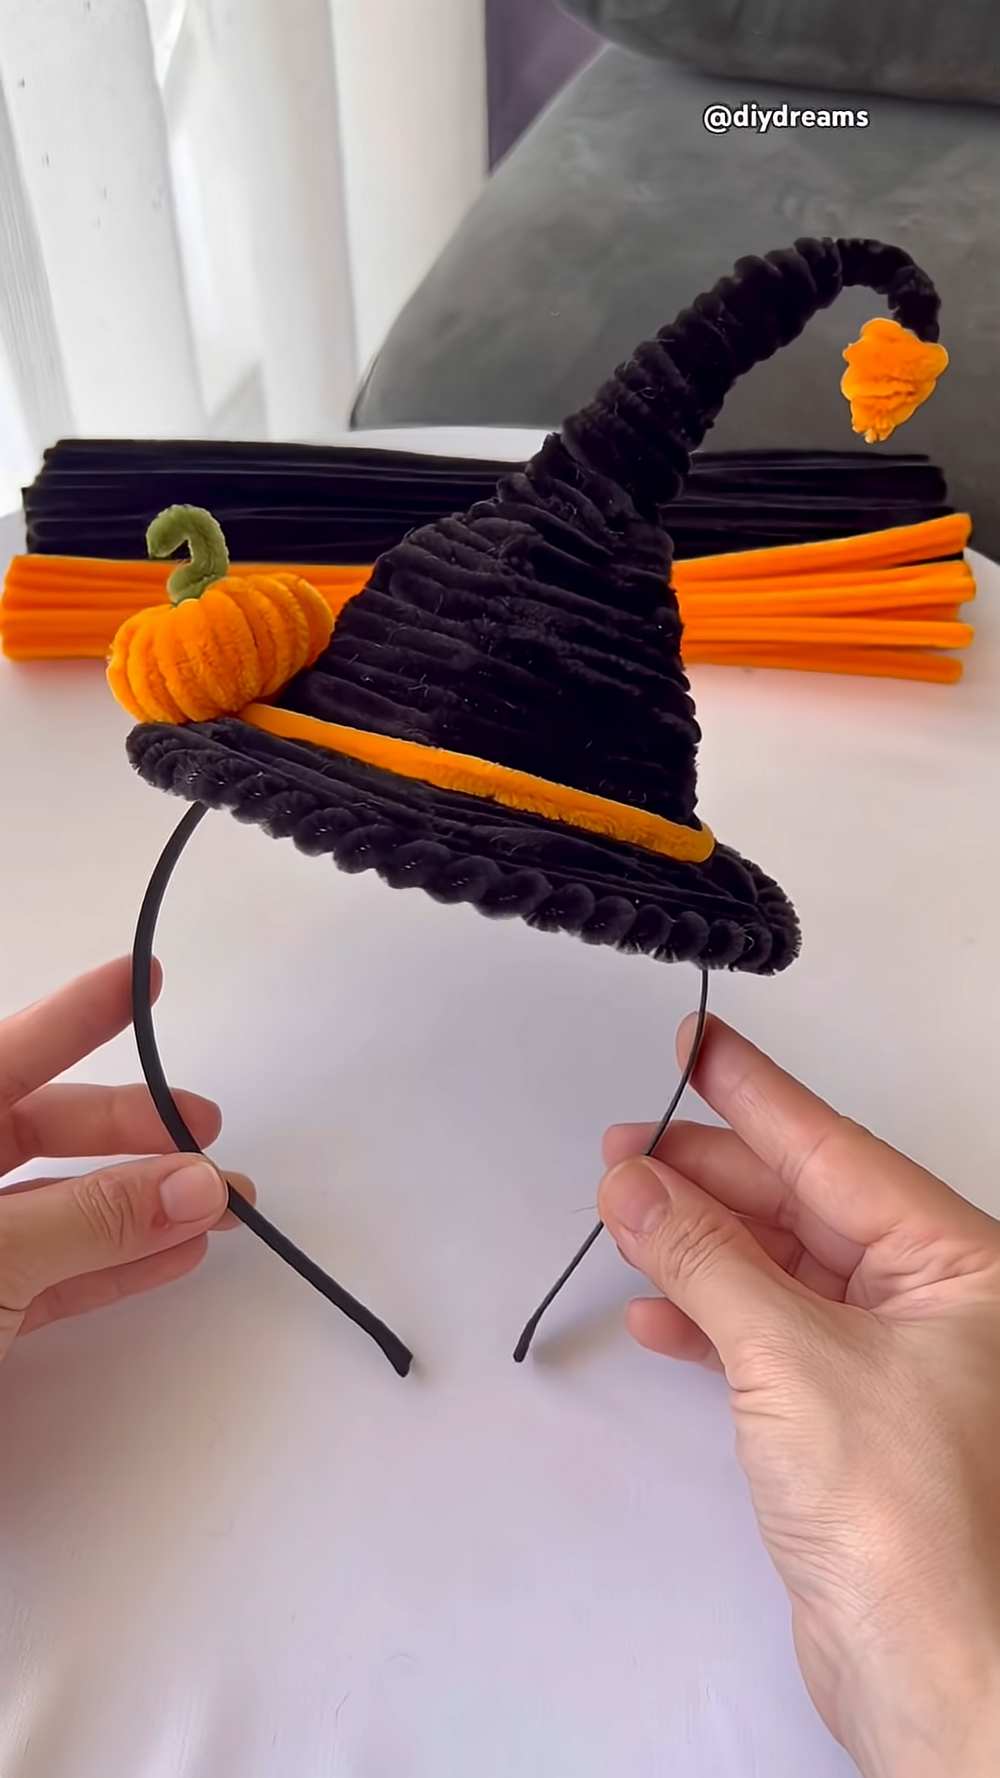
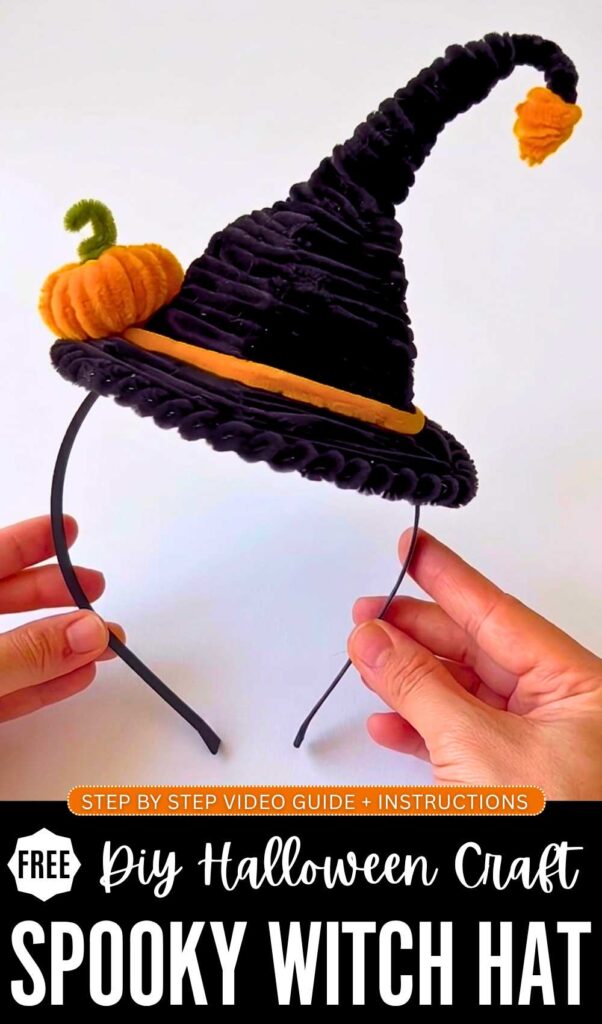
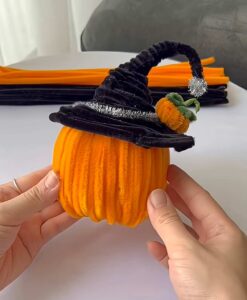
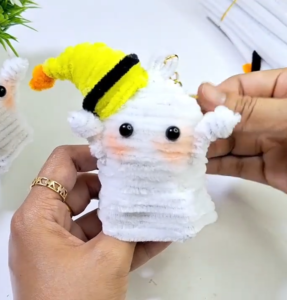
Learn how to DIY a 2-in-1 Halloween witch hat + a DIY Halloween headband using pipe cleaners only, with this step-by-step tutorial. This is the same DIY witch hat we made to craft the pumpkin in a witch hat Halloween decoration. Now, we shall make a slightly bigger and wearable Halloween witch hat that can double as a hairband (perfect for Halloween cosplay!). It is also decorated with a pipe cleaner pumpkin and orange hatband.
Making this Halloween witch hat requires just a basic weaving after you have made the base for the hat. Luckily, only 5 20cm pipe cleaners are required as the base. By joining the pipe cleaners, you can also make it any longer.
You can also complete your Halloween accessory by making this DIY chenille stem witch hat along with the pipe cleaner magic wand. There are also many ways you can decorate the brim of your witch hat. Such as making zigzags edging or making a ruffled edging. Anyway, continue reading to learn more about this Halloween cosplay project for beginners.
Tutorial to Craft A Pipe Cleaner Hat
Let’s make a festive witch hat headband using pipe cleaners (chenille stems). This guide will show you how you can also make one:
Skill Level: Beginner – Level 3
Materials Needed
-
Chunky Black Pipe Cleaners: (Approximately 10–12 stems)
-
Chunky Orange Pipe Cleaners: (1–2 stems)
-
Thin Green Pipe Cleaner: (A small scrap for the pumpkin stem)
-
Simple Black Headband
-
Scissors
-
Optional: Hot glue gun (for extra security)
More from Her!
Step-by-Step Instructions
1. Create the Hat Skeleton
-
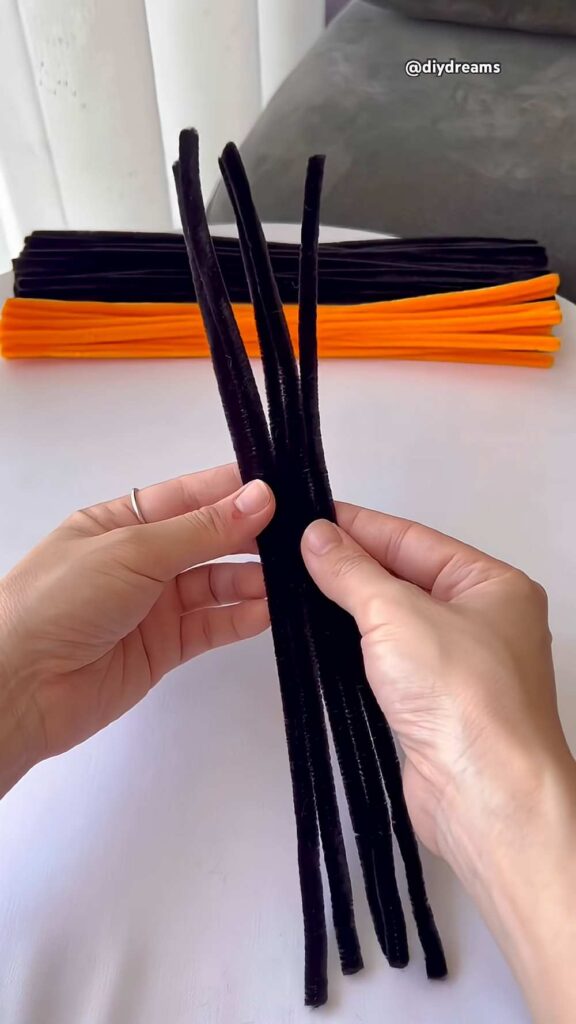
Take 5 chunky black pipe cleaners and align them.
-
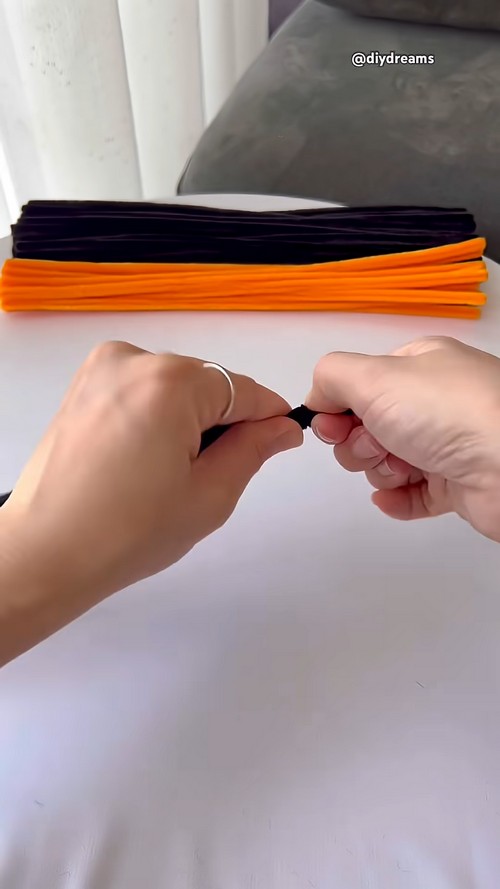
Twist them together tightly at one end (about 2 inches down) to create a solid “tip.”
-
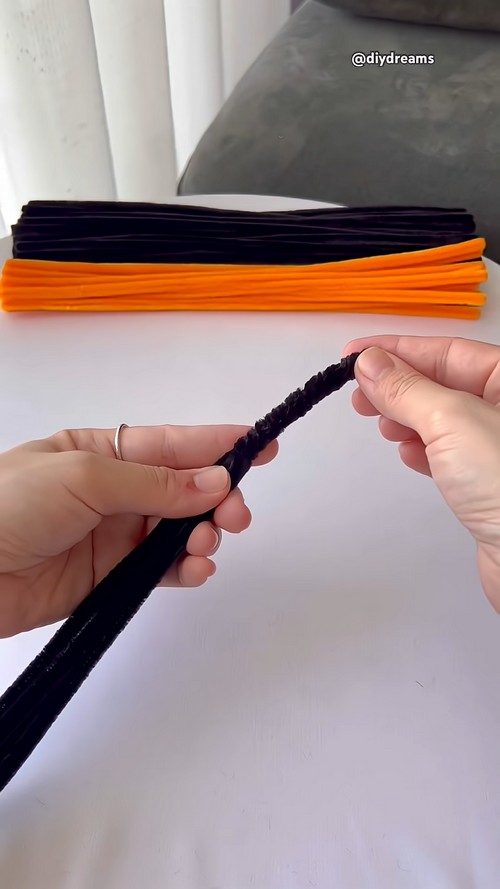
Spread the remaining long ends outward so they look like the legs of a spider. This will be the frame for your hat.
2. Build the Cone
-
Take a new black pipe cleaner. Start at the top (just below the twisted tip) and begin wrapping it tightly around the four “frame” legs.
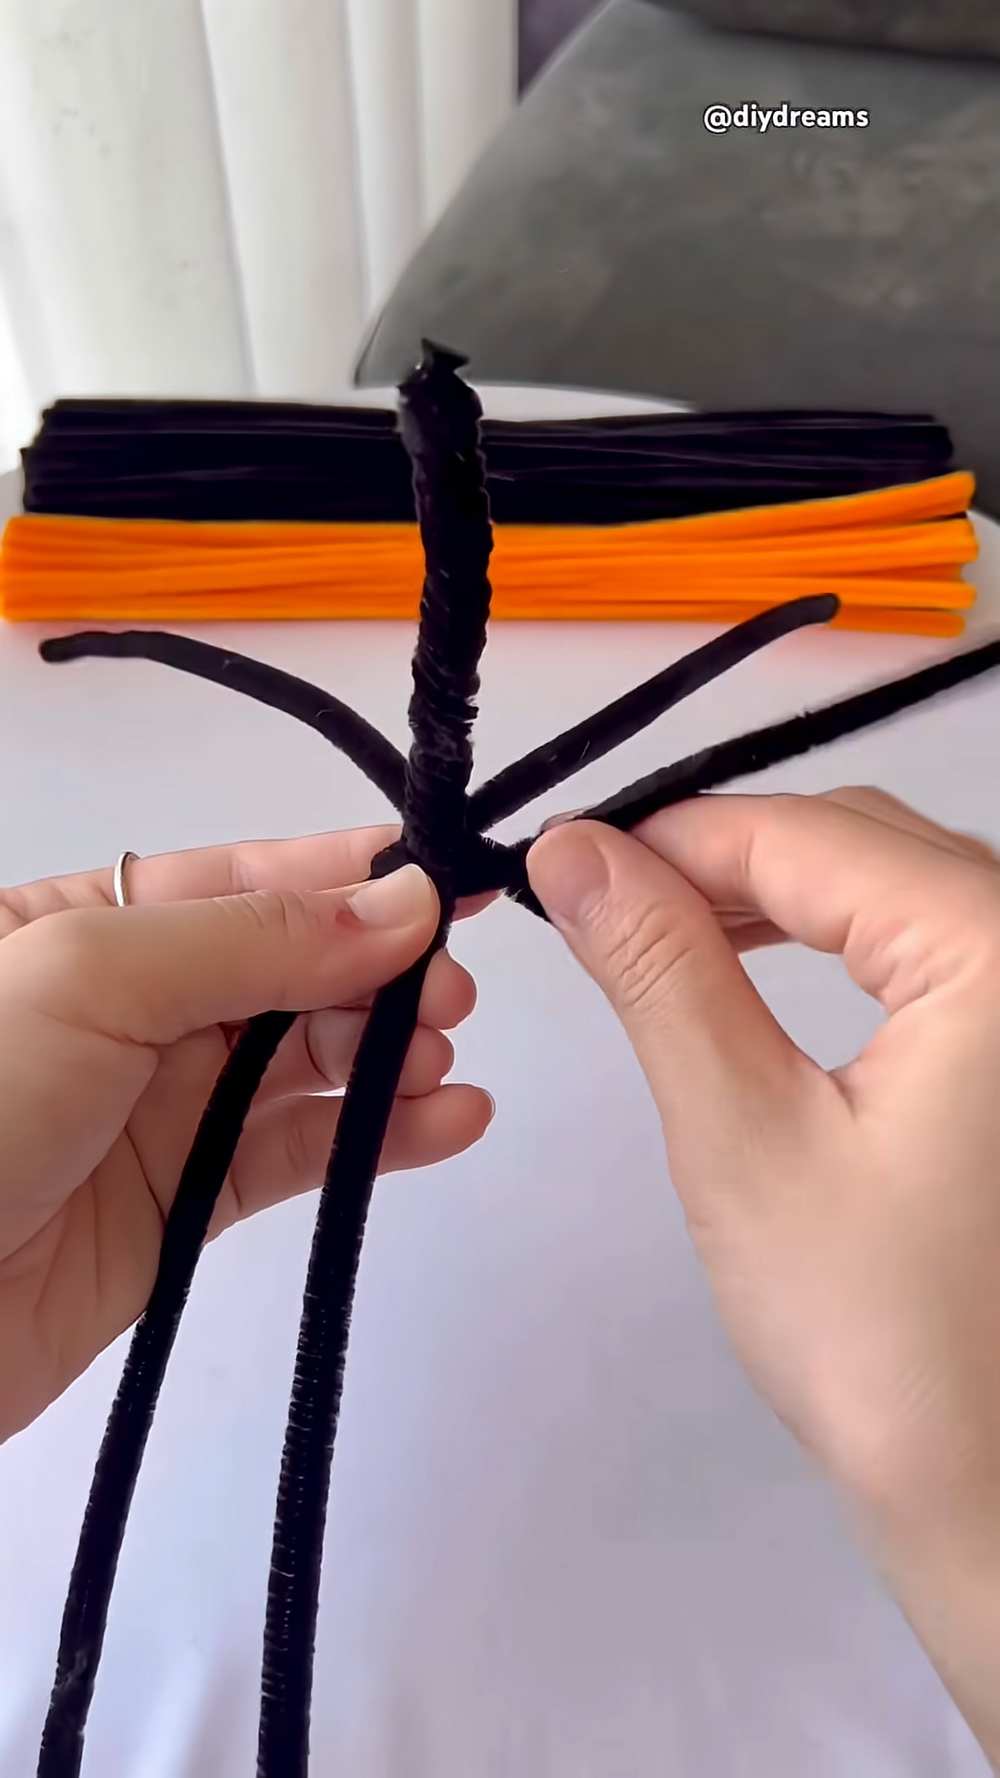
-
As you wrap, gradually pull the frame legs further apart. This will naturally create the conical shape of the witch hat. Here is the weaving pattern:
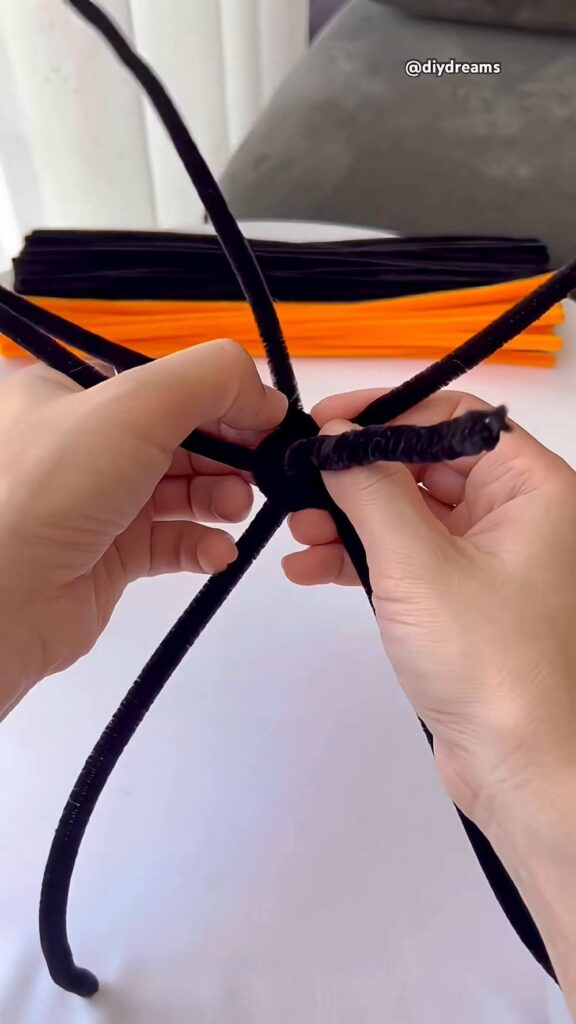
- Wrap over the first pipe cleaner.
- Wrap under the 2nd pipe cleaner.
- Wrap over the 3rd pipe cleaner.
- Wrap under the 4th pipe cleaner.
- Wrap over the 5th pipe cleaner.
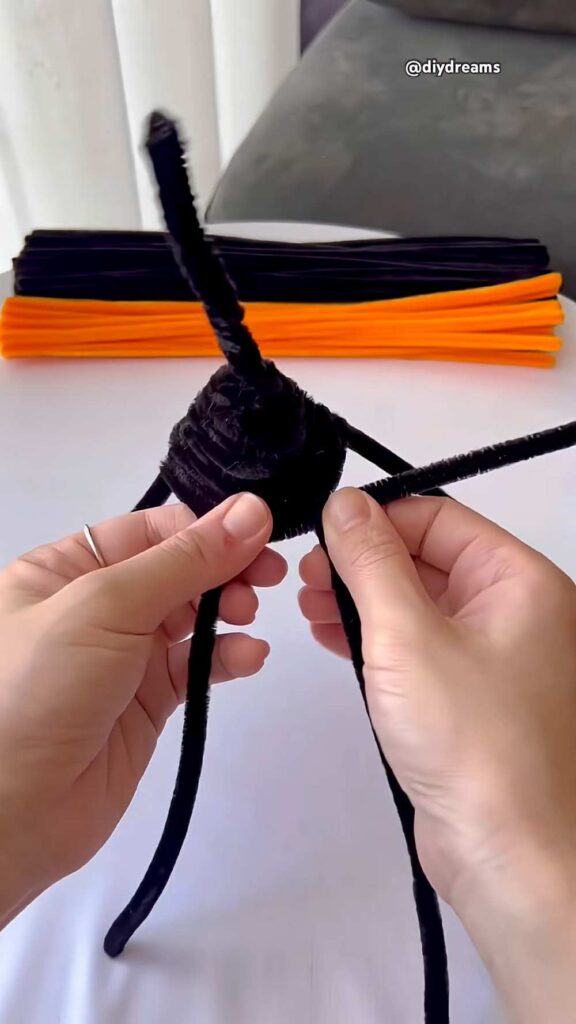
-
When one pipe cleaner ends, simply twist the end of a new one onto it and continue wrapping.
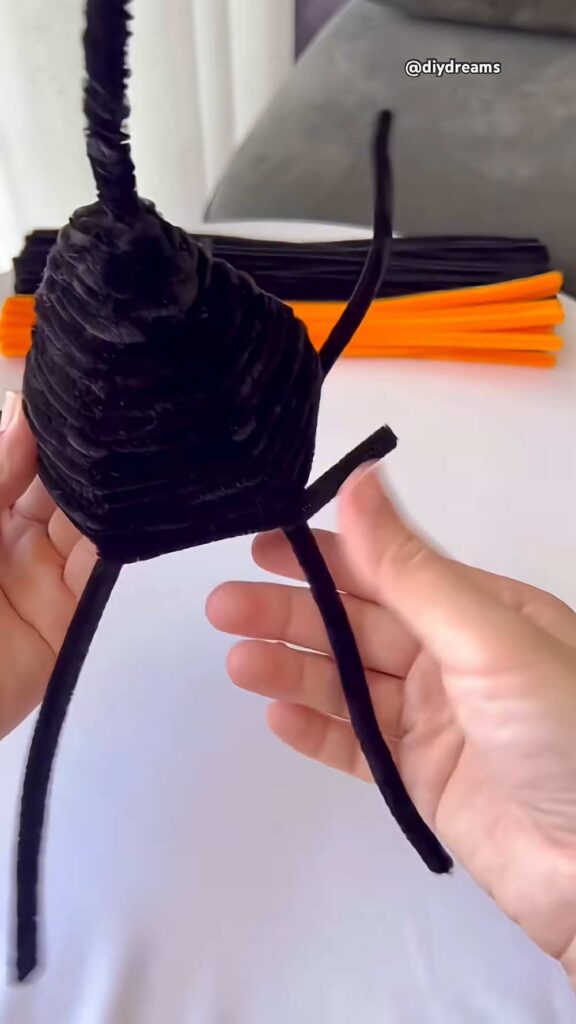
Note that, as you progress, you can also use the twist-and-wrap method. In this method, you twist around each end once so that you secure the pipe cleaner whether the length is enough or not.
Feels Difficult?
3. Form the Brim
-
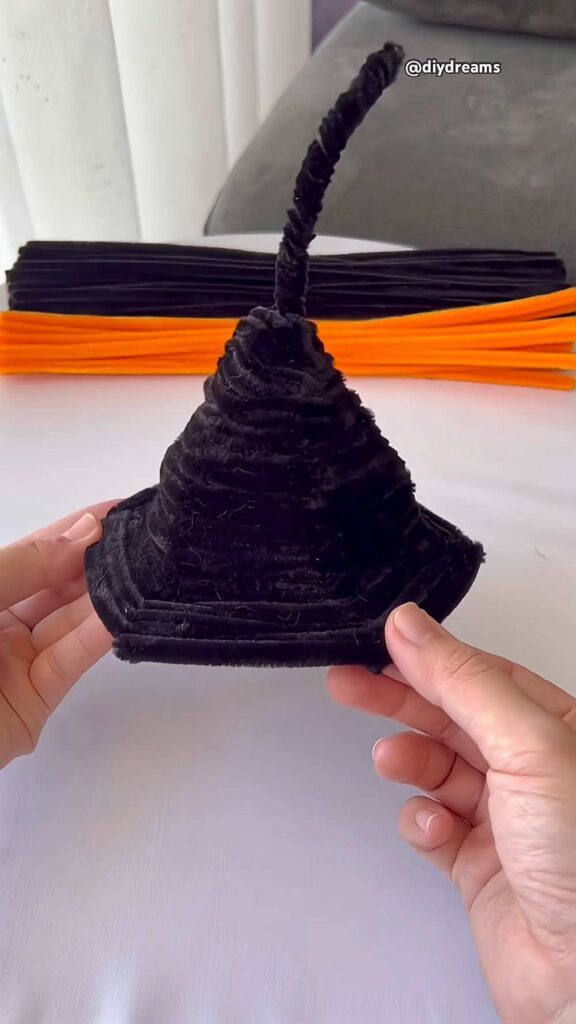
Once the cone is about 3–4 inches tall, stop wrapping vertically.
-
Take the ends of your frame legs and bend them outward horizontally.
-
Continue wrapping more black pipe cleaners around these horizontal legs to create a flat, circular brim.
-
Tuck any remaining sharp ends back into the weave of the pipe cleaners to keep it neat.
4. Shape the “Witchy” Tip
-
Grab the very top of the hat (the part you twisted first).
-
Gently bend and curl it downward to give it a whimsical, drooping “old witch” look.
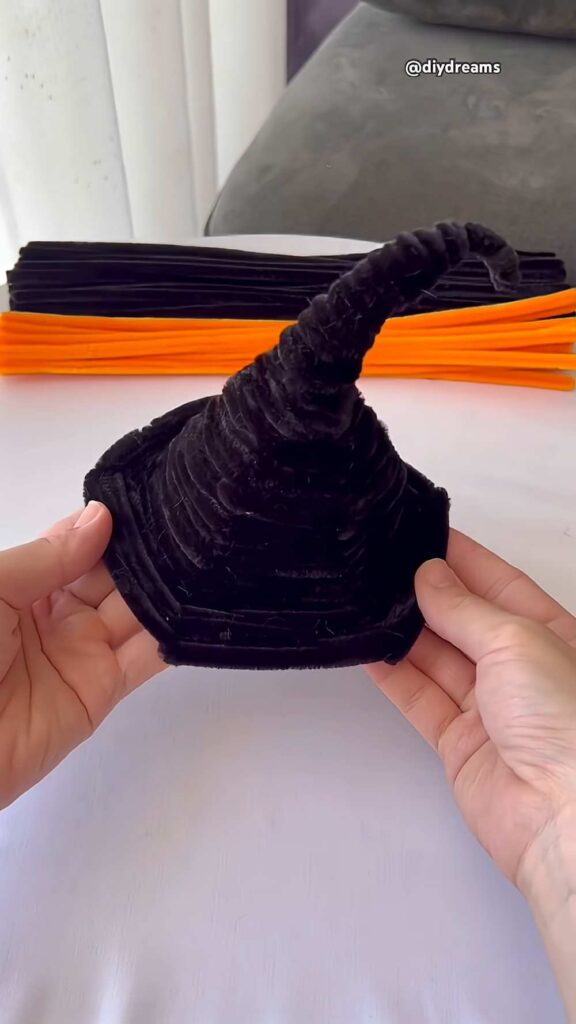
- You will also want to wrap pipe cleaners around the tip such that the bottom is fuller than the exact end. You may need multiple black pipe cleaners to do so.
5. Add the Decorative Band
-
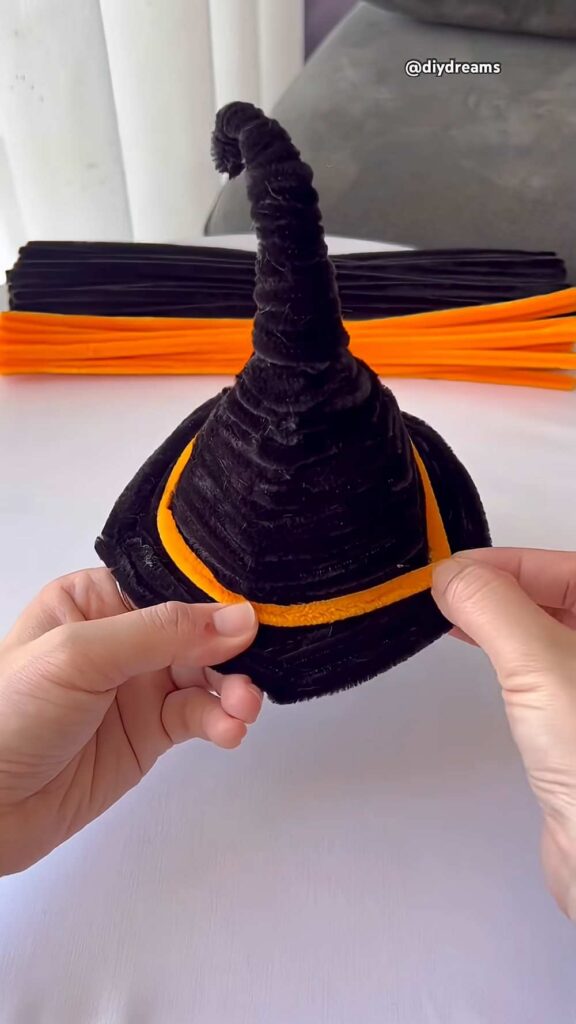
Take an orange pipe cleaner.
-
Wrap it once around the base of the cone, right where it meets the brim. Twist the ends together at the back and trim any excess. This acts as the hat’s “ribbon.”
6. Craft and Attach the Details
-
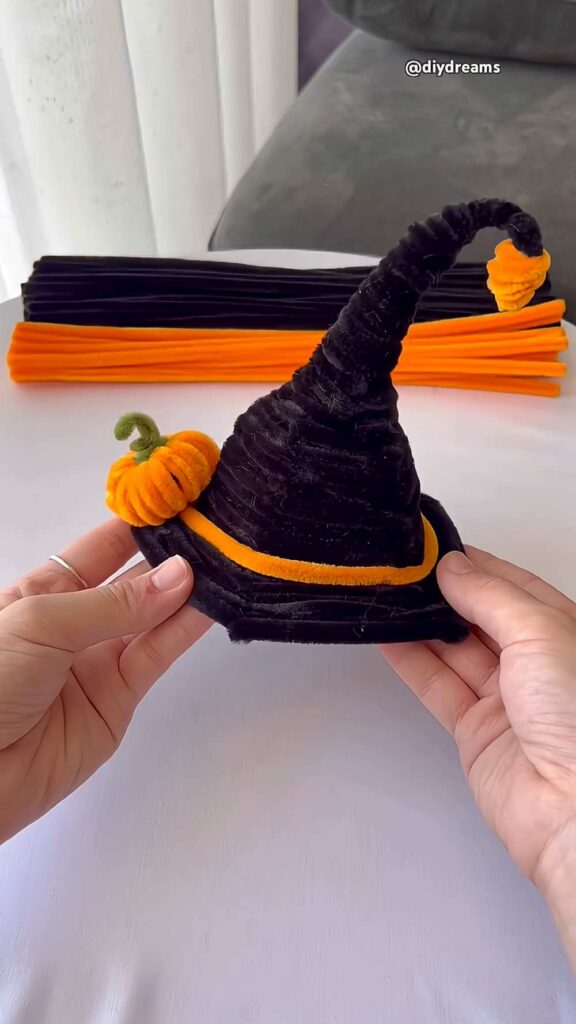
The Tip Pom-Pom: Take a small piece of orange pipe cleaner, roll it into a tight ball (or spiral), and tuck/glue it onto the very end of the curled hat tip.
-
The Mini Pumpkin:
-
Roll a 4-inch piece of orange pipe cleaner into a tight flat spiral.
-
-
-
Add a tiny loop of green pipe cleaner to the top for a stem.
-
Attach this pumpkin to the side of the hat on the brim using a small twist of wire or a dab of hot glue.
-
7. Attach to the Headband
-
Position the finished hat onto your headband (usually slightly off-center looks best).
-
Use the leftover ends of the frame (or a small scrap of pipe cleaner) to wrap around the headband, securing the hat firmly in place.
-
Adjust the tilt of the hat until you are happy with how it sits!
Pro Tip: If the hat feels “top-heavy,” use a small dab of hot glue between the base of the brim and the headband for extra stability.
Share on Social Media!