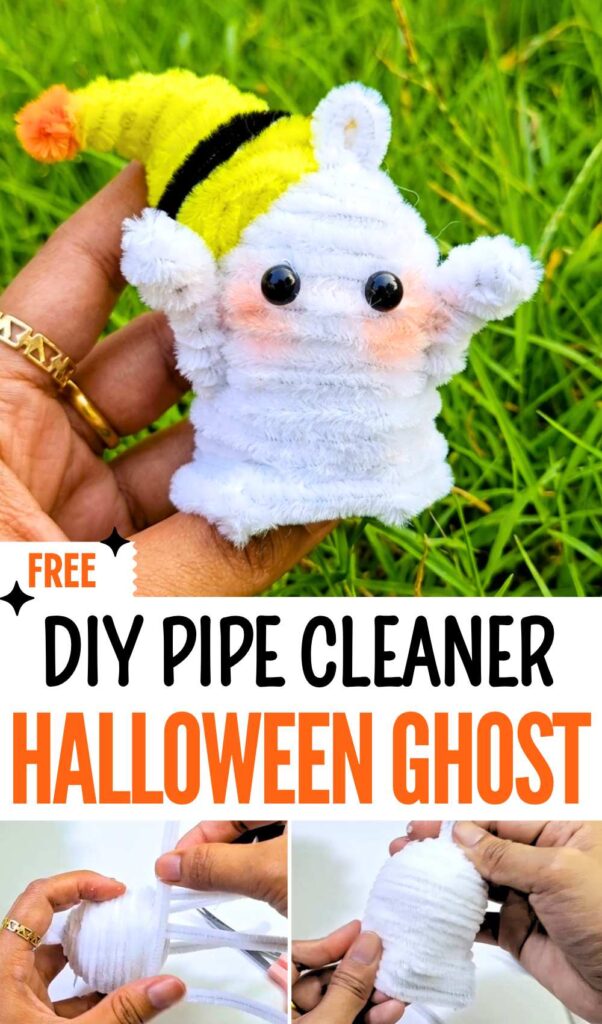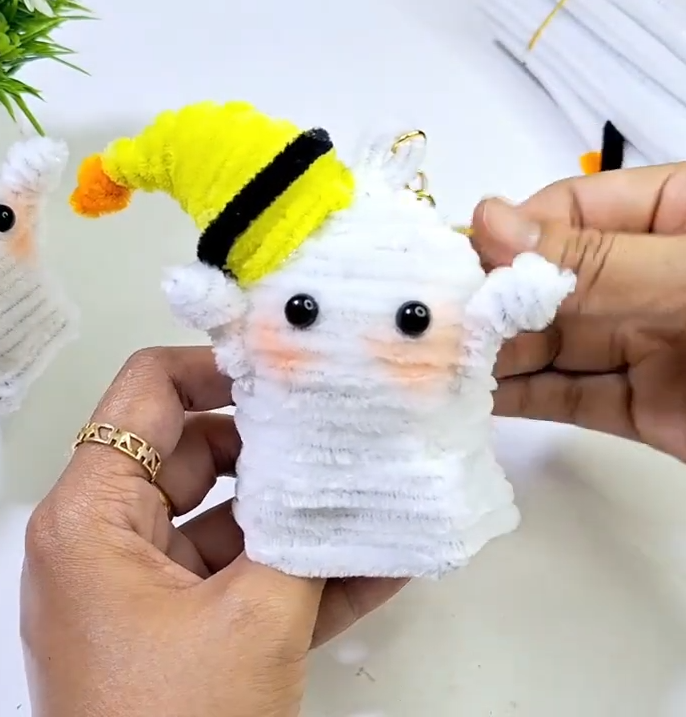
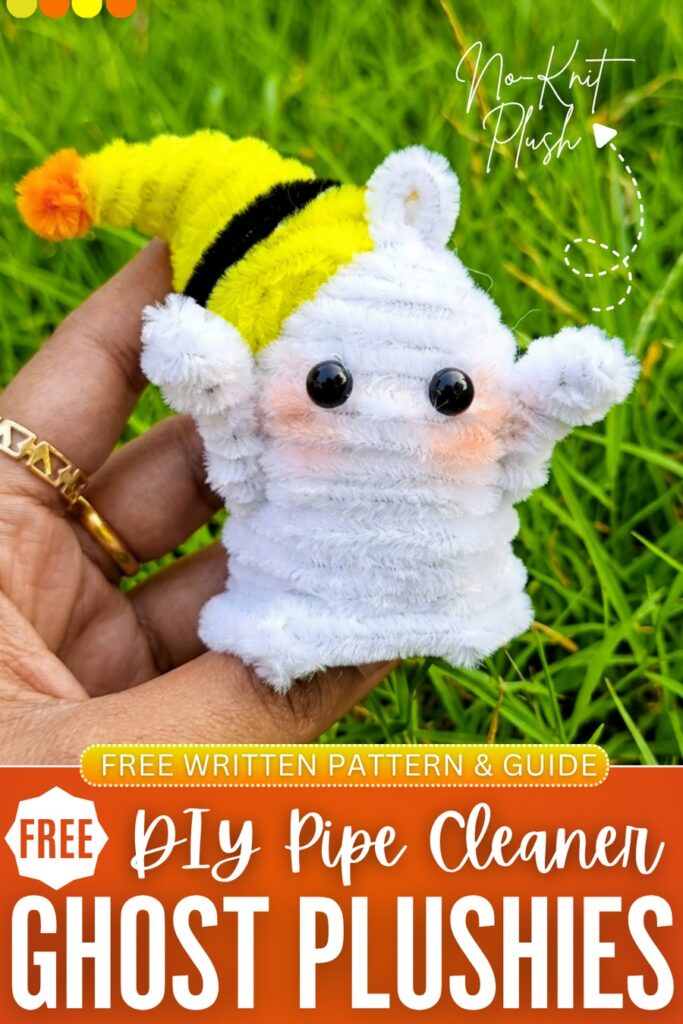
Welcome to another part of the “pipe cleaner Halloween plushie” series. Today, you will learn how to DIY this oh-so cute baby ghost in a witch hat plushie out of chenille stems with this FREE written pattern. It also has a hanging loop, so this ghost plushie will make an irresistible welcome decoration for guests and a Halloween ornament or trick-or-treating bag charm.
This ghost plush wears a quirky yellow witch hat that looks so kawaii on it. You can also stuff it if you want it to be long-lasting. For now, we shall use a styrofoam sphere base and wrap the pipe cleaners around. Now, continue reading for the full Halloween ghost plush pattern.
[ez-toc]
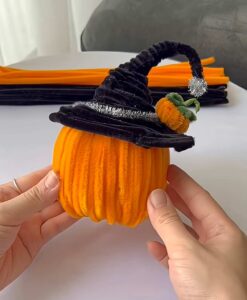
How to DIY BOO Ghost in a Witch Hat Plushie
Here is the step-by-step guide to making a Halloween pipe cleaner ghost!
Materials & Tools Needed
- White pipe cleaners (chenille stems): Roughly 10–15 stems, depending on how large you make your ghost.
- Small styrofoam sphere: About 1 to 1.5 inches in diameter.
- Hot glue gun & glue sticks: For secure, fast-drying holds.
- Small craft eyes: Black plastic beads, safety eyes, or small googly eyes.
- Pink blush: Craft chalk or standard makeup blush.
- Cotton swab or small brush: For applying the blush.
- Scissors or wire cutters: For cleanly trimming the pipe cleaners.
Phase 1: Building the Internal Skeleton (The Dome)
- Align the Base: Take 3 completely straight white pipe cleaners. Hold them together so their ends are perfectly flush. Fold the entire bundle in half to locate the exact center point.
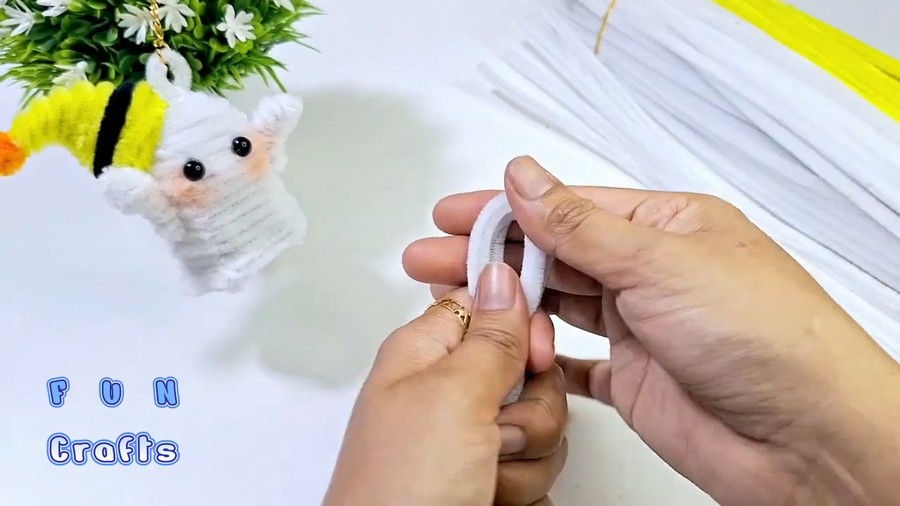
- Create the Hinge: Pinch the center bend tightly between your thumb and forefinger to create a sharp crease, then unfold them back out into a straight line. You should now have a visible V-shaped crimp in the middle of the bundle.
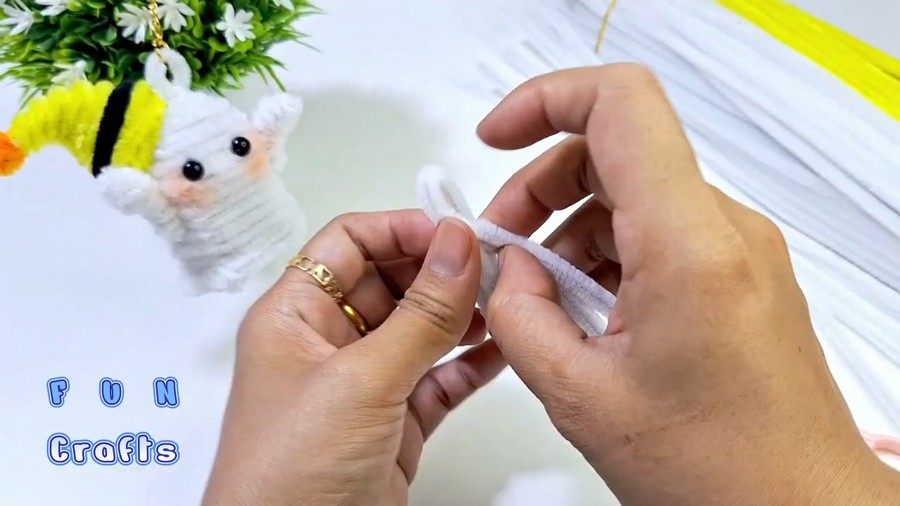
- Secure the Center: Cut another white pipe cleaner in half. Take one of these halves and wrap it tightly around the center crease of your 3 aligned pipe cleaners. Wrap it 3 or 4 times to ensure the bundle is securely and tightly bound together at the center point.
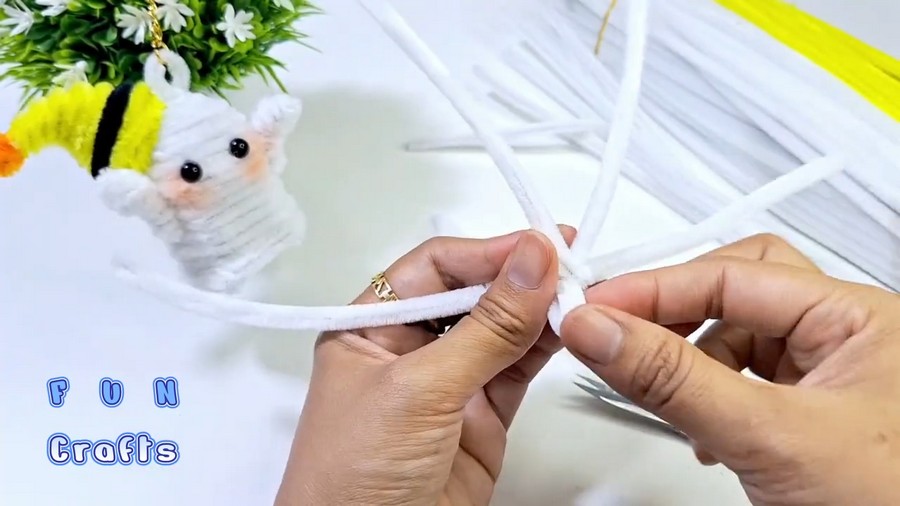
- Fold and Form: Bend the bundle back along that original V-crease, gathering all the stems together. Hold the folded section firmly in your fingers.
- Make the Hanger: Taking the top half-inch of the folded section (the loop right at the top), twist the base of the loop tightly a few times to secure it. This reinforced, sturdy loop will serve as the hanging mechanism for your ornament.
- Trim to 5 Ends: Using your scissors or wire cutters, snip off the remaining tail of the short securing piece you just wrapped, along with one of the long vertical stems, so that exactly 5 ends of pipe cleaner are left hanging down at the bottom.
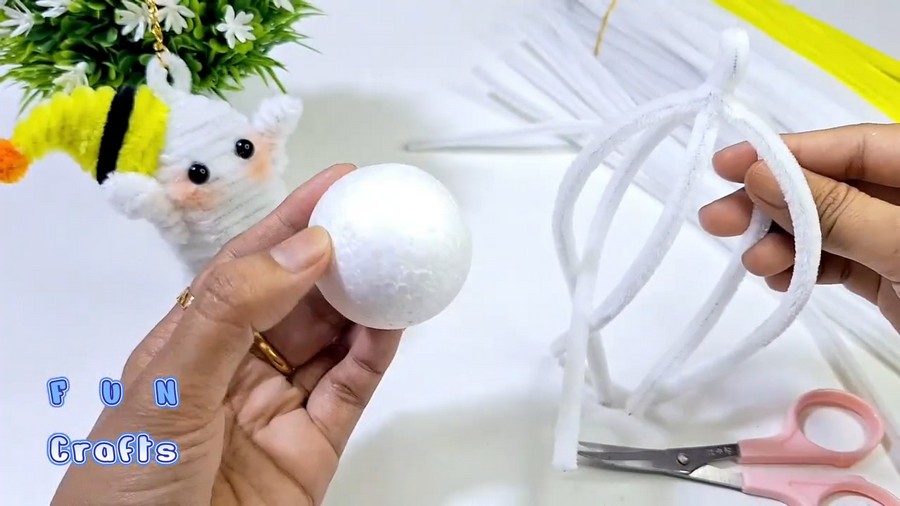
- Shape the Dome: Flare the 5 hanging ends outward and downward, spacing them at equal distances from one another. This will create a tent or cage-like dome shape that will serve as the internal skeleton to hold the shape of your ghost.
Phase 2: Forming the Ghost Body (The Wrapping)
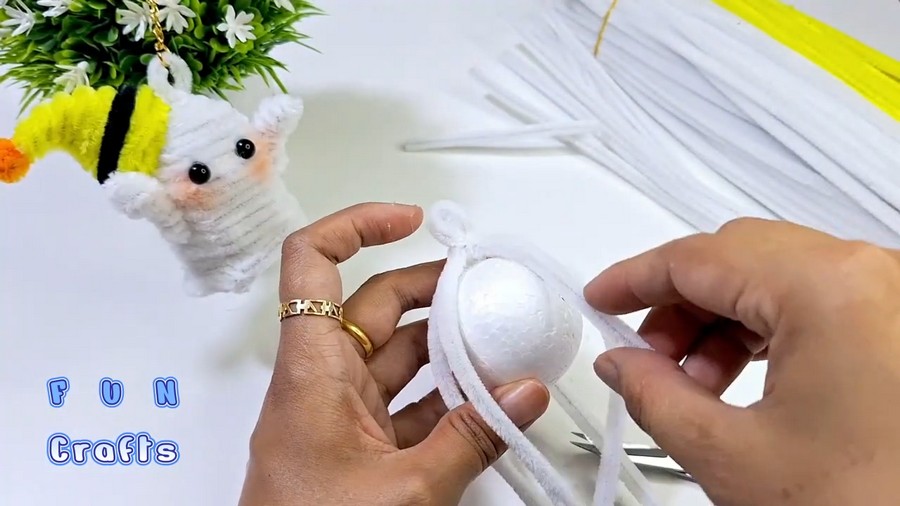
- Insert the Core: Warm up your hot glue gun. Apply a generous dab of hot glue directly to the top center of your styrofoam sphere. Quickly insert the sphere up into the pipe cleaner dome, pressing the glued top firmly against the underside of the twisted hanger loop. Hold it steady for a few seconds until the glue sets.
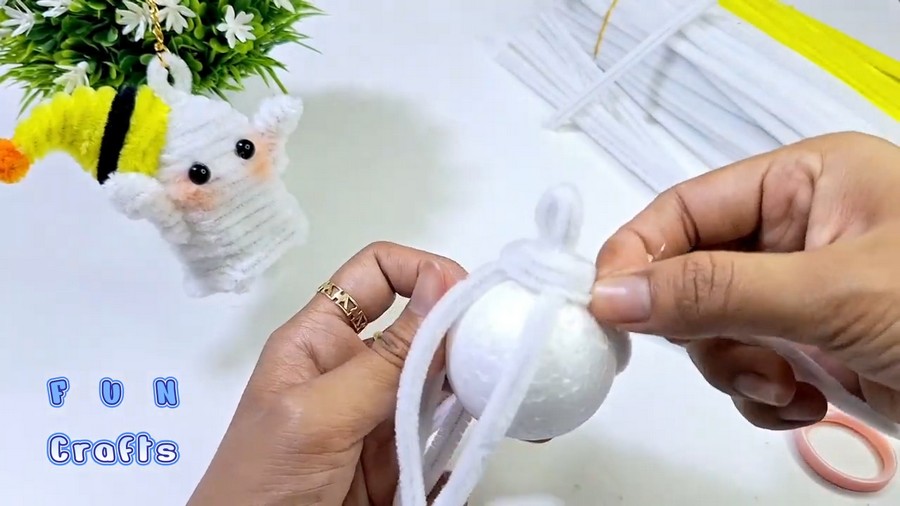
- Wrap the Head: Starting at the very top, directly beneath the hanging loop, apply a thin line of hot glue horizontally around the styrofoam sphere. Take a fresh white pipe cleaner and carefully wrap it around the sphere, pressing it firmly into the hot glue.
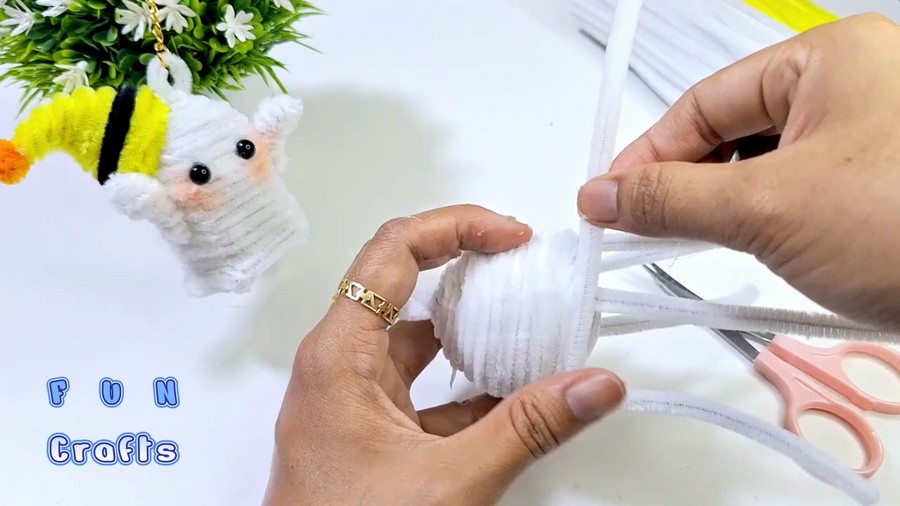
- Build the Body: Continue adding hot glue in small horizontal sections and tightly coiling more pipe cleaners around the sphere. Work your way down seamlessly, making sure there are no gaps showing the styrofoam underneath.
- Extend the Body: Once the sphere is fully covered, continue wrapping pipe cleaners in a tight, descending spiral around the bare, vertical pipe cleaner “legs” hanging below. Keep the coils pulled snug and close together, building up a solid, classic, cylindrical “boo” shape.
- Create the Wavy Skirt: Once you are happy with the length of the ghost’s body, snip off the excess pipe cleaner from your wrapping strand and glue the final tip flat to secure it.
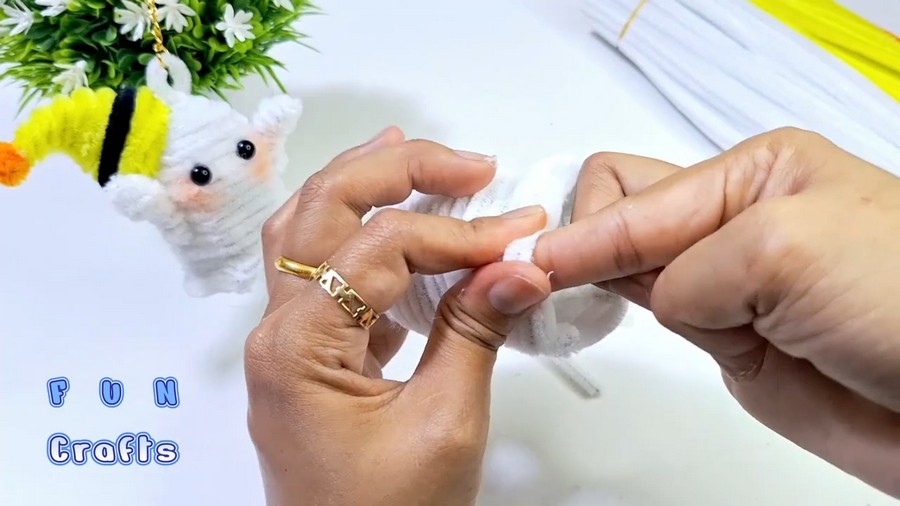
- To give the ghost a floating, ethereal look, use your fingers to gently pinch and crimp the bottom-most layers of the wrapped pipe cleaners. Alternate bending the edge slightly inward and outward to create a ruffled, wavy skirt effect.
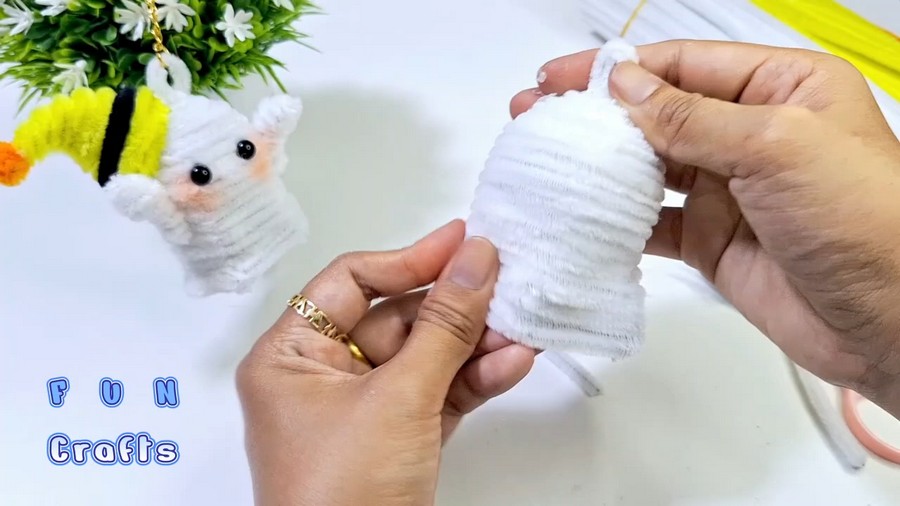
Phase 3: Crafting Arms and Facial Details
- Measure the Arms: Take a fresh white pipe cleaner. Starting at one end, measure out about 3cm (roughly the length of the top joint of your index finger).
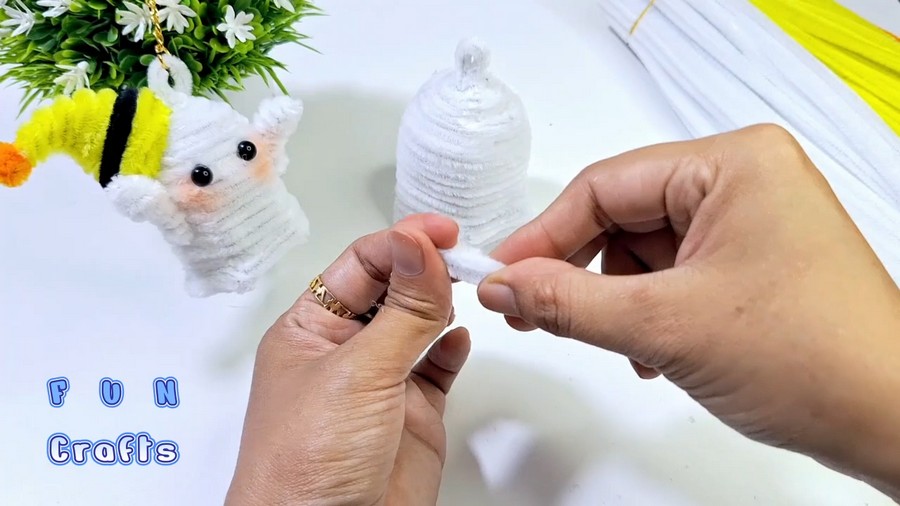
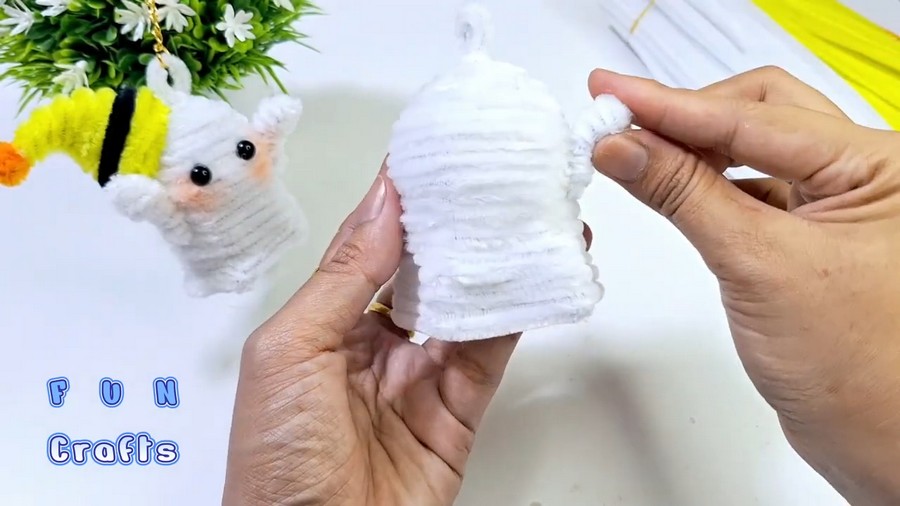
- Fold and Twist: Fold this 3cm section completely back onto itself. Repeat this folding motion two more times, stacking the folds to create a dense, chunky little ghost hand. Take the remaining long tail of that same pipe cleaner and wrap it tightly around the base of the folds to solidify the arm and hide the wire ends. Trim any excess wire. Repeat this entire process with another pipe cleaner to create a second, matching arm.
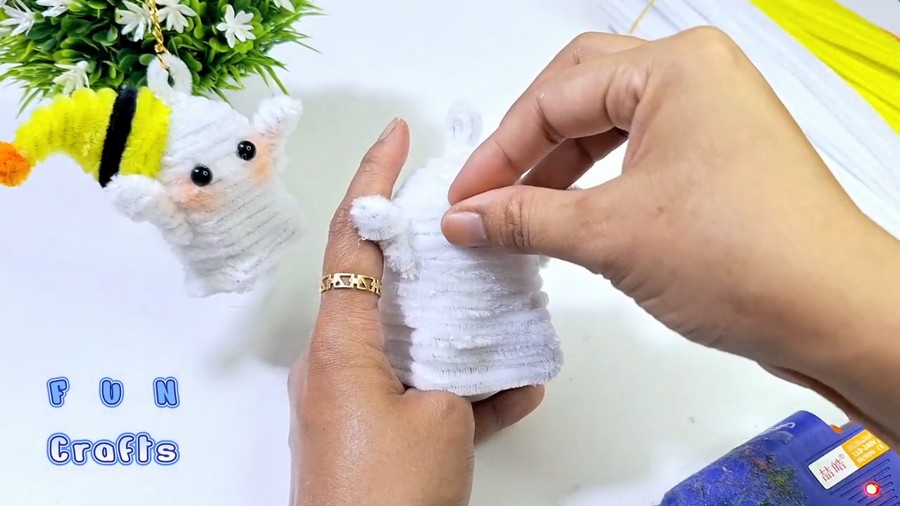
- Attach the Arms: Decide which side of the body looks best to be the front of your ghost. Apply a drop of hot glue to the flat base of each arm and press them onto the sides of the ghost’s body, right around the middle section. You can angle them slightly upward for a playful, “reaching” pose!
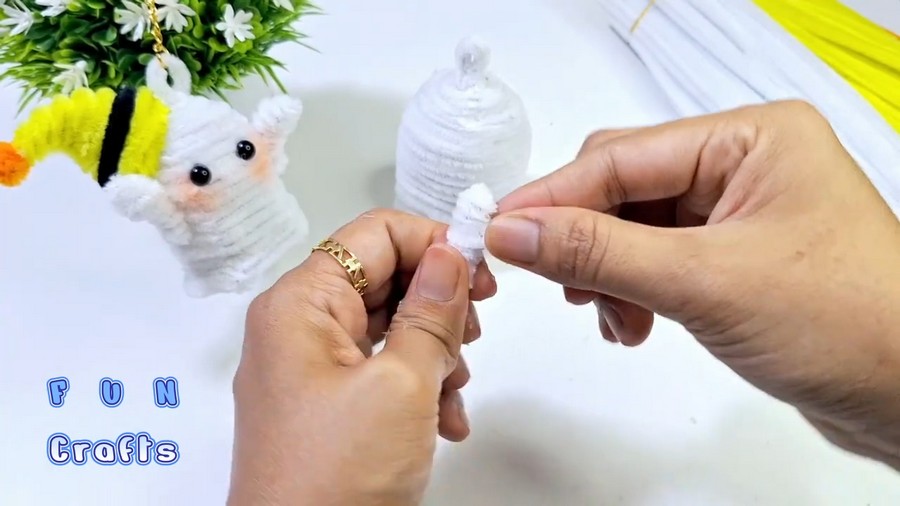
- Bring it to Life: Add a tiny dot of hot glue to the back of your small craft eyes and press them firmly onto the upper third of the ghost’s body (the head area). Space them evenly apart.
- Add Rosy Cheeks: Using a cotton swab or a small makeup brush, gently pick up a tiny amount of pink craft chalk or makeup blush. Dab it lightly just below and slightly to the outside of each eye. Blend it slightly so your ghost has adorable, soft rosy cheeks!
Learn the Make Witch Hat and the Rest, Too
If you are a beginner or feeling it difficult to follow along, here is the detailed video tutorial for making the boo ghost plush: