
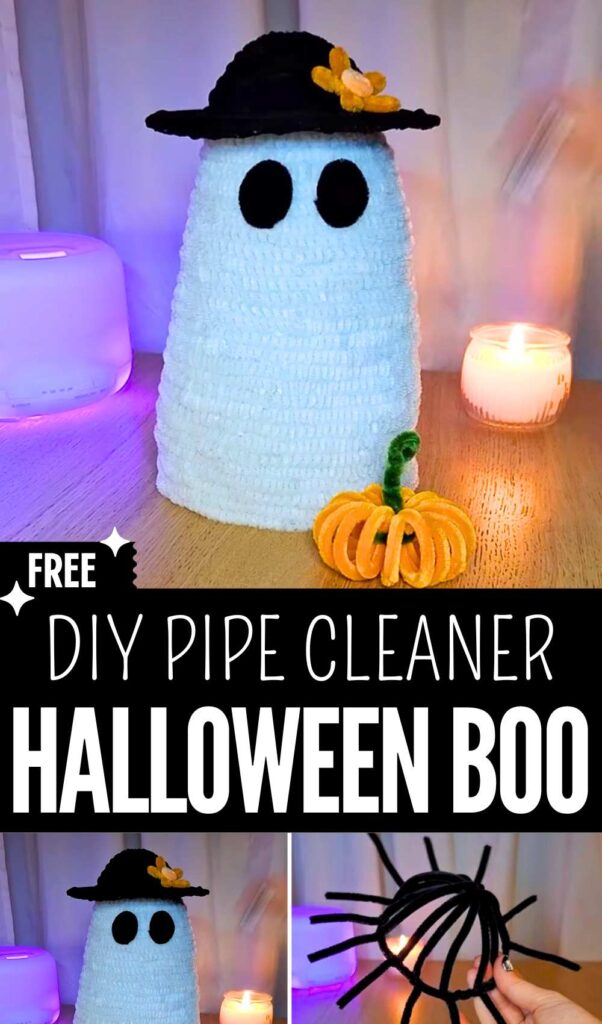
Learn how to DIY a kawaii big baby ghost plushie for Halloween using white and black pipe cleaners + some felt, following this written guide! This chenille stem ghost wears a flower-decorated sun hat in black, just like the witch hat ghost plush, and has cute oval felt eyes.
This is one of the most repetitive pipe cleaner ghost patterns, and kids will simply love it. Decorate the Halloween table for guests with this plushie.
Big Pipe Cleaner Ghost
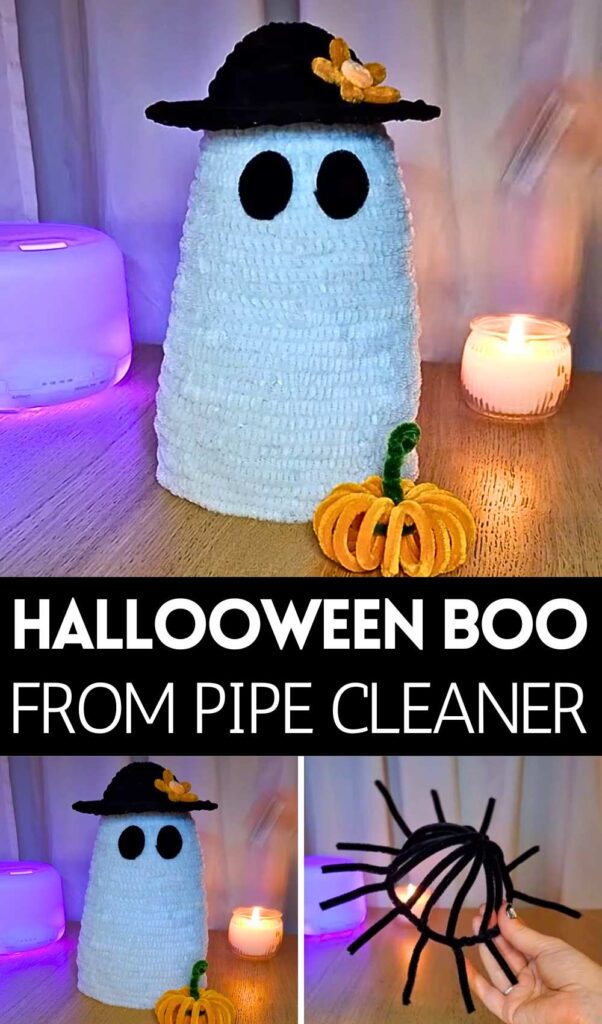
You can also make a small pumpkin for your ghost plush, or if you want to finish it even quicker, make a shorter body. It is the easiest baby ghost plushie you can make with the pipe cleaner. You can also hide the gifts in this ghost plush. Now, continue reading for the full pattern.
[ez-toc]
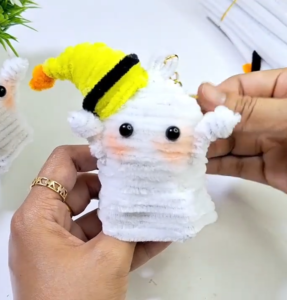
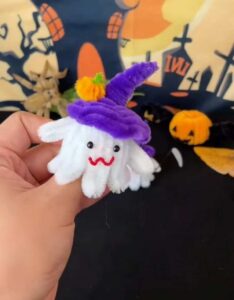
How to DIY Pipe Cleaner Ghost: Tutorial for Beginners
Materials Needed
- Thick or fluffy white pipe cleaners
- Black pipe cleaners
- Orange pipe cleaner
- Small piece of white or yellow pipe cleaner
- Wooden skewer
- Tube of lip balm
- Hot glue gun and glue sticks
- Scissors
- Lighter (for sealing the cut pipe cleaner end
Step-by-Step Instructions
Follow these simple steps to make the body of your big crochet ghost:
1. Coil the Pipe Cleaners
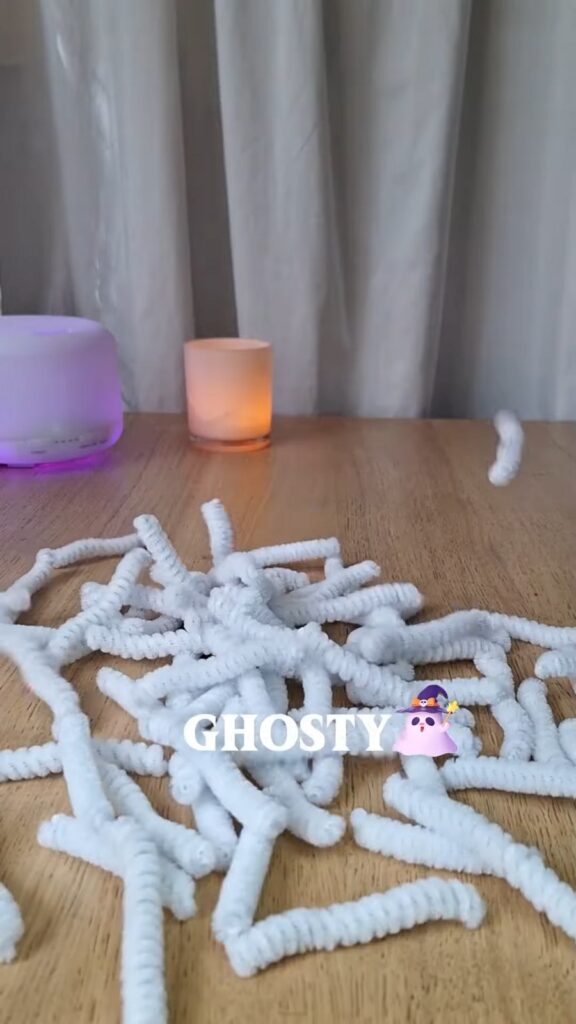
Take a white pipe cleaner and wrap it tightly around your wooden skewer (about 11 turns) from one end to the other.
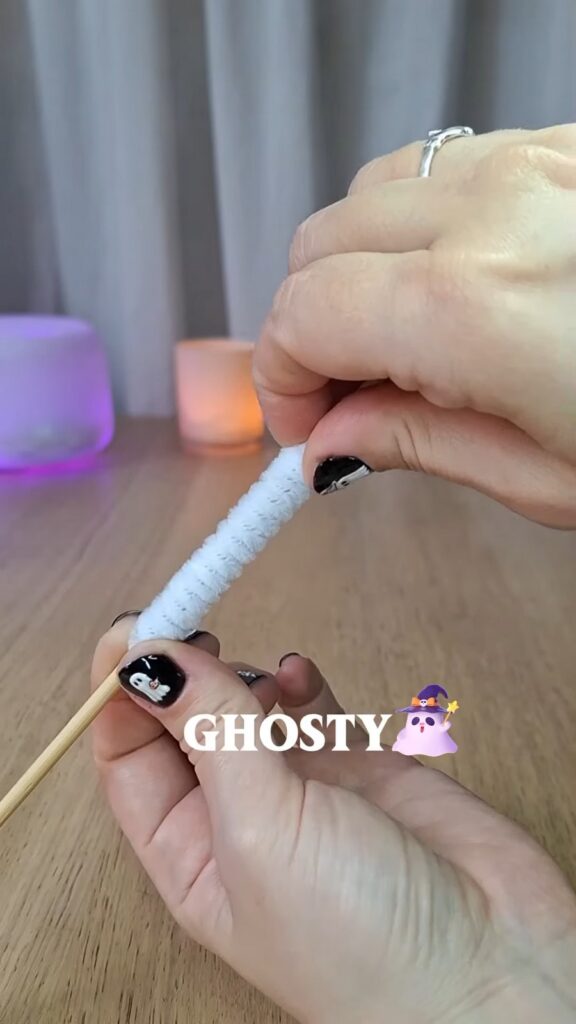
Once it is completely wrapped, slide it off the skewer. You will be left with a tight, spring-like coil. Repeat this process with about 100 pipe cleaners until you have a good pile of white coils ready to go.
2. Start the Base
Take one of your newly made coils and apply a small dab of hot glue to one end. Carefully fold that end inward and begin rolling the coil around itself, adding dots of hot glue as you go.
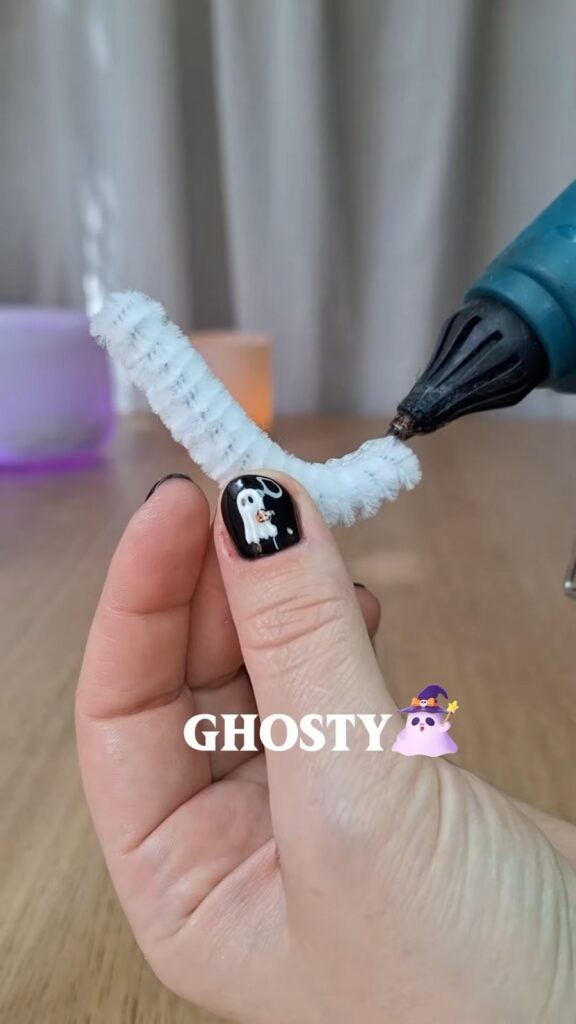
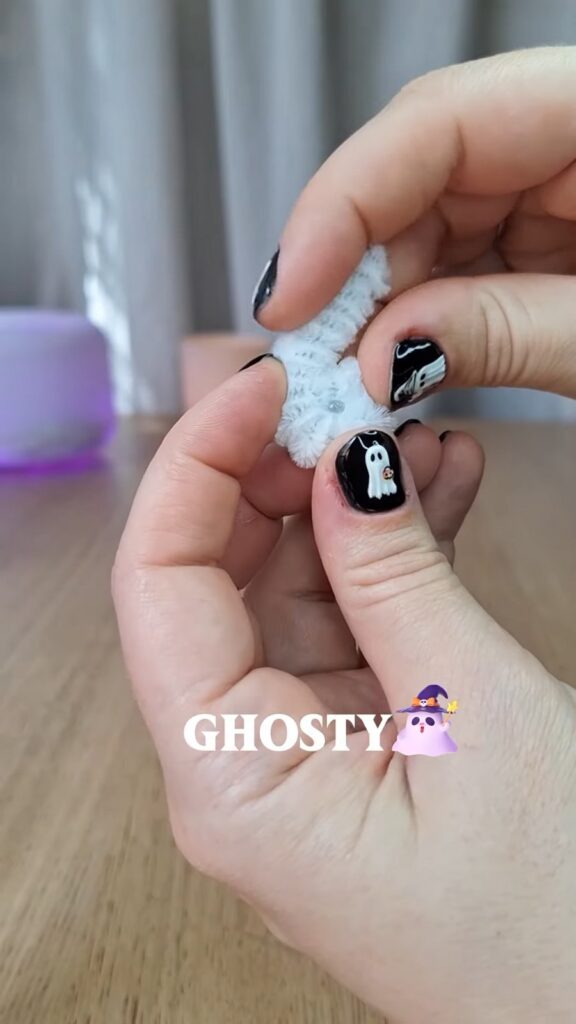
You are creating a tight, flat spiral (like a snail shell) which will serve as the solid bottom base of your ghost.
3. Build the Walls
Once your flat base is as wide as you want the bottom of your ghost to be, it’s time to build upwards. Instead of gluing the next coil directly next to the outer edge to make the circle wider, glue it slightly on top of the outer edge.
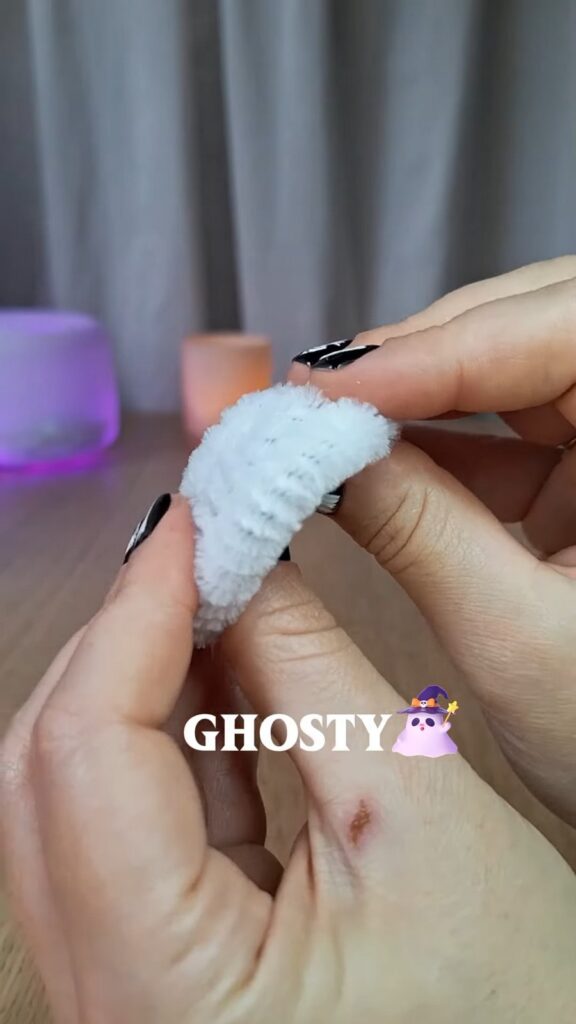
Continue gluing coils around the perimeter, stacking them row by row in sprial shape to build a hollow cup shape.
4. Shape the Ghost Body
As you continue adding rows of coiled pipe cleaners, you can control the shape.
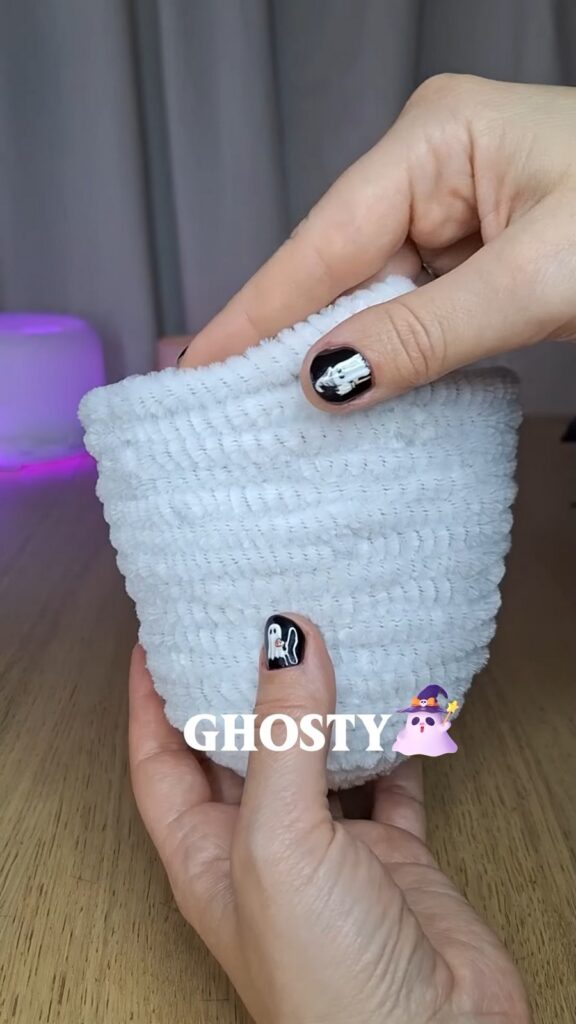
To make the classic tapered ghost shape, gradually glue each new layer slightly further inward than the one below it. This will cause the walls to curve inward, closing the top into a rounded dome.
5. Attach the Black One (Optional)
If you are turning your ghost into a little bucket or lantern, take a single black pipe cleaner and arch it over the top of the finished white dome.
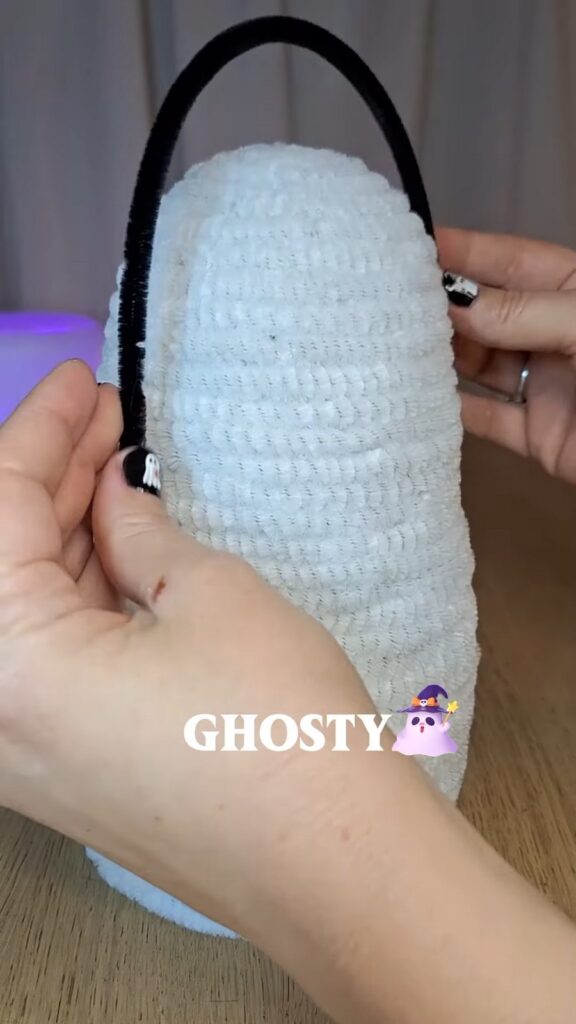
Secure each end of the black pipe cleaner to opposite sides of the white body using hot glue.
Video Tutorial?
How to Make the Hat
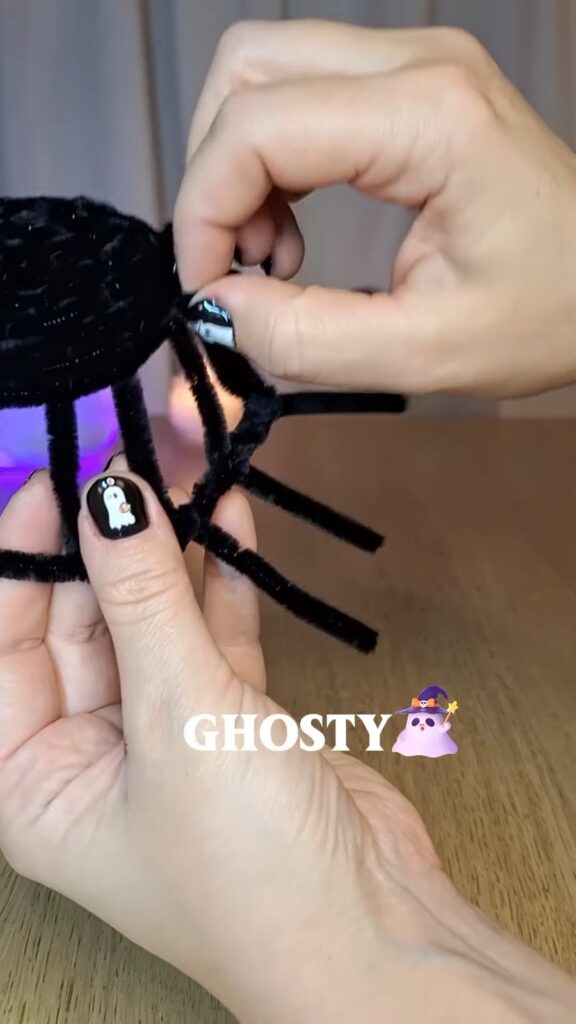
1. Build the Wire Cage Base
- Take a black pipe cleaner and bend it over the ghost’s head from one side to the other.
- Take a second black pipe cleaner and bend it over the head at a 90-degree angle to the first one, creating a cage-like frame.
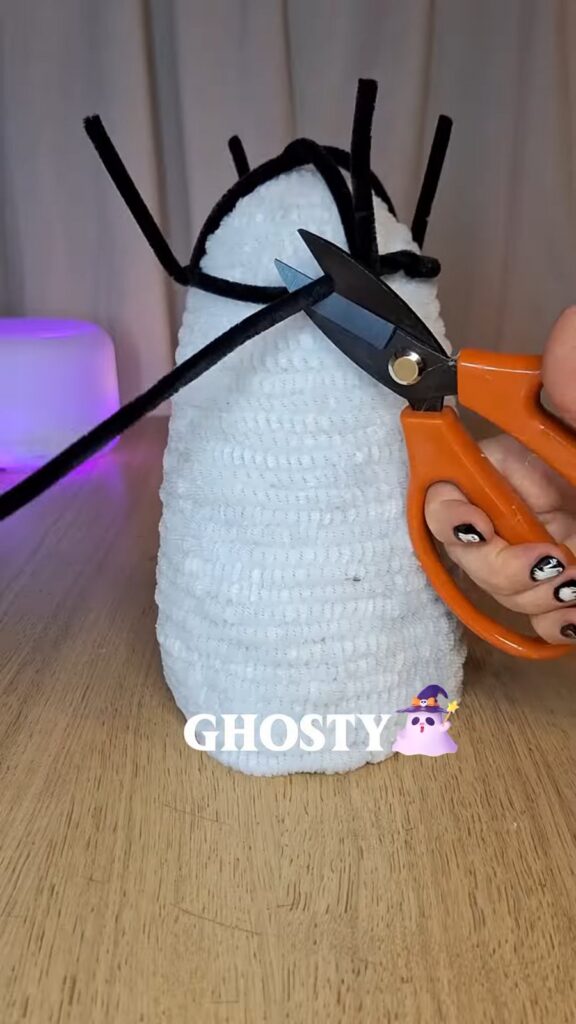
- Take a long black pipe cleaner and wrap it horizontally around the middle of the cage you just made.
- Take the bottom ends of your vertical pipe cleaners and coil each one around the horizontal pipe cleaner once.
- Add up to 4 more pipe cleaners in between these vertical pipe cleaners to create more vertical spokes.
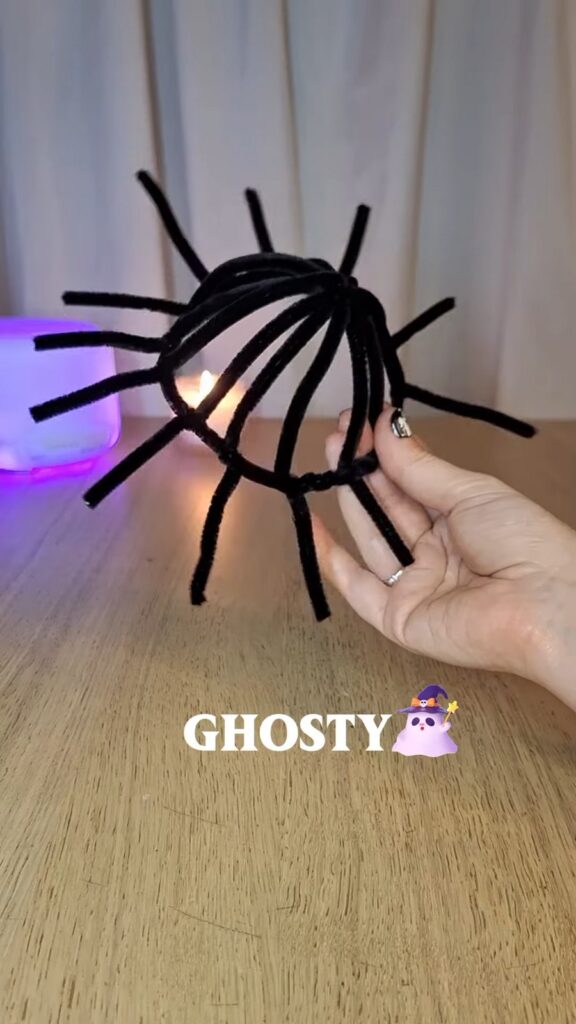
- Twist the ends of the horizontal pipe cleaner around itself to lock it in place, then cut off the excess. This completes your base.
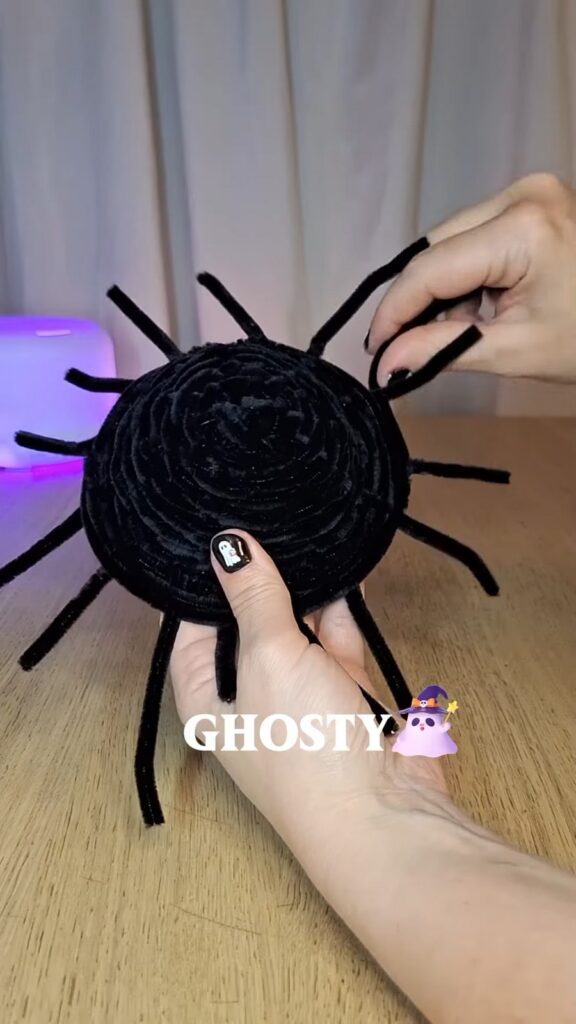
2. Weave the Hat
- Take more black pipe cleaners and weave them through the vertical spokes of your base until you have formed a solid hat.
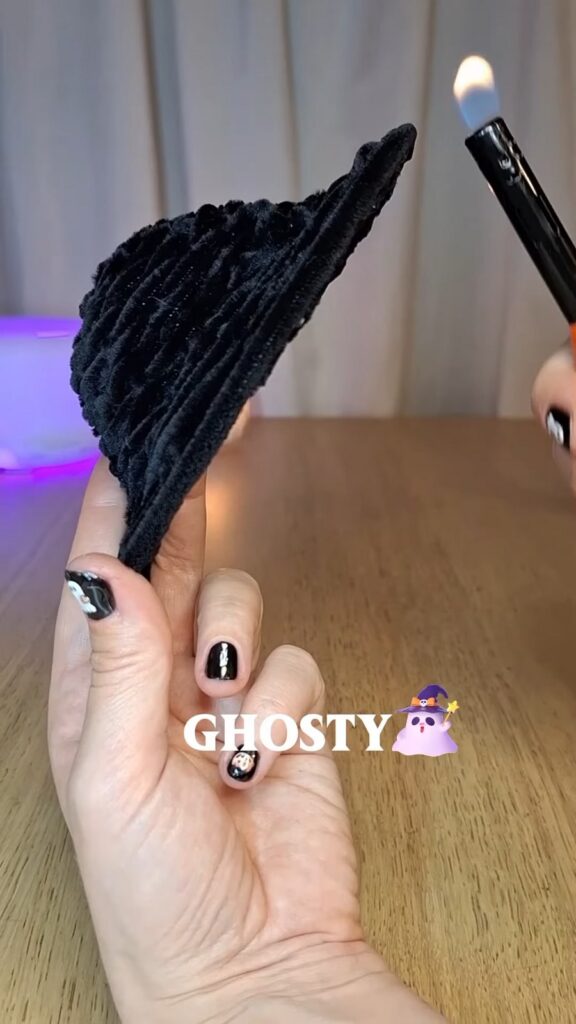
- Cut off any excess pieces sticking out.
- Carefully use a lighter around the hat to secure the ends and clean up the fuzzy edges.
How to Make the Flower & Final Touches
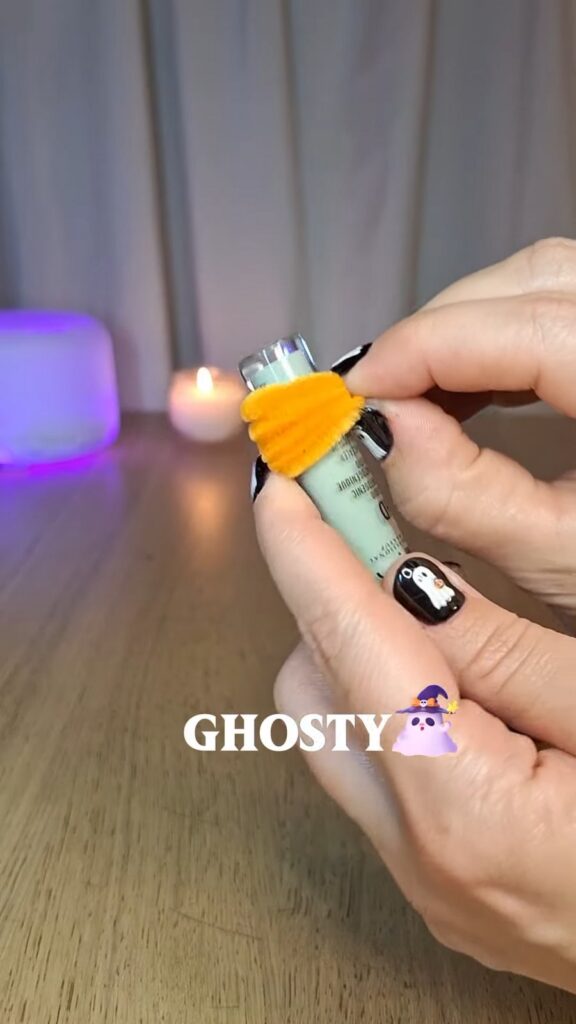
1. Craft the Flower
- Take an orange pipe cleaner and twist it around a tube of lip balm to form loops.
- Take the excess tail of the pipe cleaner and twist it through the loops to tie a knot and secure them.
- Pull each loop outward to open up the flower, giving each loop a little twist to shape the petals.
- Make a small coil and place it right in the middle of the petals.
- Attach your finished flower directly to the hat.
2. Ghost Features
- Take some small pieces of felt to make eyes and attach them to your white ghost body.
- Place your newly made hat onto the ghost’s head to finish your project!
About "KitschyFlore"

About "Talha"
Hey, I’m Talha, the Crafter on Craftstive.com. I love to share guides on folding cute origami models and paper crafts, and I am always ready to inspire your next craft project with my weekly craft discussions.