
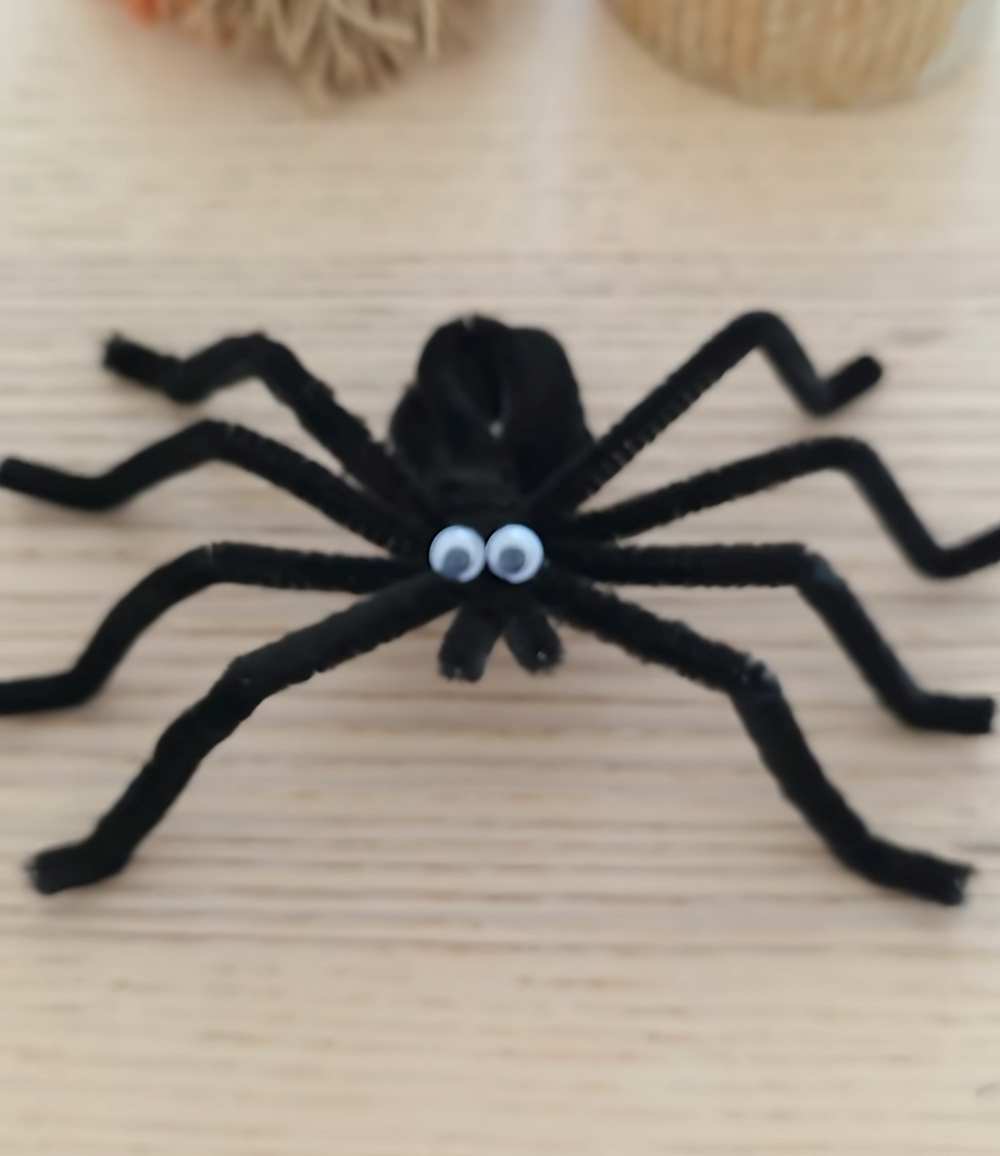
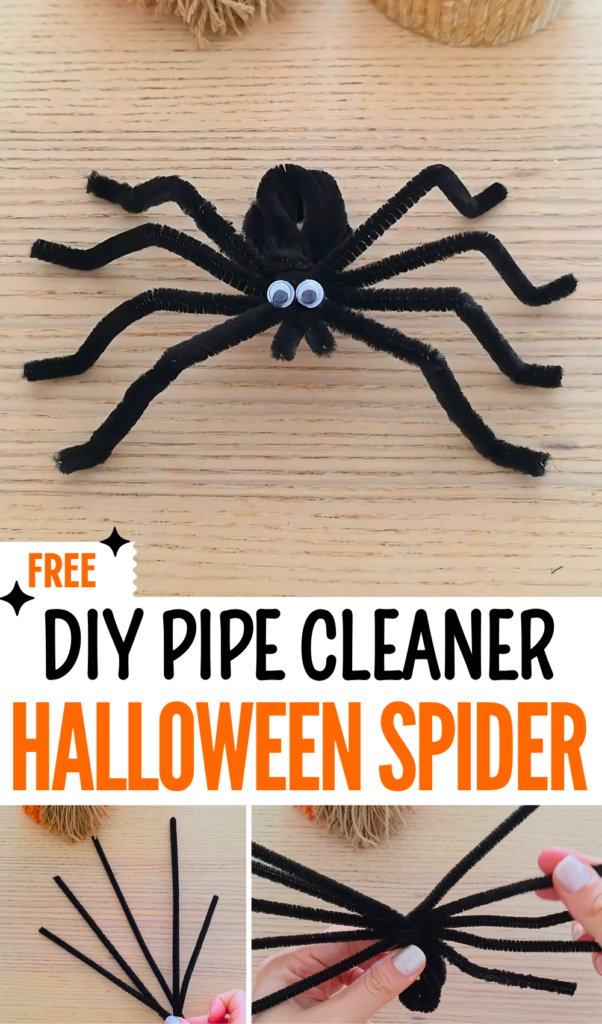
Learn how to DIY a spooky leggy spider out of pipe cleaner, aka chenille stems, with this FREE written pattern. We will be making a 3D googly-eyed spider plushie you can use for your Halloween trick-or-treating decorations. You can make one within 5 minutes, and making one only requires 5 black chenille stems.
You can also DIY this plush spider as a gift topper and a table buddy. You also need just two cuts and basic bending to make this kawaii spider. This spider pipe cleaner plush is also a perfect introductory project for beginners. Now, continue reading to learn how to make this chenille stem spider.
[ez-toc]
Ultimate DIY Pipe Cleaner Spider Guide for Beginners
Learn how to make this pipe cleaner spider with the following guide:
Materials & Tools Needed:
-
5 Black Pipe Cleaners: Standard 12-inch (approx. 30cm) chenille stems work best.
-
2 Small Googly Eyes: Standard plastic ones, or peel-and-stick if you want to skip the glue.
-
Craft Scissors: Heavy-duty scissors are best, as thin paper scissors can be dulled by the wire core of the pipe cleaners.
-
Hot Glue Gun or Craft Glue: If using hot glue, a pair of tweezers is highly recommended to protect your fingertips.
Step-by-Step Instructions
Step 1: Align, Fold, and Cross
-
Gather your 5 black pipe cleaners and roll them gently between your palms to line them up perfectly straight side-by-side.
-
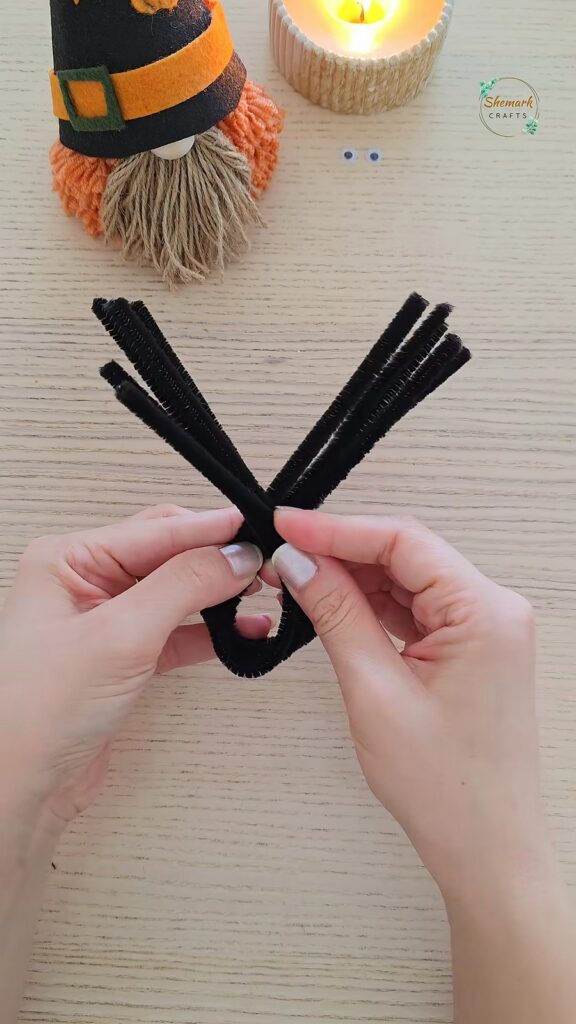
Take the entire bundle and fold it exactly in half, pressing down hard on the folded crease to form a neat loop at the bottom. You will now have a thick loop on one end and 10 individual wire tips pointing upward.
-
Move up about 3cm from the folded bottom loop. Take the 10 loose ends and separate them into two groups of 5.
-
Cross these two bundles over each other directly above the loop, creating a tight “X” shape. Hold this junction firmly between your thumb and forefinger so it doesn’t slip.
Step 2: Twist to Lock the Body
-
While keeping a tight grip on the crossed “X” junction, take the bottom loop with your other hand.
-
Spin the loop completely around exactly two times.
-
This twisting action locks the wire cores together, forming a sturdy central “waist” for your spider. The bottom loop will now serve as the spider’s plump abdomen, while the twisted section creates the base for the head and legs.
Step 3: Fan Out the Legs
-
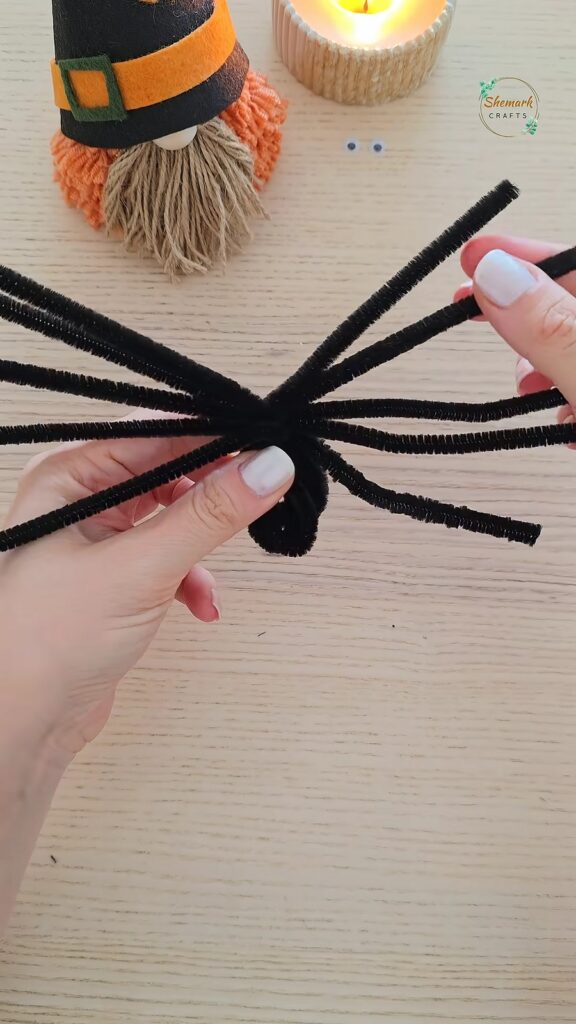
Take the 5 loose pipe cleaner ends on the left and spread them out like a fan.
-
Do the exact same with the 5 ends on the right.
-
Press them flat against your workspace table so they radiate outwards evenly from the central twist. This ensures your spider’s legs will be evenly spaced and won’t get tangled up later.
Step 4: Trim the Front Feelers (Pedipalps)
-
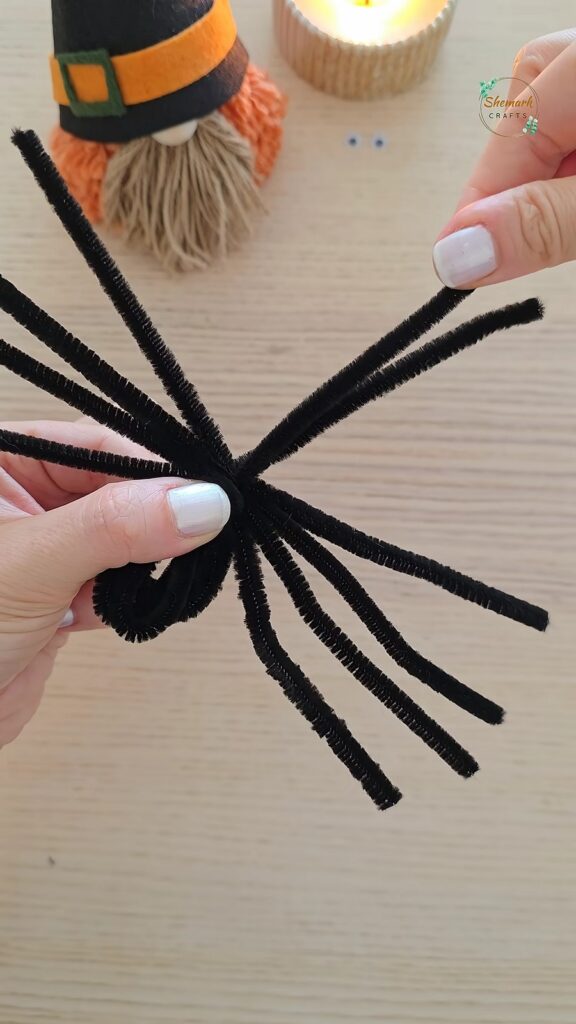
Real spiders have 8 legs, but you currently have 10 wire ends. We are going to use the extra two to make “pedipalps”- the small feelers near a spider’s mouth.
-
Identify the two topmost, front-facing pipe cleaner ends (one from the left side, one from the right side).
-
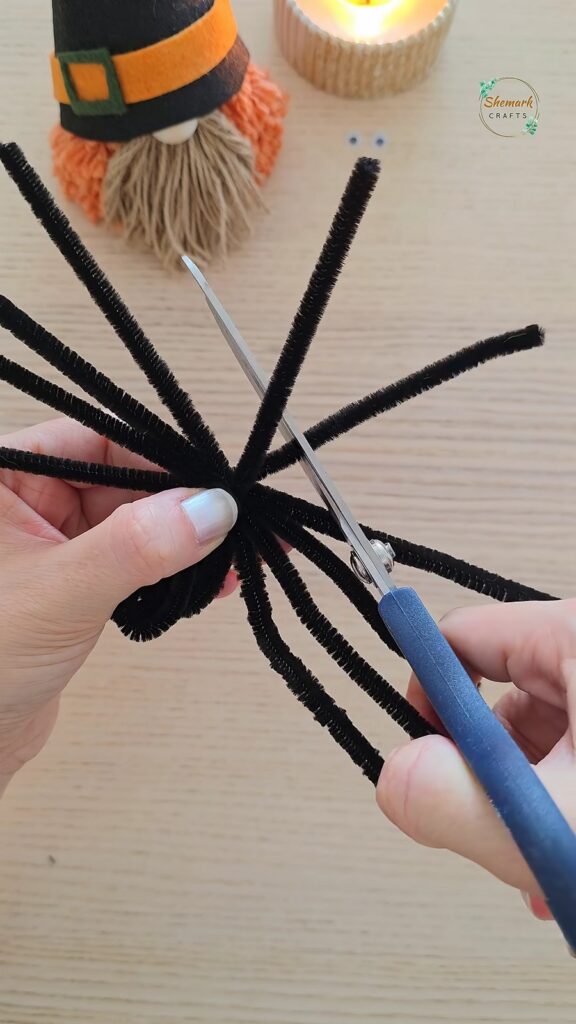
Pull these two pieces straight up so they stand vertically, completely separate from the other legs.
-
Using the inner base of your craft scissors, snip these two vertical pieces down so they are only about 2cm long. Save the scraps for future crafts!
Step 5: Create the 3D Knee Bends
-
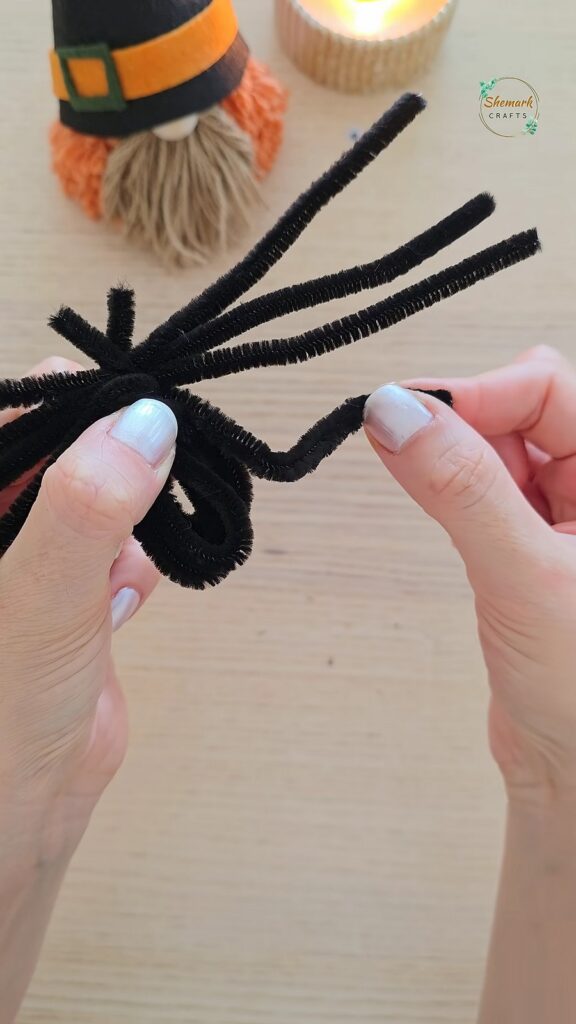
Now you are left with 4 long legs on the left and 4 long legs on the right.
-
Starting with the bottommost leg on one side, measure about 3cm outward from the spider’s central body.
-
Pinch the wire firmly at this 3cm mark and bend it sharply downward at a 45-degree angle to create a distinct “knee.”
-
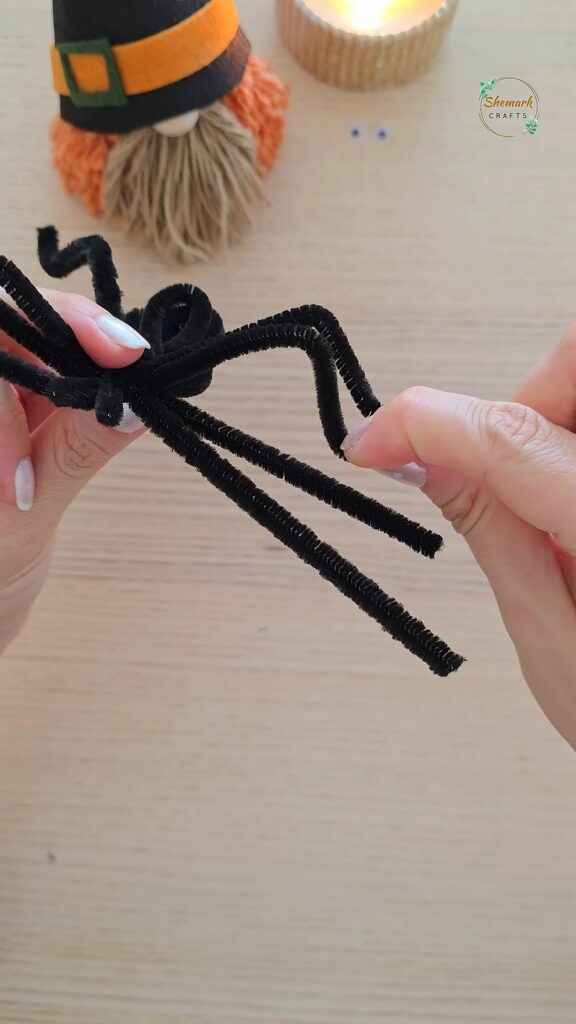
Repeat this exact process for all 8 legs, moving from the bottom to the top on both sides. Your spider will instantly transform from a flat shape into a standing 3D figure.
Step 6: Shape the Feet and Balance
-
To make your spider stand completely on its own, you need to create flat feet.
-
Go to the very tip of each leg and bend the final 0.5cm horizontally outward, so it sits flat against your table surface.
-
Set the spider down on its new feet. If it wobbles or tilts, gently nudge the knee bends up or down until all 8 feet touch the table evenly and the body sits completely level.
Step 7: Attach the Googly Eyes
-
Turn the spider so the short 2cm feelers you trimmed in Step 4 are facing directly toward you. This is the face.
-
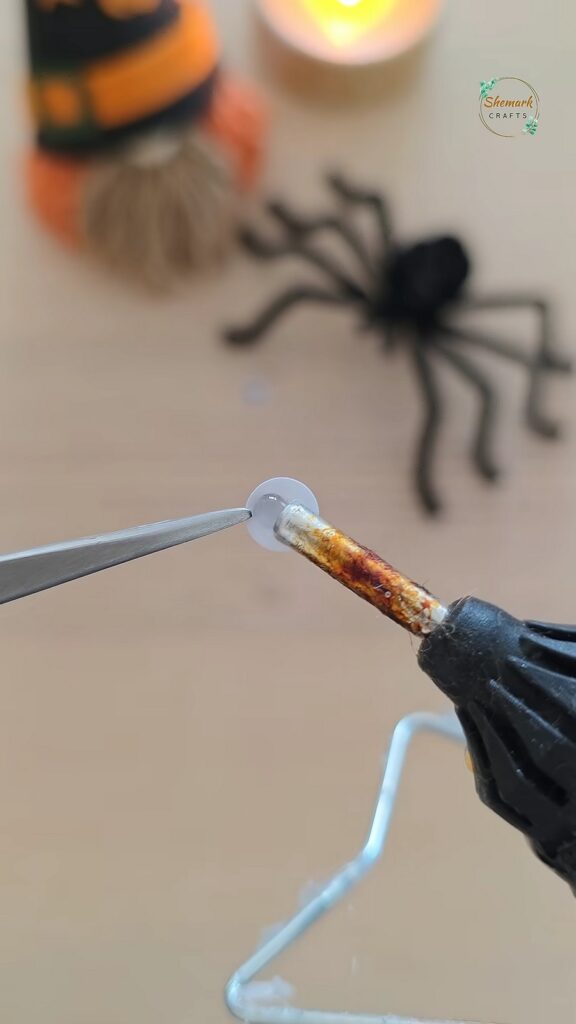
Pick up a googly eye using your tweezers. Apply a tiny, bead-sized drop of hot glue directly to the back of the eye.
-
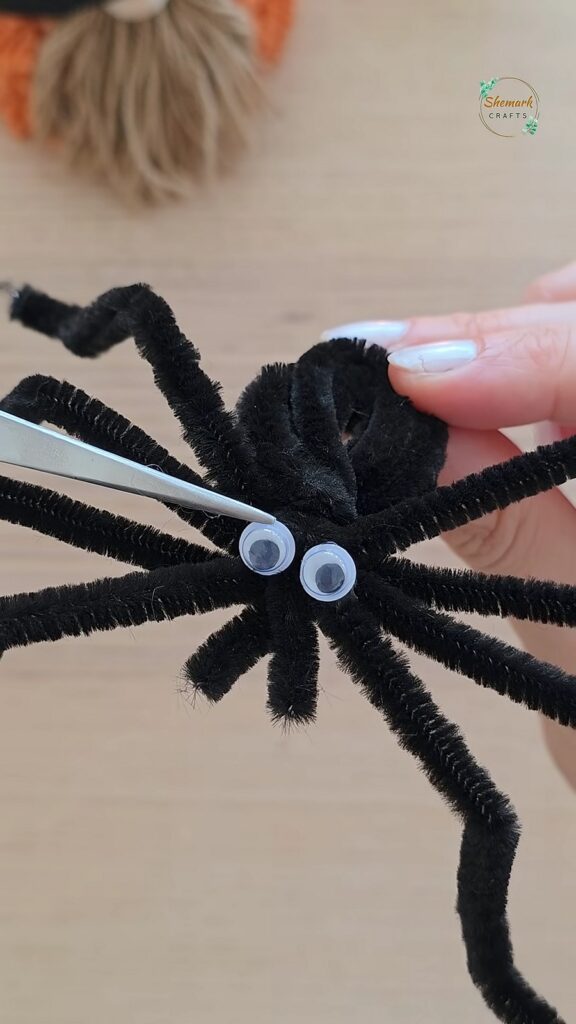
Press the eye firmly onto the front center of the spider’s head, right above the feelers. Hold it for 5 seconds.
-
Repeat with the second eye, placing it right next to the first one.
Once the glue dries completely, clear away any lingering hot glue “spiderwebs,” and your handmade 3D pipe cleaner spider is officially complete!
Are you a beginner?
About "Shamrock Crafts"

About "Talha"
Hey, I’m Talha, the Crafter on Craftstive.com. I love to share guides on folding cute origami models and paper crafts, and I am always ready to inspire your next craft project with my weekly craft discussions.