
Subscribe to FishMamaStudio!
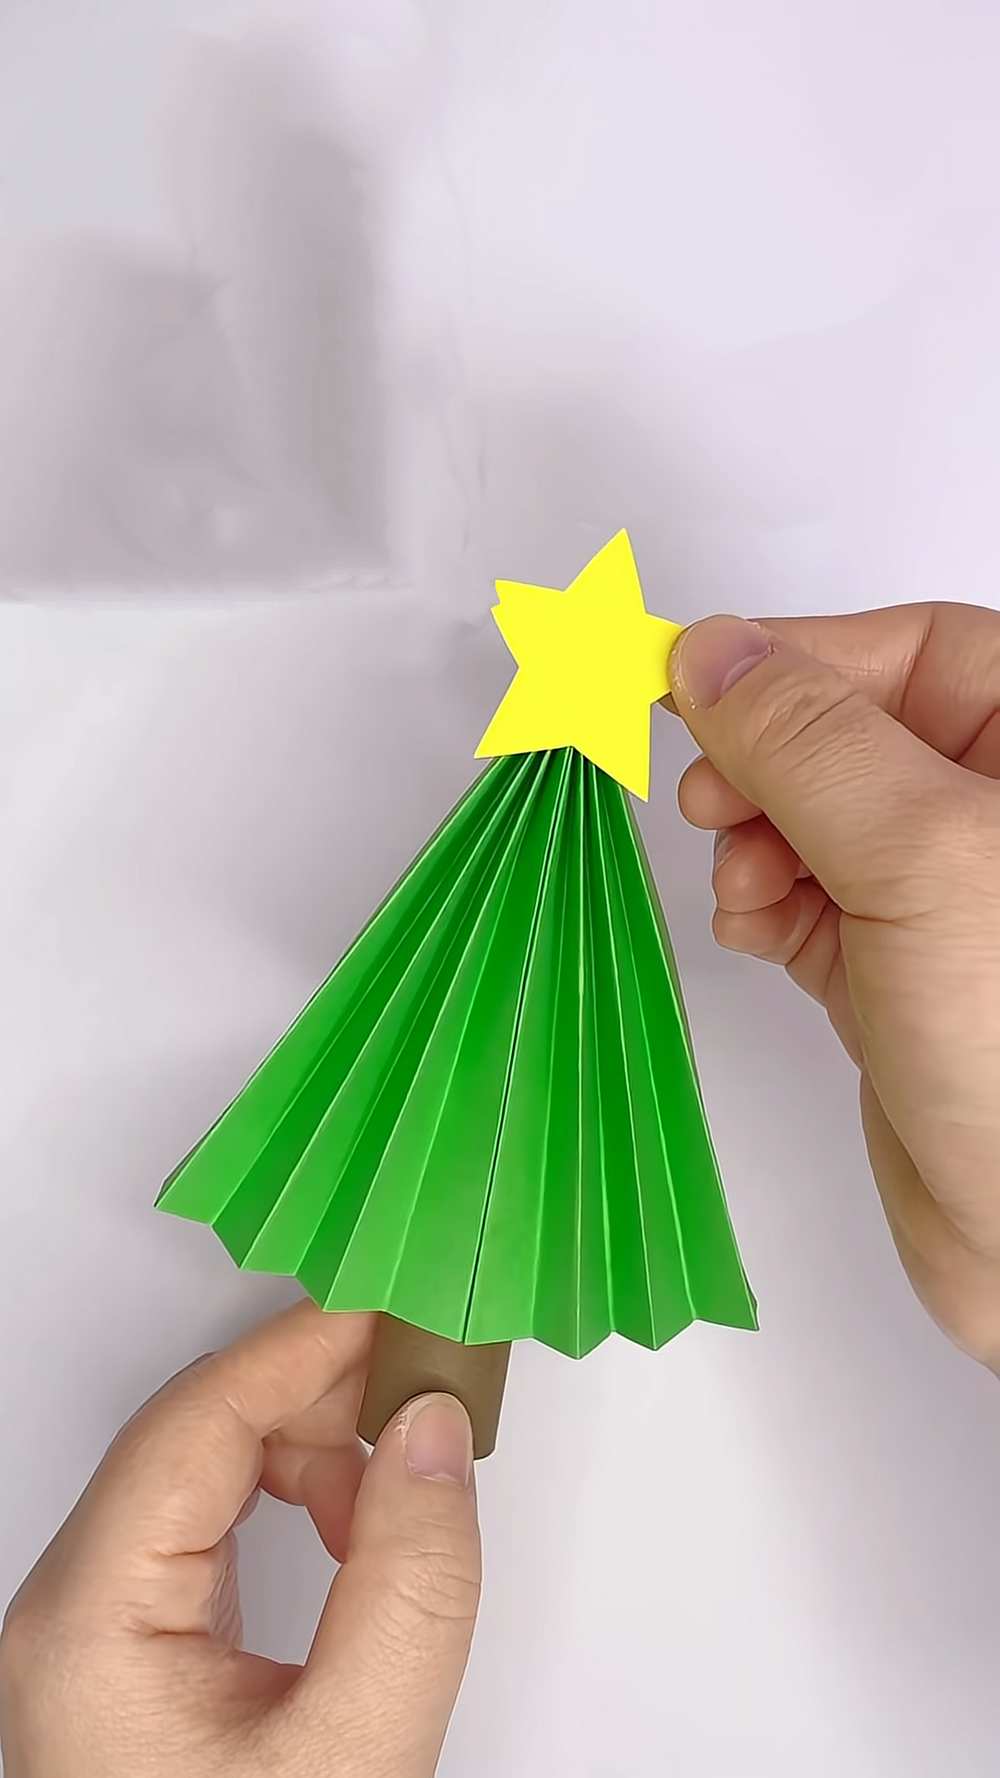
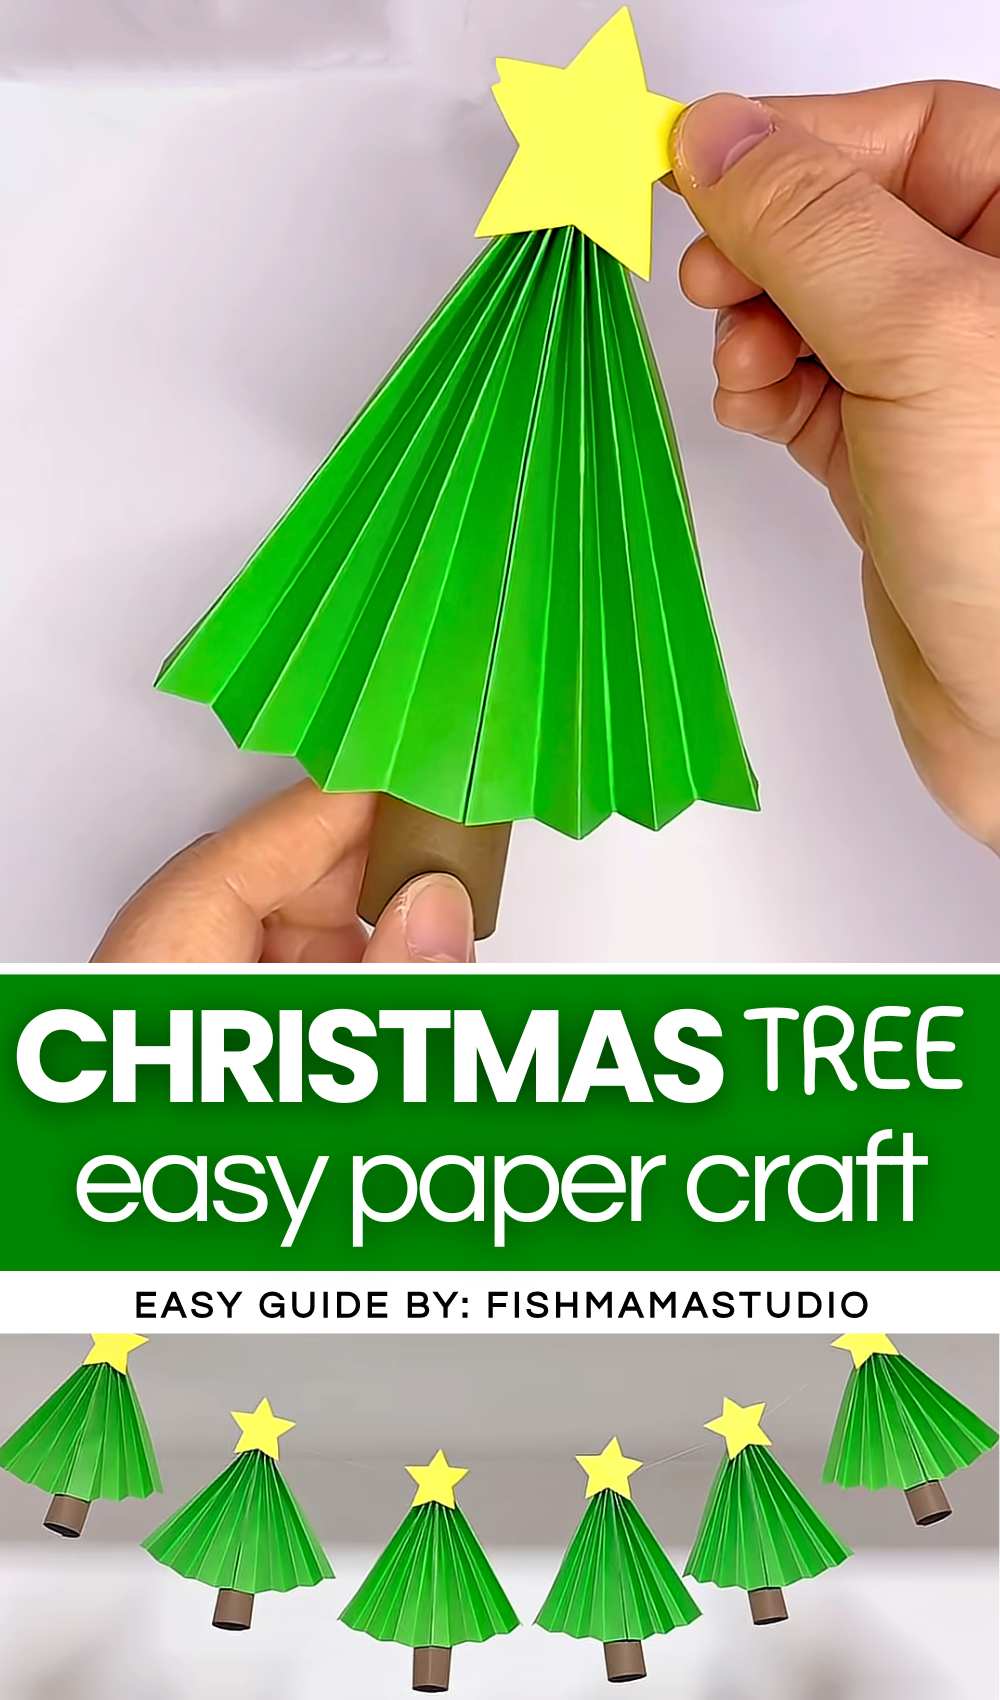
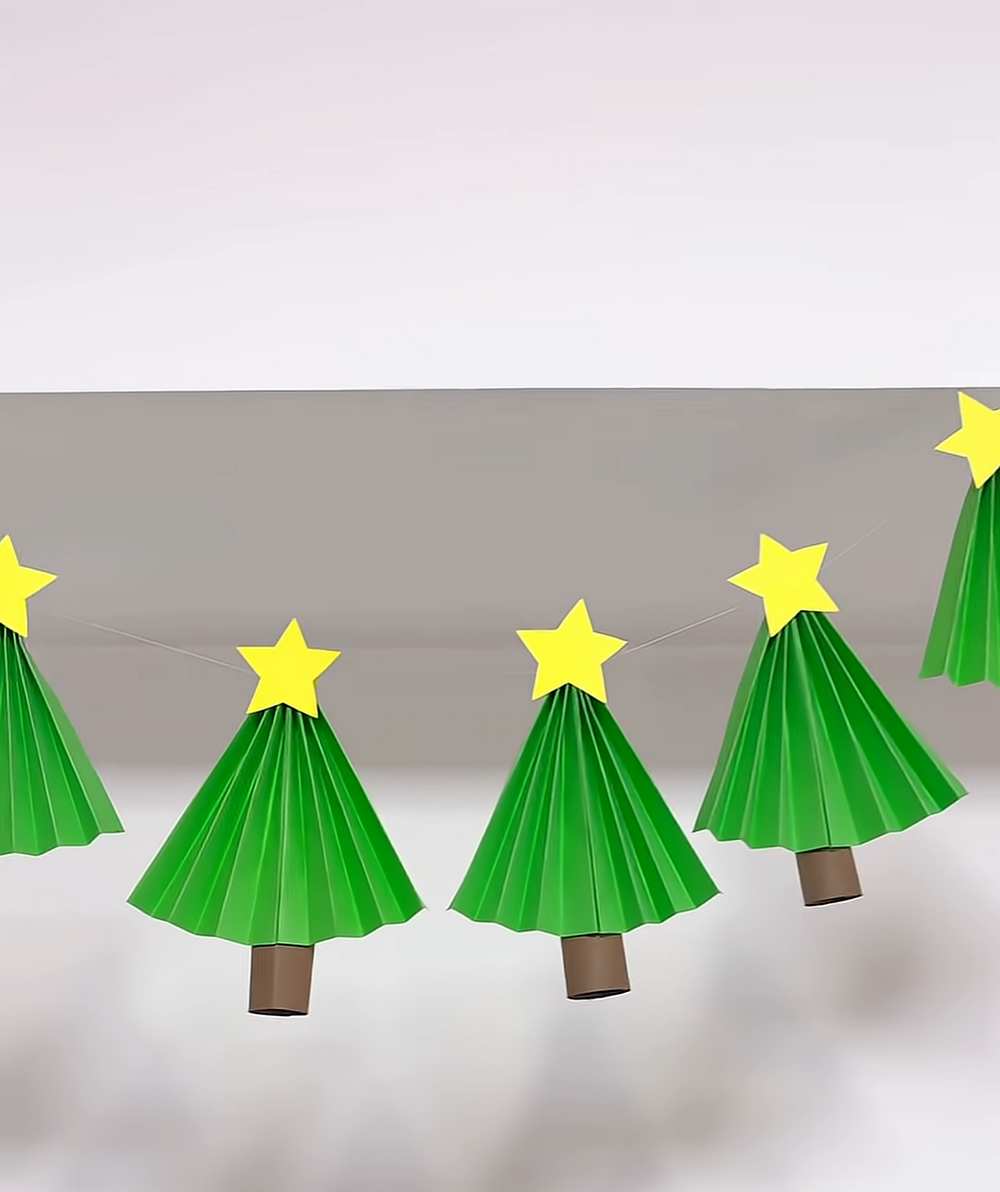
Looking for a Christmas tree paper craft using the most familiar folds? Learn how to DIY this 2-minute 3D paper Christmas tree that you can add to a Christmas garland, hang from the Christmas tree as ornaments, or decorate your greeting card with. Follow this easy tutorial to make this green Christmas tree decorated with a flat star on the top using just the accordion folds and rolling brown paper.
Making this DIY Christmas tree craft would feel just like folding a Chinese paper fan. And you can also decorate it with the small circle cutouts in many colors to mimic the Christmas lighting.
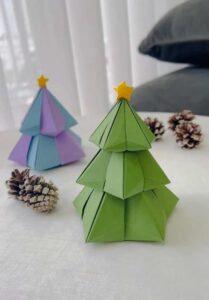
If you are looking for a modular origami Christmas tree, I have shared a tutorial for that one, too. Anyway, continue reading to learn more about this last-minute Christmas tree decoration project. You can also make it in any size!

Tutorial to Make A Last-Minute Christmas Tree Paper Craft
Making a paper Christmas tree garland is a fun and easy craft. To start, take a piece of green paper and fold it back and forth like a fan. Stick the two sides together to create a triangle shape. This is the top of your tree. Next, roll a small piece of brown paper to make a tube for the tree trunk.
Cut a tiny slit in the top of the tube. Slide the green paper into the slit. Glue a yellow star on the top of each tree. Use a needle and thread to hang them all together.
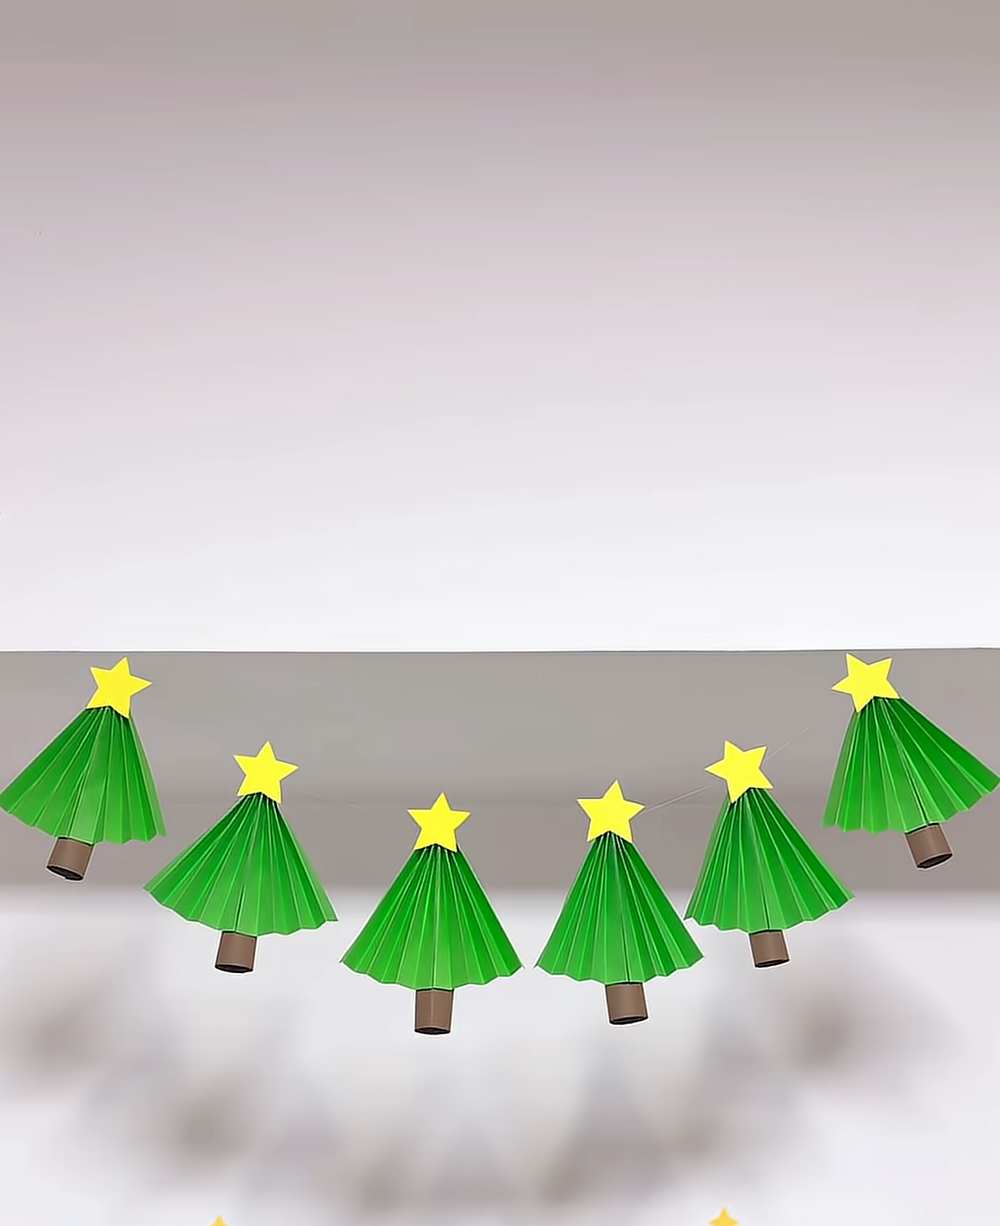
Detailed Guide to Making a Paper Christmas Tree Garland
What You Will Need:
-
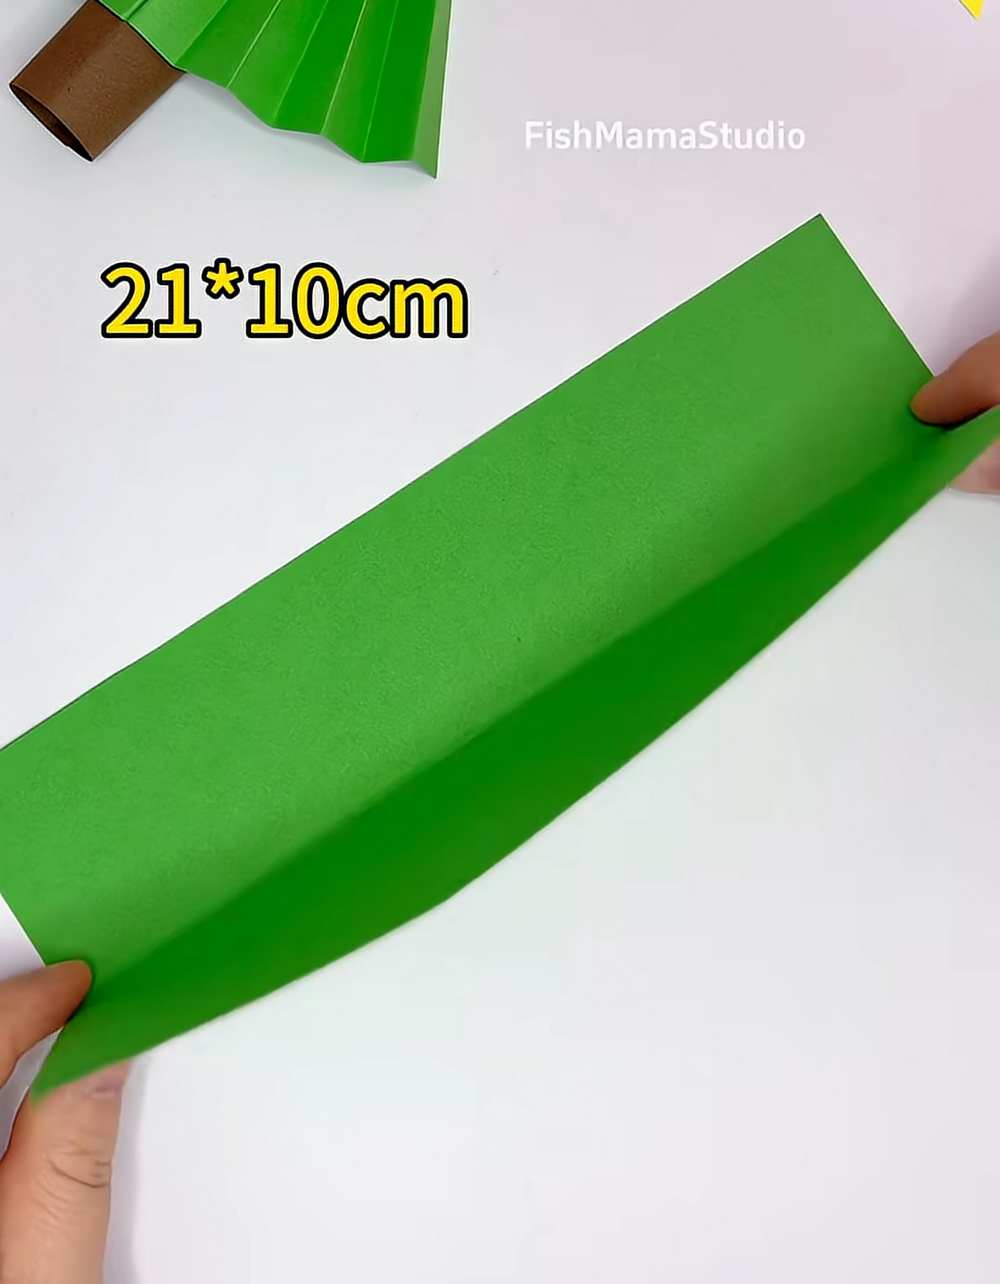
Green paper (Size: 21cm x 10cm)
-
Brown paper (for the trunk)
-
Yellow paper (for the stars)
-
Glue or double-sided tape
-
Scissors
-
Needle and thread
Video Tutorial?
Instructions:
Step 1: Fold the Tree
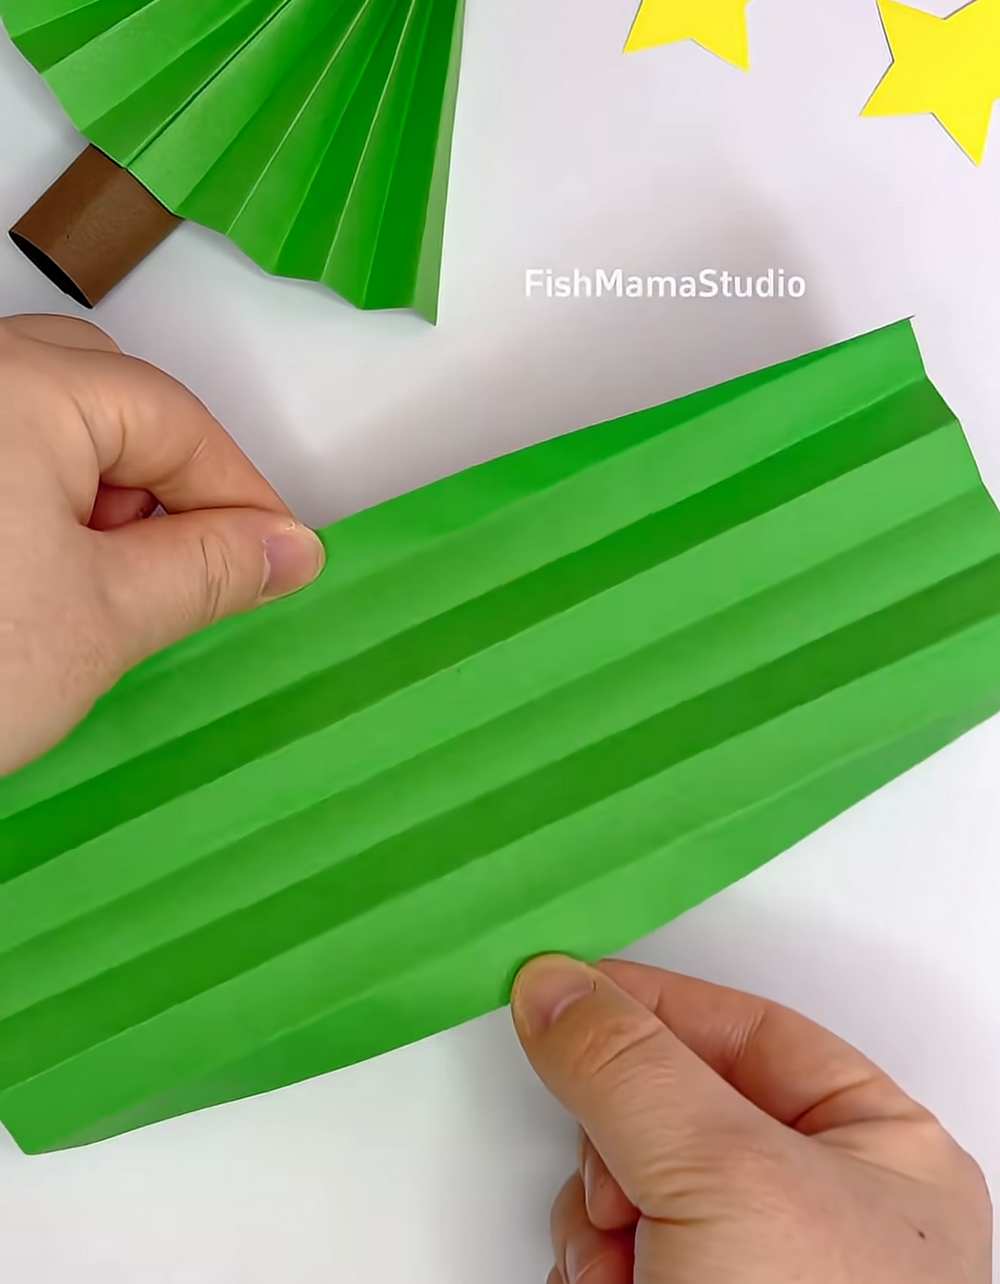
Take your green paper (21cm x 10cm). Start at one short end and fold a small strip (about 1cm). Turn the paper over and fold it again. Keep doing this back and forth (accordion style) until the whole paper looks like a thin strip.
Step 2: Shape the Tree
Fold your folded strip exactly in half so the two ends meet. Put glue or double-sided tape on the inner edges and press them together. When you let go, it will open up like a green fan. This is the leafy part of your tree.
Step 3: Make the Trunk
Take a small rectangle of brown paper. Roll it tightly into a tube and glue the edge so it stays closed.
Step 4: Attach the Tree to the Trunk
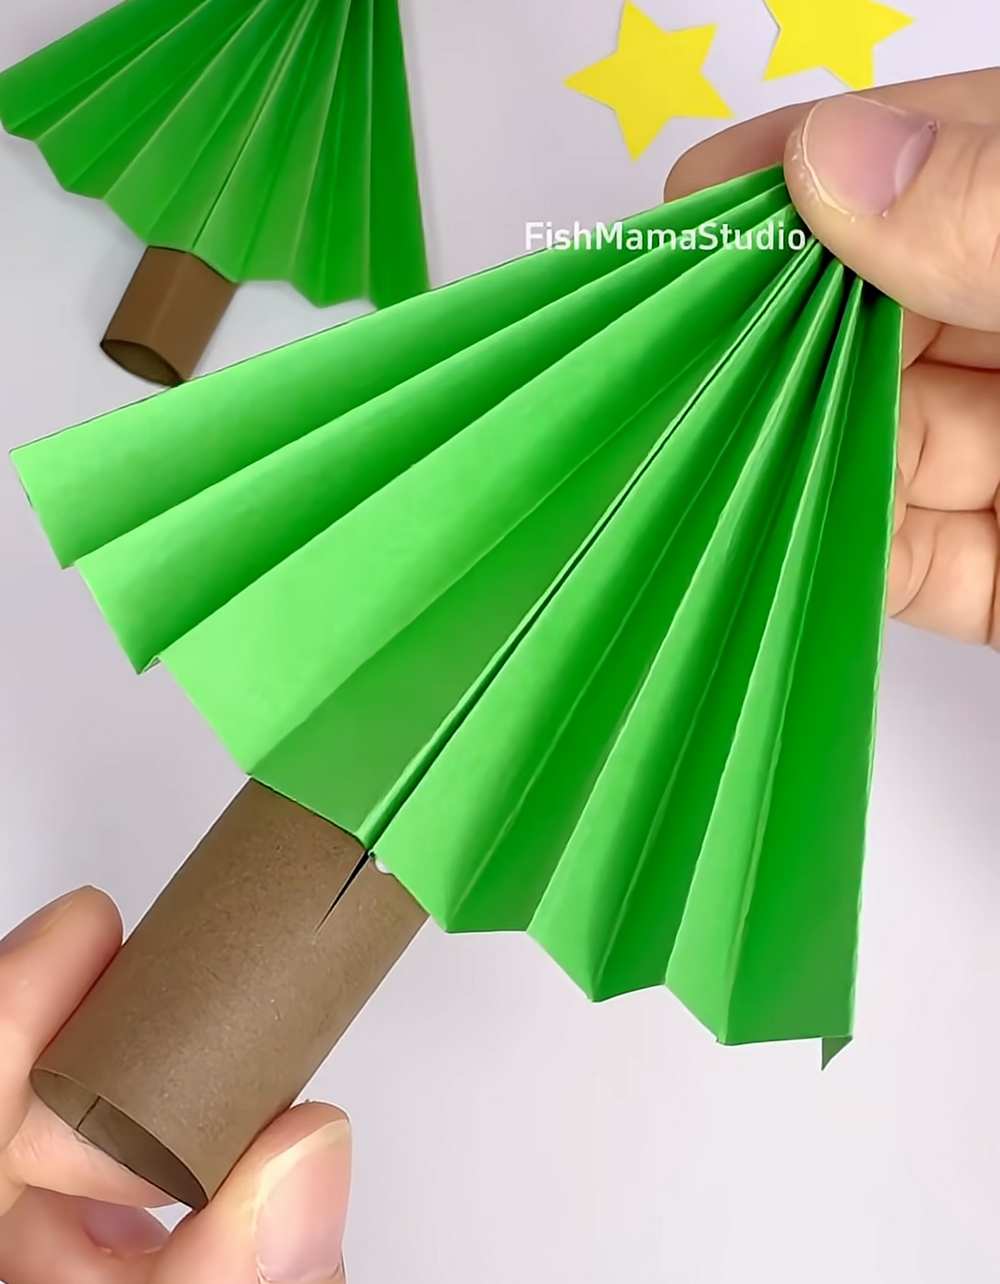
Use your scissors to make a small vertical cut (a slit) at the top of your brown paper tube. Take the bottom point of your green fan and slide it into that slit. Your tree should now be able to stand on its trunk.
Step 5: Add the Star
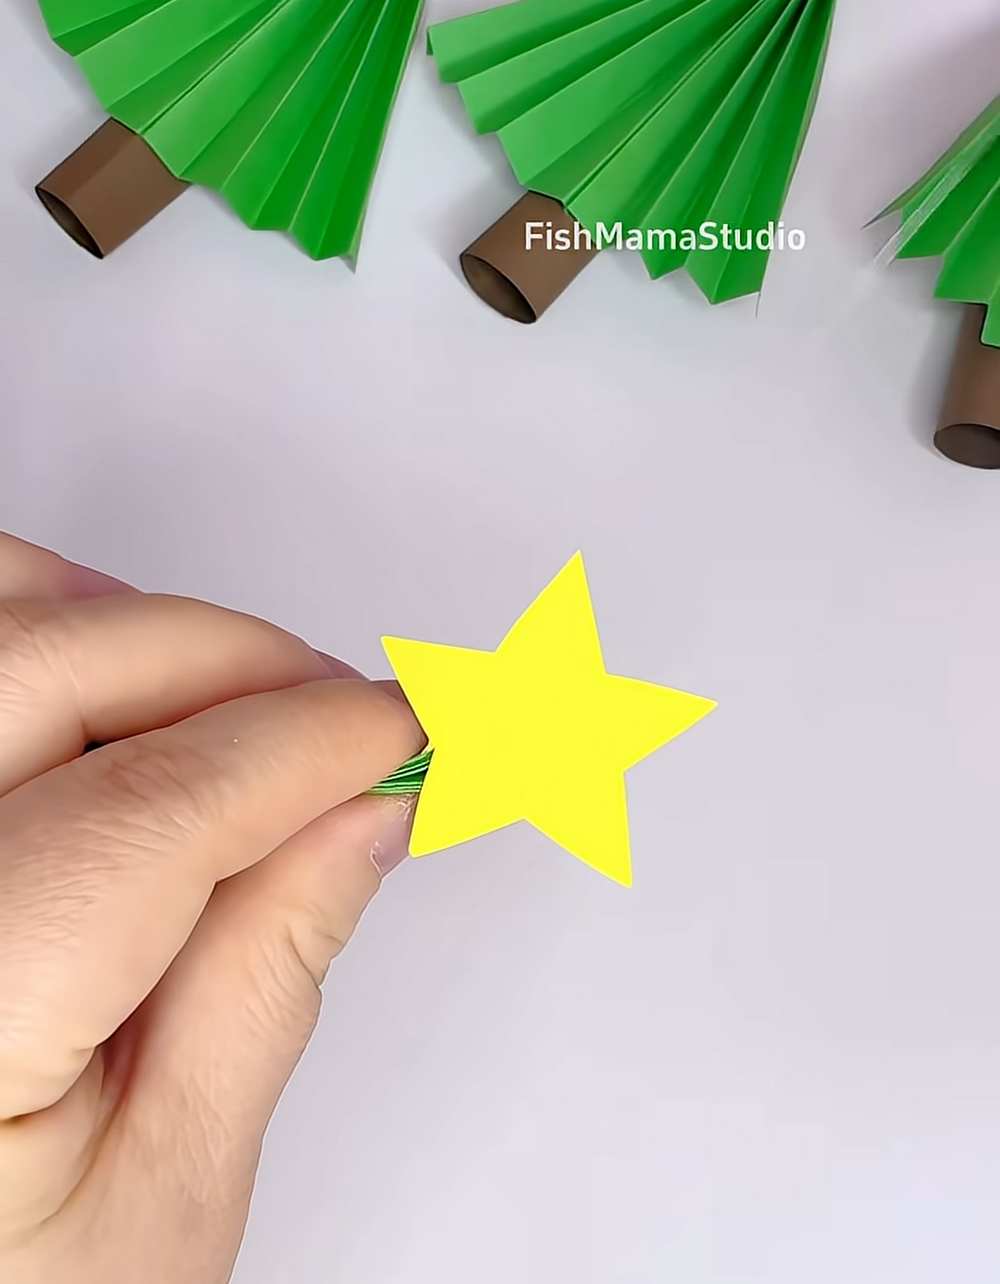
Cut a small star out of yellow paper. Use a little glue to stick the star to the very top of your green tree.
Step 6: Make the Garland
Repeat these steps to make as many trees as you want. Once you have a few trees, take a needle and thread. Carefully poke the needle through the top of the green paper (just under the star) to string the trees together.
Step 7: Hang it up!
Find a nice place on your wall or window to hang your new Christmas tree garland. Merry Christmas!