
Show support for DIY dreams!
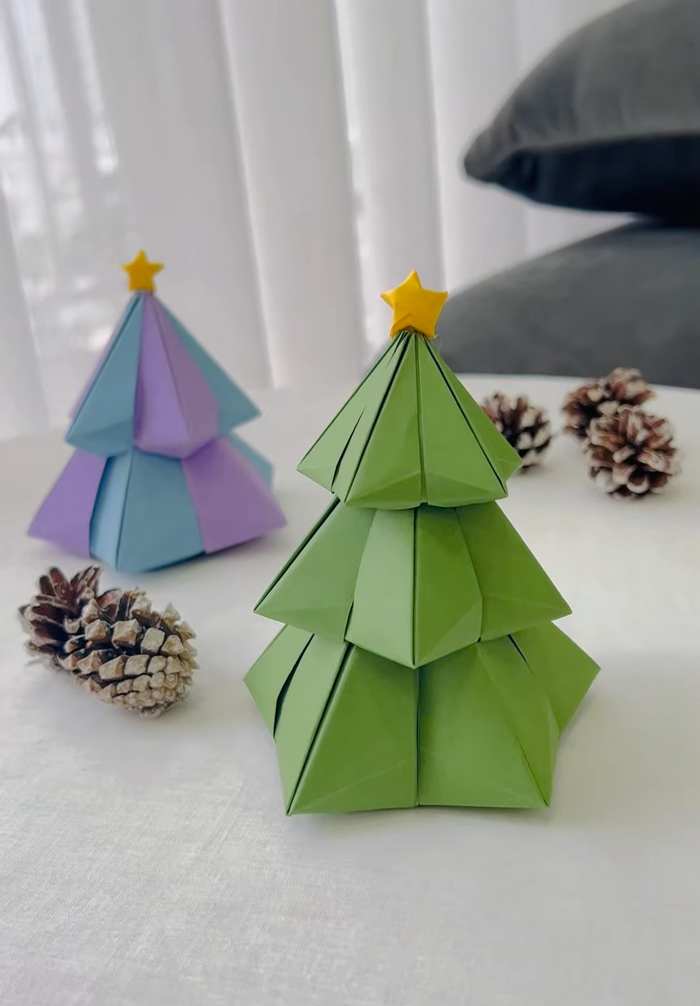
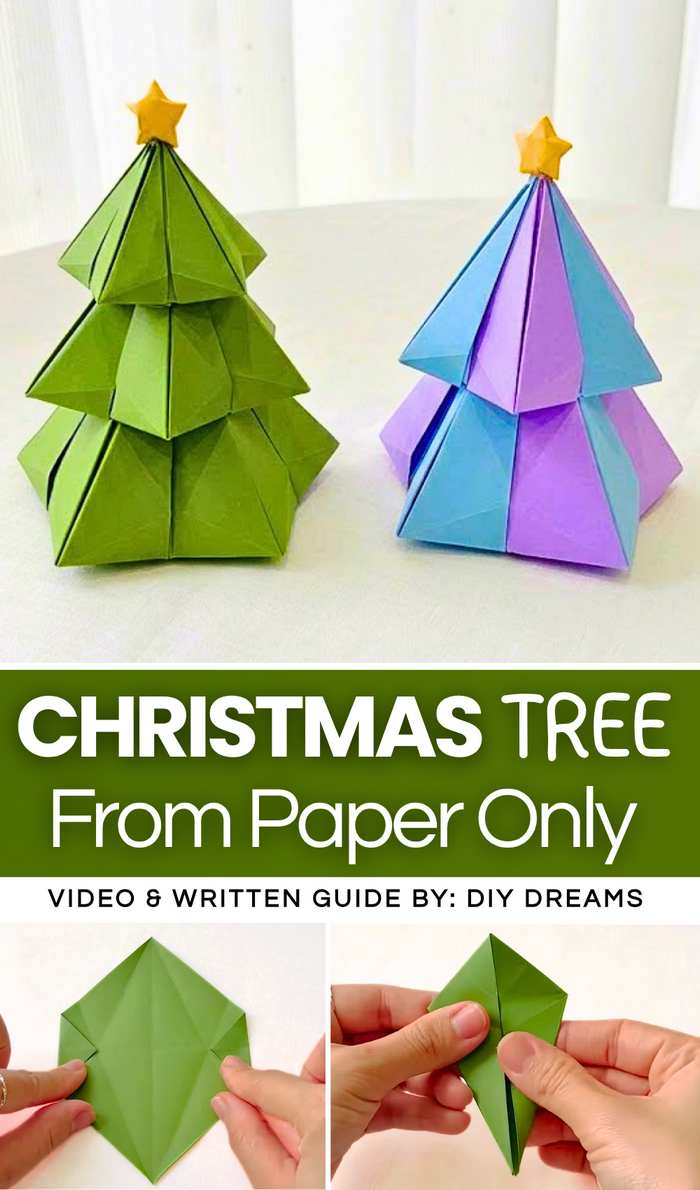
Looking for an absolutely no-scissor method to DIY a 3D paper Christmas tree? Learn how to DIY this inflated-origami tiered Christmas tree for your craft table decorations at Christmas. You can also make this DIY 3D Christmas tree craft bicolored and even 5-colored, as we are gonna assemble it from the origami fish base. This DIY Christmas tree out of paper also has an inflated star at the top. This is a cheap and last-minute Christmas tree craft you can make to decorate your whole house.
You can also call it the modular origami Christmas tree and make it as long as you wish. Choose from green and purple + blue Christmas tree craft variations. Both are SO APPEALING.
The idea is simple: we are making 15 origami fish bases in 3 sizes and assembling each tier using modular origami technique. You can also make a 2-tier, 3-tier, and even 4-tier Christmas tree following this same method. Just increase the dimensions of the square sheets for each tier. Now, continue reading to learn more about this modular Christmas tree project for kids, in particular.


Tutorial to DIY Modular Origami Christmas Tree
Skill Level: Beginner – Level 3
DIY Origami 3D Christmas Tree Guide
Create a beautiful multi-tiered 3D Christmas tree using modular origami. Unlike traditional origami, which uses a single sheet of paper, this project requires folding 15 individual square sheets into identical modules and then connecting them without glue.
The finished tree has three tiers –bottom, middle, and top each made from five modules.
Using three different paper sizes creates a realistic tapered pine tree shape. You can use green paper for a classic look or experiment with metallic or patterned paper for a festive holiday decoration.
Materials Needed
- Square Paper (Green or any color):
- 5 pieces of 10 × 10 cm (bottom tier)
- 5 pieces of 8 × 8 cm (middle tier)
- 5 pieces of 6 × 6 cm (top tier)
- Small decorative star (yellow or gold)
- Optional: A small amount of glue to permanently secure the stacked tiers
Better Learn the Assembly!
Step 1: Fold the Individual Modules
Fold all 15 squares using the same method.
1. Fold Diagonally
Take one square sheet and fold it diagonally from one corner to the opposite corner to form a triangle. Press the crease firmly, then unfold it back into a square.
2. Make a Kite Fold
Fold the left and right edges inward so they meet perfectly along the diagonal center crease. The paper should resemble a kite shape. Bring the corner side of the triangle face towards you. Unfold the kite folds. In this direction, again make kite folds and unfold.
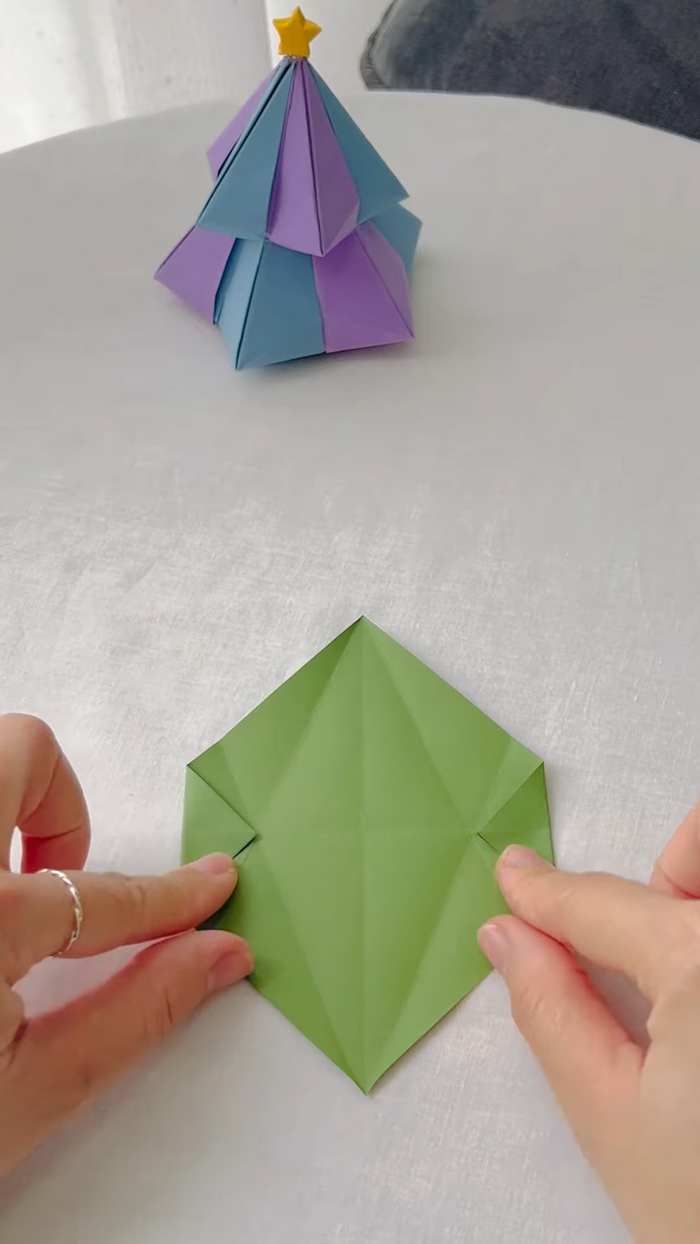
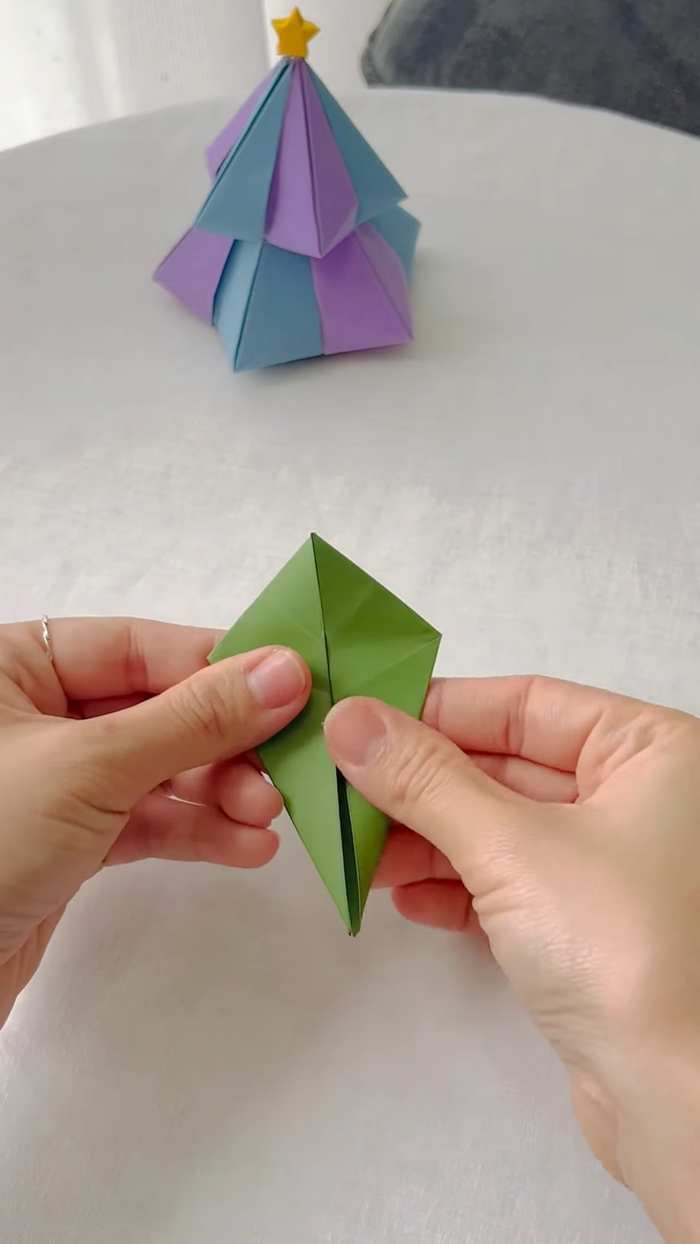
You will have diamond creases on your sheet. Fold the left and right corners of the diamond sheet to the left and right corners of the creased diamond and unfold. Fold along the corner creases to collapse and make the fish wings, and fold vertically to make a diamond called the fish base.
3. Fold the Top Triangle
Fold the small triangle at the top downward over the folded edges.
4. Fold in Half
Fold the entire horizontal along the center crease, creating a compact module with one pointed flap and one pocket.
5. Repeat
Repeat these steps for all remaining papers until you have:
- 5 large modules
- 5 medium modules
- 5 small modules
A total of 15 identical modules.
Step 2: Assemble the Three Tiers
Build each layer separately by connecting modules of the same size.
1. Connect Two Modules
Insert the pointed flap of one module into the pocket of another module.
2. Continue Connecting
Keep adding modules until all five are connected in a circular ring.
3. Shape the Tier
Gently press the center downward so the ring forms a shallow cone with pointed “branches.”
4. Repeat
Repeat the process for the medium and small modules.
You should now have:
- One large tier
- One medium tier
- One small tier
Step 3: Stack the Tree
Bottom Layer
Place the 10 × 10 cm tier on a flat surface.
Middle Layer
Position the 8 × 8 cm tier directly on top, aligning the points so they nest naturally.
Top Layer
Place the 6 × 6 cm tier on top to complete the tree shape.
Step 4: Add the Finishing Touches
- Place a small decorative yellow or gold star at the very top.
- Adjust the pointed modules so the branches are evenly spaced.
- If you want a permanent display, apply a tiny amount of glue between the tiers.
Finished!
Your 3D Modular Origami Christmas Tree is now complete. This elegant paper decoration is perfect for holiday displays, table centerpieces, classroom crafts, or handmade gifts. Try different paper colors, glitter paper, or patterned cardstock to create unique festive designs.