

The origami angelfish is one of the cutest models you can fold with the Waterbomb Base. It’s my favorite because of the triangle shape, and I can test many fish patterns and faces on it.
You can learn how to fold this simple origami fish with my super clear instructions. It will be a great paper craft for summer. You can paint a background and add many of these origami fish in many colors.
They can also hold greeting cards (their body are pockets). Let’s dive into the guide.
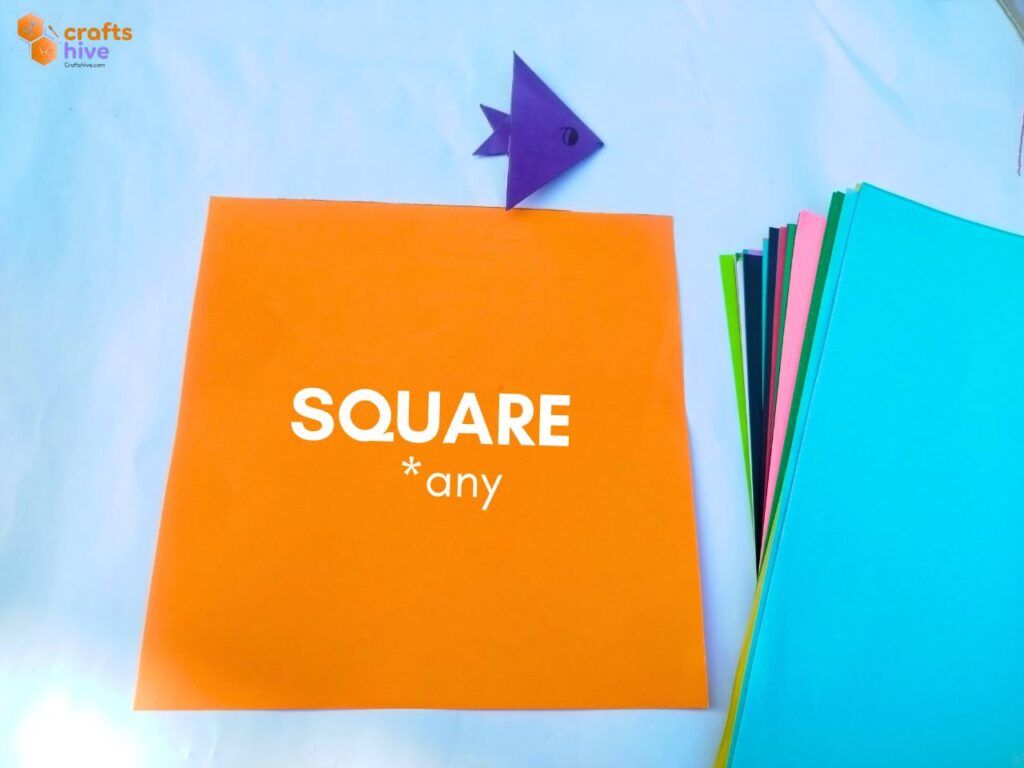
Origami Fish: Step-by-Step Guide
With the origami Waterbomb Base and two folds afterwards, we shall fold this origami fish in just 5 steps. The two layers of this base are perfect for making the tail of the fish. I will also describe a better method for the last two folds. Let me describe it step-by-step:
Model Type: Traditional Origami with Face Drawing
Difficulty: Beginner (level 2)
Preferred Name: Origami Anglefish
Step #1: Make A Horizontal Crease
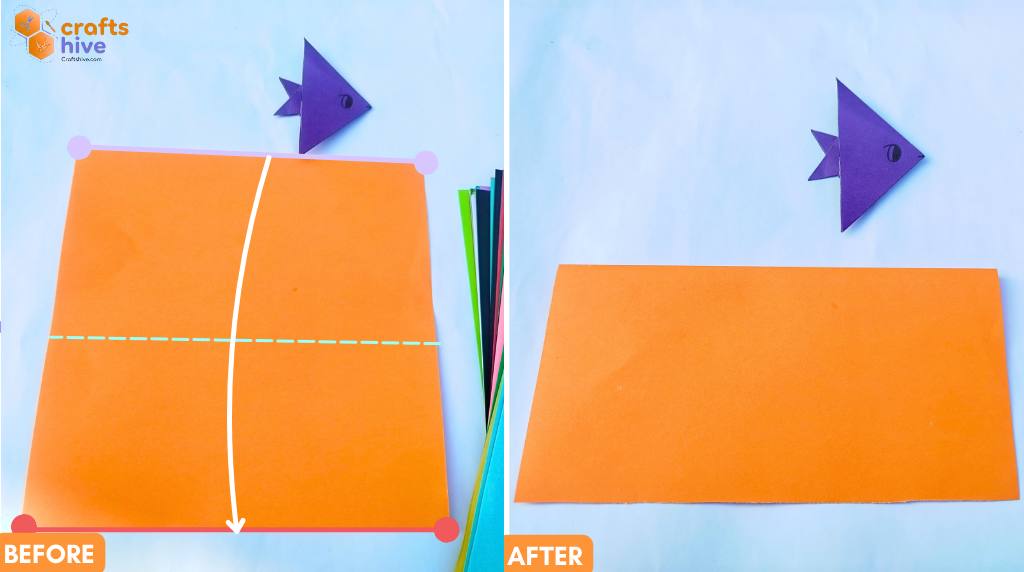
- Fold the paper in half horizontally, press the flaps flat, and unfold the paper again to make a horizontal crease.
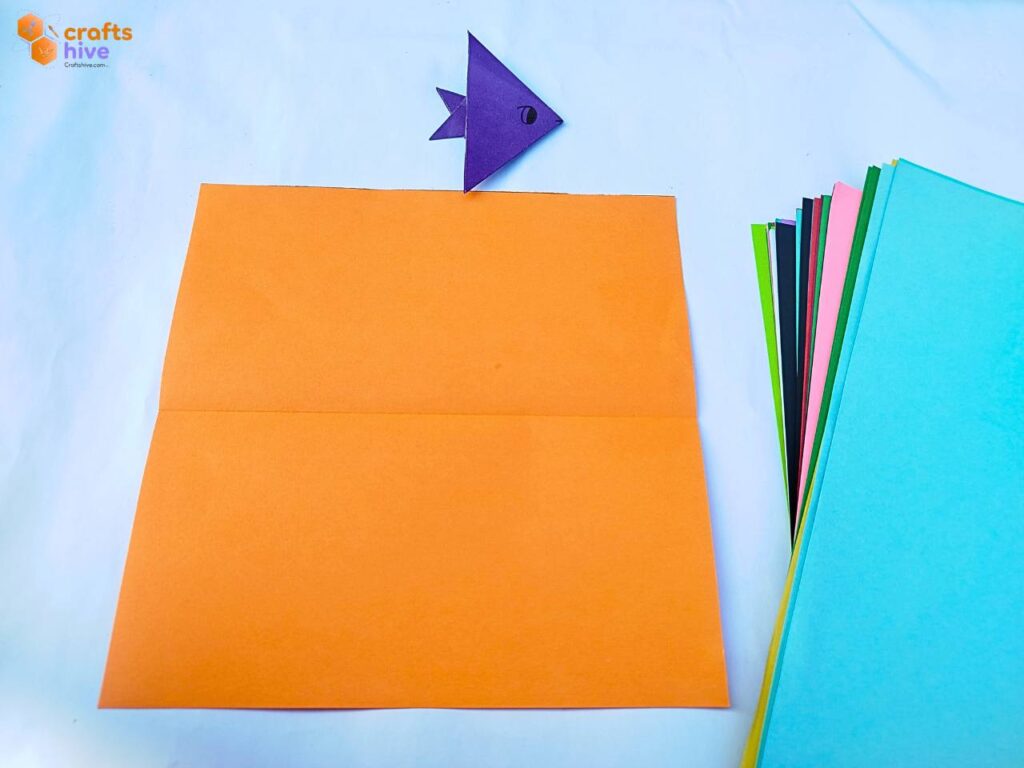
I folded the top edge of the square sheet and aligned it with the bottom edge, creased it and unfolded again.
Step #2: Make Diagonal Creases

- Fold the paper diagonally in half by folding the top left corner of the square onto the bottom right corner and unfold it again. This will make the first diagonal crease.

Now, we have to make another such crease so that we have two crossing creases in ‘X’ shape.
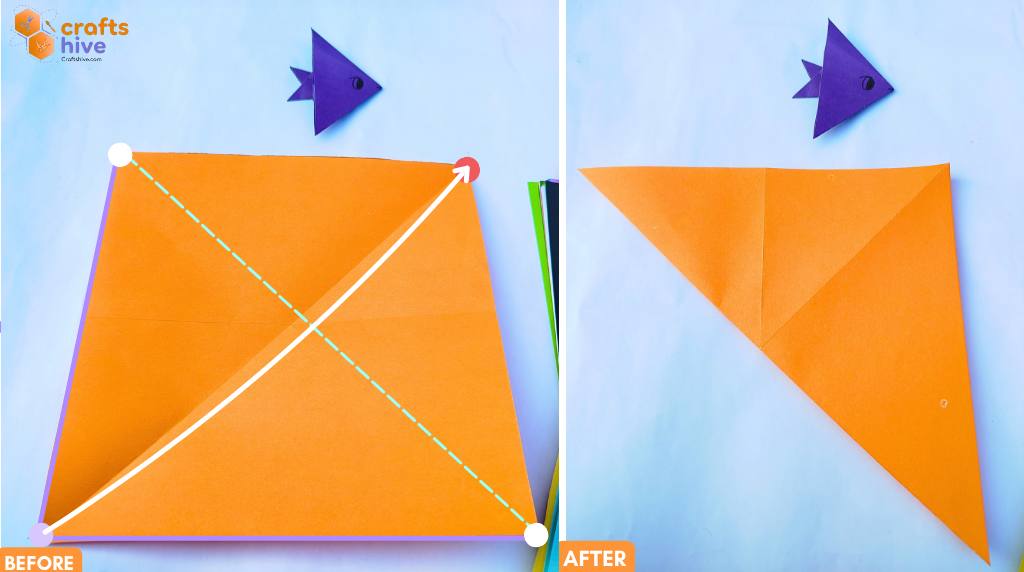
- Simply fold the bottom left corner onto the top right corner. Align the corresponding sides, fold the paper flat and unfold.

These are the three hinge creases needed for the Waterbomb Base.
Step #3: First Waterbomb Fold

The creases have divided the square sheet into 6 sections. The above half has one middle isosceles triangle and a right triangle on either side. The same for the bottom half. Focusing on the bottom half:
- Fold the triangle on the right side onto the half right of the middle triangle and keep it held.
Note: The triangle on the above half, just above the folded right triangle, will also get folded a bit.

- Fold the triangle above the folded triangle onto that triangle and keep that held.
Step #4: 2nd Waterbomb Fold

- Now repeat a similar fold for the left side of the square sheet.
Step #5: Collapse into Waterbomb Base and Rotate
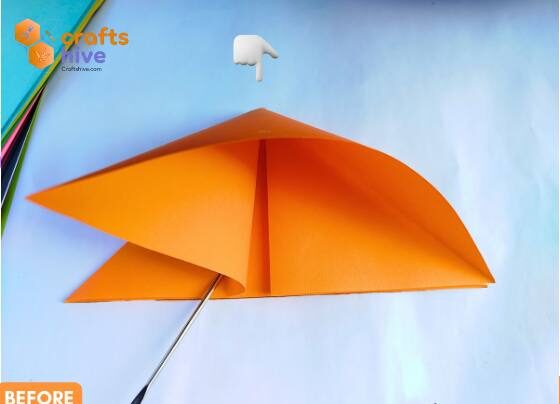
- The folds will be covered automatically by the remaining triangular portion. Just press that cover onto the folds.
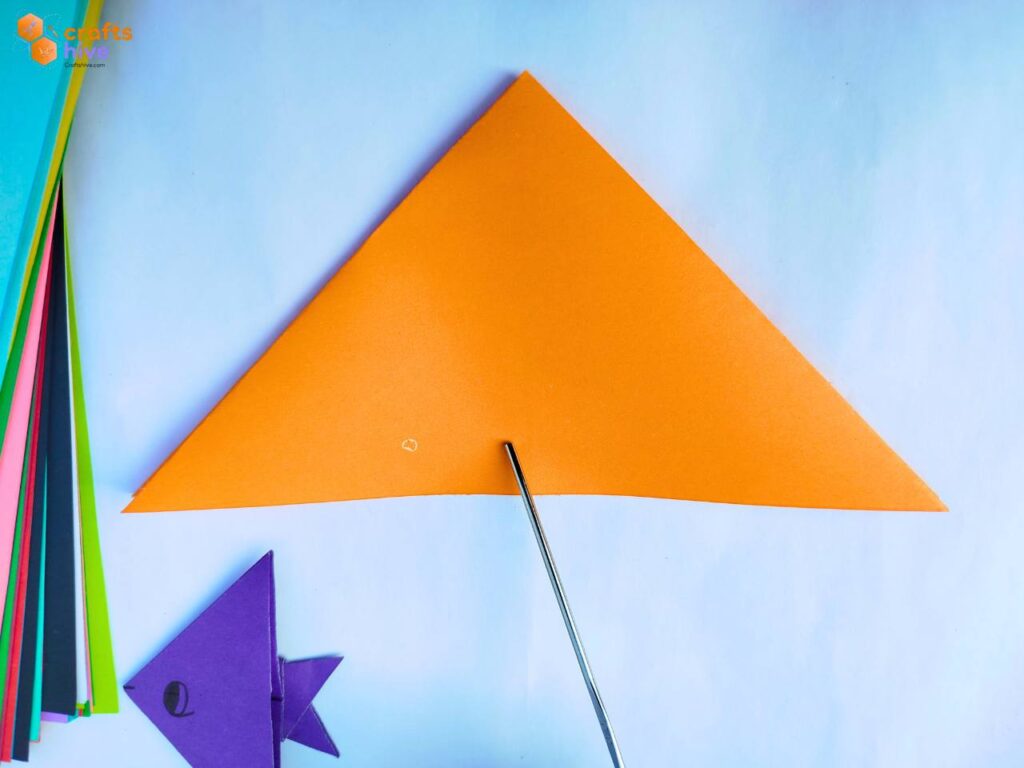
- Crease the hinges very well.
This completes our origami Waterbomb Base.
Step #5: Fold the Tail
The tail of the origami simple fish is where most (even sometimes me) folders go wrong. I will show you a better and easier method.
- Rotate the base sideways 90 degrees.
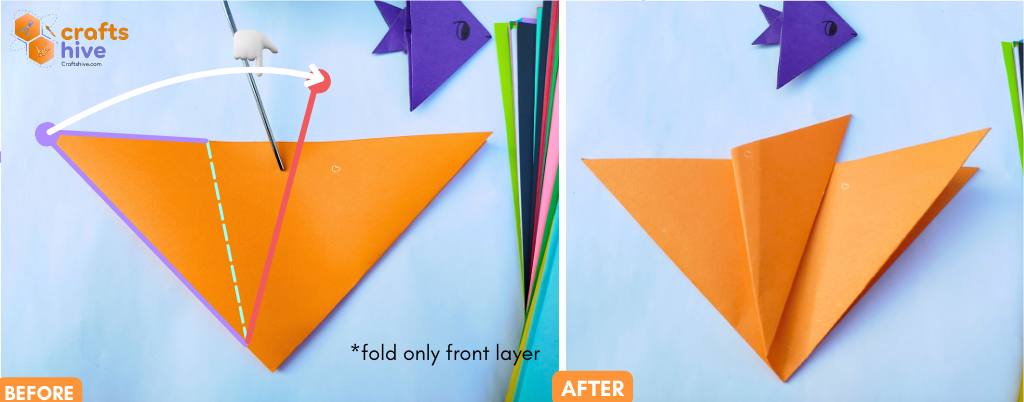
- Hold the left corner of the front layer of the Waterbomb Base. Fold this corner to the right such that the bottom of the hinge of the fold stays a small distance away from the bottom corner.

- Fold the right corner to the left such that the hinge of the folds has the bottom at the same height and overlaps each other.
Finished
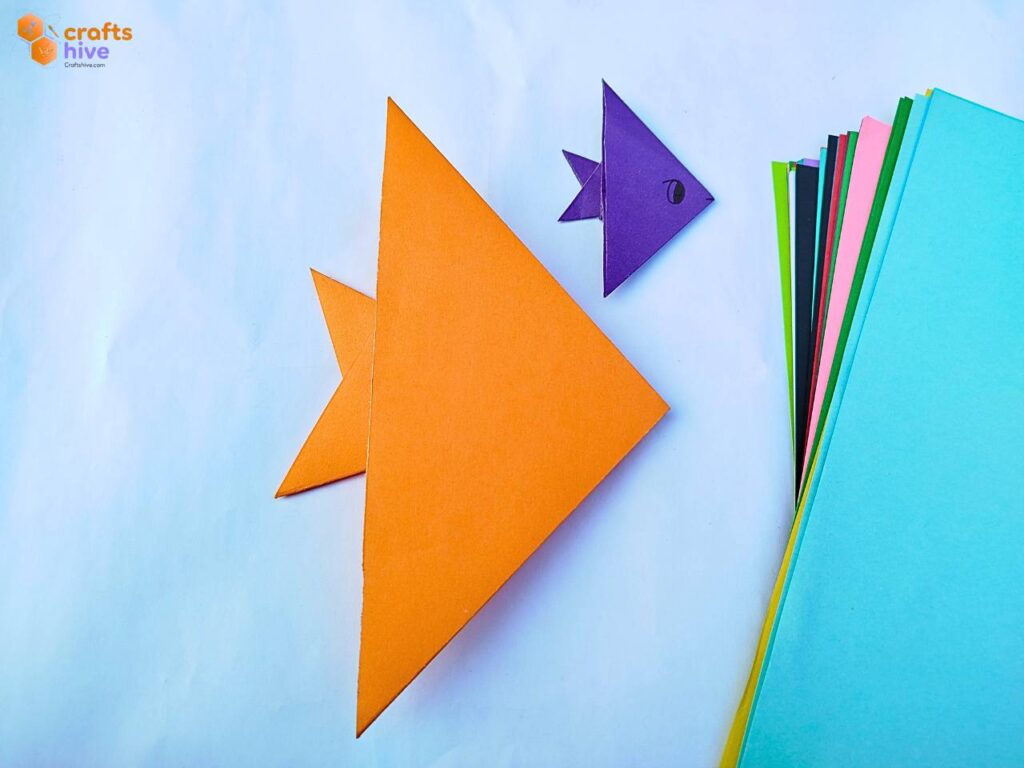
- Turn the finished fish upside down.
- I have drawn an eye and a mouth, too.
That’s all.
Did you like this Origami Tutorial? Tell us in the Comments.
Your feedback is a great way for us to improve our origami tutorials. So, share your thoughts on whether you tried this one or not, and highlight the weak points.

About "Talha"
Hey, I’m Talha, the Crafter on Craftstive.com. I love to share guides on folding cute origami models and paper crafts, and I am always ready to inspire your next craft project with my weekly craft discussions.