

For the origami talking fish, there is an easier traditional pattern than the 3D kawaii one. In this tutorial, I will teach you how to fold the traditional origami talking fish in super simple steps.
I always recommend it to beginners as folds and the base, both of which are easy. You can craft it to bring laughter to your friends and family members. It will have a funny moving mouth when you move the tail.
Origami Talking Fish: Fold-by-Fold Guide
This origami fish is based on the easy, kite base. Then we have some intermediate folds for squashing the paper, and lastly, the inward folds for the tails. Unlike the simple fish that used Waterbomb Base, it is quite easy. Now, let me provide you with the step-by-step instructions:
Model Type: Pure Origami and Traditional
Difficulty: Beginner (level 1)
Preferred Name: Origami Funny Fish
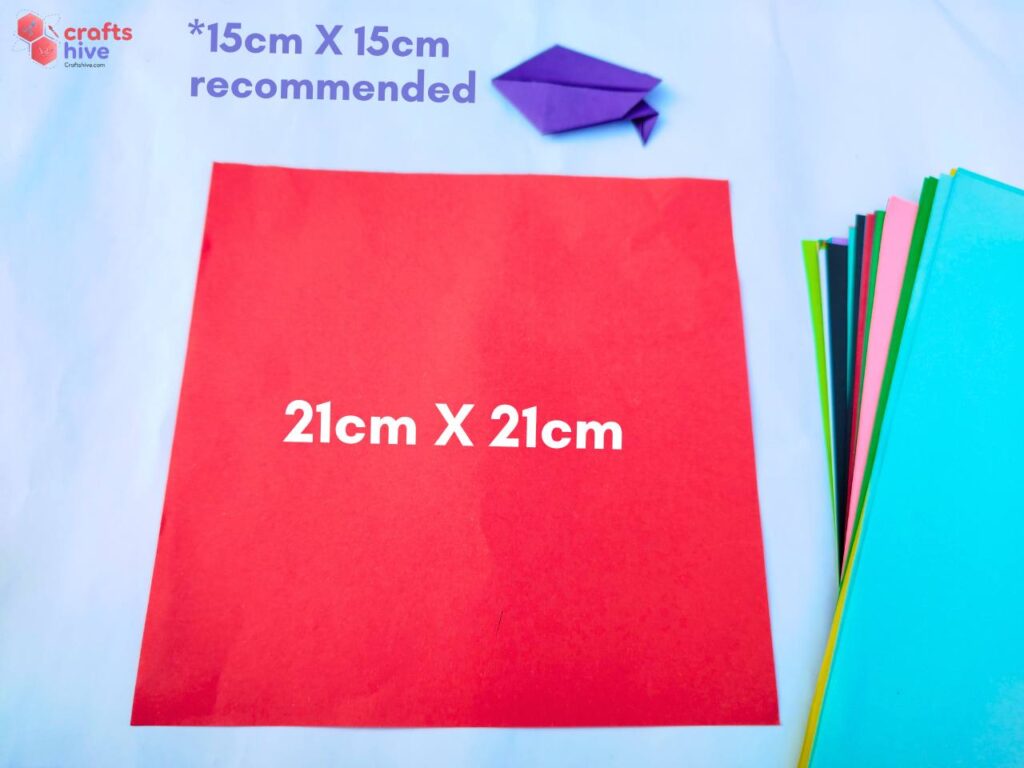
- I will be using the 21cm by 21cm square sheet of paper in red for the tutorial. But the recommendation is still the standard 15cm by 15cm standard Kami or Tant sheet.
Step #1: Position the Sheet

- Up to step #3, we shall be folding the kite base. It will be easier if you have placed the paper in the diamond position.
- If your sheet is placed in the normal position (looks like a square), give it a 45-degree rotation sideways.
Step #2: Make Diagonal Crease
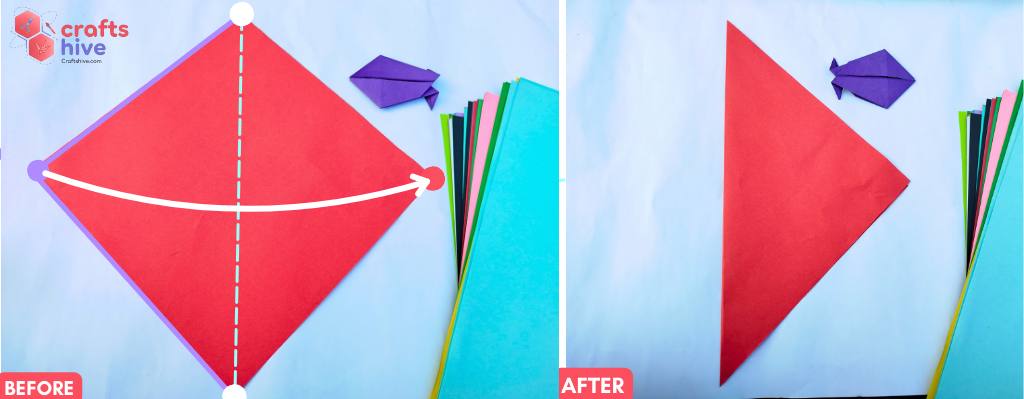
- Fold the paper in half vertically (about the diagonal) and unfold it after pressing it flat to make a vertical crease.
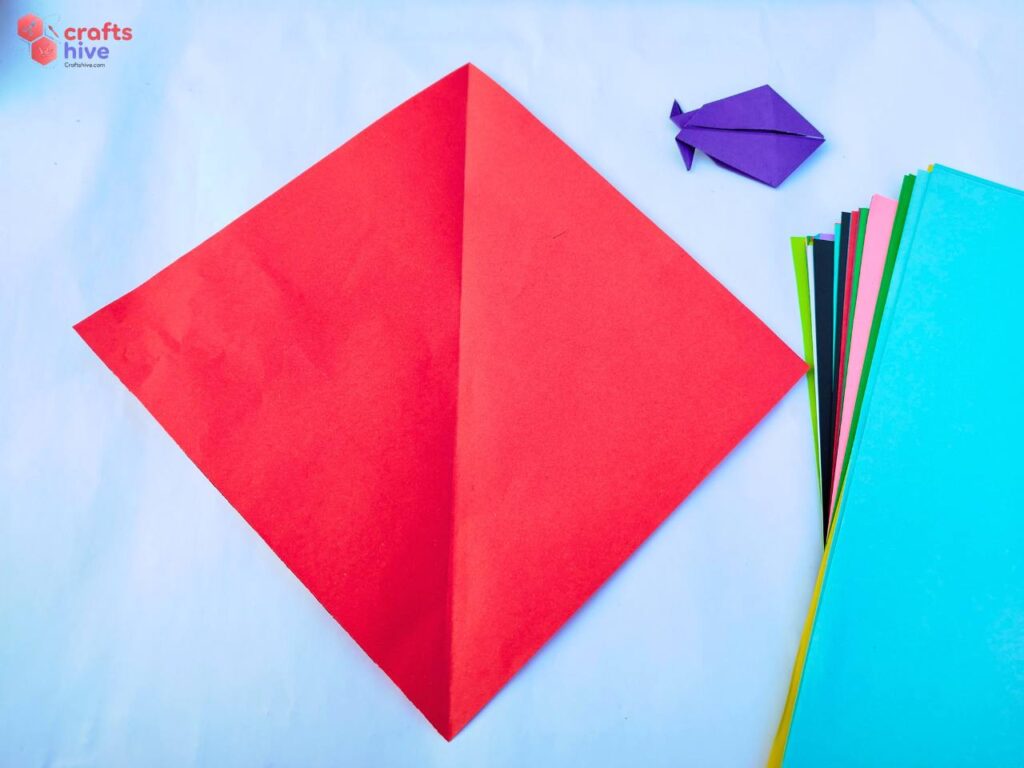
I simply folded the left corner of the diamond onto the right corner, aligned the respective sides, and unfolded the paper again. This got me a guiding crease for kite folds.
Step #3: Kite Folds
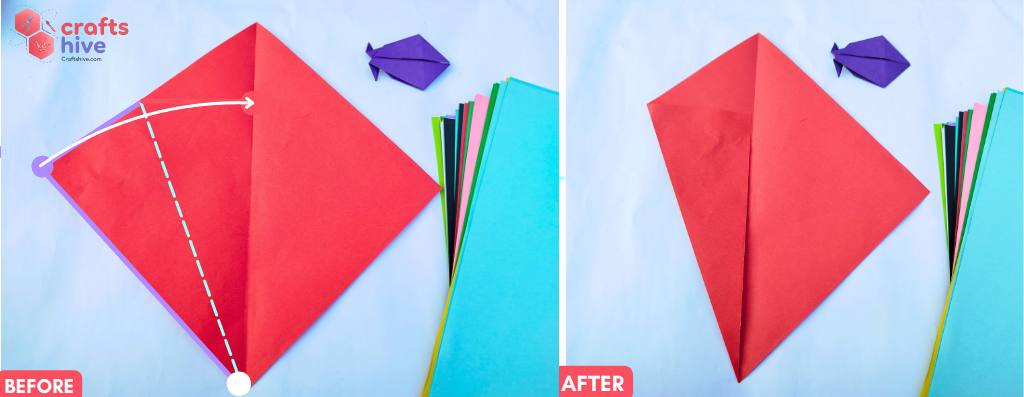
- Fold the left corner of the diamond to the vertical centreline and align the left bottom side (only) of the diamond with the centreline.
- Press the paper flat. This is the first kite fold of the kite base.
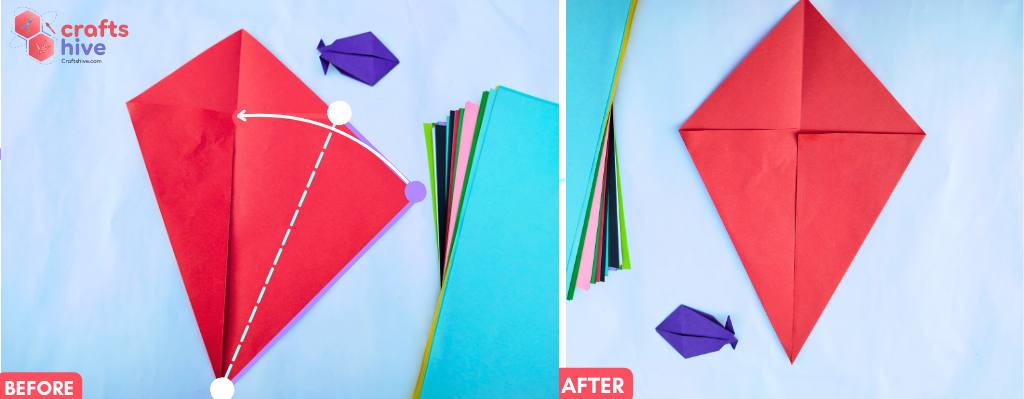
- Kite Fold the right bottom edge of the paper.
Step #4: Turn the Side
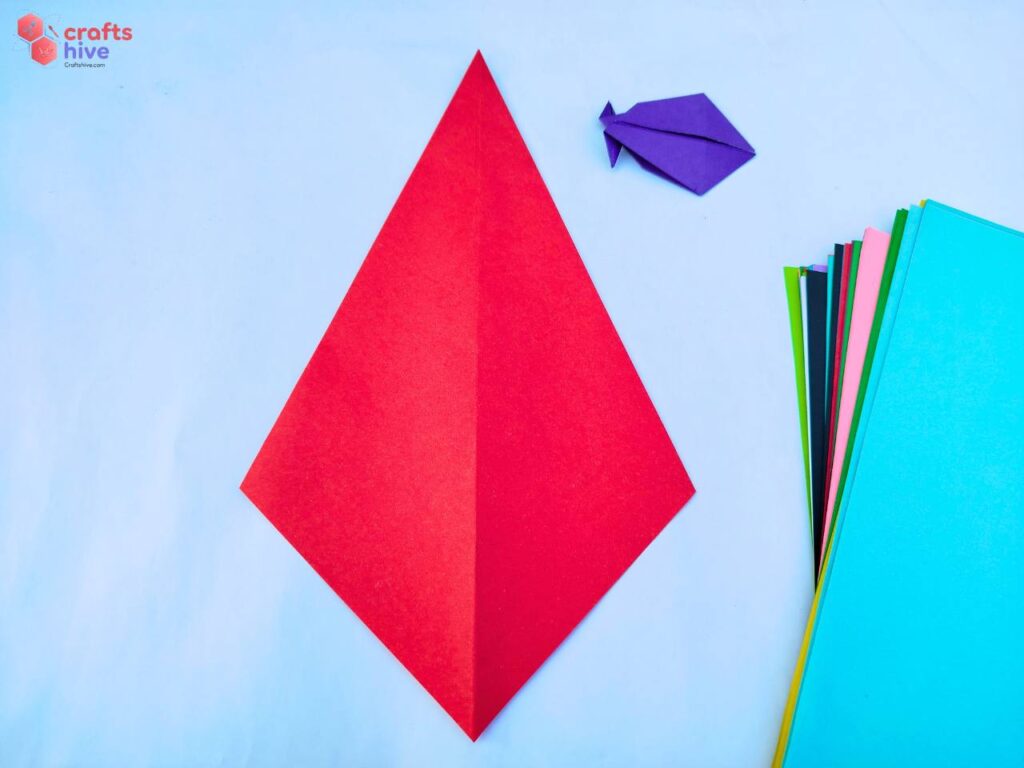
- Turn the kite base upside down along the vertical like above. Make sure the inactive corner of the kite base is below.
Step #5: Half-fold the Kite
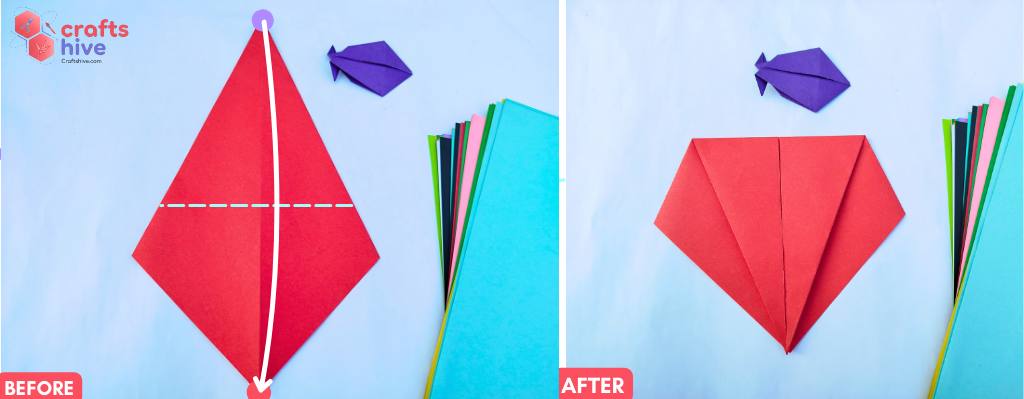
- Valley Fold the top corner of the inverted kite onto the bottom corner and press the remaining paper flat.
In principle, the corner with the kite folds should be folded onto the corner opposite to that.
Step #6: Turn Again
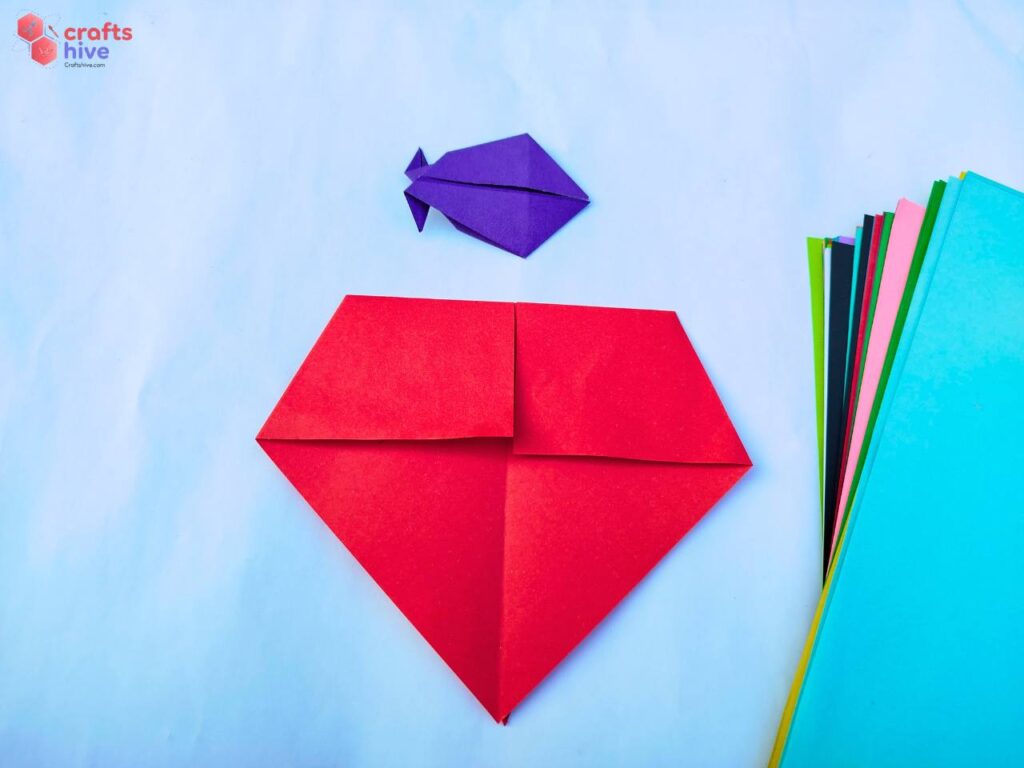
- Turn the side again, but this time along the horizontal. You can see the
Step #7: Intermediate Folds for Squash
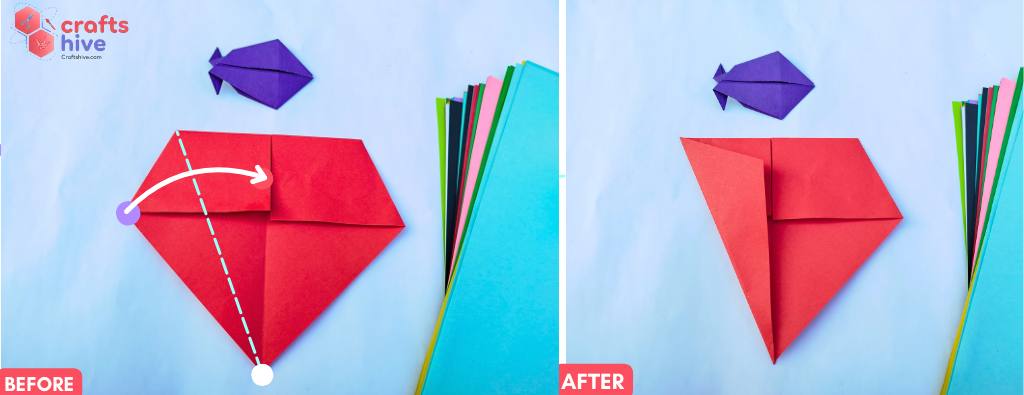
- Fold the left middle corner of this shape to the vertical crease and align the bottom left side with the centreline.
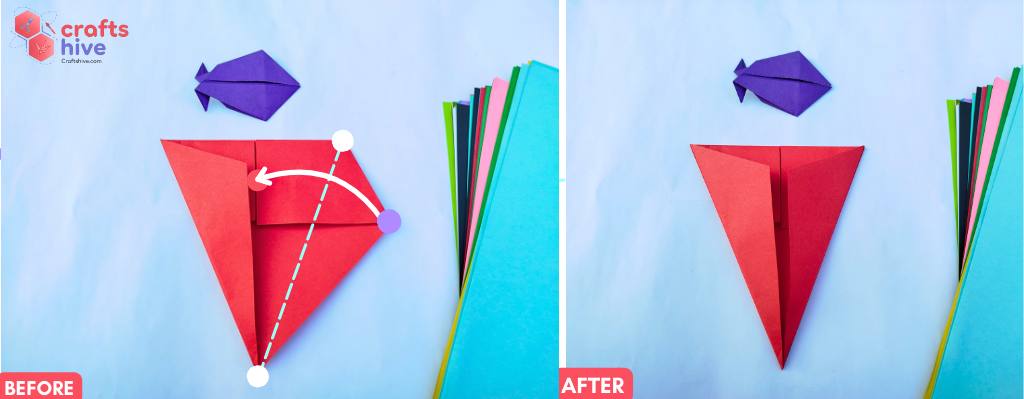
- Now, fold the right middle corner to the vertical crease and align the bottom right side with the centreline.
Step #8: Unfold
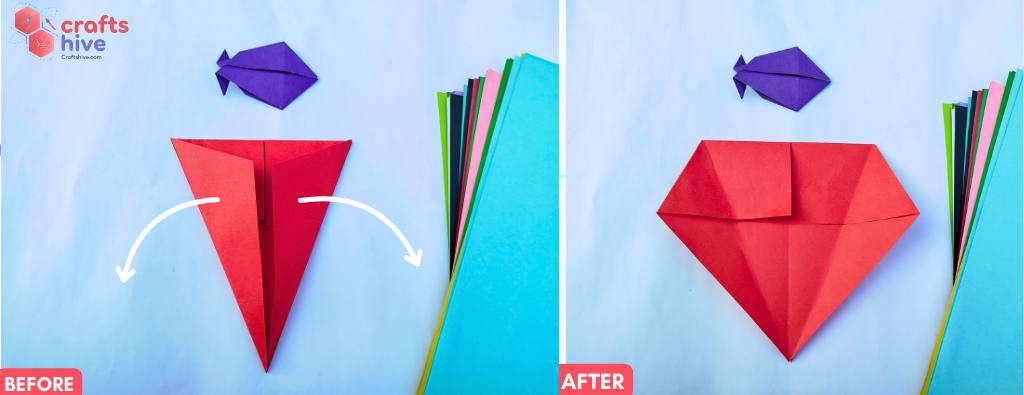
- Undo the previous half folds.
- Rotate 90 degrees sideways.
Step #9: Squash
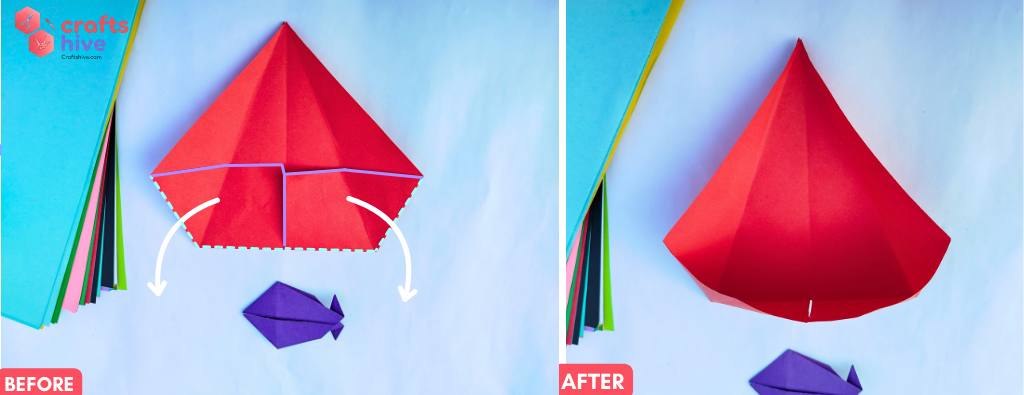
- You can see the flaps of the kite fold at the bottom side.
- Just pull these flaps back towards you so that they are perpendicular to the surface.
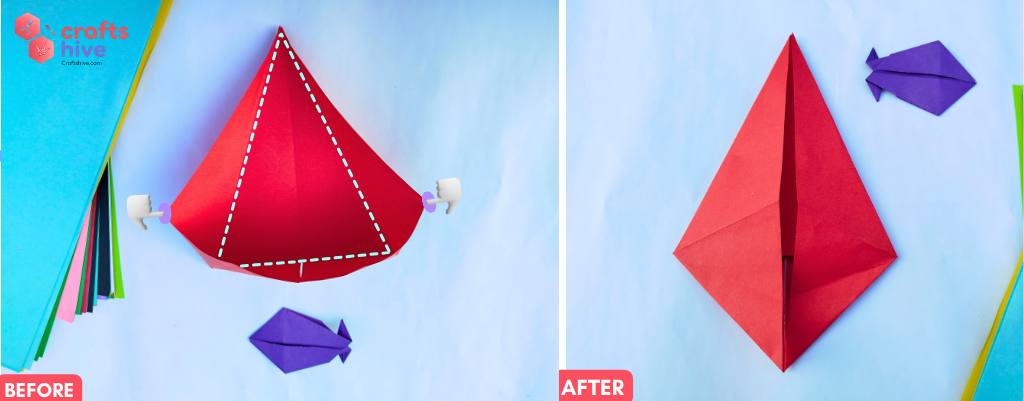
- Rotate the left corner of the opened flaps to the right about the crease of the half fold, and vice versa for the right corner.
- This will automatically make the triangles at the bottom of the face of the talking fish.
Step #10: Folds for the Tail
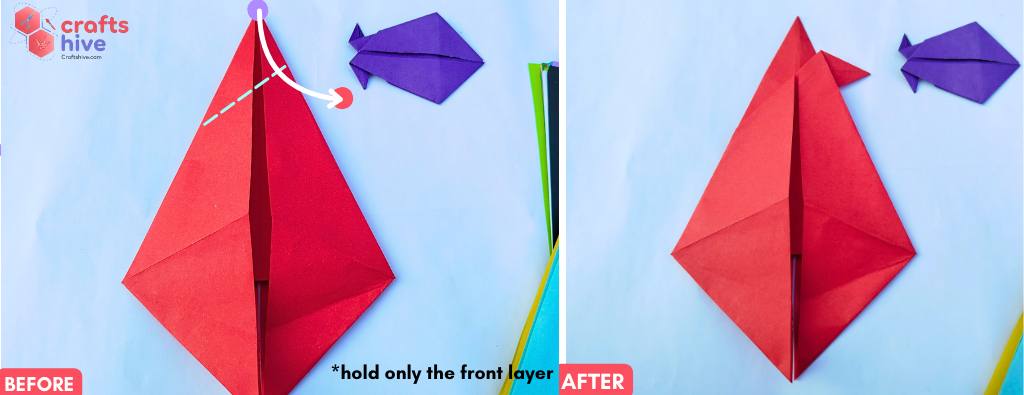
- There are two layers. Hold the top corner of the front layer and fold it inward to the bottom at the angle of the axis you wish.
- I needed small tails so you can fold like mine.
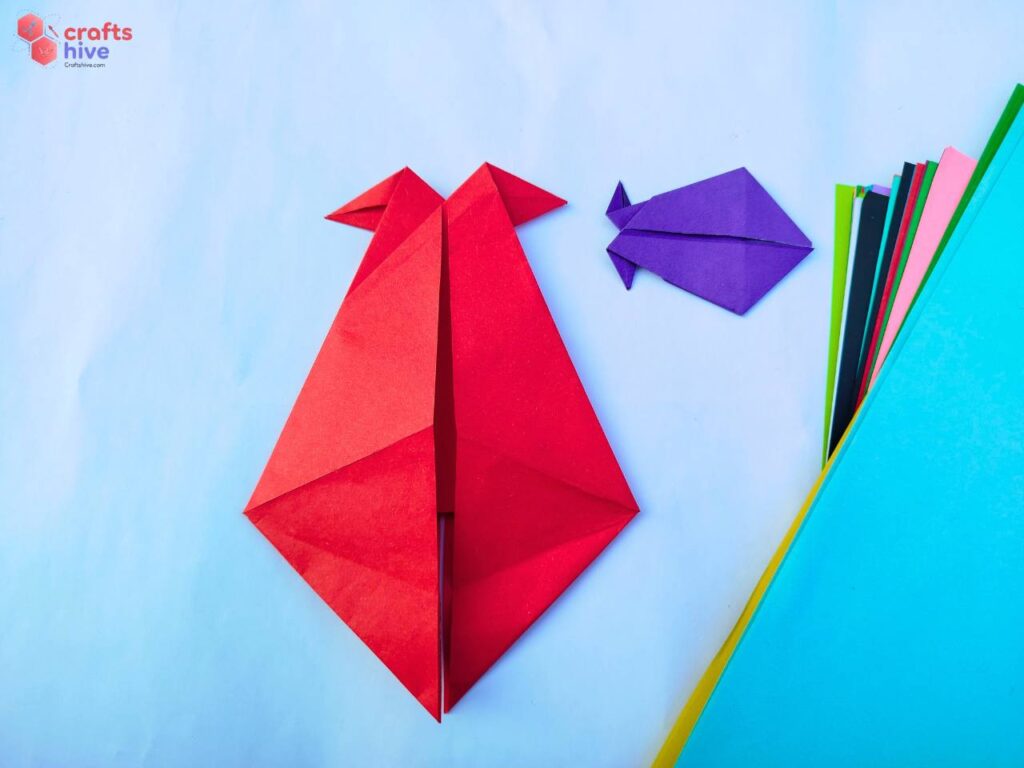
- Turn the side and fold the other tail in the opposite direction, but again inward.
Finish
This finishes the traditional model of the origami talking fish. When you move the up and down, the mouth of the fish opens and closes. It is quite like a talking fish (though it does not work as well).
Was this Origami Tutorial Helpful? Tell us in the Comments.
Your feedback is a great way for us to improve our origami tutorials. So, share your thoughts on whether you tried this one or not, and highlight the weak points.

About "Talha"
Hey, I’m Talha, the Crafter on Craftstive.com. I love to share guides on folding cute origami models and paper crafts, and I am always ready to inspire your next craft project with my weekly craft discussions.