
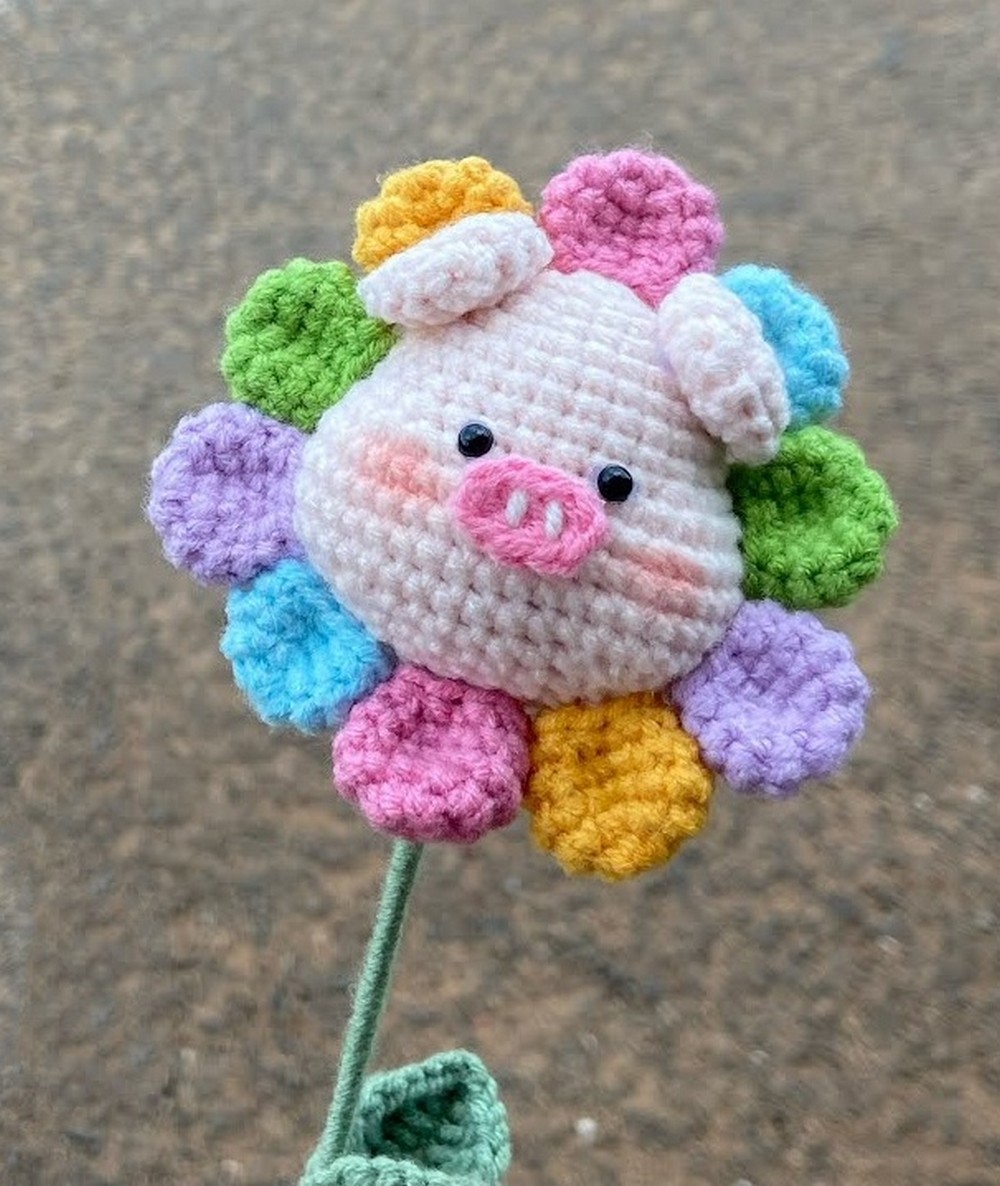
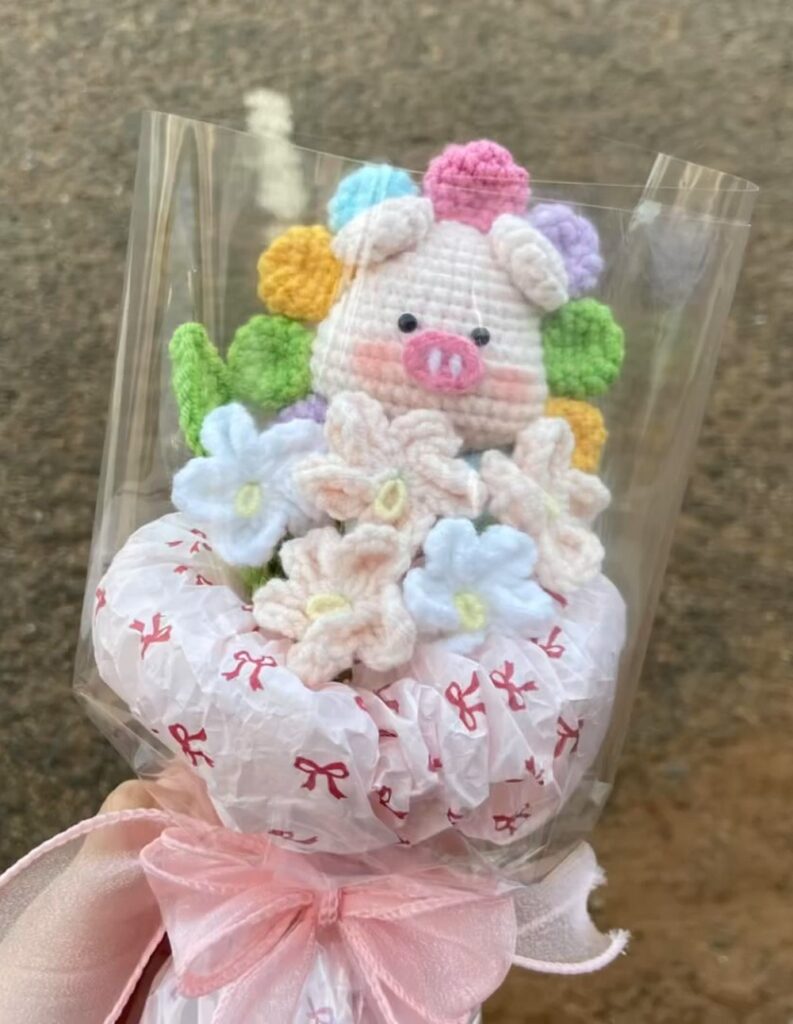
Looking for a brightly-colored, UNIQUE, and CUTE summer present for someone special? Learn how to crochet this elegant rainbow petal pig flower with a FREE pattern. You can put it in a flower pot alongside other flowers, dedicate a pot just to this one, charm up a flower bouquet with it. Graduation time is also coming, so why not put it in the middle of a craft bouquet just like you see below?
You can also crochet it for Mother’s Day. This is another amigurumi pattern of the flower petal pig amigurumi, and we will wrap the craft wire with a thin yarn to make the stem. There is also a pattern for the leaf. You can use green, yellow, purple, and pink for the petals that we shall crochet directly onto the stitch.
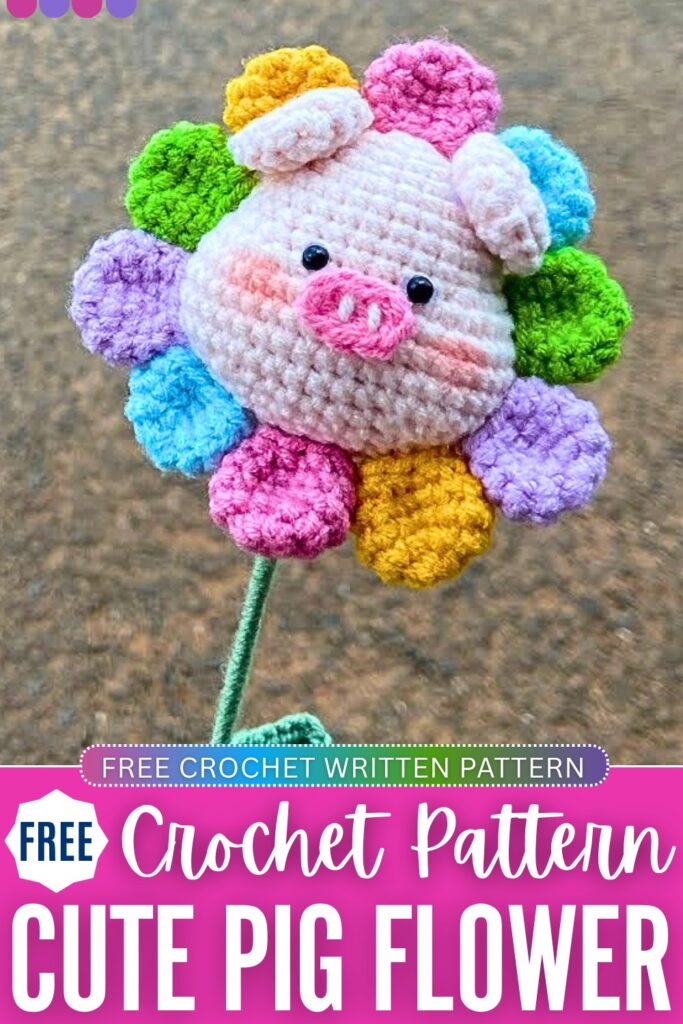
Crochet Kawaii Pig Flower with Many Colors: Round-by-Round Pattern
Below is the free crochet pattern for this CUTE room decoration and gift in 5-color flower with a pig in the centre amigurumi, with the assembly in the end:
Materials Needed
- Yarn: 50g of Milk Cotton yarn (Size 3/DK weight is recommended). You will need light pink for the pig’s head, dark pink for the snout, and multiple colors of your choice for the flower petals.
- Hook: 2.5 mm crochet hook
- Stuffing: Fiberfill/toy stuffing
- Eyes: Safety eyes (approx. 6mm or 8mm)
- Tools: Tapestry needle, stitch markers, and scissors
- Details: Pink blush and a small makeup brush for the cheeks
- Optional: Hot glue gun (if you prefer gluing the petals and snout instead of sewing)
Abbreviations (US Terms)
- MR: Magic Ring
- ch: Chain
- sc: Single crochet
- inc: Increase (work 2 single crochets into the same stitch)
- dec: Decrease (single crochet 2 stitches together)
- sl st: Slip stitch
- st/sts: Stitch/stitches
- (…) x: Repeat the instructions within the parentheses the indicated number of times
- […]: The total number of stitches you should have at the end of the round
Note: This pattern is worked in joined rounds. At the end of every round, you will slip stitch (sl st) into the very first stitch to join, and chain 1 (ch 1) to start the next round. The ch 1 does not count as a stitch.
Head (Use Light Pink Yarn)
- Round 1: Make a MR, ch 1, 6 sc into the ring, sl st to join. [6]
- Round 2: ch 1, 6 inc, sl st. [12]
- Round 3: ch 1, (1 sc, 1 inc) repeat 6 times, sl st. [18]
- Round 4: ch 1, (1 sc, 1 inc, 1 sc) repeat 6 times, sl st. [24]
- Round 5: ch 1, (3 sc, 1 inc) repeat 6 times, sl st. [30]
- Rounds 6 – 8 (3 rounds): ch 1, 1 sc in each st around, sl st. [30]
- Round 9: ch 1, 10 sc, 2 inc, 6 sc, 2 inc, 10 sc, sl st. [34] (This round starts shaping the chubby cheeks)
- Round 10: ch 1, 10 sc, 4 inc, 6 sc, 4 inc, 10 sc, sl st. [42]
- Rounds 11 – 14 (4 rounds): ch 1, 1 sc in each st around, sl st. [42]
- Round 15: ch 1, 10 sc, 4 dec, 6 sc, 4 dec, 10 sc, sl st. [34]
- Round 16: ch 1, 10 sc, 2 dec, 6 sc, 2 dec, 10 sc, sl st. [30]
- Round 17: ch 1, (3 sc, 1 dec) repeat 6 times, sl st. [24]
- Round 18: ch 1, (1 sc, 1 dec, 1 sc) repeat 6 times, sl st. [18]
- Round 19: ch 1, (1 sc, 1 dec) repeat 6 times, sl st. [12]
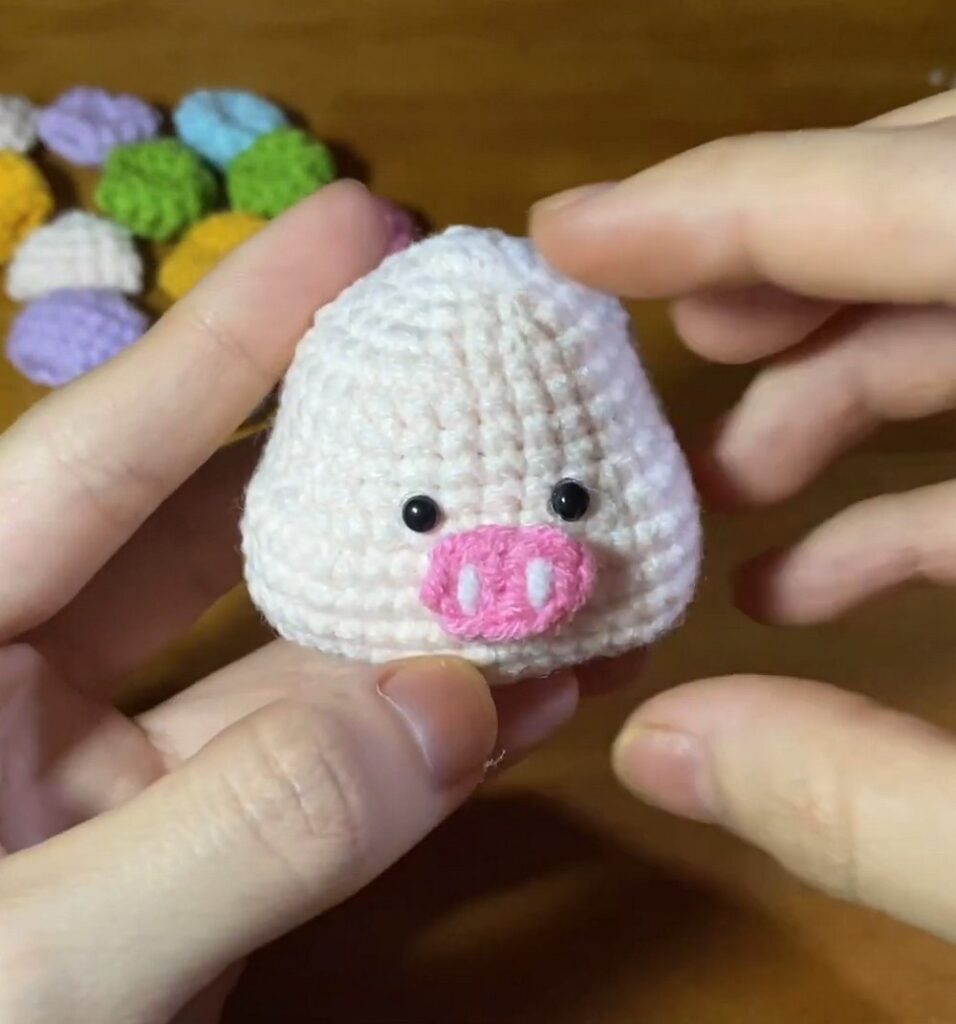
Start stuffing the head firmly. Pay special attention to stuffing the sides where we made the increases (Rounds 9-10) to make sure the cheeks pop out.
- Round 20: ch 1, 6 dec, sl st. [6]
Finish: Fasten off, leaving a long tail. Use a tapestry needle to weave the tail through the front loops of the remaining 6 stitches. Pull tight to close the hole securely and weave in the end.
Ears (Make 2, Use Light Pink Yarn)
- Round 1: Make a MR, ch 1, 6 sc into the ring, sl st to join. [6]
- Round 2: ch 1, 6 inc, sl st. [12]
- Rounds 3 – 4 (2 rounds): ch 1, 1 sc in each st around, sl st. [12]
Finish: Fasten off, leaving a long tail for sewing. Flatten the ears (do not stuff them).
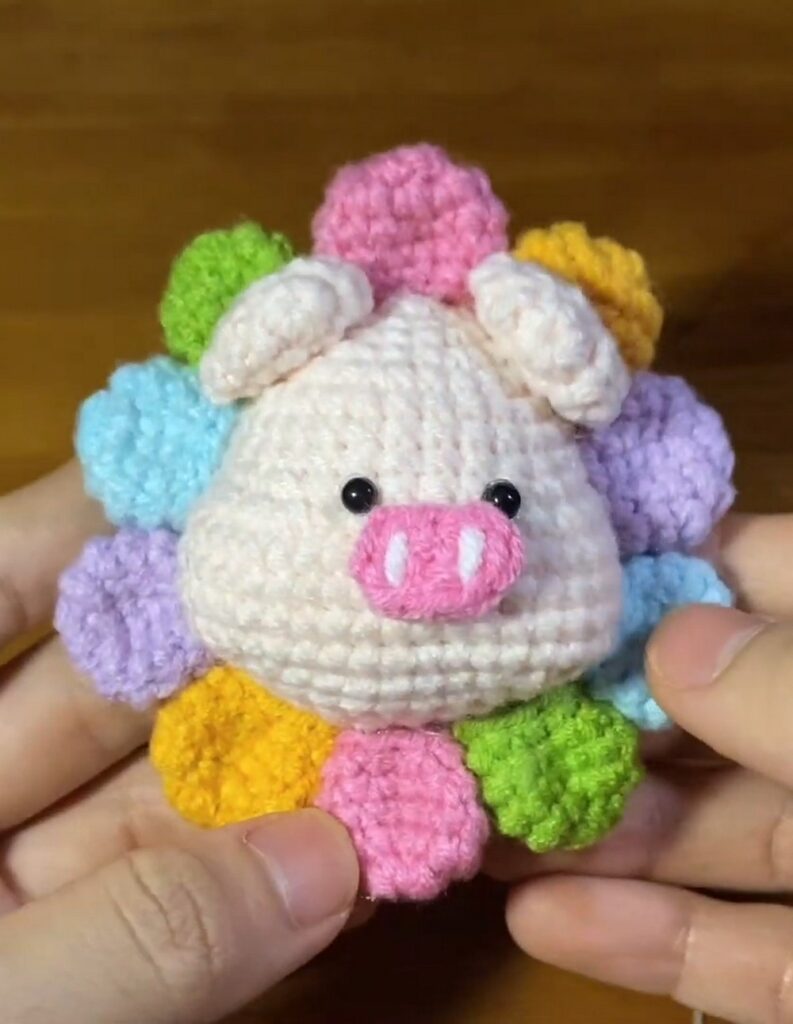
Flower Petals (Make 10 total)
You can make these all one color, or mix and match colors to create a rainbow effect.
- Round 1: Make a MR, ch 1, 8 sc into the ring, sl st to join. [8]
- Round 2: ch 1, 8 inc, sl st. [16]
- Round 3: ch 1, 1 sc in each st around, sl st. [16]
- Round 4: ch 1, (1 sc, 1 dec, 1 sc) repeat 4 times, sl st. [12]
- Round 5: ch 1, (1 sc, 1 dec) repeat 4 times, sl st. [8]
Finish: Fasten off, leaving a tail if you plan to sew them on (or a short tail to weave in if you plan to hot glue them). Pinch the petal flat. Repeat this process until you have 10 petals.
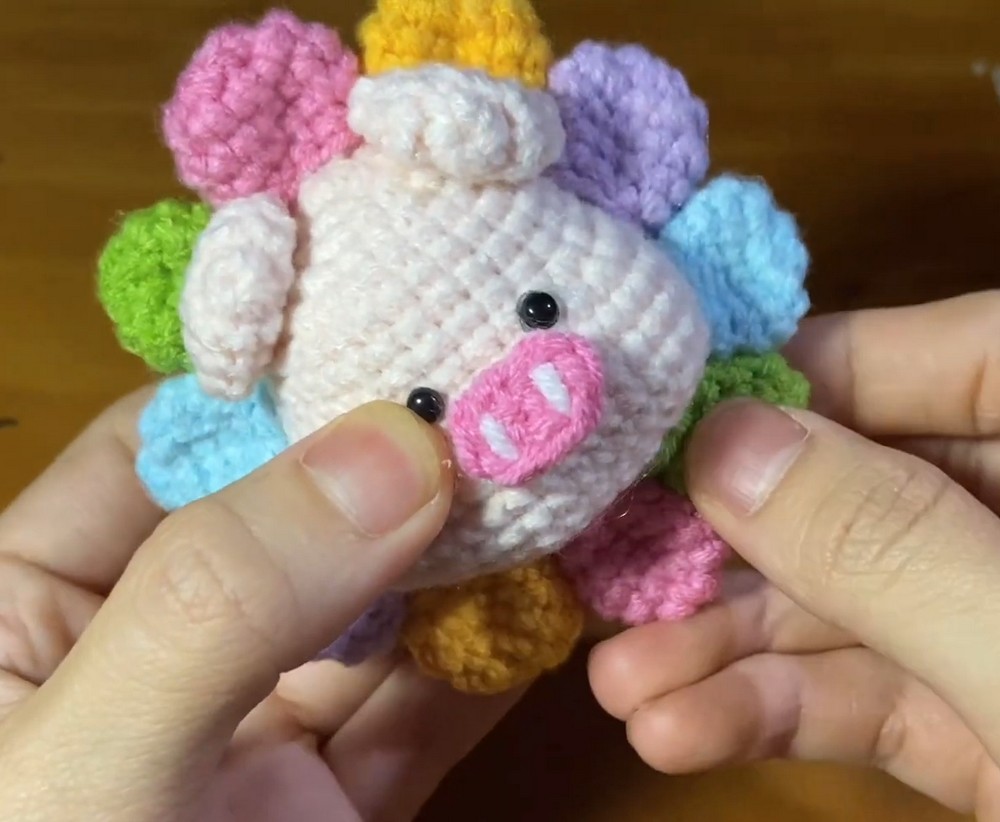
Snout (Use Darker Pink Yarn)
- Round 1: ch 4. Starting in the 2nd chain from the hook, place 1 sc in the next 2 chains. In the last chain, place 3 sc. Rotate your work to crochet down the opposite side of the foundation chain. Place 1 sc in the next chain, and 1 inc in the final chain. sl st to the first st to join. [8]
Finish: Fasten off, leaving a long tail for sewing.
Assembly Instructions
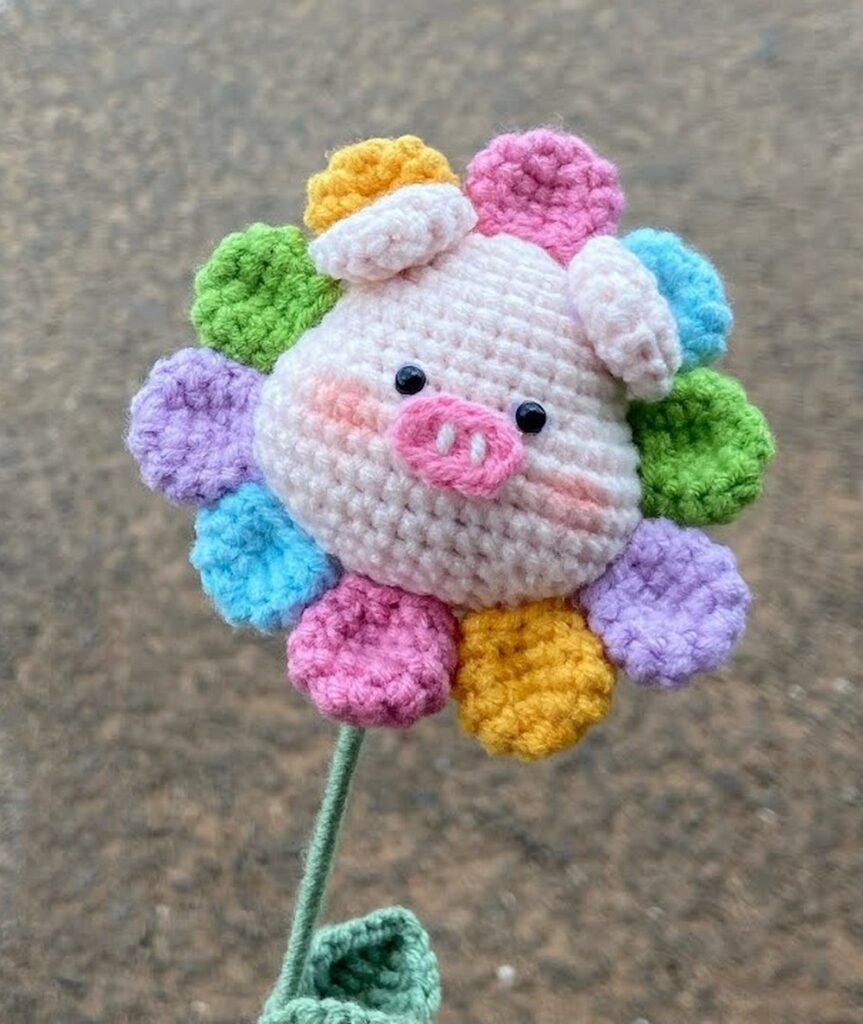
- Attach the Eyes: Find Rounds 9 and 10 (right above where the cheek increases start). Place the safety eyes evenly spaced between these two rounds.
- Attach the Snout: Center the snout between the eyes. Use your tapestry needle to sew it onto the face, or use hot glue to secure it.
- Attach the Ears: Take your flattened ears and position them on the top-left and top-right sides of the pig’s head. Sew them down firmly.
- Attach the Petals: Take your 10 flower petals and arrange them evenly around the perimeter of the head. Pin them in place first to ensure they fit nicely in a circle, then sew or hot glue the base of each petal to the head.
- Finishing Touches: Take your blush and a small makeup brush and dab a little bit of color onto the cheeks (right on the bulging areas you created in Rounds 9 and 10) to give your pig flower a cute, rosy glow.
Learn with the Video Tutorial

About "Talha"
Hey, I’m Talha, the Crafter on Craftstive.com. I love to share guides on folding cute origami models and paper crafts, and I am always ready to inspire your next craft project with my weekly craft discussions.