
Show support for inpom!
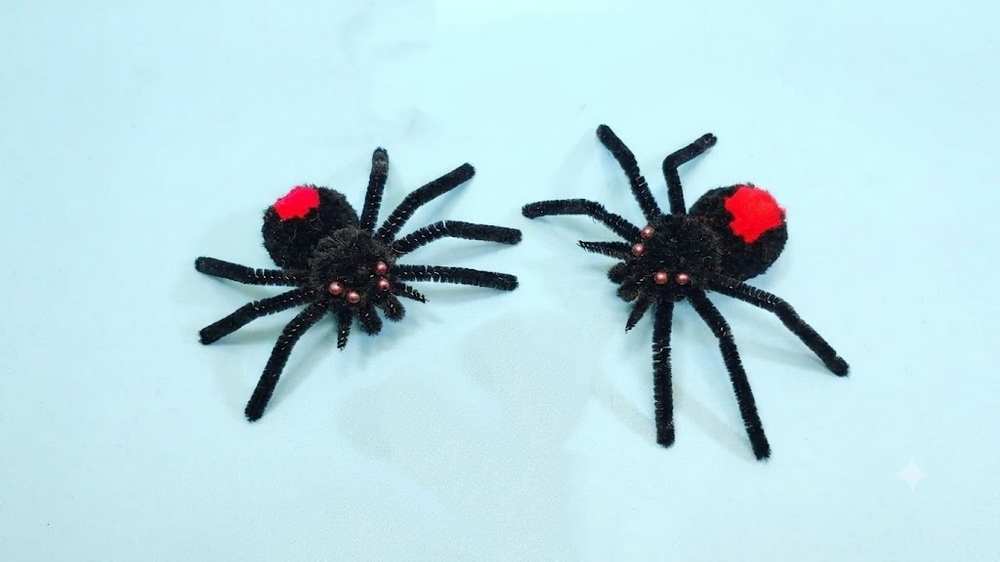
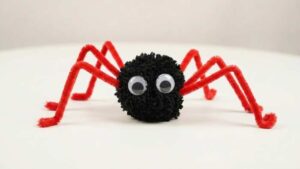
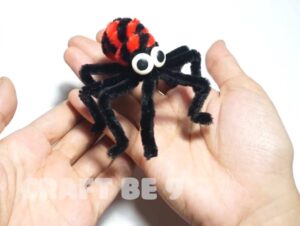
Yesterday, you learned how to DIY an easy, CUTE, beginner-level spider plushie out of a pom pom and a pipe cleaner! However, if you are looking for a REALLY spooky Halloween spider plushie, follow this black pom pom spider plushie tutorial. This is a 6-legged spider plushie with a wide red spot on its belly and 4 spooky eyes. Add it to Halloween decorations by making a pipe-cleaner spiderweb, or craft it alongside a pumpkin fabric plushie with a jack-o’-lantern face. It will also be an irresistible surprise gift for kids.
Spooky No-Knit Yarn Spider Plushie
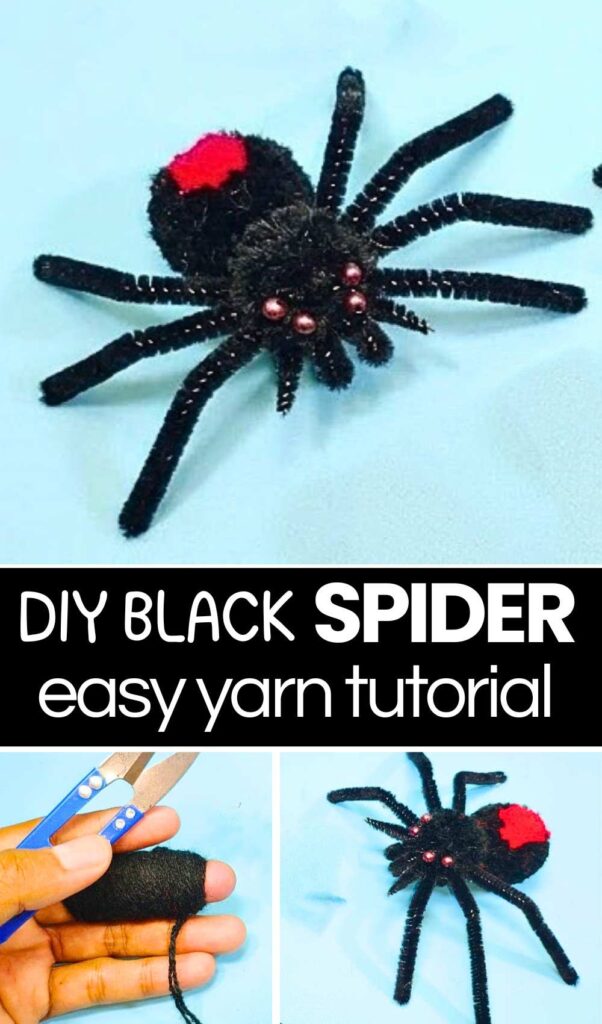
This pom pom + pipe cleaner spider plushie looks so spooky because it also has the pipe cleaner fangs and has grey-bead eyes instead of googly eyes. Unlike the sphere-body spider plush, it requires making 2 pom poms and also trimming the shape of the body.
Now, continue reading to learn more about this Halloween craft project. Note that I have shared tens more guides for making a pipe cleaner spider already, whether as an addition to a Halloween pipe cleaner magic wand or a spider with the spiderweb set. Wanna learn how to DIY this pipe cleaner & pom pom craft? Follow through with the spider plush guide below.
Tutorial to DIY A Life-like Spider Plushie Using Pom Poms
This DIY project creates a realistic-looking black widow spider plushie using simple materials like yarn and pipe cleaners. It is a perfect craft for Halloween or for anyone who enjoys nature-inspired decorations.
The process involves making “pompoms” for the spider’s body and head by wrapping wool around your fingers, tying it tightly, and trimming it into round shapes.
Pipe cleaners are used for the flexible legs and mouthparts, allowing you to pose the spider in different ways. Finally, beads are added for eyes, and hot glue holds everything together. This budget-friendly craft is fun and easy to follow.
DIY Yarn and Pipe Cleaner Spider Plushie Guide
Materials You Will Need:
-
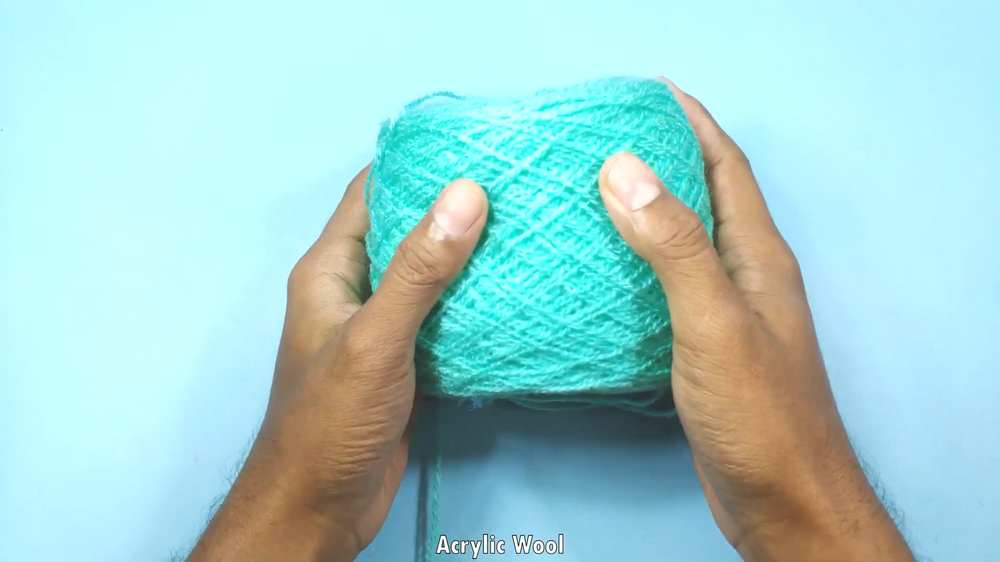
Acrylic Wool: Black and Red
-
Black Pipe Cleaners
-
4 Small Brown Beads (2mm size)
-
Hot Glue Gun
-
Scissors
-
Black Thread/String
Beginner? Learn with the Video Tutorial
Step-by-Step Instructions:
1. Make the Spider’s Body (Abdomen)
-
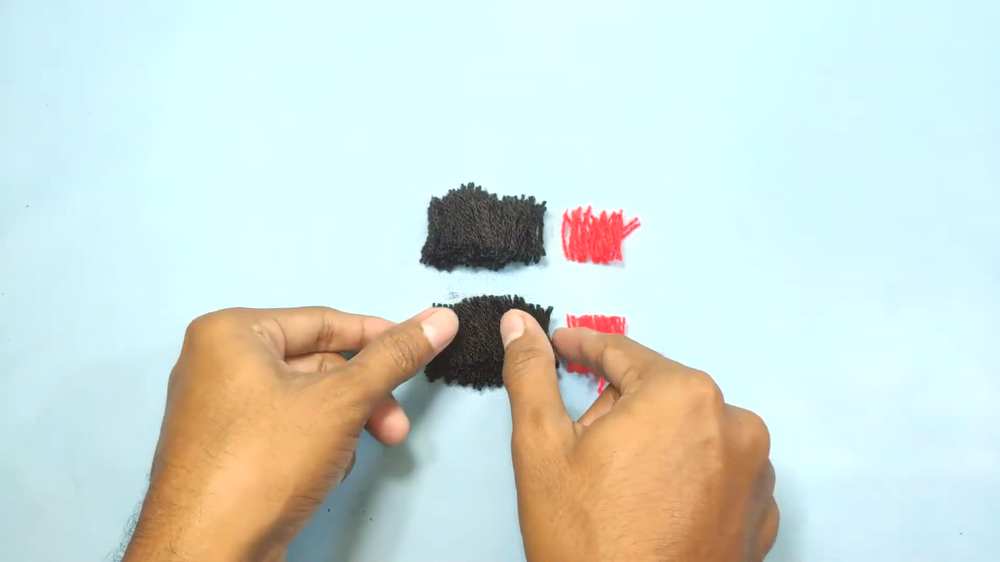
Take the black wool and wrap it around two of your fingers 80 to 90 times.
-
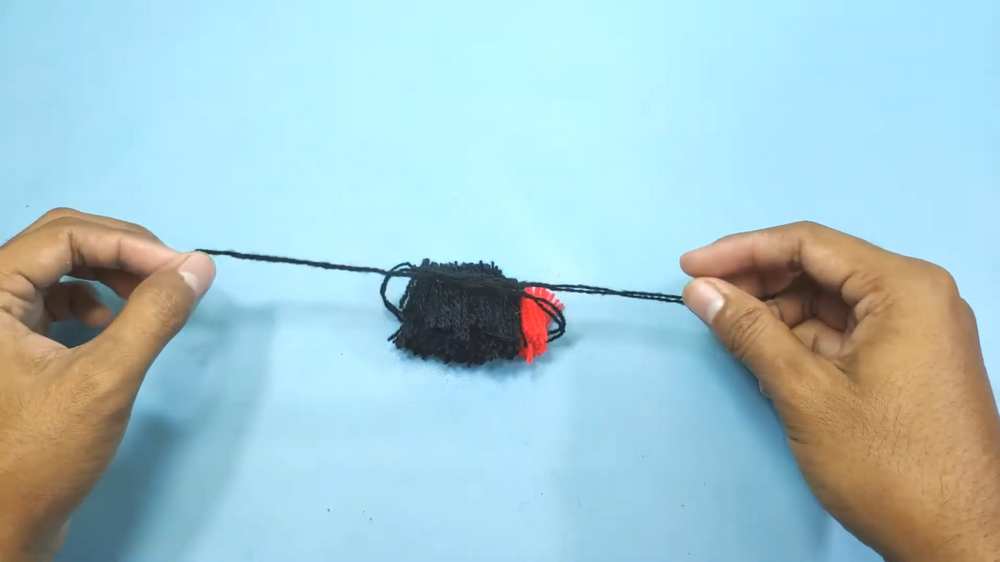
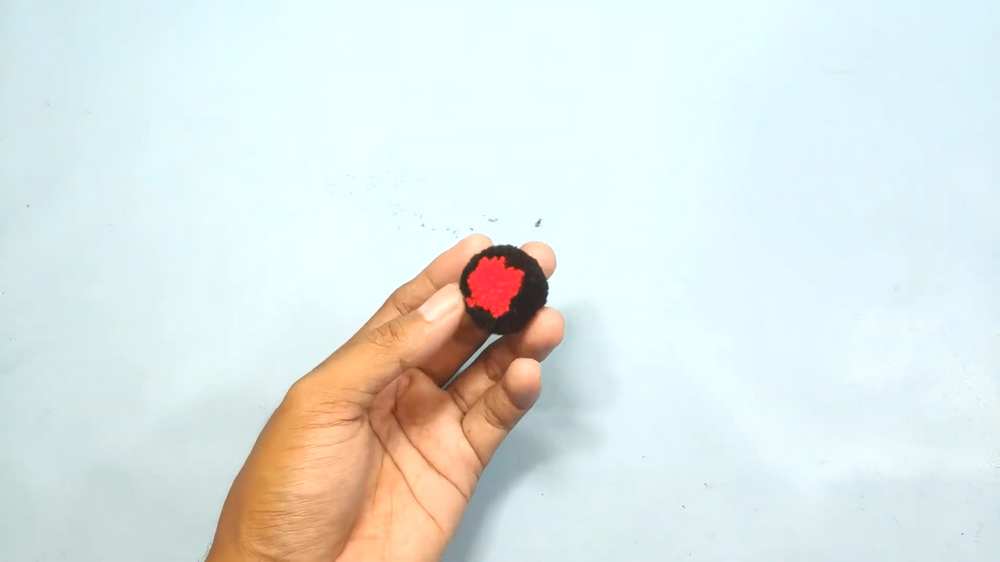
Take the red wool and wrap it about 10 times directly over the center of the black wool bundle.
-
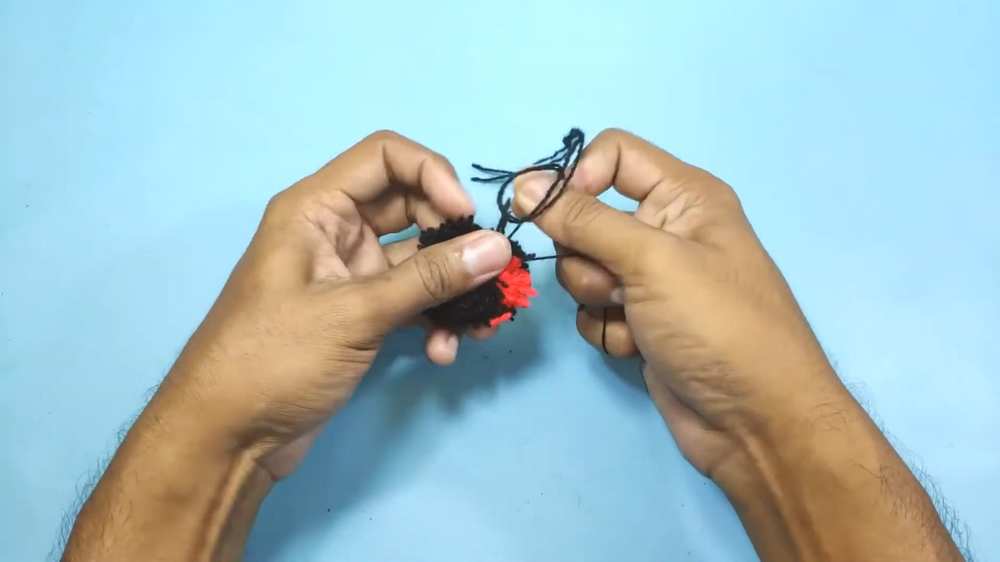
Carefully slide the wool off your fingers. Take a piece of black thread and tie it very tightly around the middle of the bundle.
-
Use your scissors to cut the loops on both ends of the bundle.
-
Trim the wool with your scissors until it looks like a neat, round ball (pompom). The red wool will create a “red spot” on the back of the spider.
2. Make the Spider’s Head
-
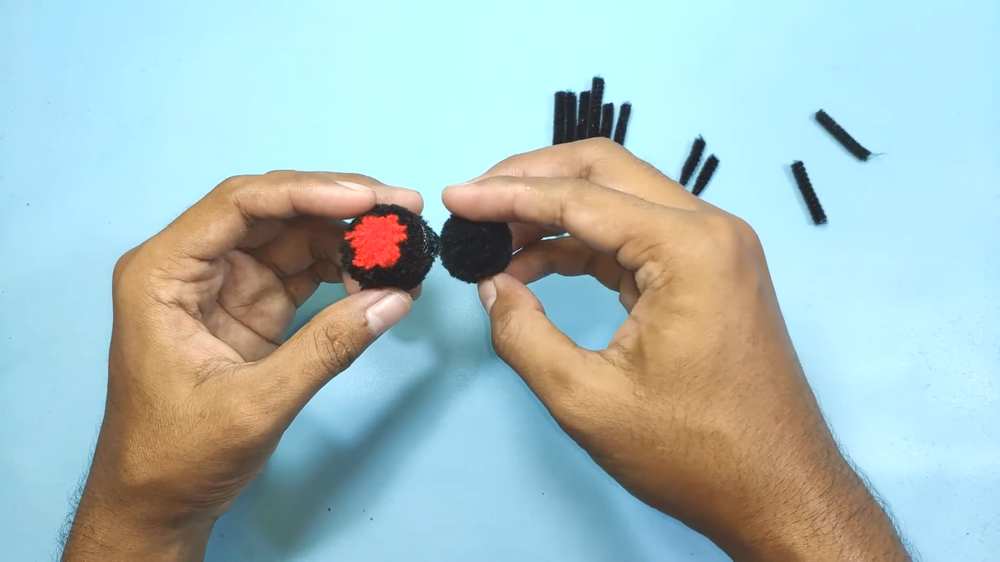
Take the black wool and wrap it around two of your fingers 60 times.
-
Slide it off, tie it tightly in the middle with a string, and cut the loops on the ends.
-
Trim this bundle into a round ball as well, making sure it is smaller than the body you made in Step 1.
3. Prepare the Legs and Mouthparts
-
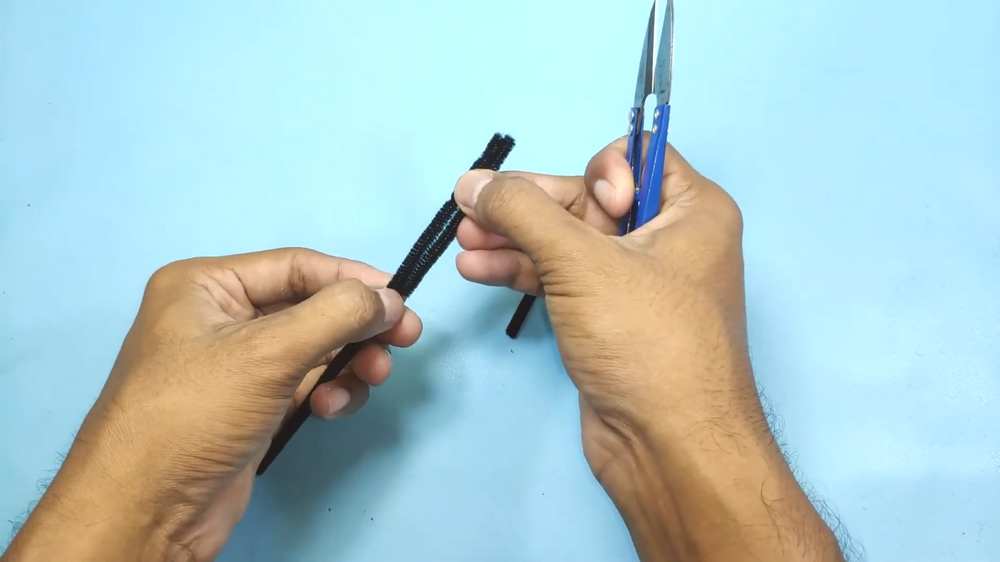
Take a black pipe cleaner and cut eight pieces, each 7cm long. These will be the legs.
-
Bend each leg slightly in the middle to give them a realistic spider shape.
-
Cut two smaller pieces of pipe cleaner, about 2cm to 2.5cm long. These are for the “pedipalps” (the small feelers near the mouth).
4. Assemble the Spider
-
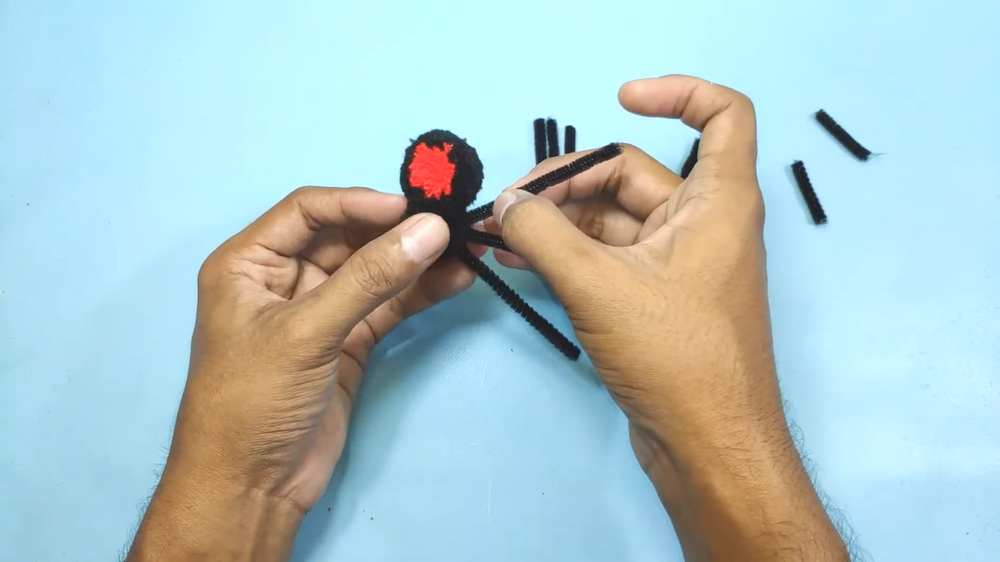
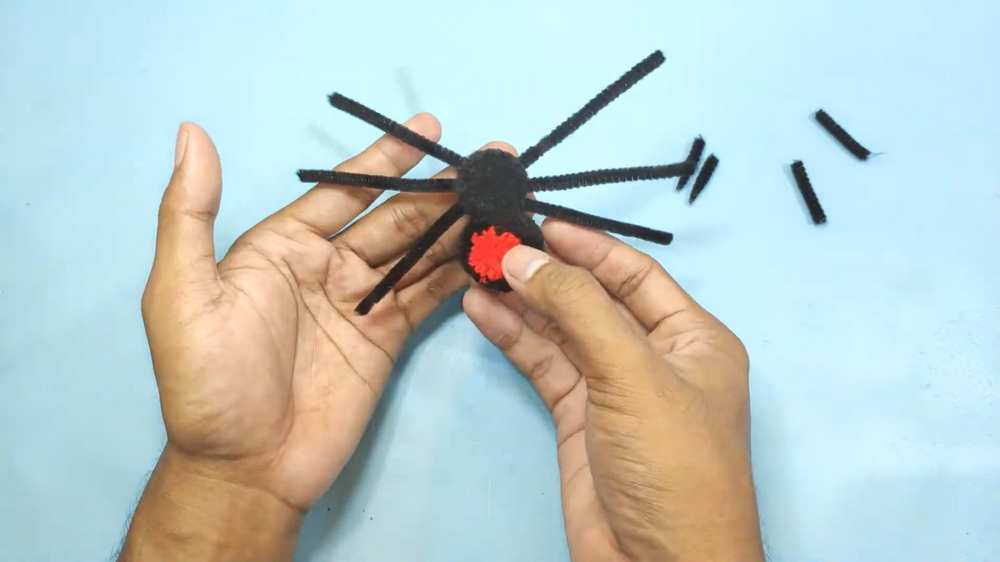
Use the hot glue gun to attach the small head pompom to the larger body pompom.
-
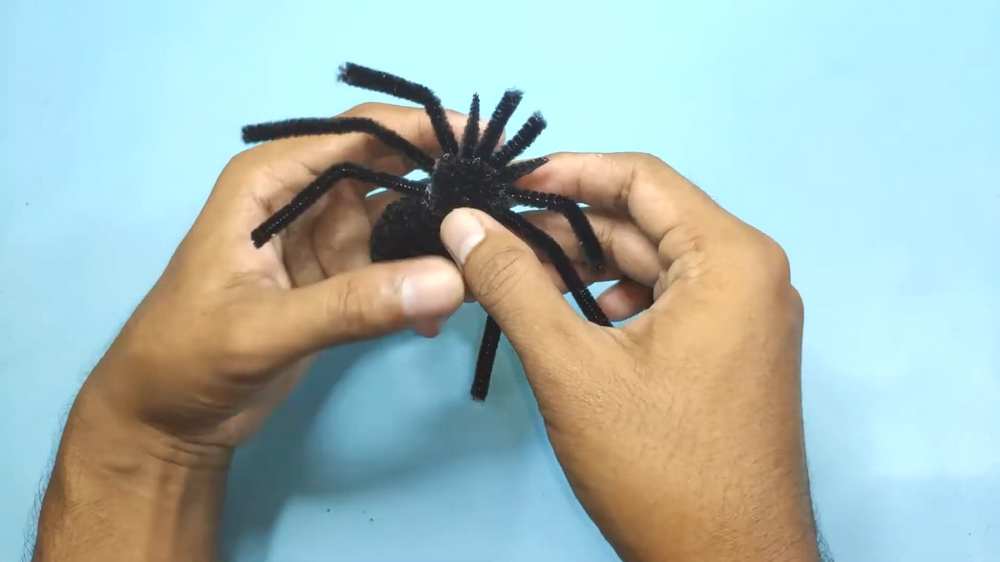
Glue four legs onto one side of the body and four legs onto the other side. Make sure they are attached where the head and body meet.
-
Glue the two small mouthparts (pedipalps) onto the front of the head.
5. Add the Eyes
-
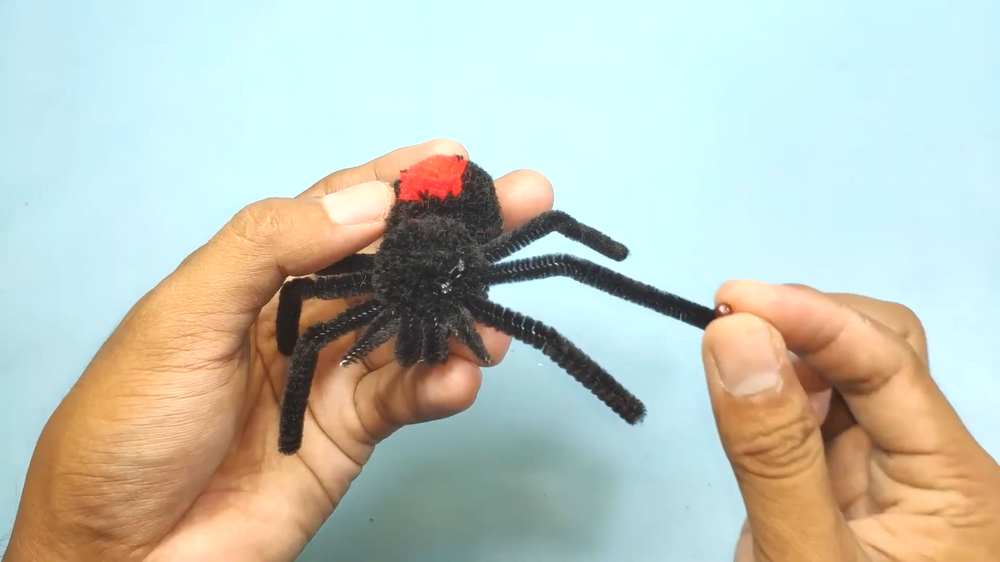
Apply four small dots of hot glue to the front of the head.
-
Carefully place the four brown beads onto the glue to give the spider its eyes.
Your spider plushie is now finished! You can bend the pipe cleaner legs to make it “crawl” or “stand.”