
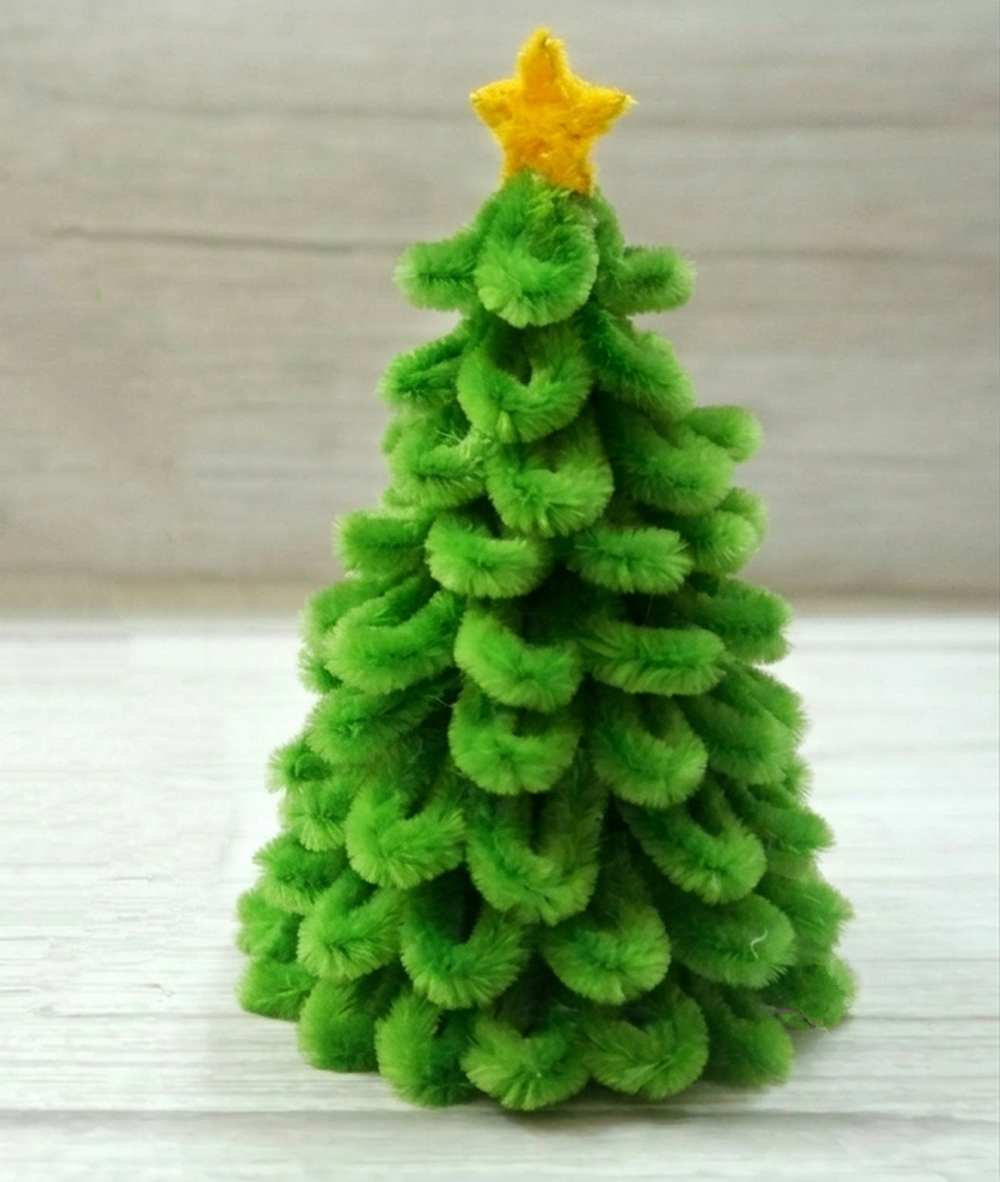
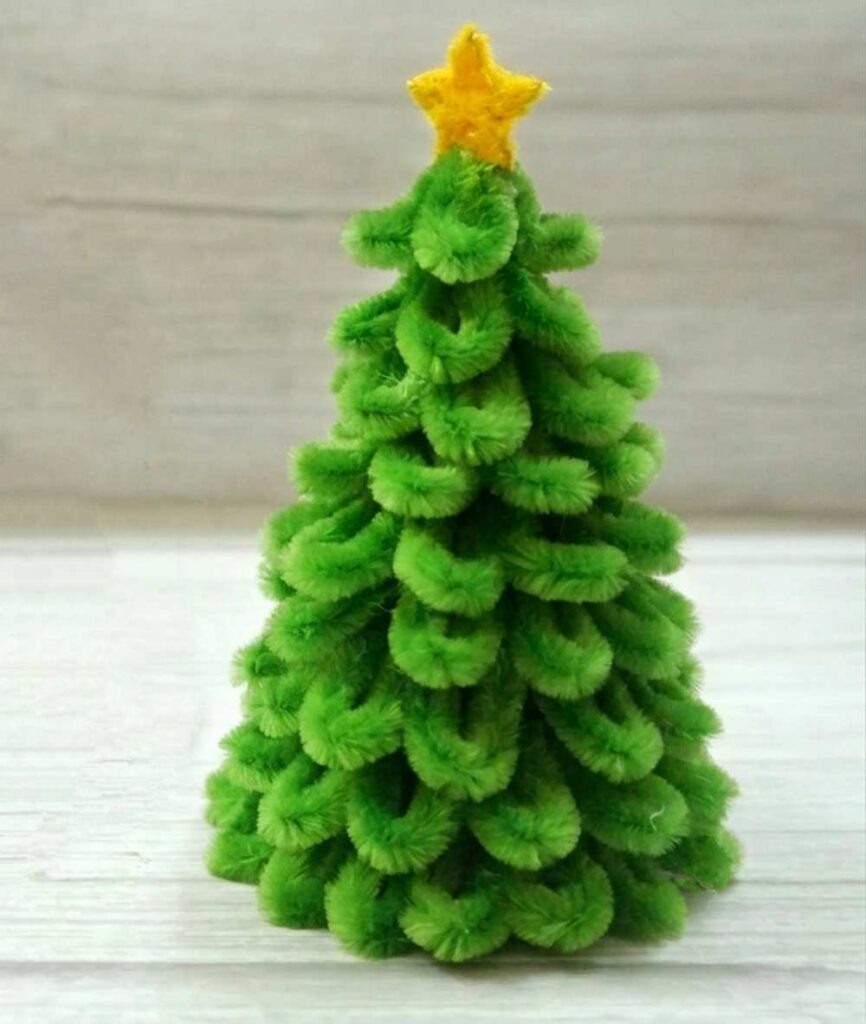
Looking for the easiest and fastest method to DIY a Christmas pine cone tree with a simple design? Learn how to DIY this 9-tier DIY pipe cleaner Christmas tree that is topped with a lovely pipe cleaner star and can be prepared in less than 30 minutes. Unlike the last Christmas tree design, it is pretty simple, and further decoration such as adding colorful jingle bells, pom poms, or strings is left for you to manage.
This way, you can make this table decoration Christmas tree your own and find the best way to decorate it.
You can decorate the table, porch area, and even hang it as a lightweight and budget-friendly ornament. You can also make one Christmas tree in colors like white and then add colorful pom poms to add color to it, especially for farmhouse Christmas decorations.
Crafting this Christmas tree would need just one bending pattern, and you will love that. Now, continue reading to learn more about this DIY Simple Christmas tree project. You can also prepare it as a gift!


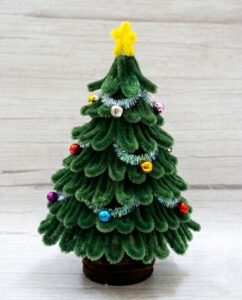
Tutorial to DIY A Christmas Tree Table Decoration
This project shows how to make a small Christmas tree. You use simple things like a paper roll, green paper, and green pipe cleaners. First, you make a cone shape from the paper roll. Then, you cover it with green paper. After that, you fold the pipe cleaners to look like tree branches.
You glue these branches around the cone from bottom to top. Finally, you put a star on top. It is a fun and easy craft for kids and adults. It looks very cute on a desk or shelf during the holidays.
Materials You Need:
-
Green pipe cleaners
-
Toilet paper roll (cardboard)
-
Green crepe paper
-
Hot glue gun
-
Scissors
-
Ruler
-
A pen or marker
Step-by-Step Instructions:
1. Make the Tree Base
-
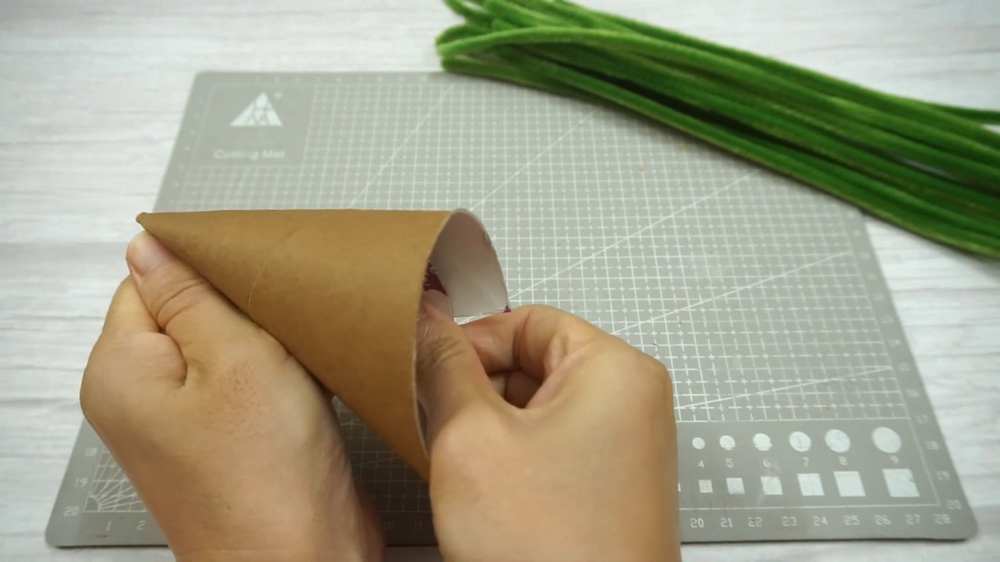
Take the toilet paper roll and cut it straight down the middle so it opens up.
-
Roll the cardboard into a cone shape.
-
Use the hot glue gun to stick the edge down so the cone stays together.
-
Use scissors to cut the bottom of the cone so it can stand flat on a table.
2. Cover the Cone
-
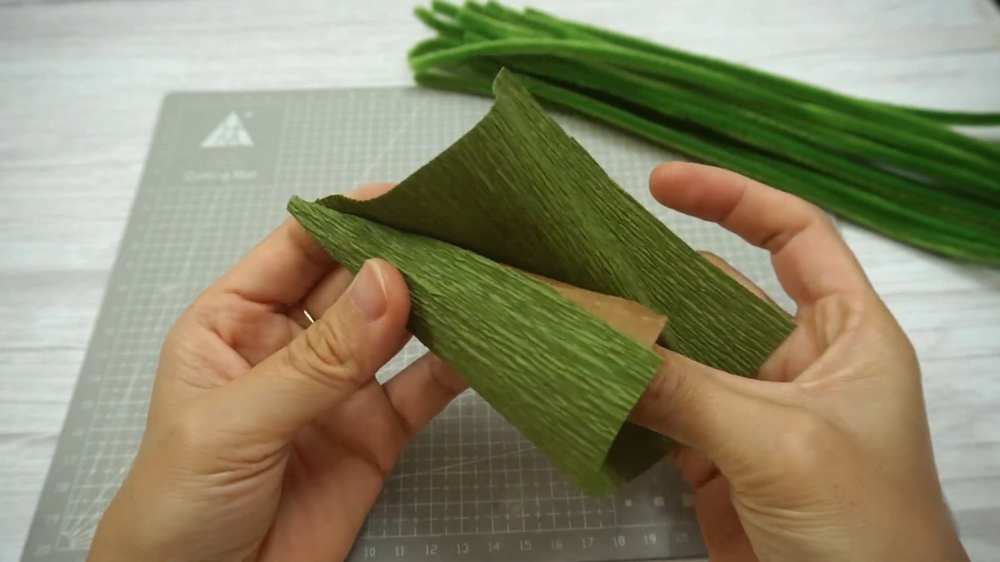
Put glue on the cardboard cone.
-
Wrap the green crepe paper around the cone until all the brown cardboard is covered.
-
Glue the paper edges down and trim any extra paper.
3. Prepare the Pipe Cleaner Branches
-
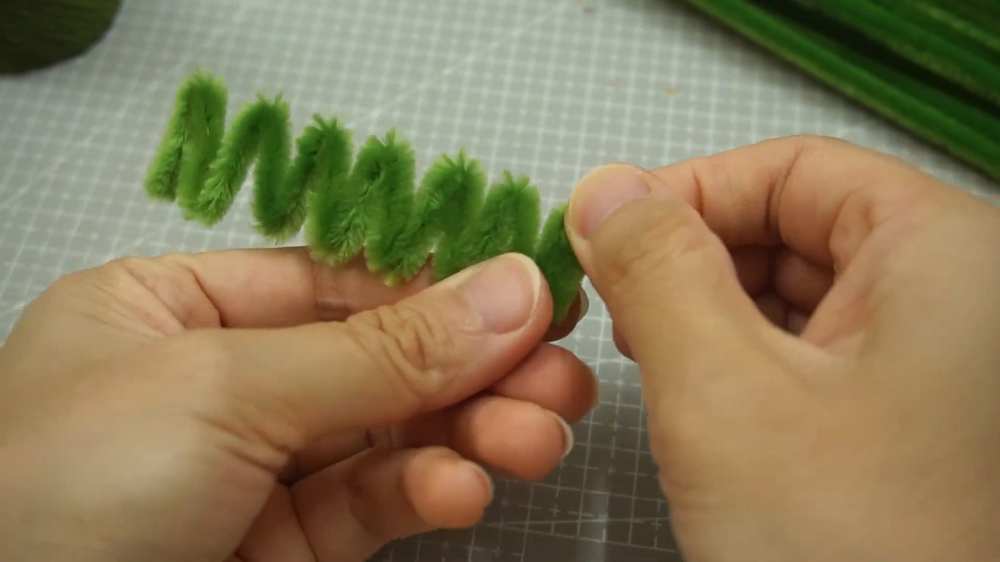
Take a green pipe cleaner. Use a ruler to measure and fold it back and forth (zig-zag) every 1 or 2 centimeters.
-
Take a pen and put it inside each fold. Press the pipe cleaner around the pen to make the folds look like round loops. These are your “branches.”
4. Glue the Branches to the Tree
-
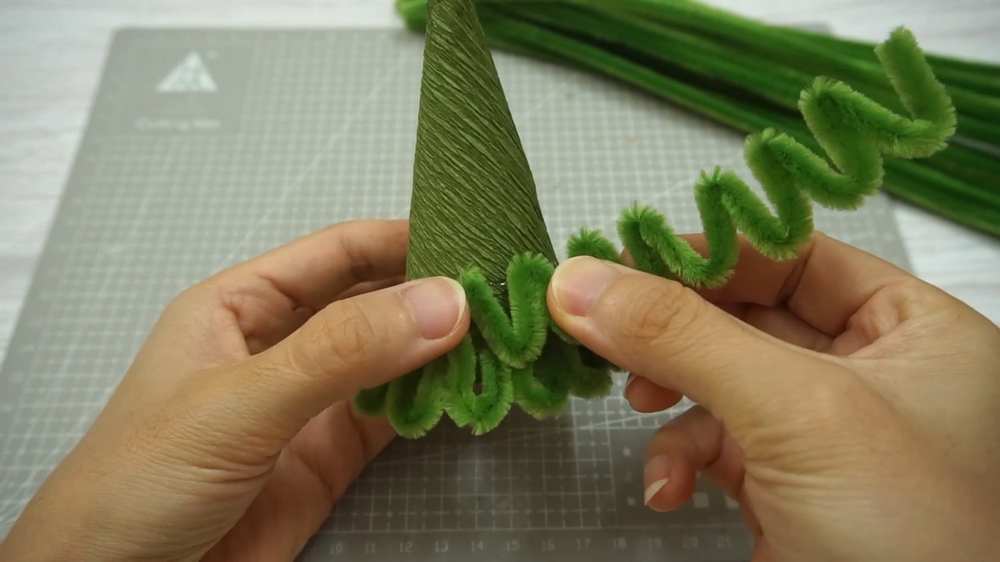
Start at the very bottom of the cone.
-
Put a line of glue around the bottom and press your wavy pipe cleaner onto it.
-
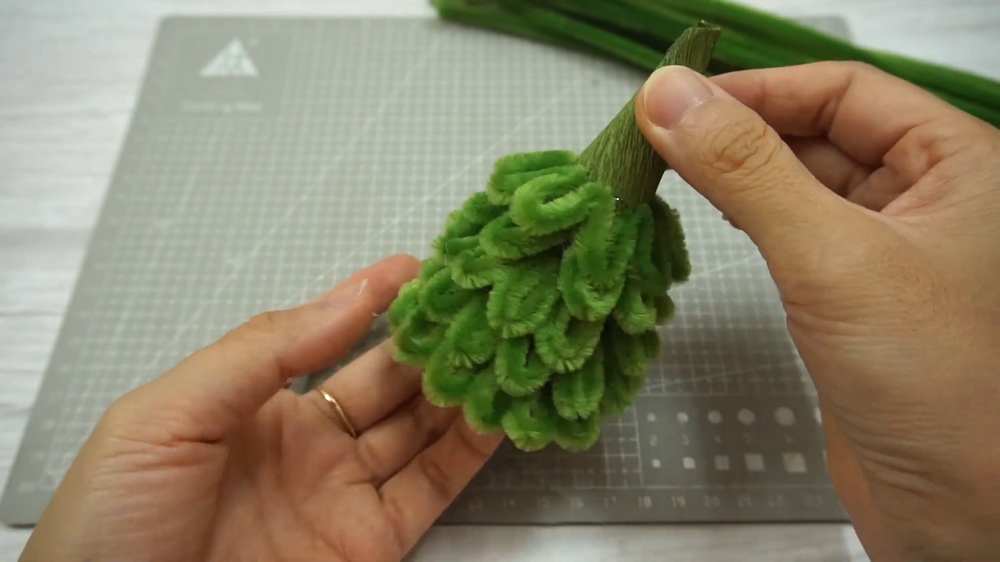
Make a second row of pipe cleaners just above the first row. The loops should hang down a little bit over the row below.
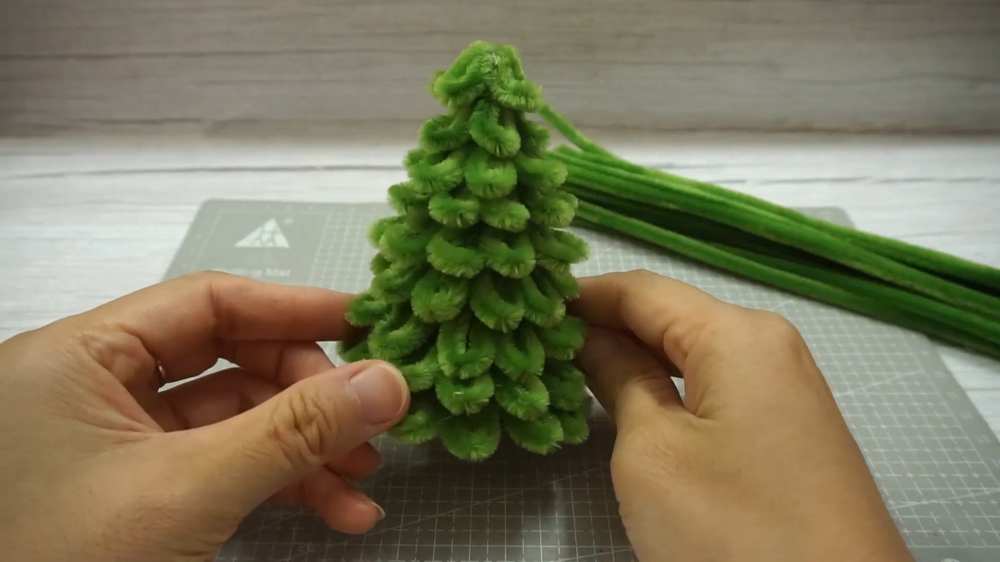
- Keep adding rows of pipe cleaners until you get to the top. As the cone gets thinner, your pipe cleaner pieces will get shorter.
5. Finish the Top
-
When you reach the very top, wrap a small piece of pipe cleaner around the point to cover the tip of the cone.
-
Make a small star out of a yellow pipe cleaner or use a ready-made star.
-
Glue the star to the very top of your tree.
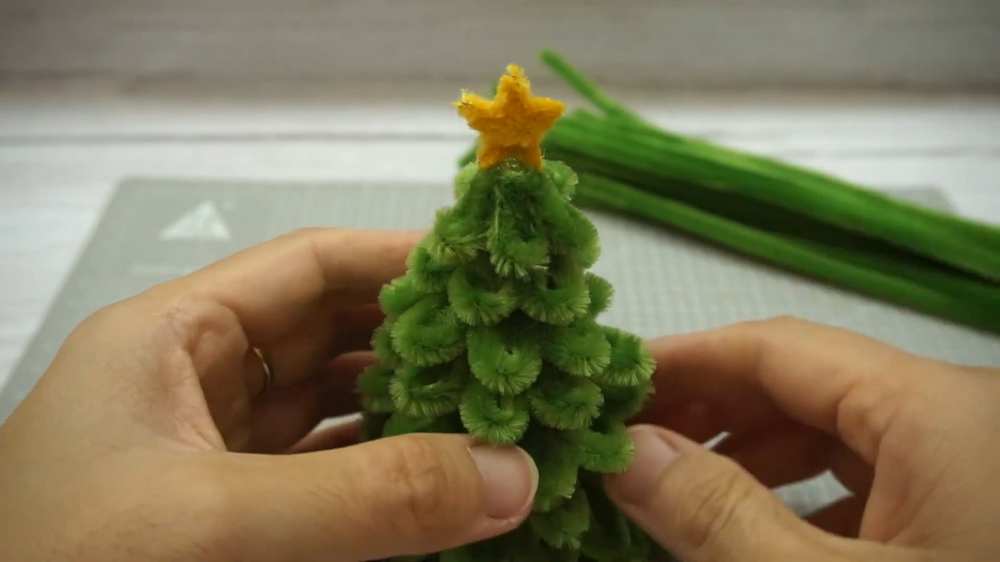
Your DIY pipe cleaner Christmas tree is now finished!
About "Craftbee 9"
She makes incredible fabric, recycle and pipe cleaner crafts.