Show support for Inpom!
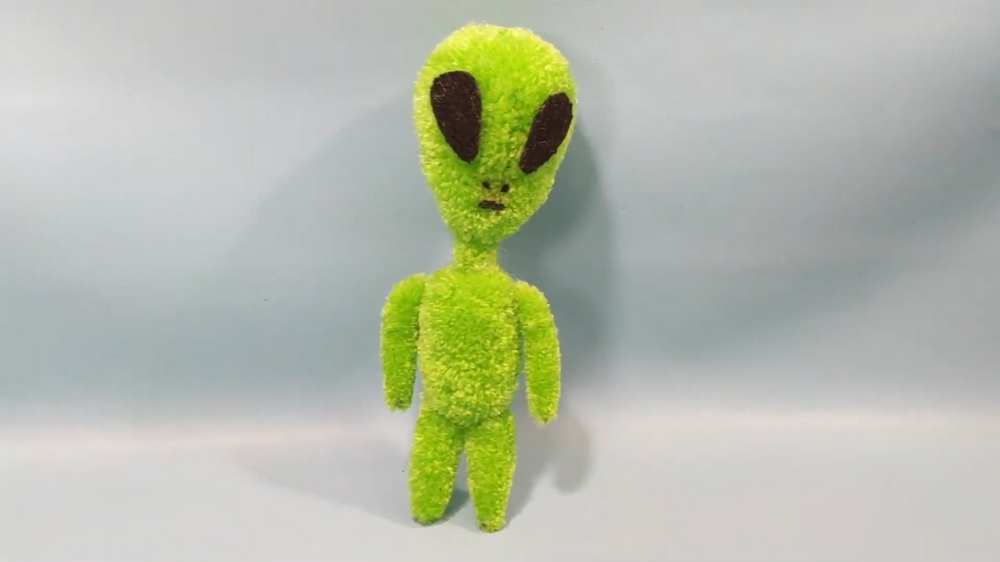
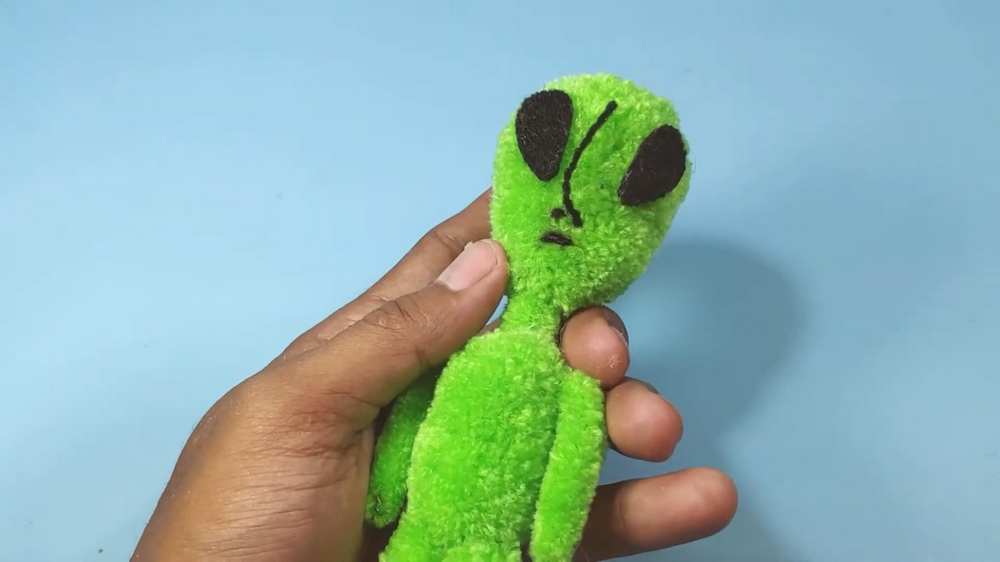
This Halloween, learn how to DIY this no-knit UFO alien spider plushie with a step-by-step tutorial + a written guide as well. This yarn alien plushie is inspired by Christopher Buckley’s depiction of little green men aliens. This pom pom alien is made to look quirky and funny with its long neck, oversized face, and iconic felt eyes and threaded mouth. Make this Halloween alien as a gift for little ones – will make a bag charm, buddy, and pocket companion.
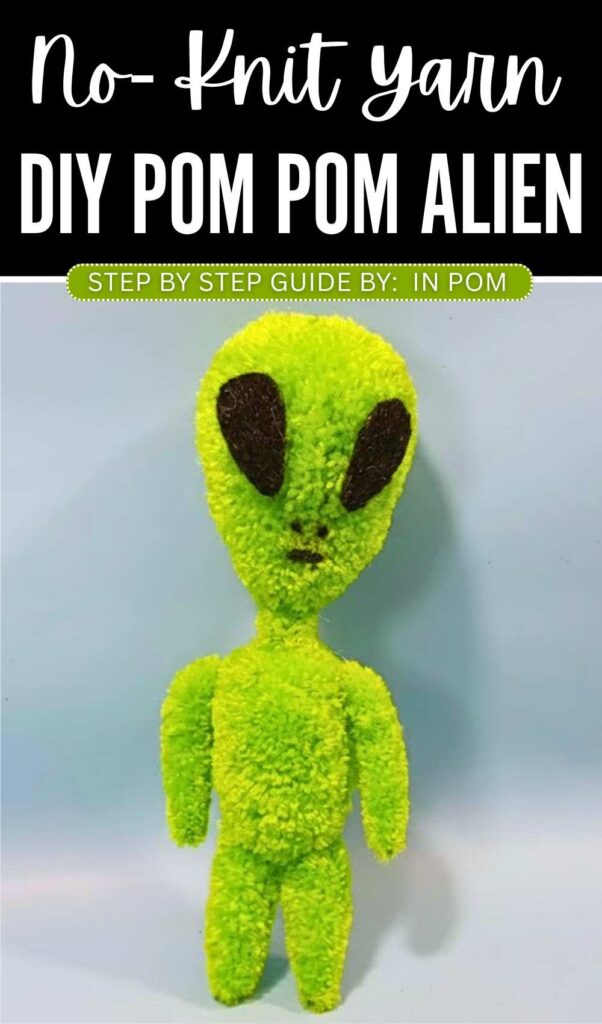
You can also make your alien plush in light purple, pink, and even grey. If you want to gift a girl, consider adding a yarn wrap bow on its head, too.
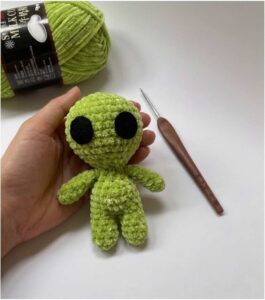
You can easily make this UFO green alien plushie within 45 minutes thanks to the use of the clover pom maker; it will end up pretty professional. I have also shared a crochet version of this alien plush, which is also no-sew. So, if you know how to crochet, be sure to crochet that one, too. Now, continue reading to learn more about this green alien plushie project and find the full guide.
Tutorial to Make A Kawaii UFO Alien Spider Plush
Skill level: Intermediate pom-pom crafting
Materials Needed:
-
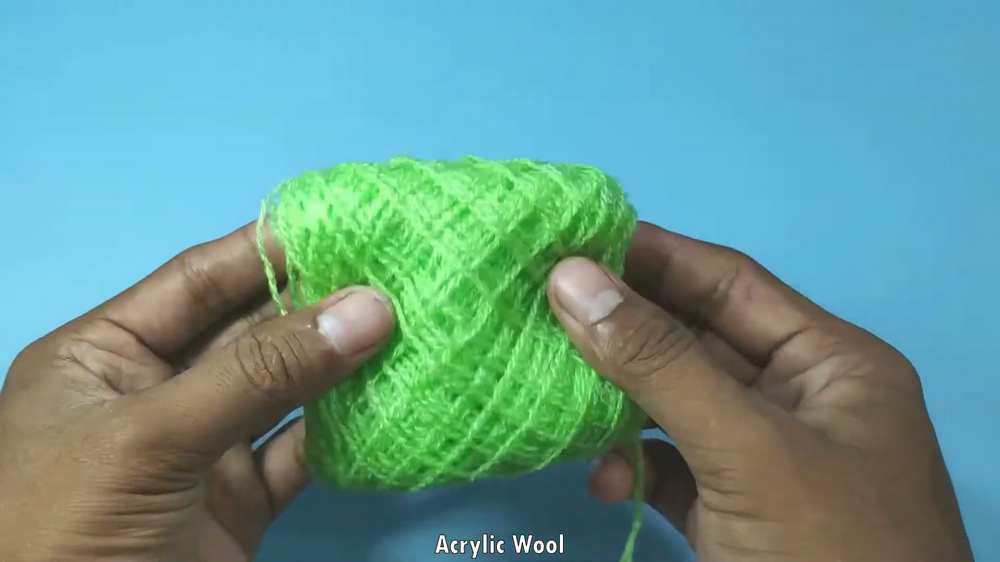
Bright green acrylic wool (yarn)
-
Black wool (yarn)
-
Pom pom makers (4.8 cm and 3.8 cm)
-
Small pieces of cardboard
-
Thin green craft wire
-
Scissors
-
Hot glue gun
-
Pliers
Beginner? Learn with the Video Tutorial
Detailed Step-by-Step Instructions:
1. Make the Alien Head
-
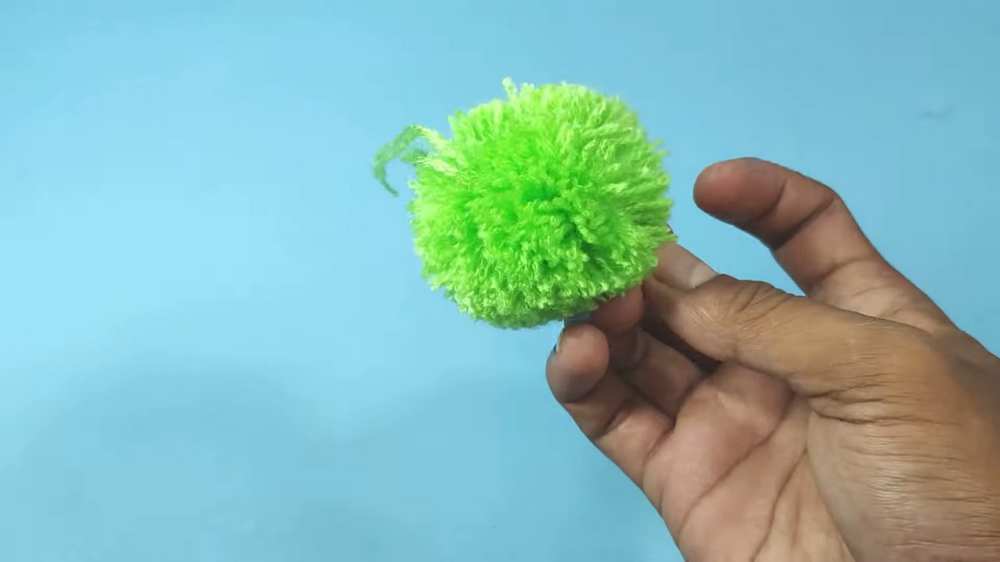
Open the 4.8 cm pom pom maker. Wrap the green wool thickly around both sides.
-
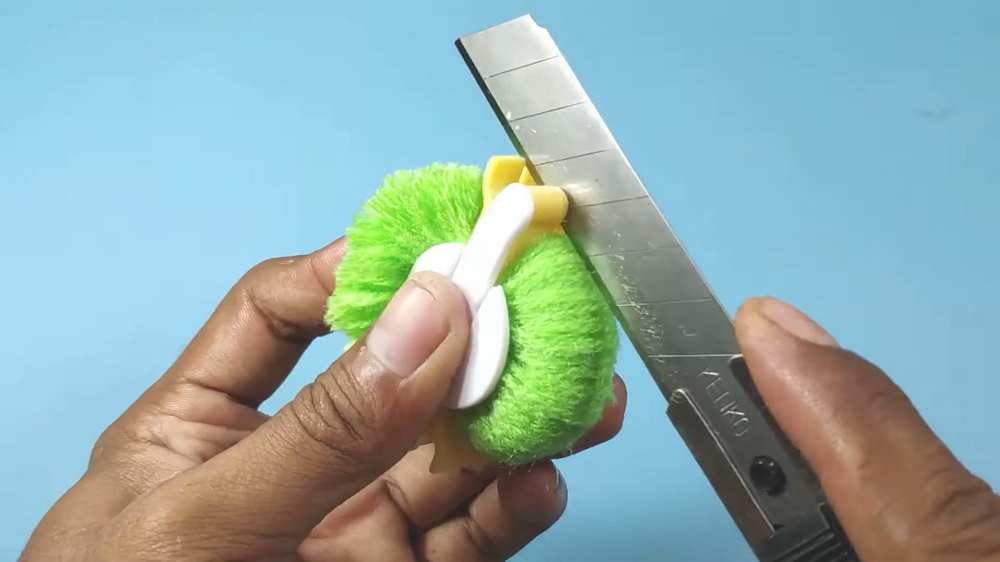
Close the maker, cut the wool along the center gap, and tie a piece of string tightly around the middle to secure it.
-
Remove the pom pom from the maker.
-
Use your scissors to trim the round ball into an oval shape that is wider at the top and narrower at the bottom (like a classic alien head).
2. Make the Alien Body
-
Use the 3.8 cm pom pom maker and repeat the wrapping, cutting, and tying process with the green wool.
-
Once removed, trim this pom pom into an oblong or cylinder shape. This will be the alien’s torso.
3. Create the Arms and Legs
-
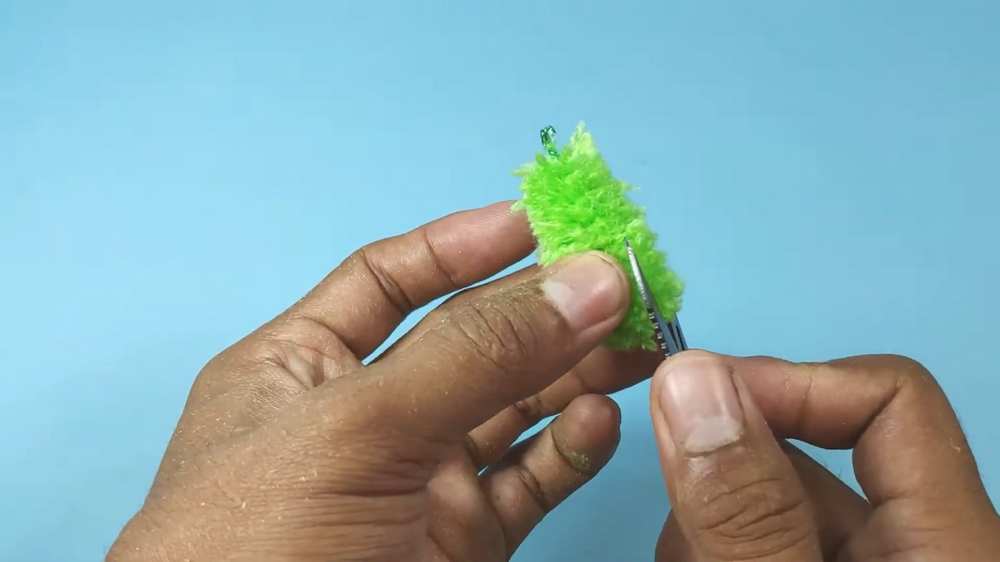
Wrap green wool around two of your fingers about 20-30 times.
-
Slide a piece of thin green wire through the center of the loops and twist it tight to hold the wool together.
-
Cut the loops open at both ends.
-
Use your scissors to trim the wool very close to the wire, creating a thin, fuzzy “rod.”
-
Make four of these (two for arms, two for legs).
4. Make the Neck
-
Make a very small pom pom (or use a tiny leftover scrap of trimmed wool) to act as a joint between the head and the body.
5. Assemble the Alien
-
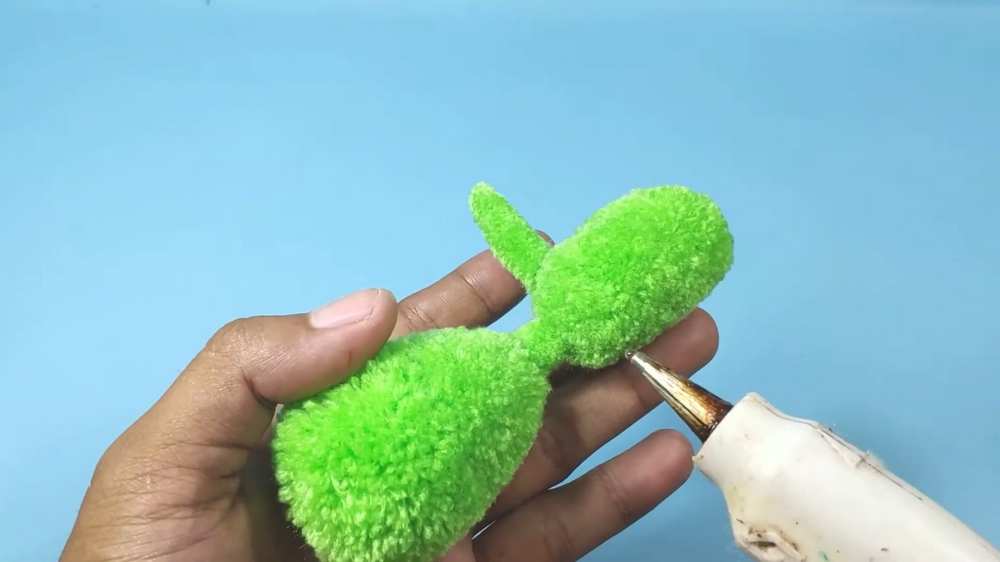
Using a hot glue gun, attach the small neck piece to the bottom of the head.
-
Glue the other side of the neck to the top of the body.
-
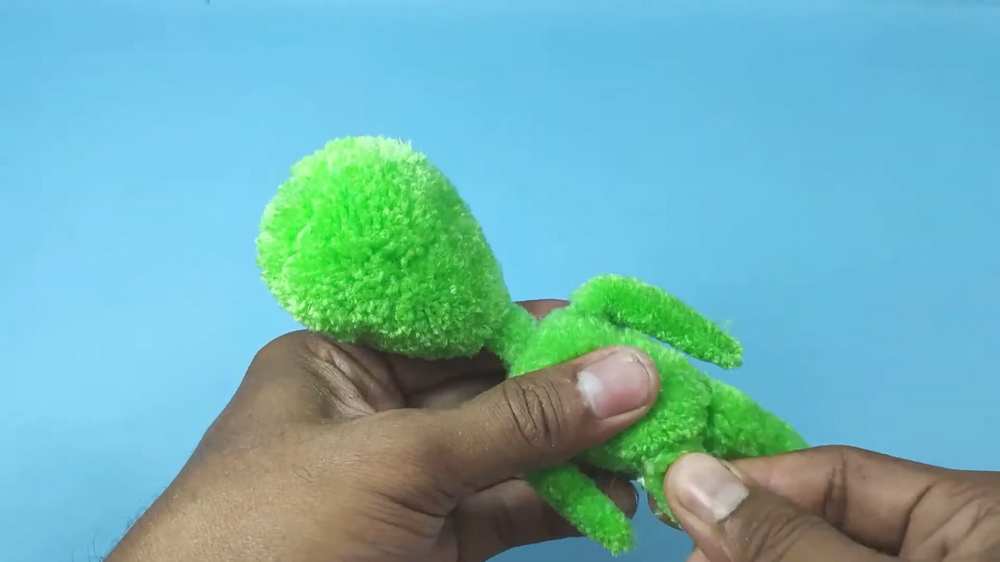
Glue the two arms to the shoulders and the two legs to the bottom of the body. Use pliers to bend the wires if needed to help them stay in place.
6. Make the Eyes and Mouth
-
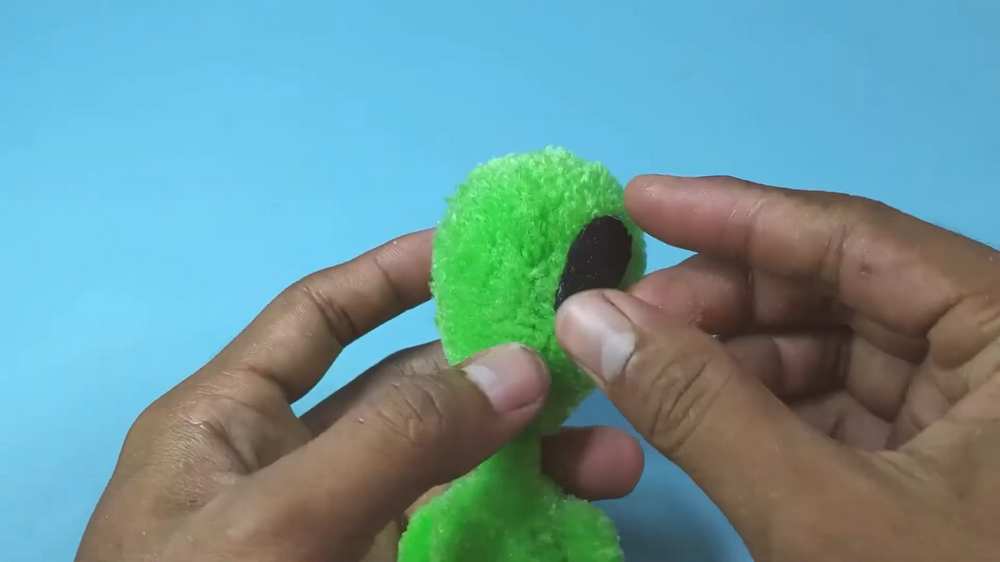
Take a small piece of cardboard and wrap black wool around it until it’s fully covered.
-
Apply hot glue over the wool on one side of the cardboard to “set” it.
-
Once dry, peel the flattened, glued wool off the cardboard. It should now feel like a piece of black felt.
-
Cut out two large, almond-shaped eyes from this black wool piece.
-
Glue the eyes onto the top half of the alien’s head.
-
Use a tiny scrap of black wool or a small snip with scissors to create a tiny mouth.
Your Pom Pom Alien is finished! You can now bend his arms and legs to pose him however you like.