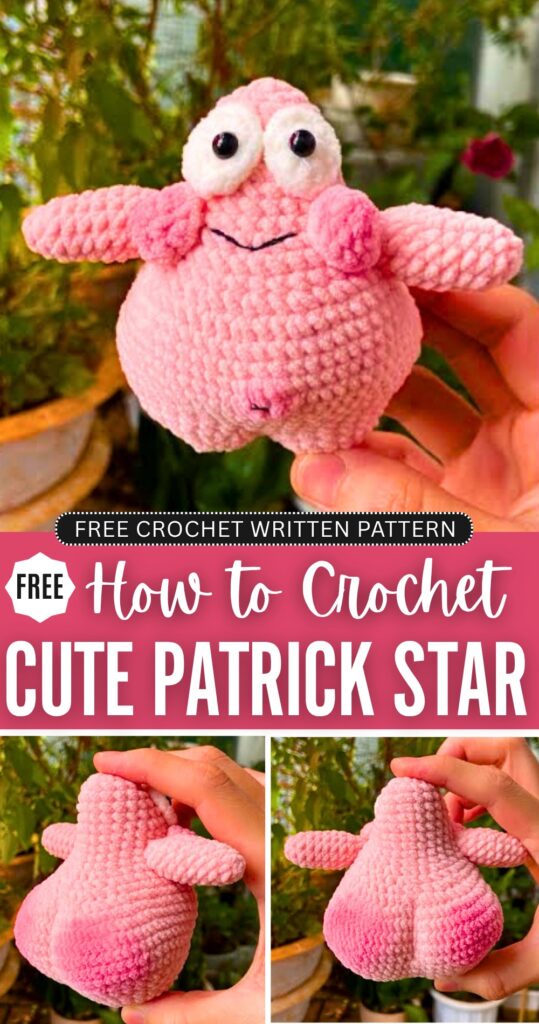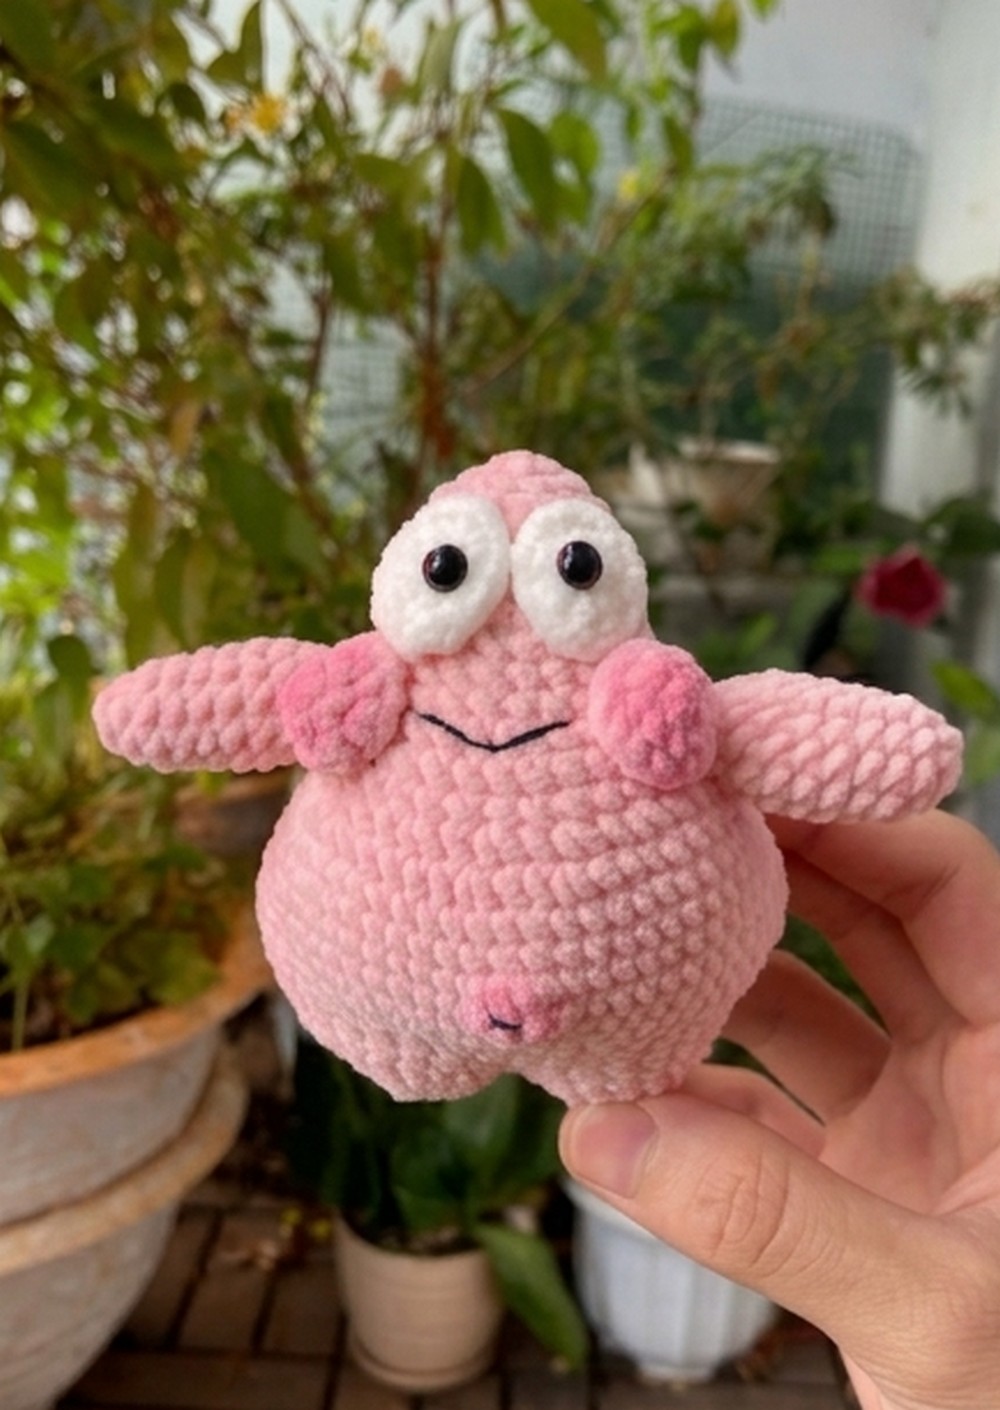
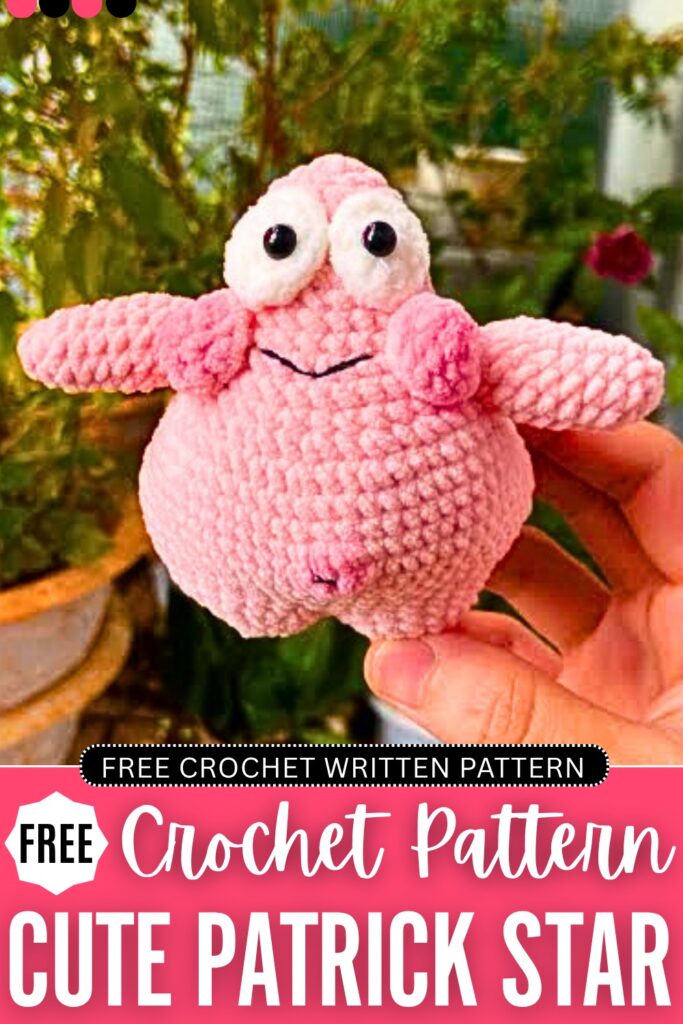
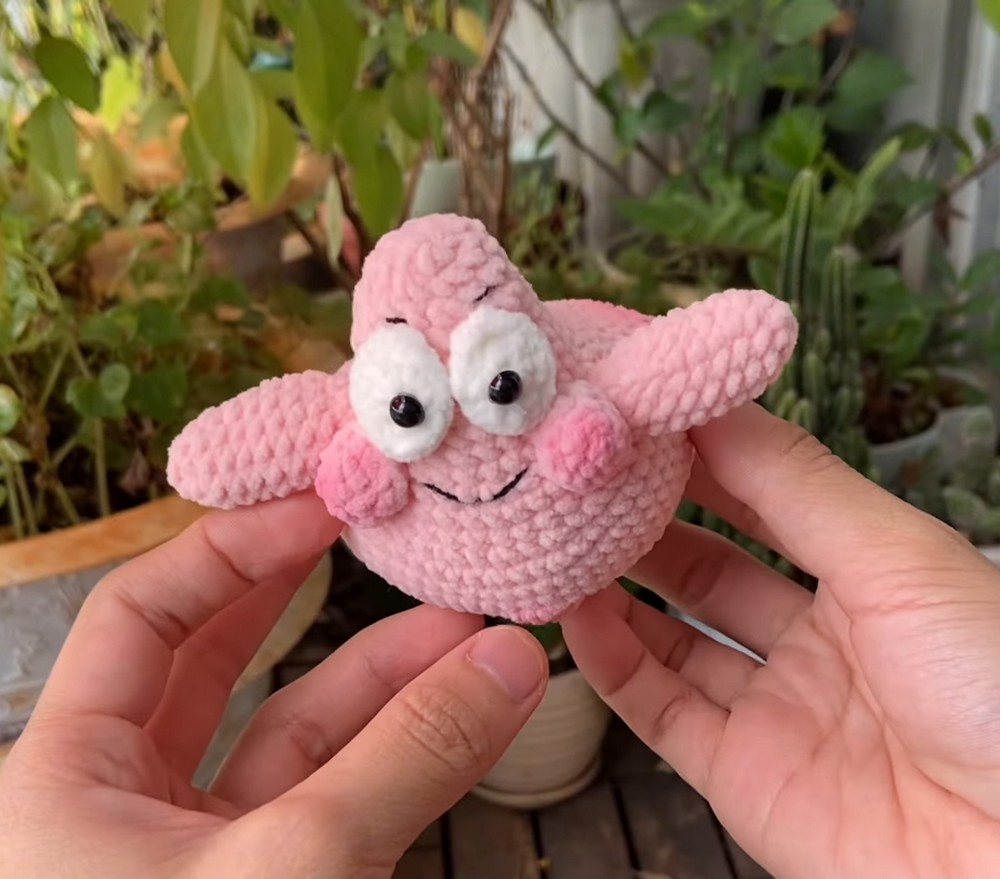
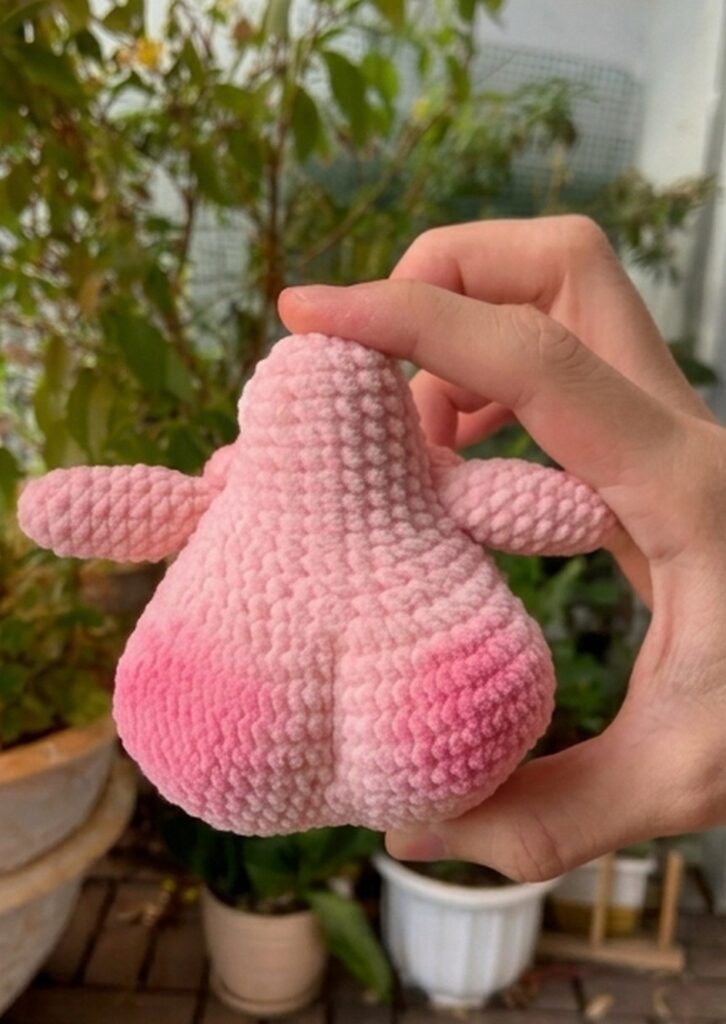
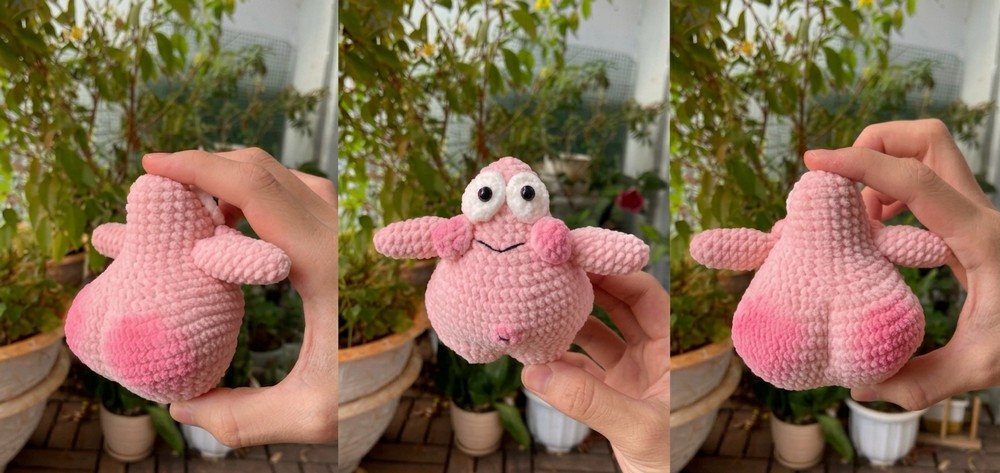
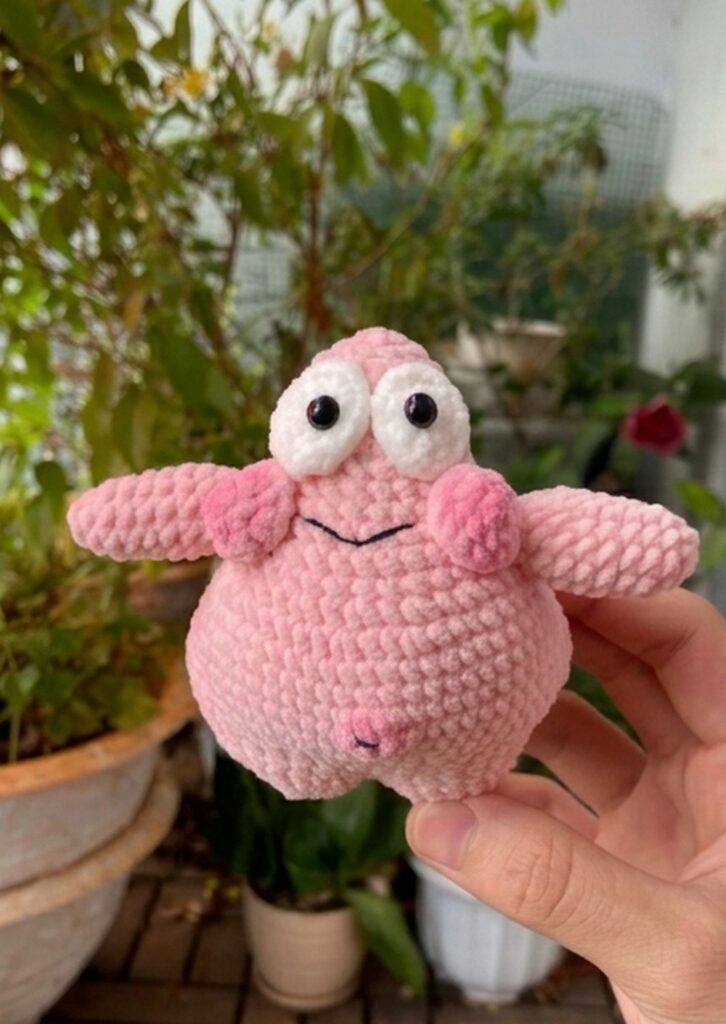
The pattern for the CUTEST & a little funny & suggestive crochet couple present for summer is here! So, learn how to crochet this googly-eyed Patrick Star plushie from SpongeBob SquarePants with this no-sew pattern for all skill levels. The pose looks very wacky, and there is a blush and its back that looks FUNNY. Both the eyes and the blush will be crocheted a little bulkier than usual.
And there is also a belly button that makes it look even wackier. Looking for the classical Patrick Star plushie pattern? Be sure to crochet the Patrick Star in the squarepants plush. I am also sharing many NEW character plushies, such as the Baby Yoda plush, Alien plush, and more. Now, continue reading for the complete pattern to crochet this elegant Patrick Star plush.
Crochet Couple Gift Patrick Star Plush: Round-by-Round Pattern
Below is the free crochet pattern you need to crochet this CUTE and suggestive Patrick Star plushie present, with the assembly in the end:
Abbreviations
- MR: Magic Ring
- ch: chain
- sc: single crochet
- inc: increase (2 sc in one stitch)
- dec: decrease (sc 2 stitches together)
- hdc: half double crochet
- dc: double crochet
- dc-inc: double crochet increase (2 dc in one stitch)
- M (sc3tog): invisible decrease 3 stitches together (sc 3 together)
- sl st: slip stitch
- st(s): stitch(es)
- ( ) x N: repeat the instructions between the brackets N times
- [ ]: total number of stitches at the end of the round
Materials Needed
- Chenille / Velvet Yarn (Pink and Light Green)
- 2.5 mm crochet hook
- Tapestry needle
- Fiberfill stuffing
- Black embroidery thread
- Safety eyes
- Pink blush (makeup)
- Fabric glue (optional, for eyes/cheeks)
Pattern
Body (Use Pink Yarn)
Start by working from the top down.
- Rnd 1: 6 sc in MR. sl st to first st, ch 1 [6]
- Rnd 2: 6 inc. sl st, ch 1 [12]
- Rnd 3: (sc, inc) x 6. sl st, ch 1 [18]
- Rnd 4: (3 sc, inc, 3 sc) x 3. sl st, ch 1 [24]
- Rnd 5: 24 sc. sl st, ch 1 [24]
- Rnd 6: (3 sc, inc) x 6. sl st, ch 1 [30]
- Rnd 7: (2 sc, inc, 2 sc) x 6. sl st, ch 1 [36]
- Rnd 8: 36 sc. sl st, ch 1 [36]
- Rnd 9: (6 sc, inc) x 6. sl st, ch 1 [42]
- Rnd 10: 42 sc. sl st, ch 1 [42]
- Rnd 11: (3 sc, inc, 3 sc) x 6. sl st, ch 1 [48]
- Rnd 12: (sc, inc, sc) x 6, 18 sc, (sc, inc, sc) x 2. sl st, ch 1 [56]
- Rnd 13: (3 sc, inc) x 2, 18 sc, (3 sc, inc) x 2. sl st, ch 1 [60]
- Rnd 14: (sc, inc, sc) x 1, 9 sc, (sc, inc) x 4, 9 sc, (sc, inc, sc) x 2. sl st, ch 1 [67]
- Rnd 15: 3 sc in next st, inc, (sc, inc) x 2, 12 sc, (sc, inc, sc) x 2, 12 sc, (inc, sc) x 2, inc, 3 sc in last st. sl st, ch 1 [81]
- Rnd 16: 4 sc, 6 inc, 40 sc, 6 inc, 4 sc. sl st, ch 1 [93]
- Rnd 17: 6 sc, (2 sc, inc, 2 sc) x 2, 40 sc, (2 sc, inc, 2 sc) x 2, 6 sc. sl st, ch 1 [97]
- Change to Light Green Yarn (Shorts)
- Rnd 18: 37 sc, inc, hdc, hdc, inc, 37 sc. sl st, ch 1 [80]
- Rnd 19: 24 sc, dec, sc, dec, 8 sc, sc3tog, sc3tog, 8 sc, dec, sc, dec, 24 sc. sl st, ch 1 [70]
- Rnd 20: (2 sc, dec, 2 sc) x 3, 36 sc, (2 sc, dec, 2 sc) x 3. sl st, ch 1 [64]
- Rnd 21: 29 sc, dec, 4 sc, dec, 29 sc. sl st, ch 1 [62]
- Rnd 22: 5 sc, 7 dec, 5 sc, (2 sc, dec) x 4, 5 sc, 7 dec, 5 sc. sl st, ch 1 [44]
- Rnd 23: 15 sc, (2 sc, dec) x 4, 15 sc. sl st, ch 1 [40]
- Rnd 24: (sc, dec) x 4, 14 sc, (dec, sc) x 4, 2 sc. sl st, ch 1 [32]
- Stuff the body firmly with fiberfill.
Legs (Continue with Light Green Yarn)
To create the legs, you will split the stitches.
- Divide for Legs: Count 17 sts from the hook, sl st into the 17th st. You will now work in the round on this small section (20 sts) for the first leg.
First Leg:
- Rnd 25-26: 20 sc. sl st, ch 1 (2 rounds) [20]
- Rnd 27: 7 sc, (sc, dec) x 4, sc. sl st, ch 1 [16]
- Rnd 28: 5 sc, (dec, sc) x 3, dec. sl st, ch 1 [12]
- Rnd 29: 6 dec [6]
- Fasten off, leave a long tail for sewing the hole closed.
Second Leg:
- Join yarn with a sl st to the 3rd chain in the crotch area.
- Rnd 25: 3 sc across the chain, 17 sc around the leg opening. sl st, ch 1 [20]
- Rnd 26-29: Repeat rows 26-29 of the First Leg.
- Fasten off, leave a long tail. Stuff legs, then sew the bottom holes closed.
Arms (Make 2 – Use Pink Yarn)
- Rnd 1: 4 sc in MR. sl st, ch 1 [4]
- Rnd 2: 4 inc. sl st, ch 1 [8]
- Rnd 3: 3 sc, inc, 3 sc, inc. sl st, ch 1 [10]
- Rnd 4: 10 sc. sl st, ch 1 [10]
- Rnd 5: 4 sc, inc, 4 sc, inc. sl st, ch 1 [12]
- Rnd 6-8: 12 sc. sl st, ch 1 (3 rounds) [12]
- Rnd 9: 4 sc, dec, 4 sc, dec. sl st, ch 1 [10]
- Rnd 10: 3 sc, dec, 3 sc, dec. sl st, ch 1 [8]
- Fasten off, leaving a long tail for sewing.
Cheeks (Make 2 – Use Pink Yarn)
- Rnd 1: 4 sc in MR. sl st, ch 1 [4]
- Rnd 2: 4 inc. sl st, ch 1 [8]
- Rnd 3: (sc, inc) x 4. sl st [12]
- Fasten off, leaving a long tail for sewing.
Eyes (Make 2 – Use White Yarn)
- Rnd 1: 6 sc in MR. sl st, ch 1 [6]
- Rnd 2: inc, dc-inc, 2 inc, dc-inc, inc. sl st [12]
- Fasten off, leaving a long tail for sewing.
Assembly
- Attach Arms: Sew the arms to the sides of the body, approximately between rounds 17 and 18 from the bottom.
- Attach Eyes & Cheeks: Use fabric glue or sew the white eye pieces and pink cheeks to the front of the face. Insert or glue safety eyes onto the white eye bases.
- Embroider Features: Use black embroidery thread to stitch the mouth and eyebrows.
- Add Blush: Apply pink blush using makeup to the cheeks and the back “cheeks” (bottom area)
Learn with Video Tutorial
Learn with the Video Tutorial