Subscribe to @a_studenwhodoeasyhandcrafts
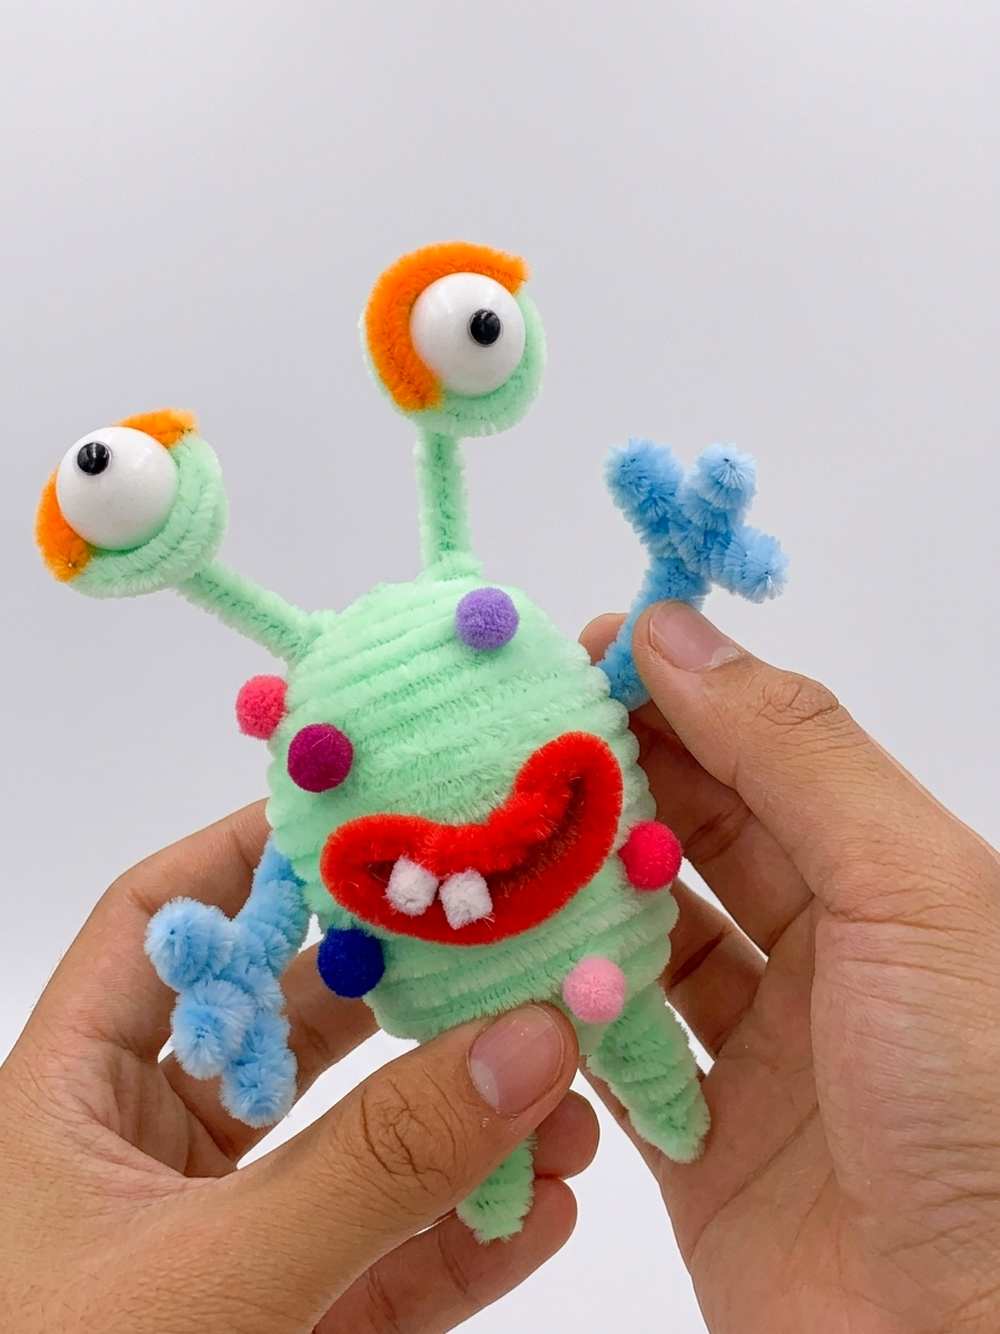
This Halloween, craft and give as a gift to kids this KAWAII, quirky, and colorful monster plushie out of pipe cleaners. This is a wobbly-eyed, dancing monster plushie stuffed with paper balls that kids will simply love to play with. They can wave the monster to make the monster’s eyes wave funnily, too. The two misplaced teeth, big lips, and the eyes make it look so wacky. You can also use it as a keychain or bag charm for your Halloween bag.
Pipe Cleaner Wobbly-Eyed Funny Monster
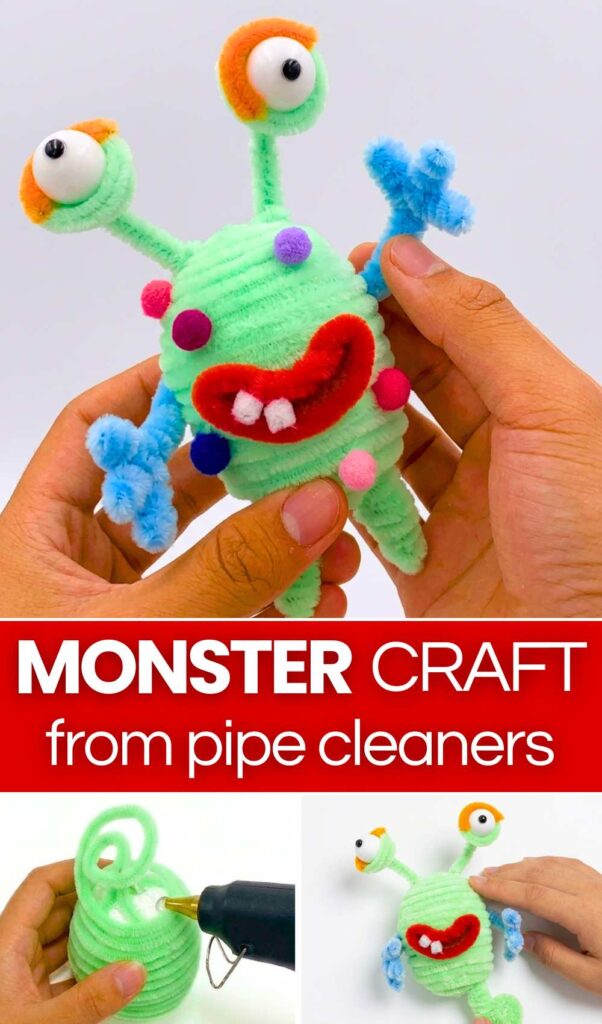
To make the colorful pimples, also decorate your pipe cleaner monster with small pom poms in many colors. Including colors such as turquoise, red, orange, and blue, this chenille stem monster will also let you burst your pipe cleaner stash.
For the eyes, we shall be using the styrofoam balls and the scrunched paper base to make the pipe cleaner monster body frame. It will also be an irresistible back-to-school activity for kids, as making one little monster is so easy and quick. You can also try some other weird color combos such as purple and orange, green and blue, and more. Anyway, continue reading to learn how to make this pipe cleaner monster in detail.
Pattern to Make Pipe Cleaner Googly-Eyed Monster
You will twist the light green pipe cleaners into an oval frame, fill it with crumpled paper, and wrap more green pipe cleaners around it to make the monster’s body. Roll green and white pipe cleaners into two large eyes, add orange eyelids and black pupils, then glue them onto long green eyestalks.
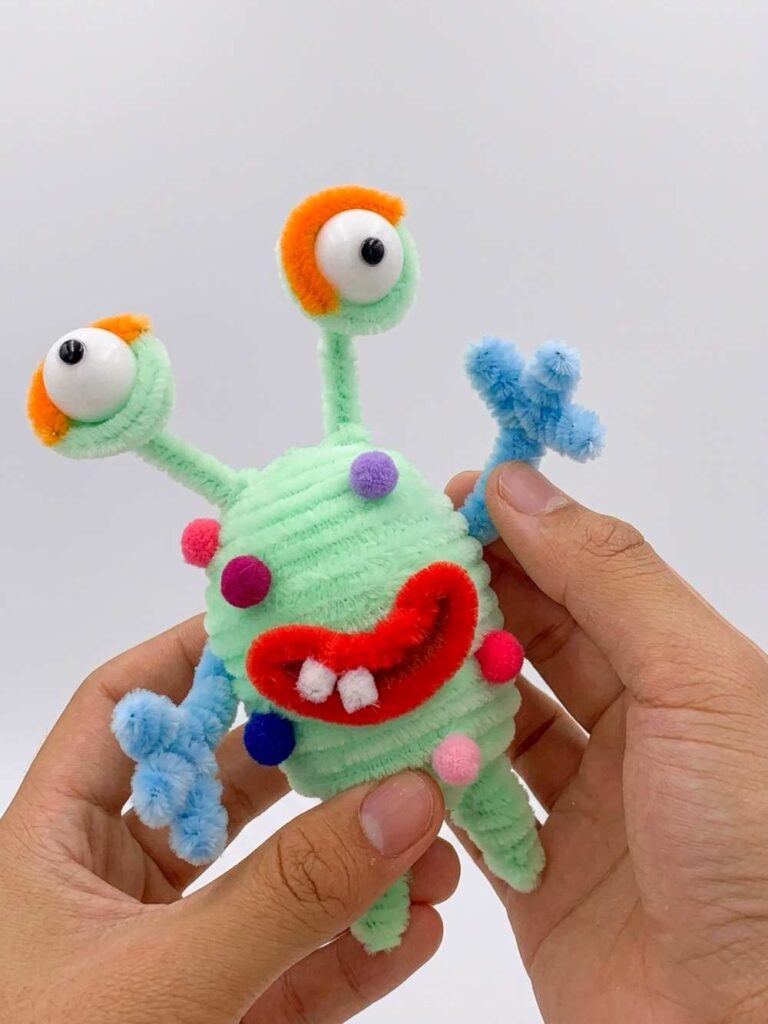
Make the arms and legs from light blue pipe cleaners by folding and twisting them into shape. Bend a red pipe cleaner into a smiling mouth, add a brown tongue, and glue two small white teeth inside.
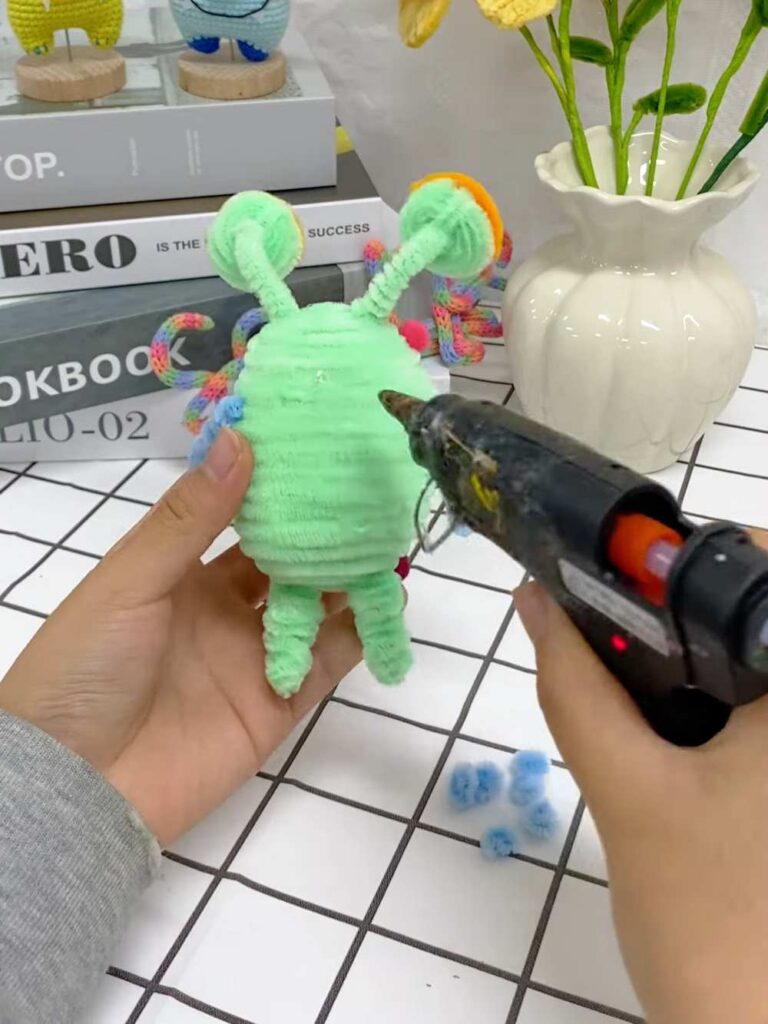
Attach the eyes, mouth, arms, and legs to the body with hot glue. Finish by gluing colorful mini pom-poms all over the body for a fun, goofy monster look.
Materials Needed
-
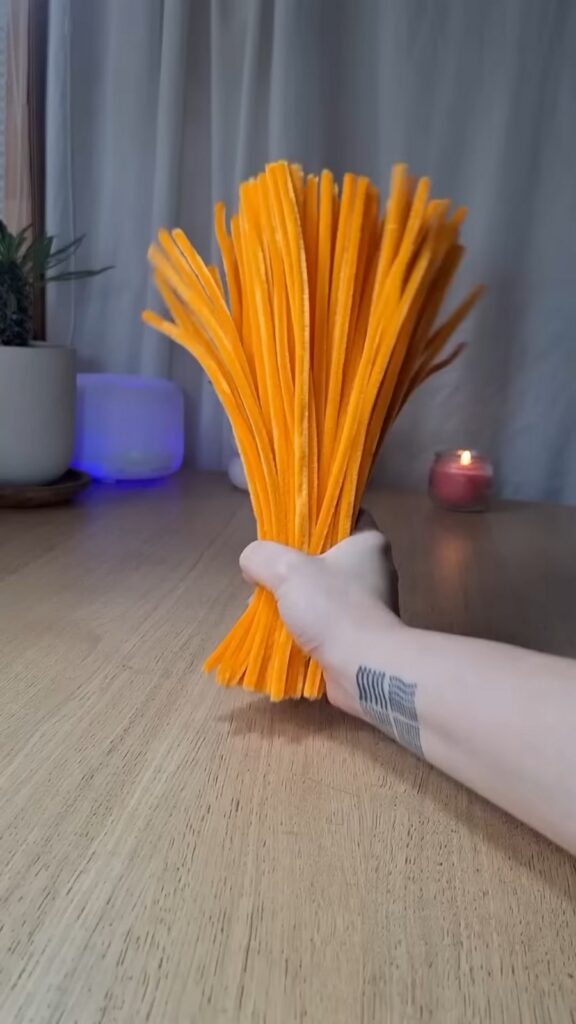
Fuzzy Sticks (Pipe Cleaners):
-
Light Green: For the main body and the long eyestalks. (You will need the most of this color).
-
Light Blue: For the arms and legs.
-
White: For the eyeballs and the two big front teeth.
-
Orange: For the monster’s eyelids.
-
Red: For the outline of the mouth.
-
Brown: For the tongue inside the mouth.
-
-
Scrap Paper or Tissue: To crumple into a ball for the core of the body.
-
Mini Pom-Poms: Assorted colors (pink, blue, purple) for the warts/spots on the monster’s body.
-
Tiny Black Beads or Marker: For the eye pupils.
-
Hot Glue Gun & Glue Sticks
-
Wire Cutters or Sharp Scissors
-
Ruler or Measuring Tape
Finding Difficult? Here is the tutorial!
Step-by-Step Instructions
Part 1: Crafting the Monster’s Body
-
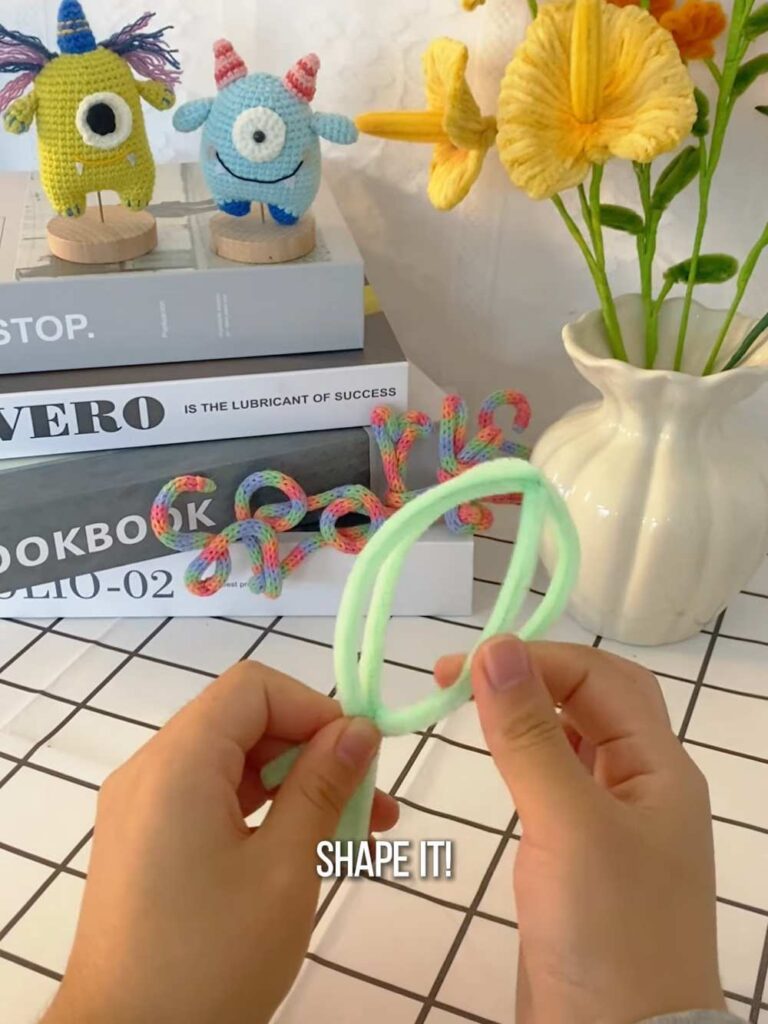
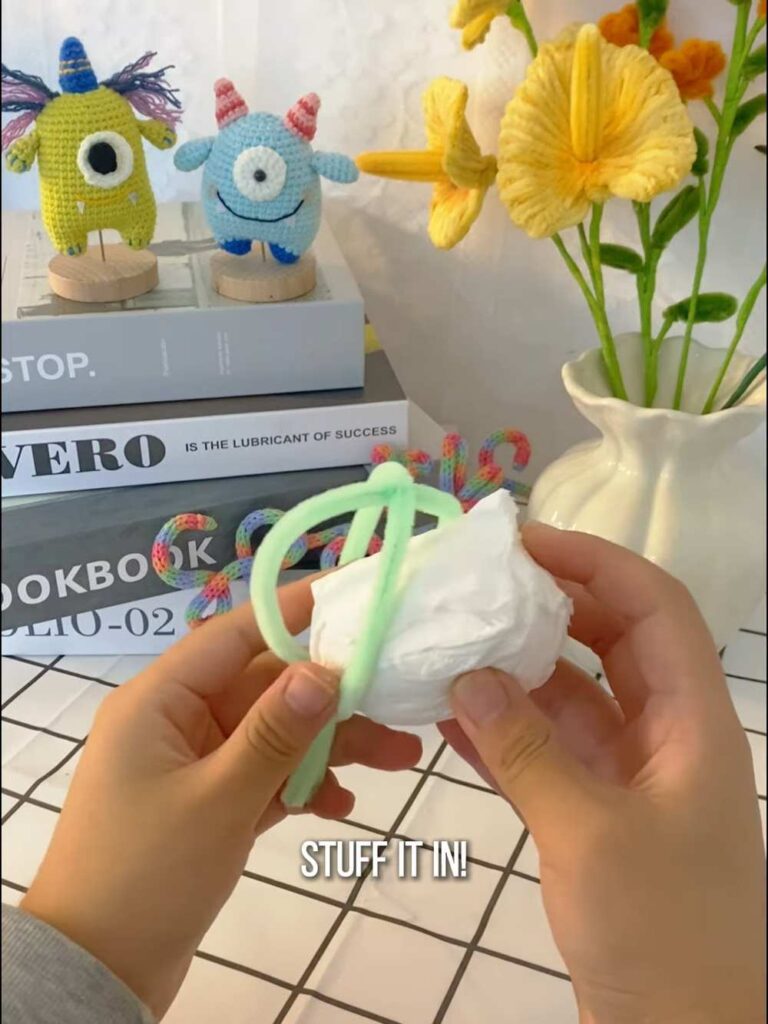
Create the Frame: Take two light green pipe cleaners and cross them over each other. Twist them together to form a sturdy “X” shape. Measure about 9 cm up the pipe cleaners, fold them over, and twist again to create an egg-shaped wireframe cage.
-
Stuff the Core: Crumple a piece of scrap paper or tissue into a tight ball and stuff it right into the center of your green pipe cleaner cage. This gives the monster a solid, chunky body without having to waste dozens of pipe cleaners filling the inside.
-
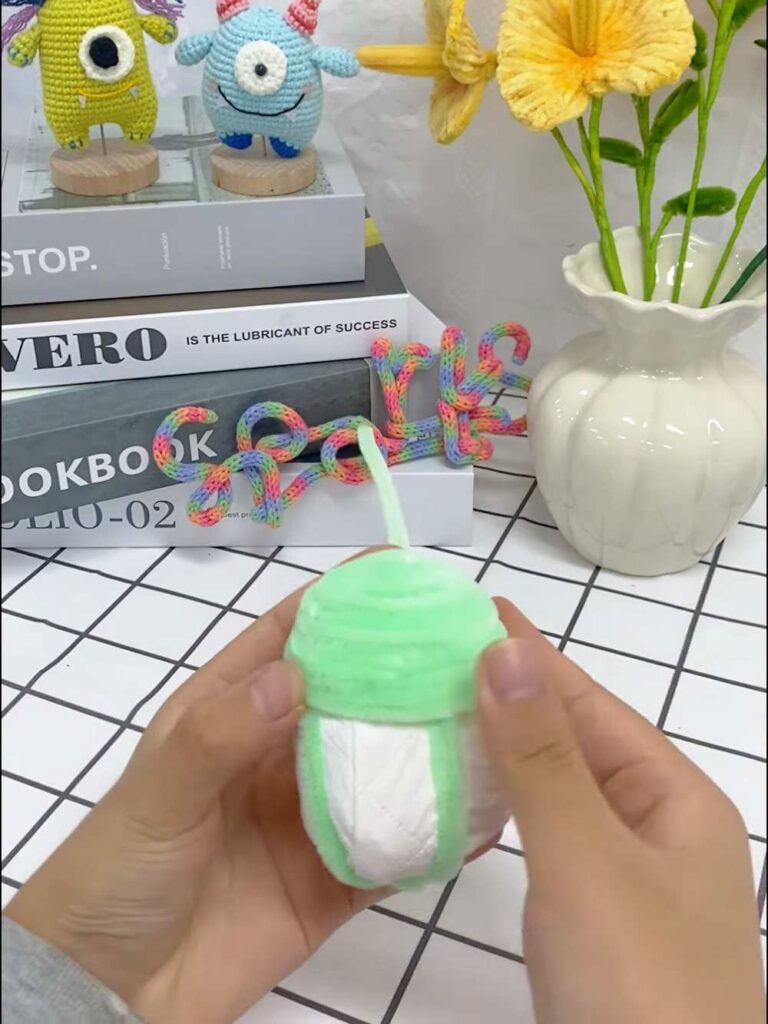
Wrap the Body: Take a fresh light green pipe cleaner, glue the tip to the bottom of your stuffed frame, and start wrapping it tightly around the body horizontally. Add more green pipe cleaners as needed, gluing the ends securely, until the entire paper core is covered in a solid, textured green shell.
Part 2: Building the Eyes & Stalks
-
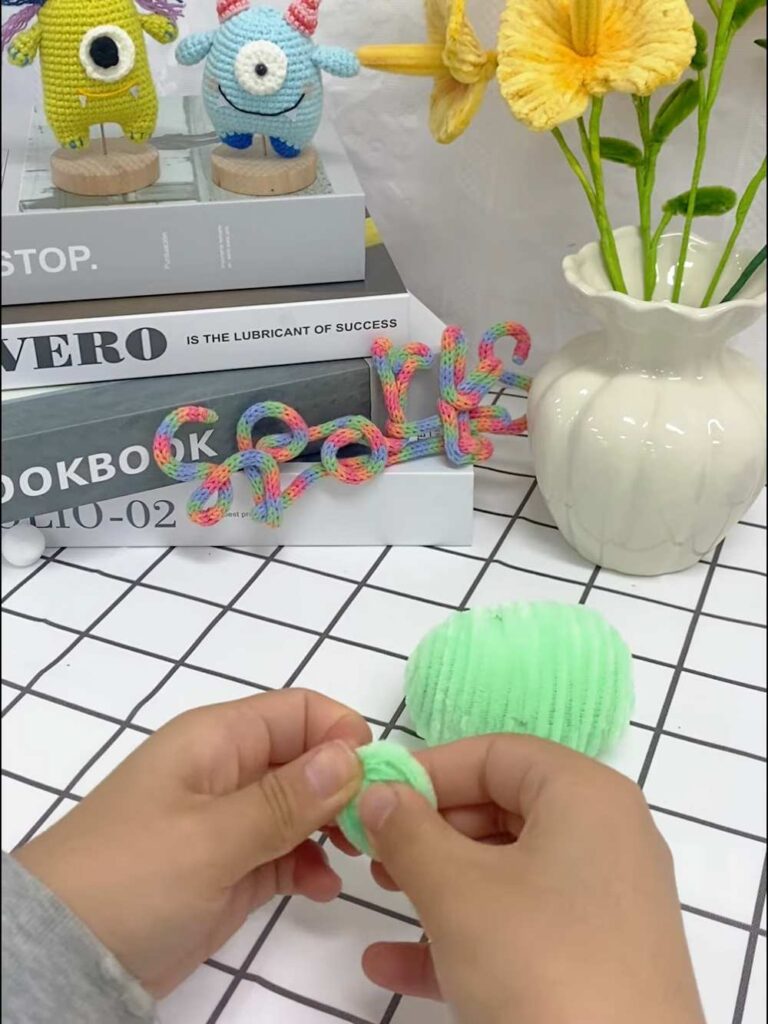
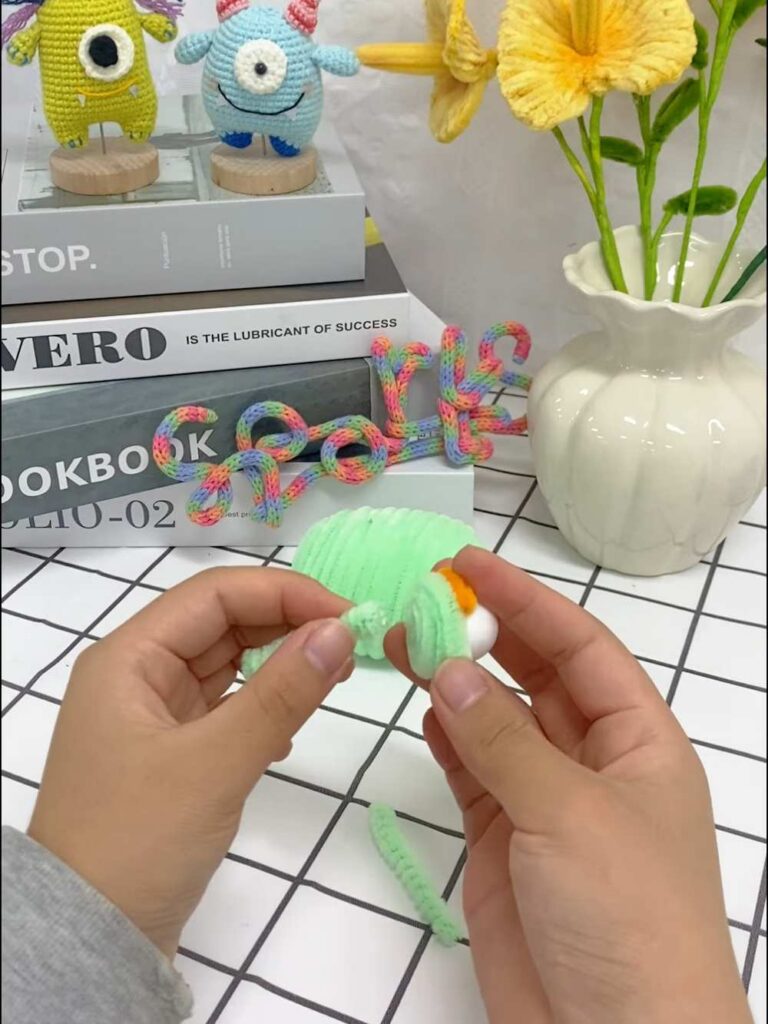
Form the Eyestalks: Take a green pipe cleaner, cut it to your desired stalk length, and tightly curl one end into a flat, circular disk. Apply a dot of hot glue to keep the coil from unwinding. Repeat this to make a second eyestalk.
-
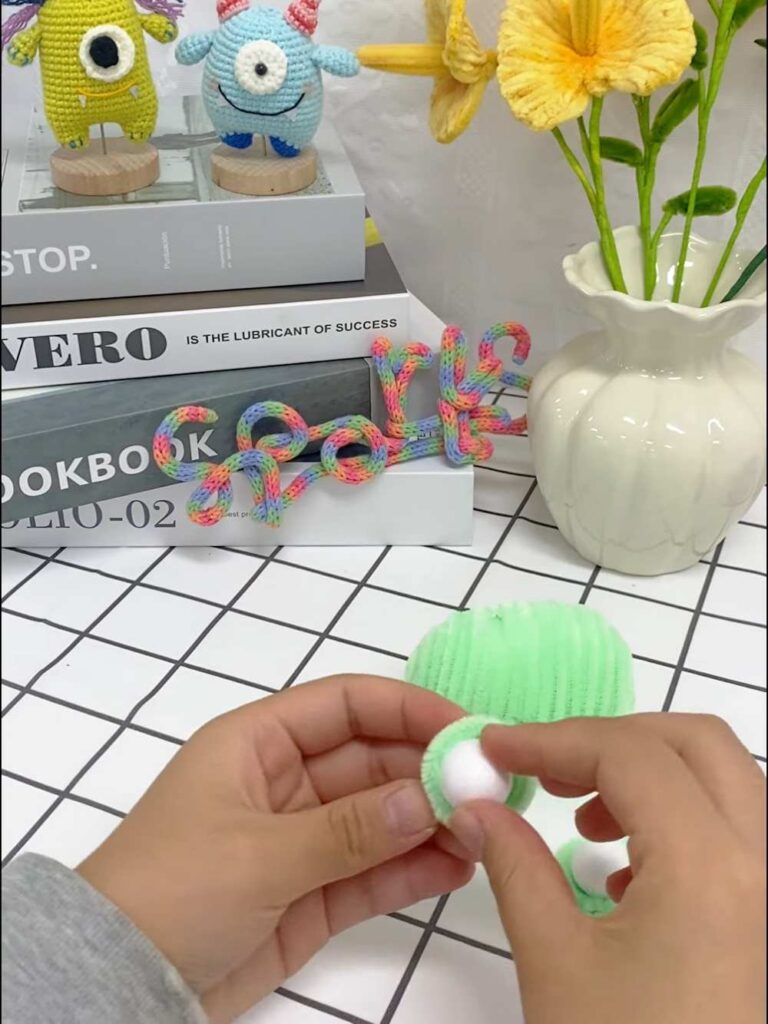
Make the Eyeballs: Roll a small piece of white pipe cleaner into a tight, flat circle. Glue this white piece directly onto the flat green coil of your eyestalk.
-
Add the Eyelids & Pupils: Measure a small piece of orange pipe cleaner, cut it, and arch it over the top half of the white eyeball like a heavy eyelid. Glue it in place. Add a tiny black bead (or a tiny dot of black pipe cleaner) to the center of the white eye for the pupil. Repeat for the second eye.
Part 3: Shaping the Limbs
-
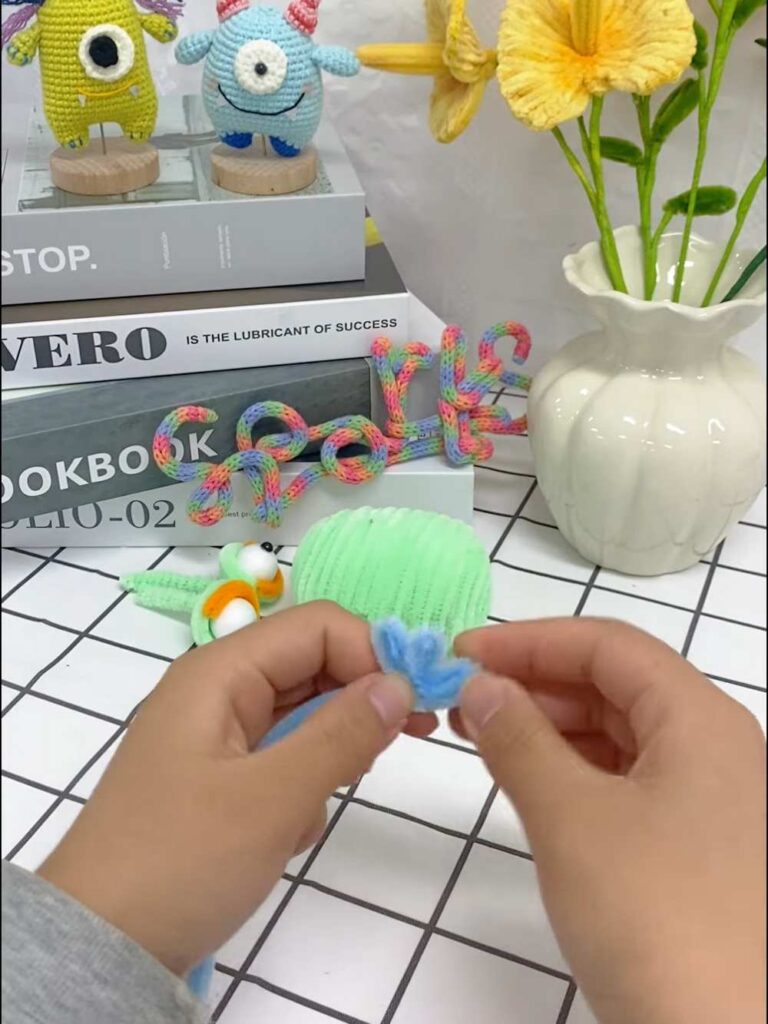
Craft the Arms: Take a light blue pipe cleaner and fold the end over at the 1 cm mark. Fold it back and forth two more times to create three little loops (the monster’s fingers). Then, fold the rest of the pipe cleaner in half and twist it around itself to create a thick, sturdy arm. Repeat to make the second arm.
-
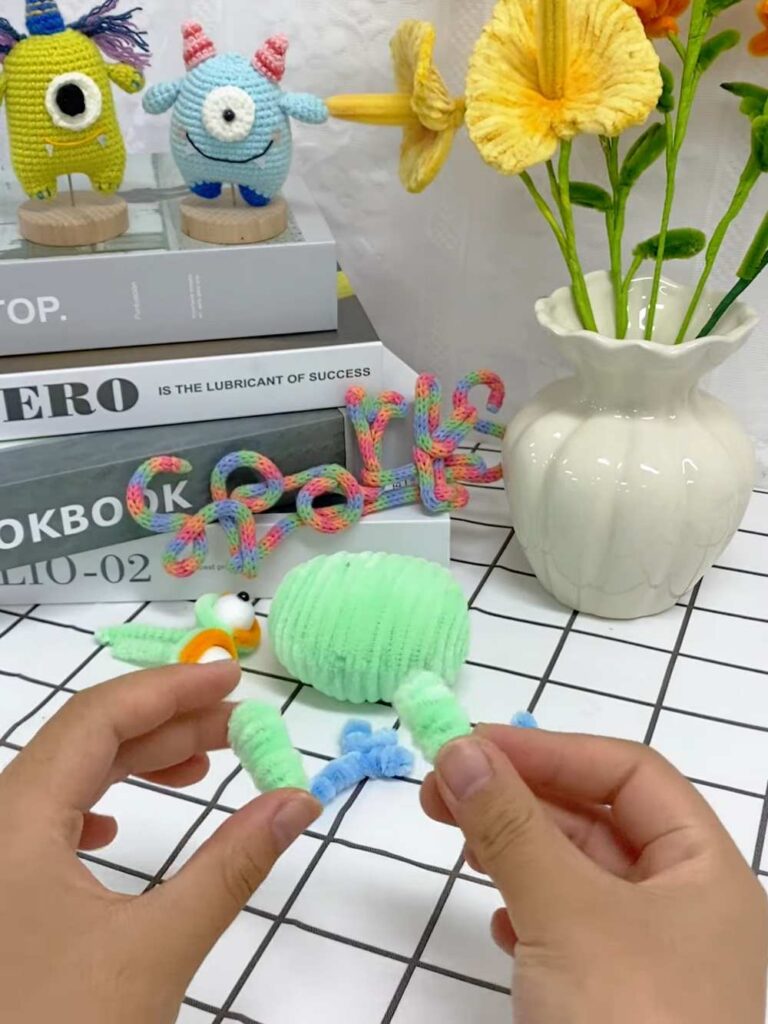
Craft the Legs: Take another blue pipe cleaner and fold it back and forth repeatedly at the 4 cm mark. Twist the folds together to form thick, chunky legs and wide feet so the monster can stand upright.
Part 4: Making the Face
-
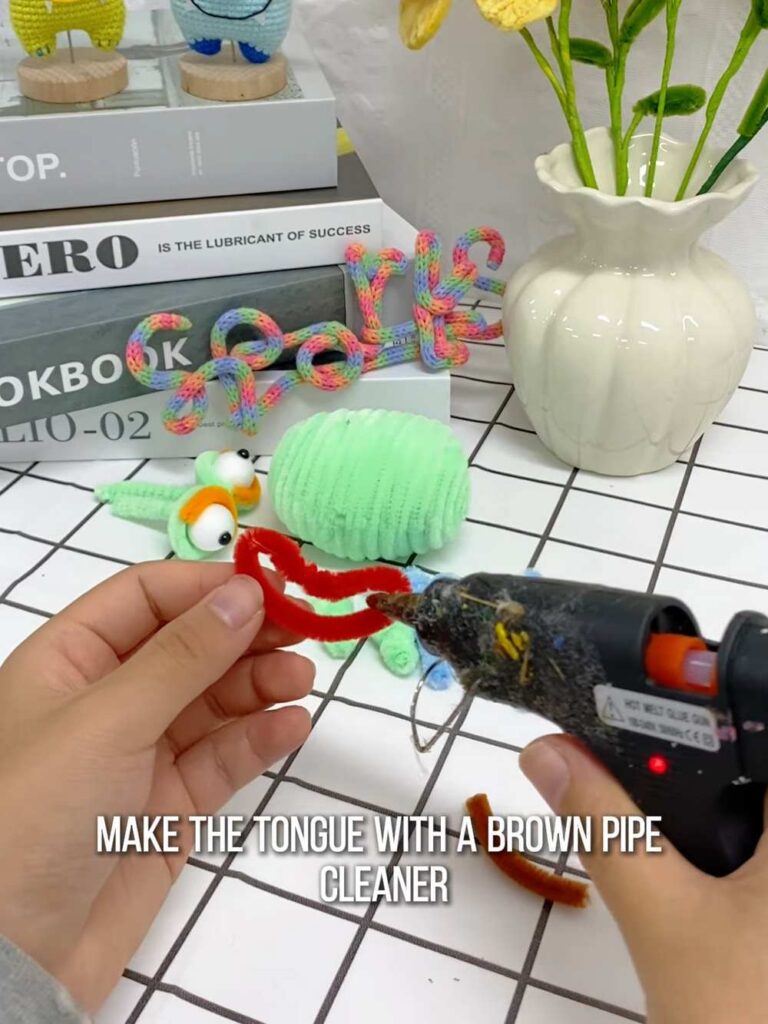
The Mouth Frame: Take a red pipe cleaner and bend it into a wide, open “bean” or smiling “D” shape. Snip off the excess and glue the ends together to form the lips.
-
The Tongue: Cut a small section of brown pipe cleaner, bend it into a soft “U” shape, and glue it to the inside bottom of the red mouth frame.
-
The Teeth: Snip two tiny, straight pieces of white pipe cleaner. Glue them side-by-side to the inside top of the red mouth frame so they hang down like goofy front teeth.
Part 5: Final Assembly
-
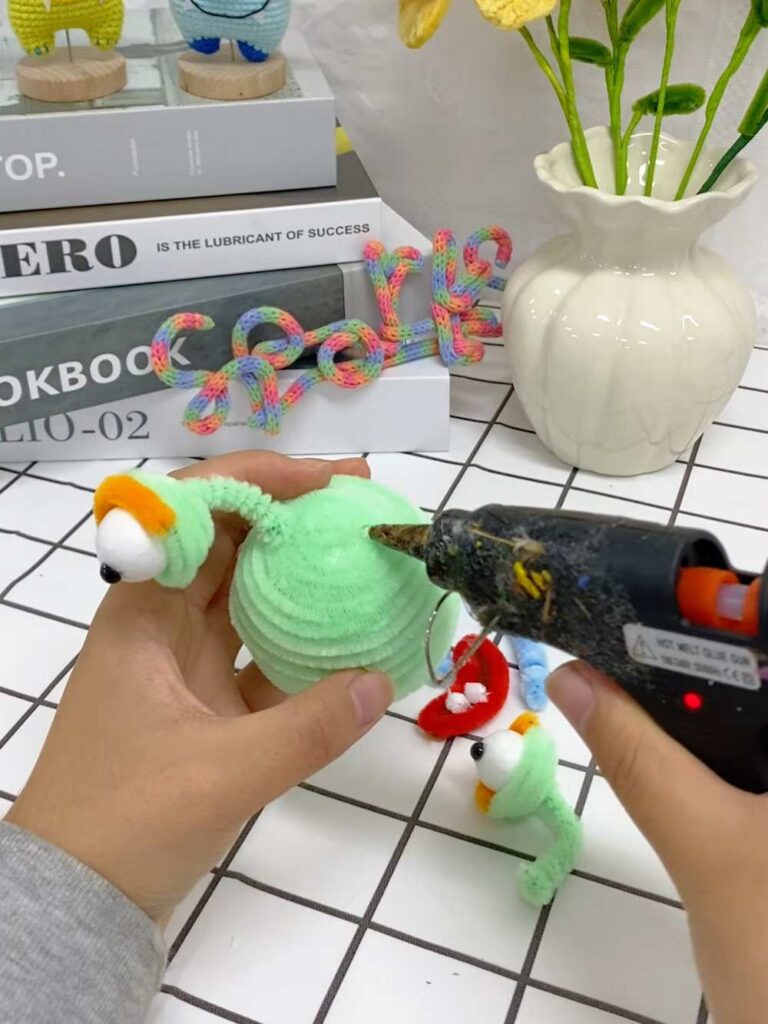
Attach the Features: Using your hot glue gun, securely attach the two green eyestalks to the top of the monster’s head. Next, glue the big red mouth directly onto the center of the face.
-
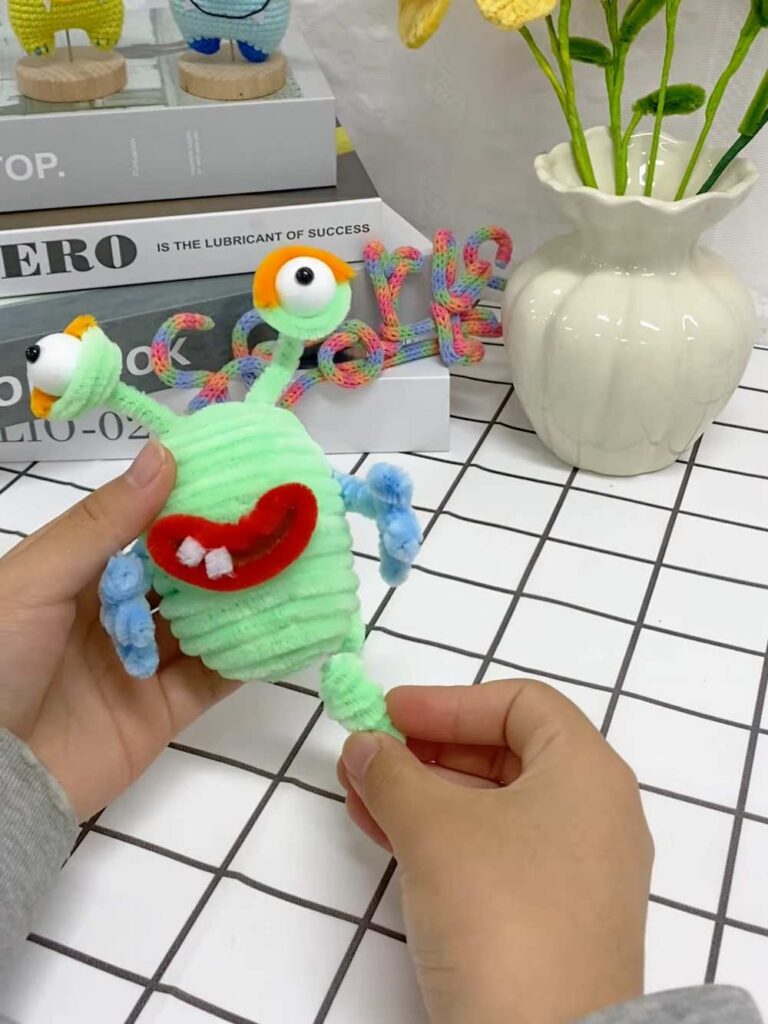
Attach the Limbs: Glue the blue arms to the sides of the body, angling them slightly upward. Glue the blue legs to the bottom of the body. Press firmly while the glue sets so the monster will be able to balance.
-
Add the Warts: For the final touch, take your colorful mini pom-poms and glue them randomly all over the monster’s green body for a fun, bumpy texture.