
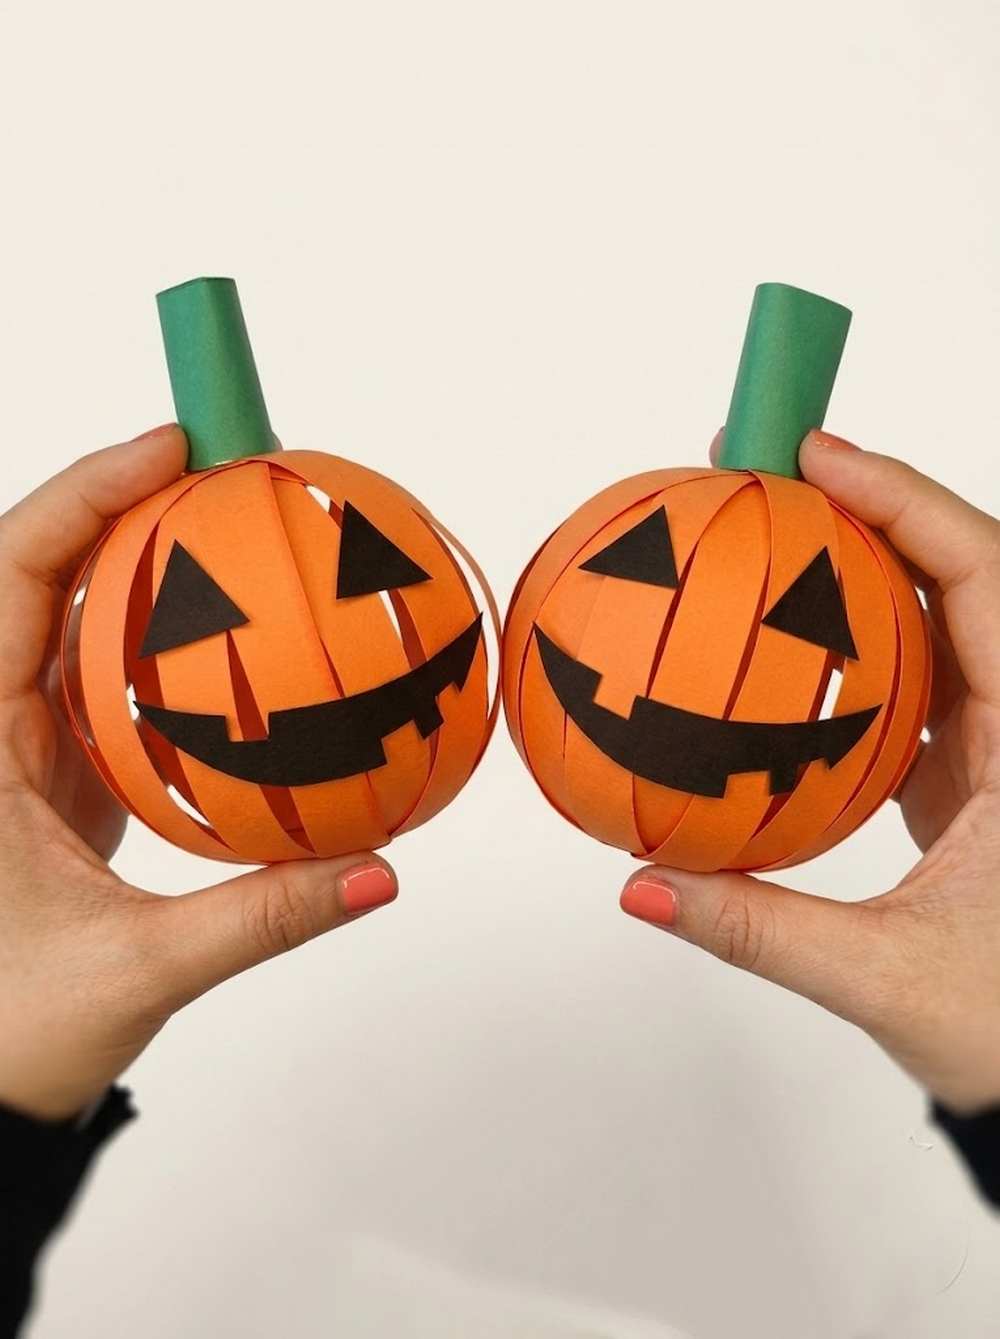
Today, learn how to DIY these easy, bouncy, & spooky Halloween jack-o-lantern paper pumpkins that can also double as Halloween lanterns, following a step-by-step tutorial + a written guide as well. You can add these pumpkin crafts to Halloween garland, place on the table along with a tealight to make them glow-in-the-dark Halloween lamps, and even as corner hangings.
These sphere pumpkins are made of the classic “strip-joining” method that you can learn how to do in less than 2 minutes. You can also make these Halloween jack-o-lantern pumpkin crafts in bulk with the help of kids.
Kids can help you cut the rectangle strips, and you can just assemble the strips into the spooky paper pumpkin. Just press it, and it will bounce back (be sure to use construction paper on Tant paper for a durable decoration). They can also be turned into wands and can be held easily with their paper-roll stems! Wanna make one?
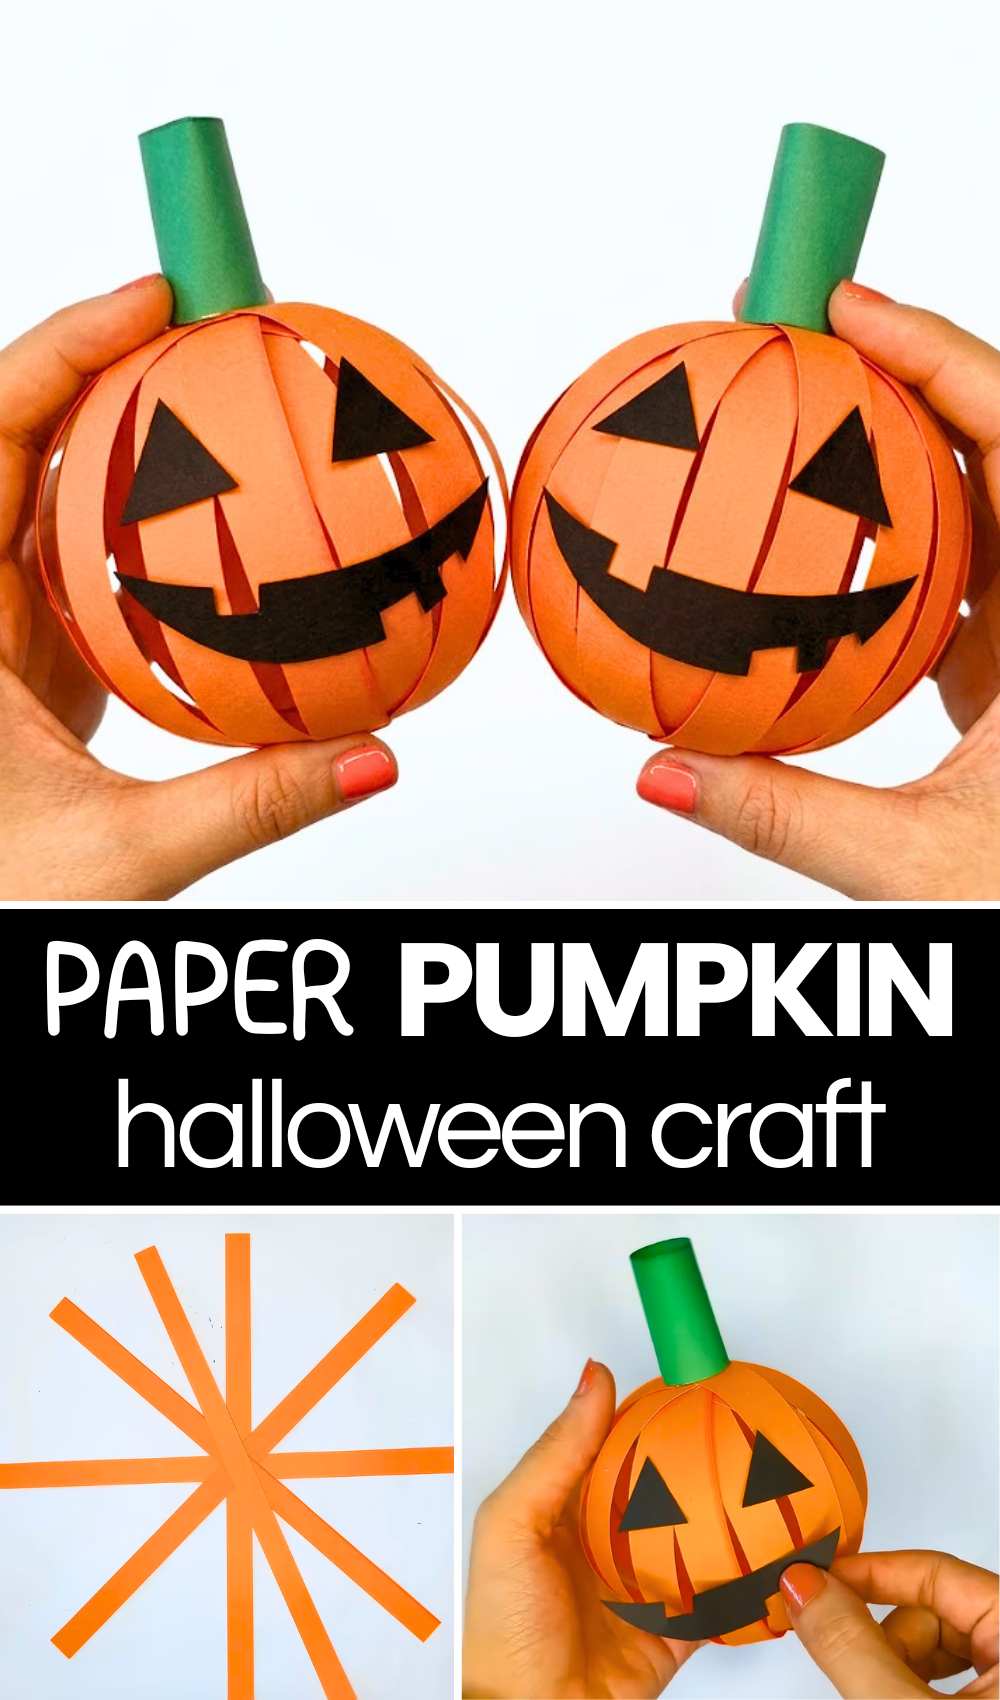
Tutorial to Make a Halloween Jack-Pumpkin
This DIY paper pumpkin project is a fun and easy way to make decorations for Halloween. You only need orange, green, and black paper, glue, and scissors. To start, you cut the orange paper into long, thin strips. You lay these strips in a star shape and glue the ends together in the middle to make a round ball.
This ball looks like a pumpkin. Then, you roll a small piece of green paper into a tube to make a stem. You glue the stem on top. Finally, you cut black paper to make eyes and a mouth and glue them on the front.
Detailed Instructions
What You Need:
-
Orange paper
-
Green paper
-
Black paper
-
Glue (liquid glue or a glue stick)
- Scissors
Video Tutorial?
Step 1: Cut the Strips
Cut your orange paper into many long, thin strips. You will need about 8 to 12 strips to make a full-looking pumpkin. Try to make them all the same length and width.
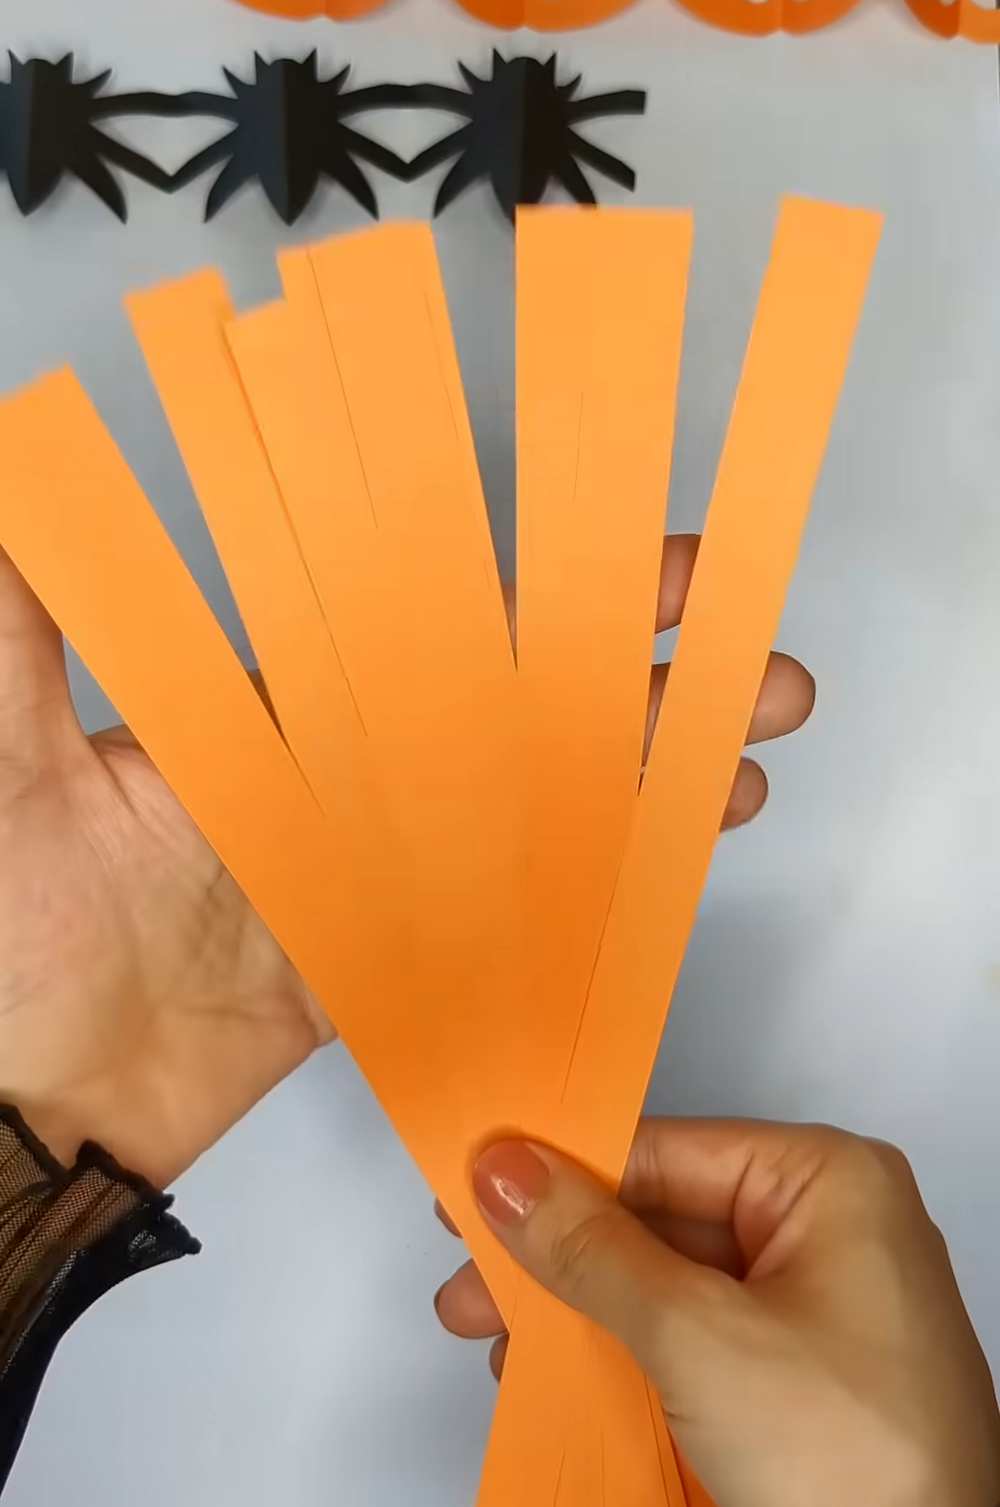
Step 2: Create the Base
Lay one strip vertically on your table. Lay another strip horizontally over it to make a cross. Keep adding strips diagonally until they look like a star or the spokes of a wheel. Make sure they all cross in the exact same spot in the middle.
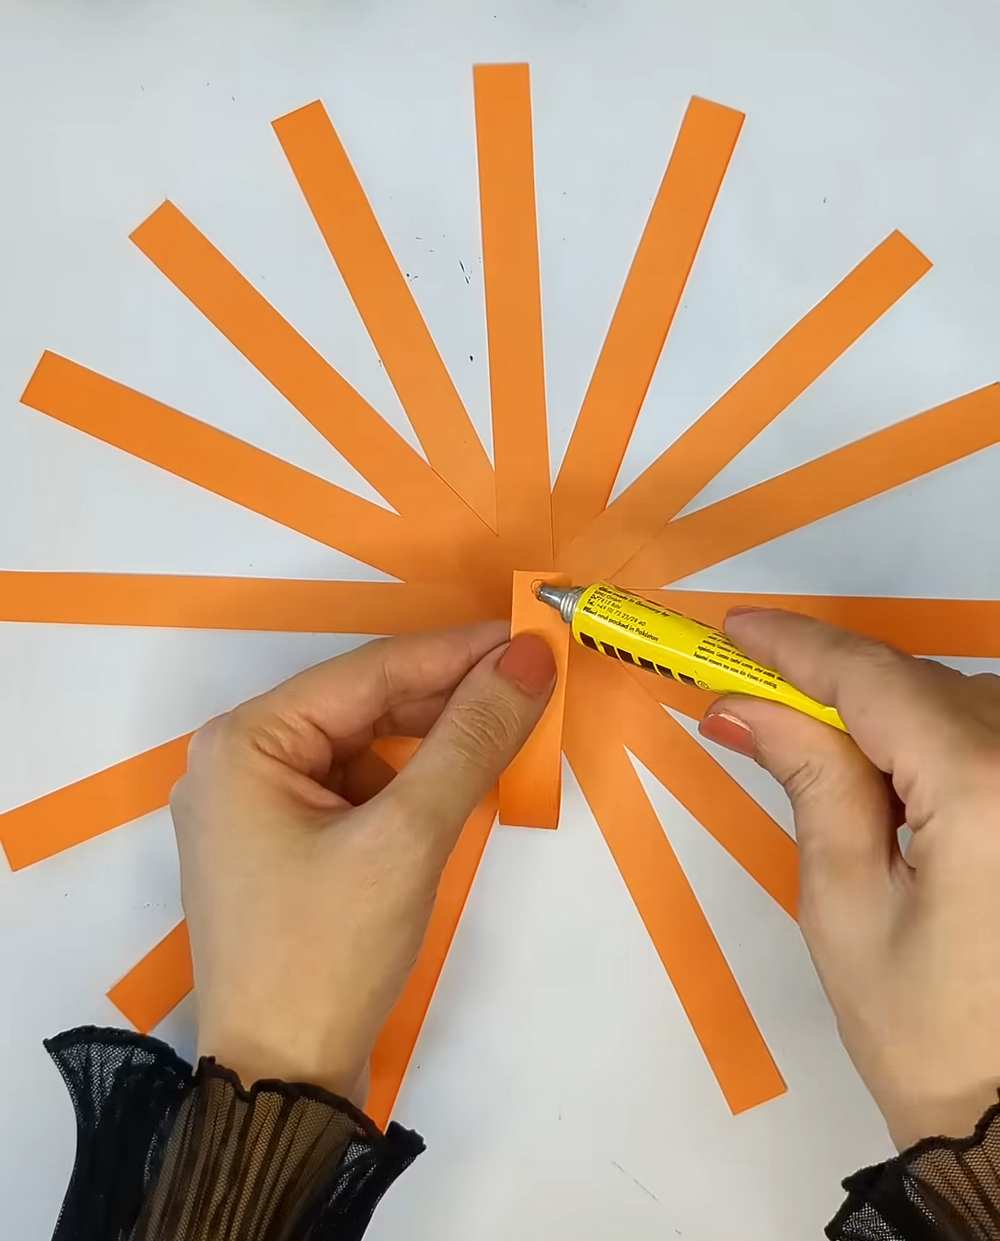
Step 3: Form the Pumpkin Shape
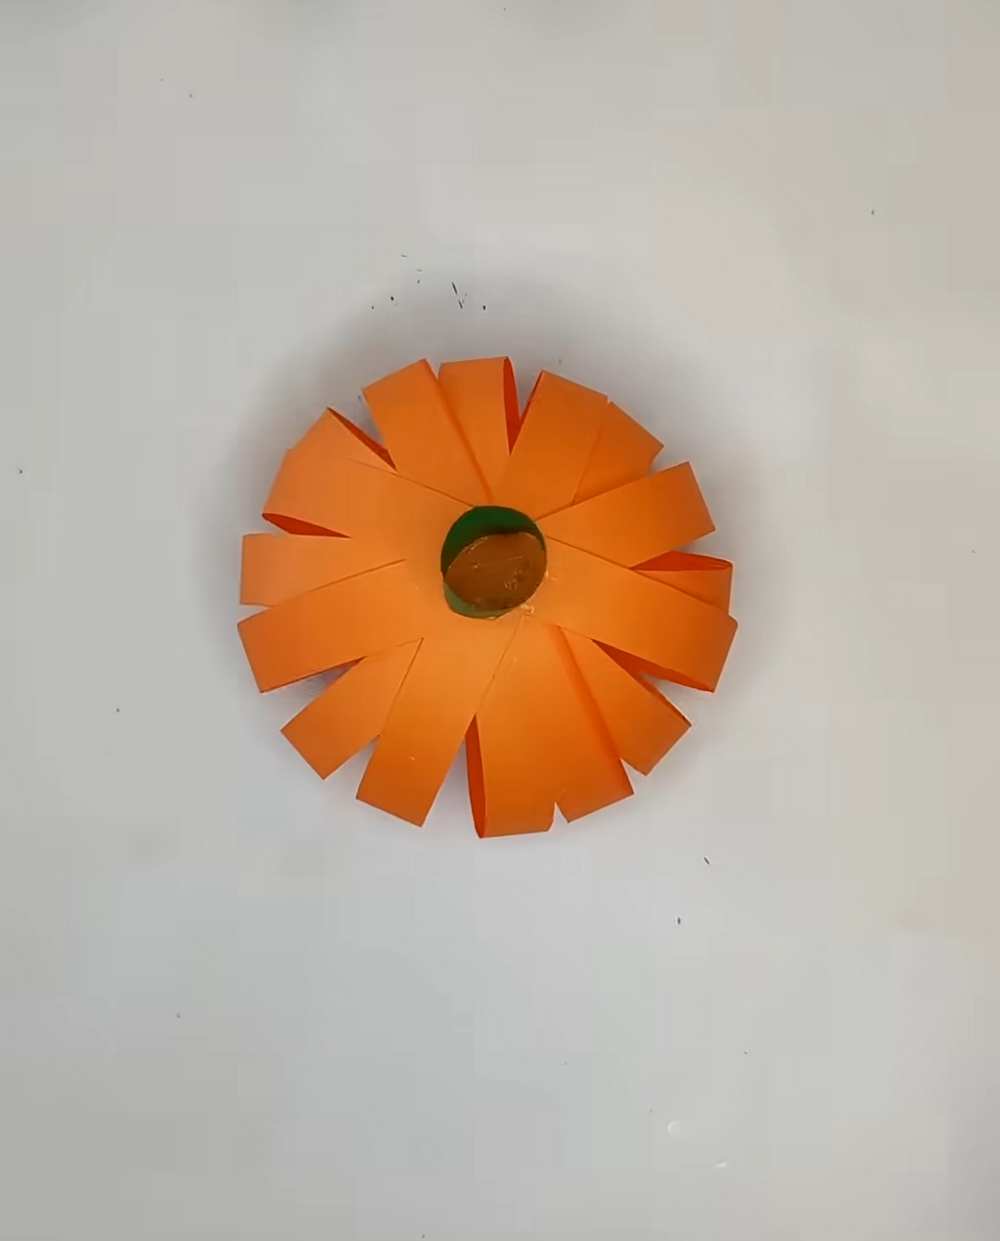
Put a drop of glue in the center of your “star.” Pick up the end of one strip and bend it toward the middle. Press it into the glue.
Now, take the opposite end of that same strip, bend it to the middle, and glue it down. This creates a loop. Repeat this with every strip until all the ends are glued in the center, forming a round, ribbed ball.
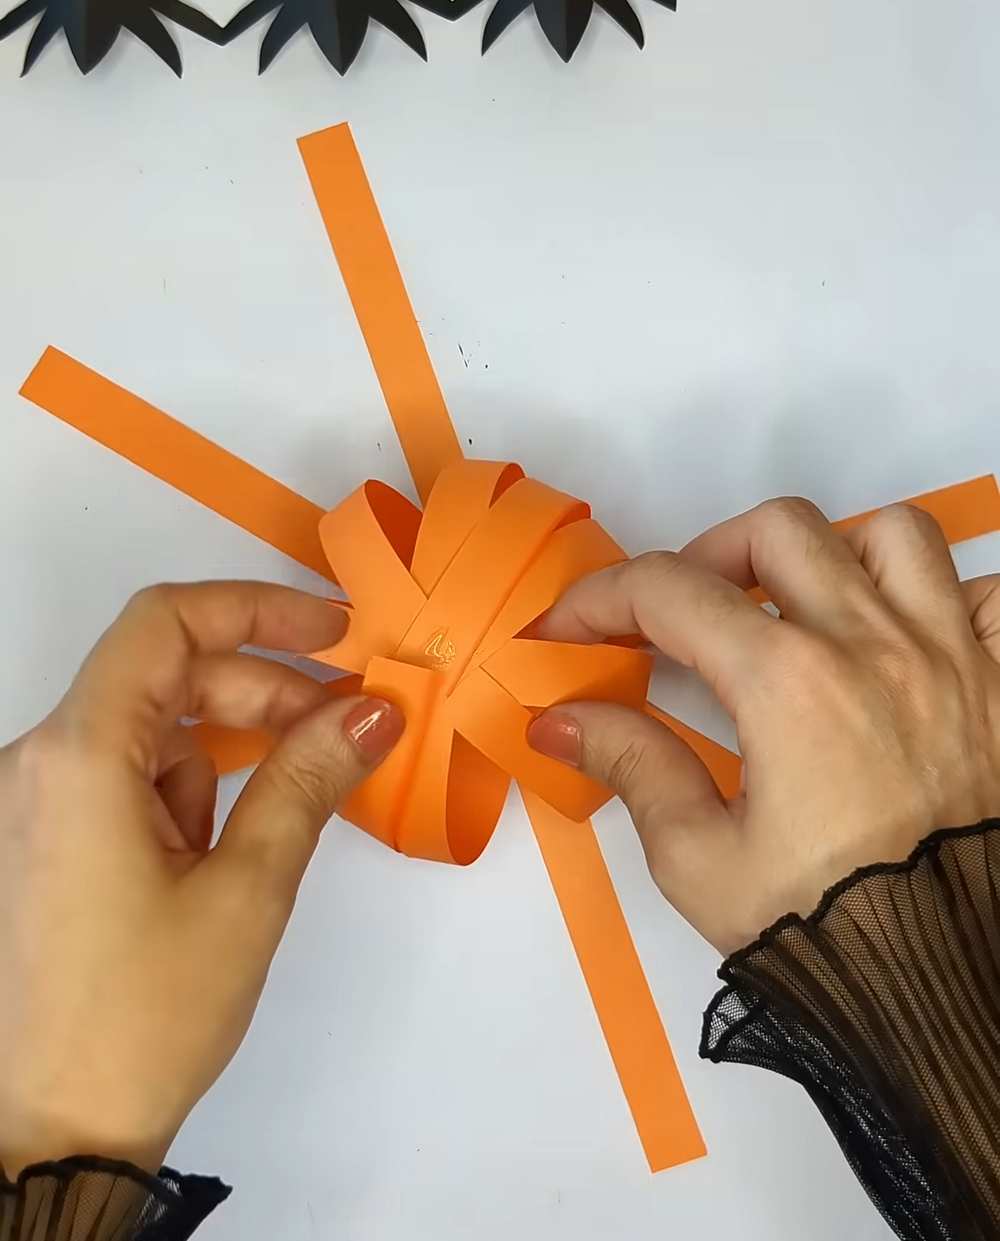
Step 4: Make the Stem
Take a small rectangular piece of green paper. Apply a line of glue along one edge and roll the paper tightly into a small tube (cylinder). This will be the stem of your pumpkin.
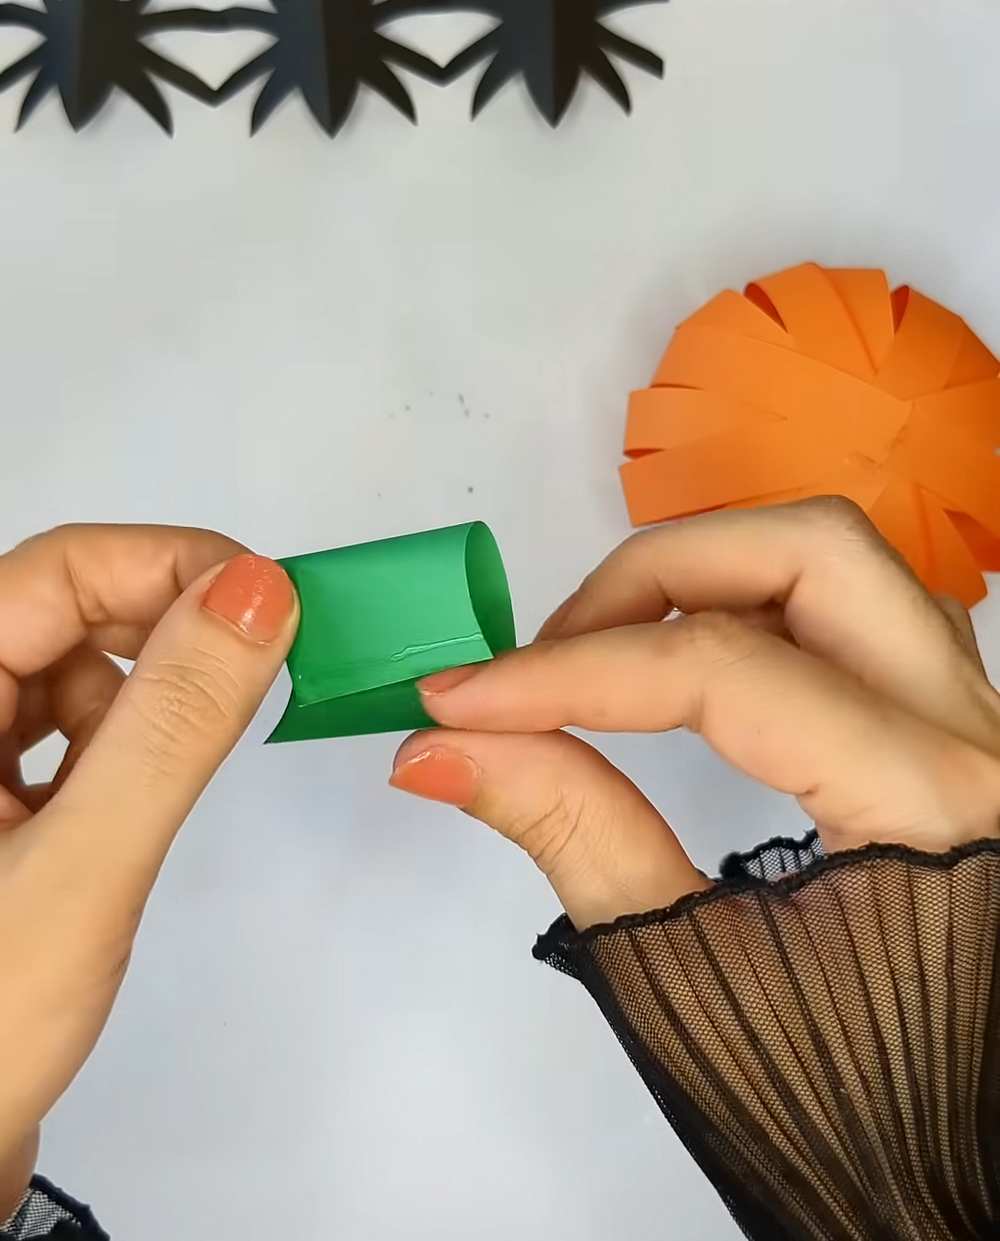
Step 5: Attach the Stem
Put some glue on the bottom of your green stem. Press it firmly onto the top center of your orange ball where all the strips meet. Hold it for a few seconds to make sure it sticks.
Step 6: Add the Face
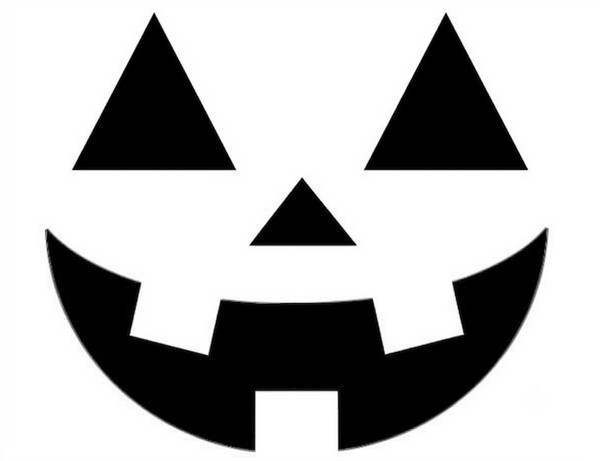
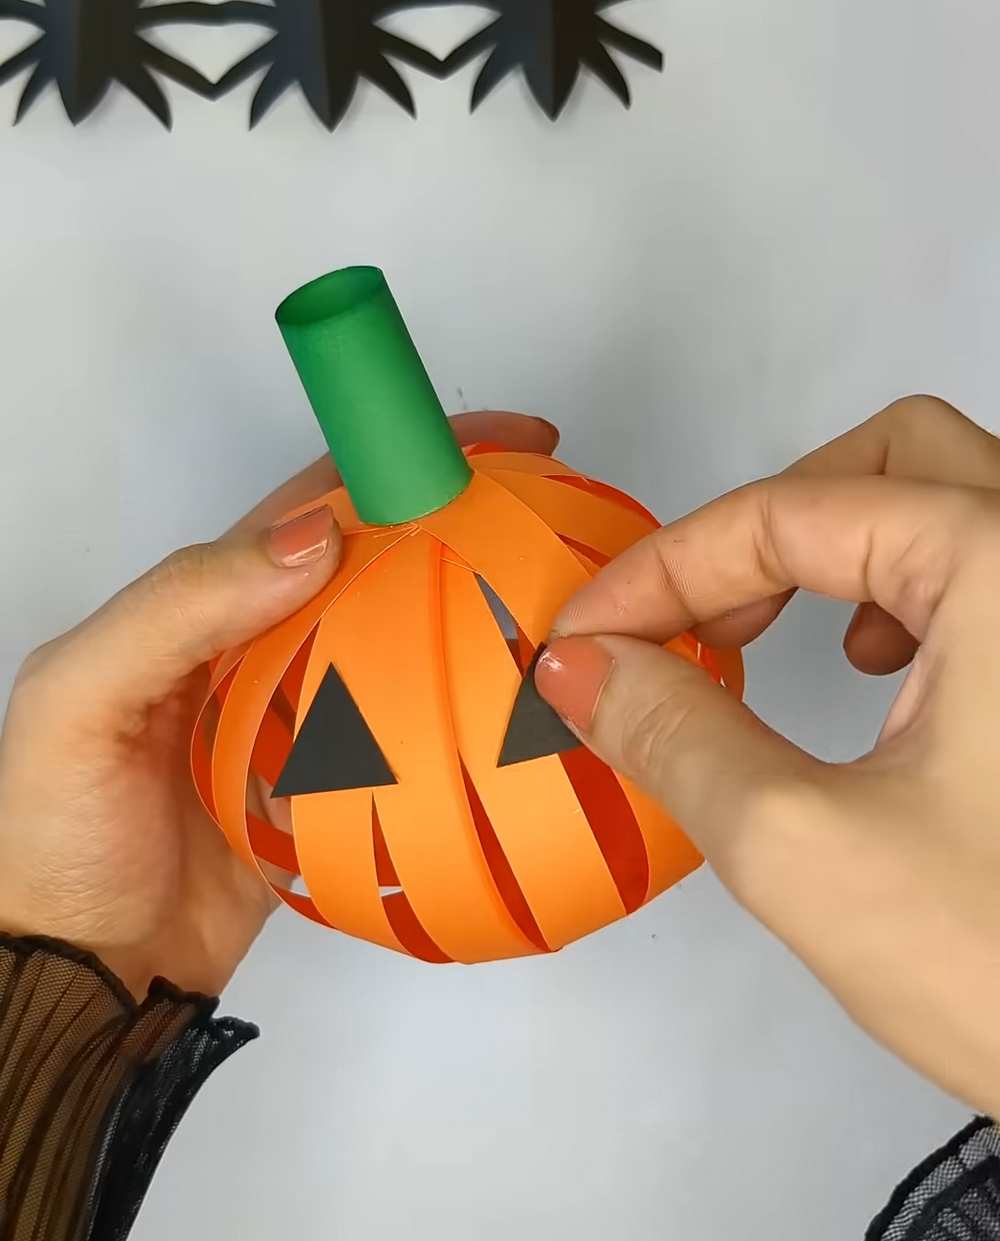
Cut two small triangles out of the black paper for the eyes. Cut a jagged, “scary” shape for the mouth. Apply glue to the back of these pieces and press them onto the orange strips on the front of your ball.
Your DIY paper pumpkin is now finished!
About "Shemcrafts"
She is an incredible pom, pipe cleaner and yarn craft!