Show support for BeingArtistic!
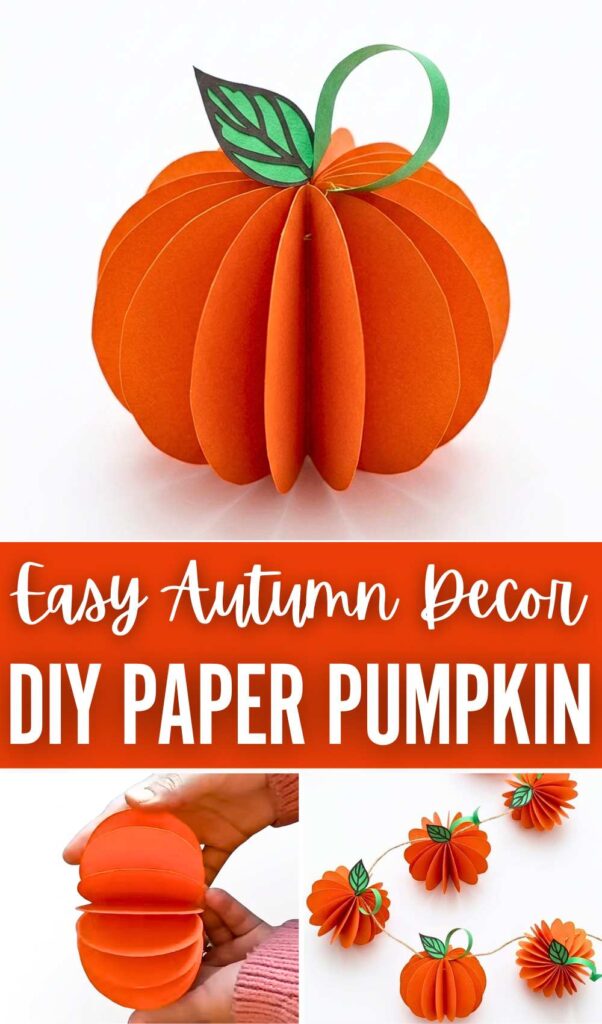
Learn how to make a 3D fuller pumpkin for adding to your fall garland with this step-by-step guide for beginners. It is inspired by the Chinese paper ornaments you can make from 1 paper template made out of a circular cutout. These paper pumpkin ornaments can be made as full as you want by adding more cuts. Last time, you learned how to make an origami 2D pumpkin, and I also promised to share some 3D ones.
Paper Pumpkin Garland Ornaments
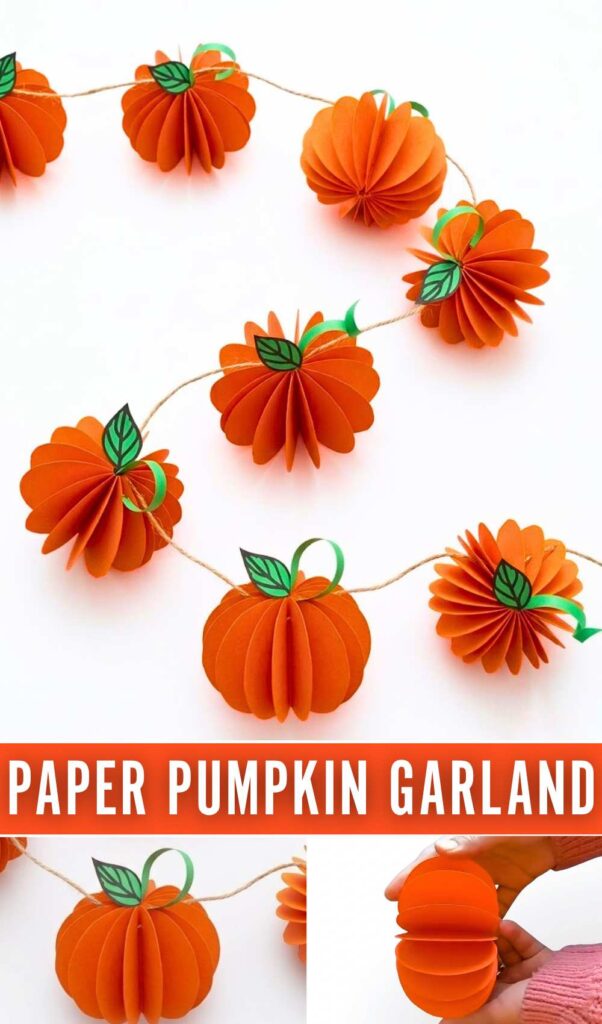
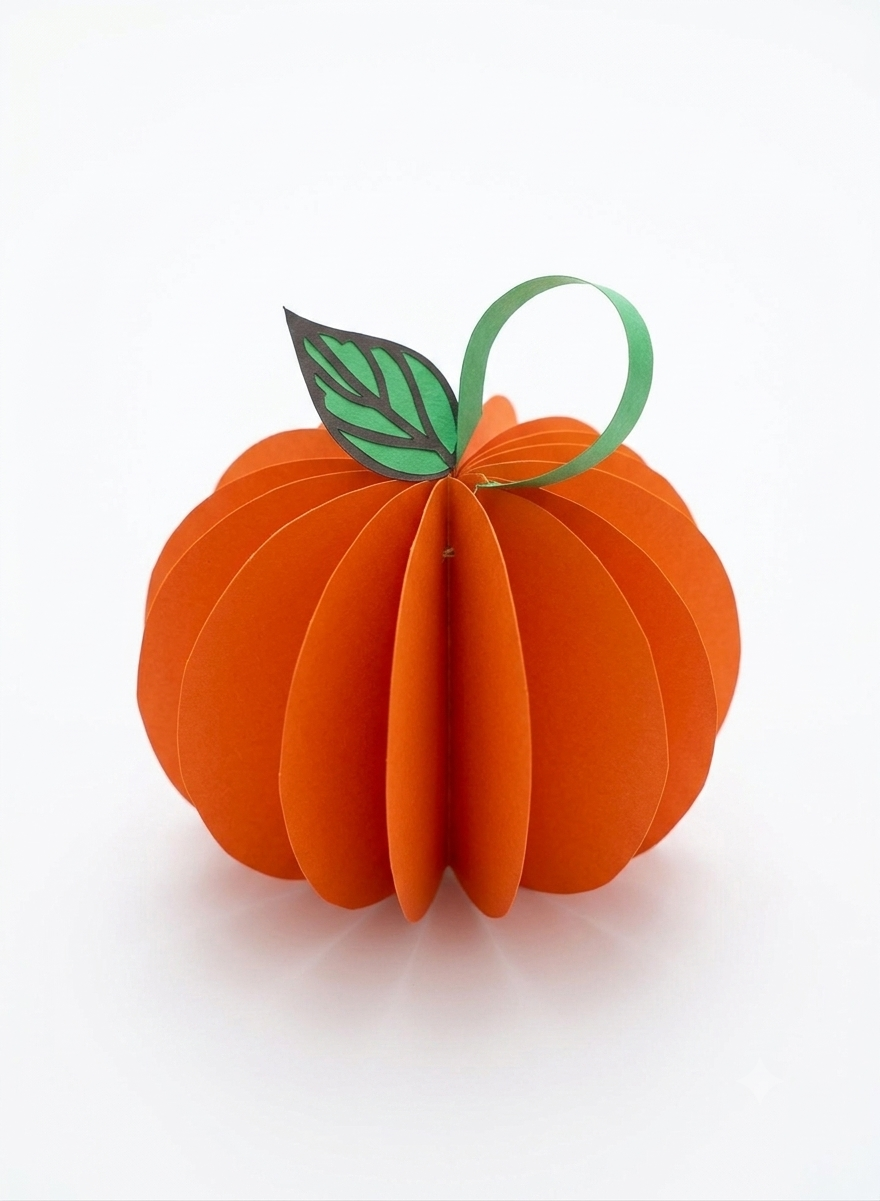
So, learn how to make this paper pumpkin craft that also features a perfect leaf and curly vine too. You can put up a handful of these squishy pumpkins within 30 minutes.
Next, I will also share a tutorial to make a Halloween pumpkin again from the 2D pumpkin crafting series. You can also let the kids join the activity and prepare the pumpkin cutouts for you. Choose from orange, red, or yellow pumpkin patterns. And continue reading to learn more about the project and making the pumpkin craft, too.
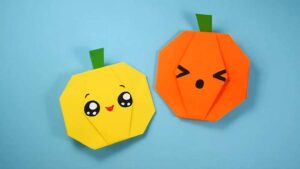
Materials Needed
-
Orange construction paper or cardstock
-
Green construction paper
-
A circular object (like a small lid or cup) for tracing
-
Pencil
-
Scissors
-
Glue stick
-
A marker or pen (for curling and drawing)
Beginner? Learn with the Following Tutorial.
Pumpkin PAPER CRAFT Instructions
Step 1: Prepare the Paper Circles
Using a lid or compass, draw a circle of any diameter. Then, strip this out as a template for our pumpkin slice cutouts. Now, draw a chord on your circle cutout and cut the smaller portion out! Now, fold your orange paper into in 1-4th and, using the guide and a pencil, trace the template onto the top layer.
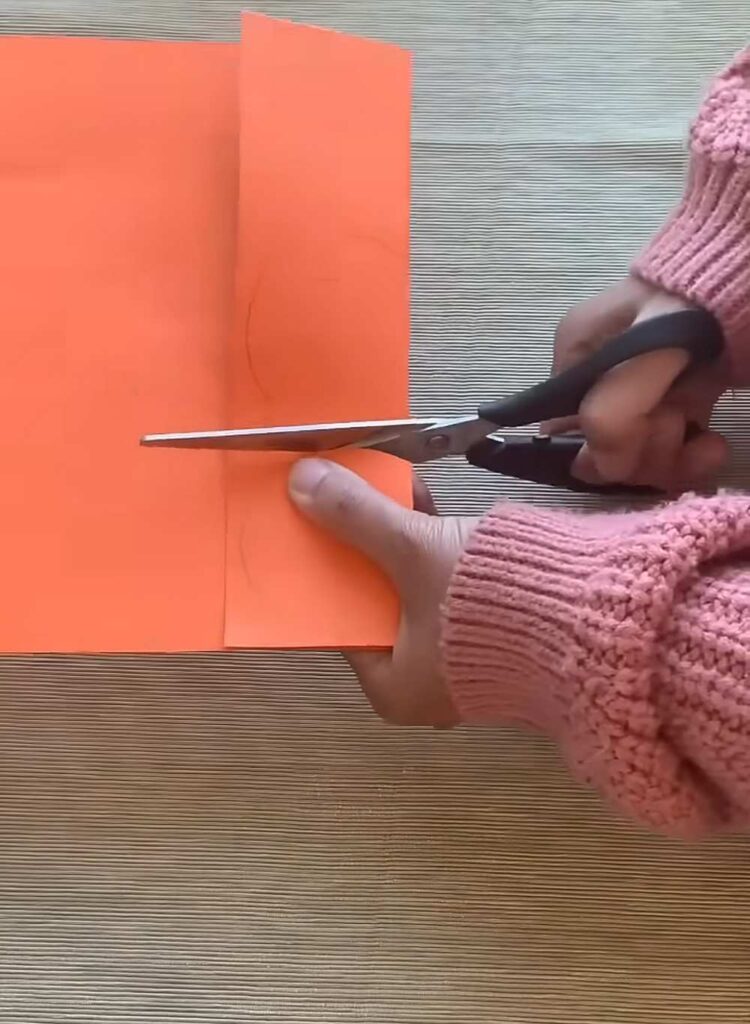
Cut through the layers to create approximately 12–15 identical orange circles. The more circles you use, the fuller your pumpkin will look.
Step 2: Fold the Circles
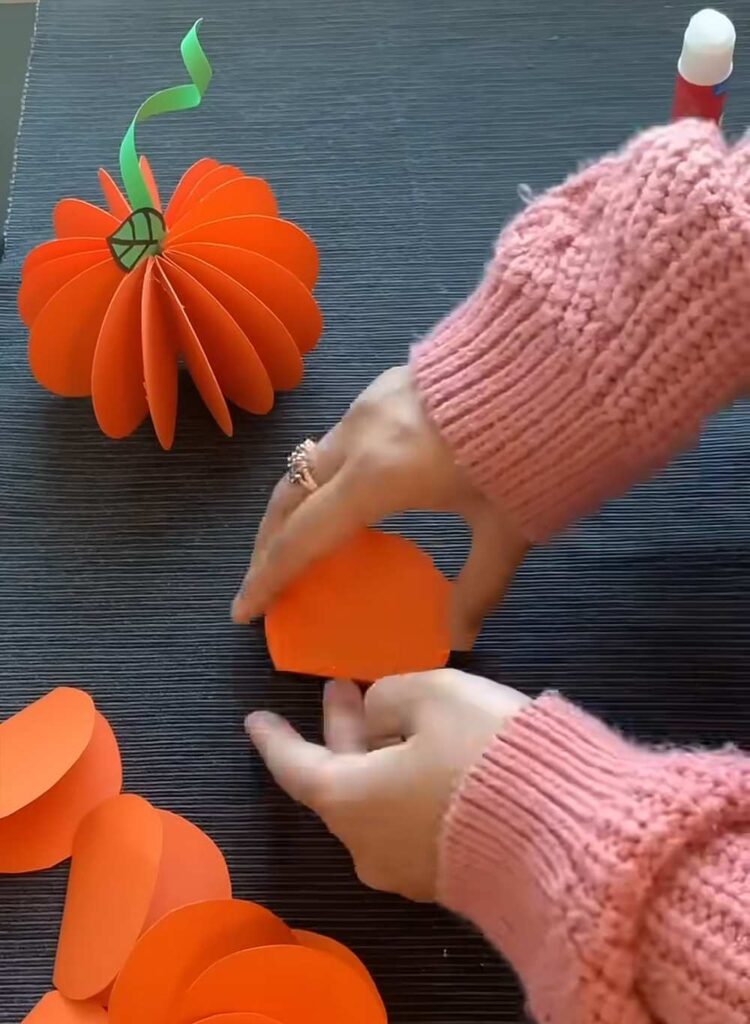
Take each orange circle. Press down firmly on the fold to create a sharp crease.
Step 3: Glue the Stack Together
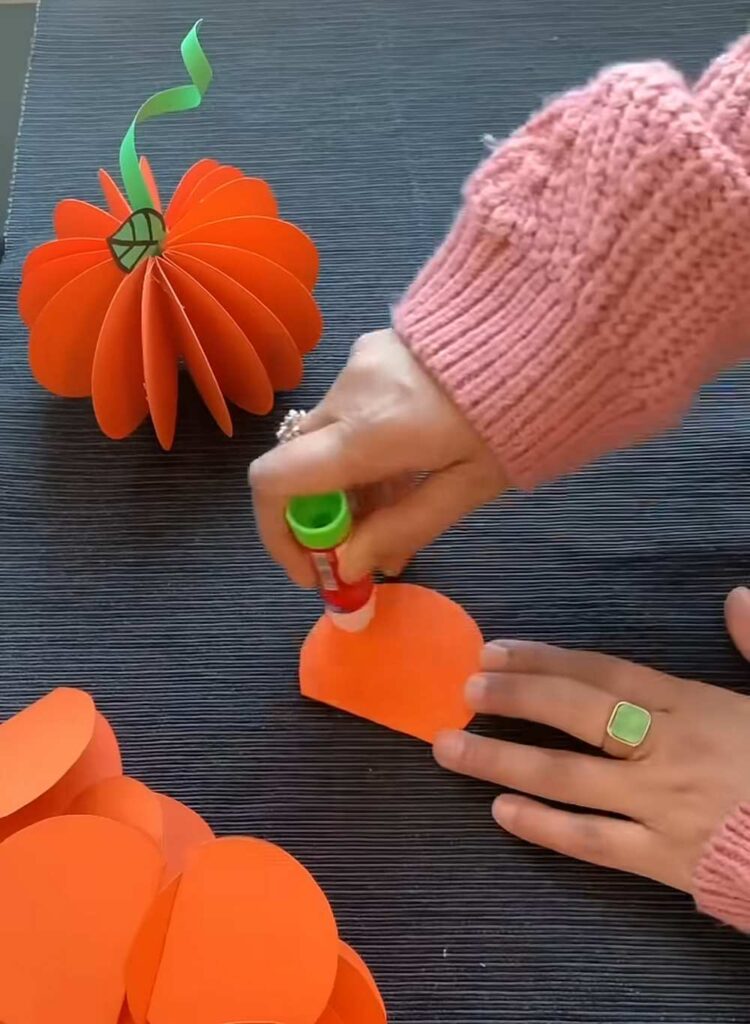
Apply glue to one side of a folded book. Place another folded semi-circle on top of it, ensuring the edges are perfectly aligned. Continue this process, gluing and stacking all of your semi-circles one on top of the other until you have a single thick stack.
Step 4: Form the Pumpkin Body
Apply glue to the top surface of your stack. Carefully fan the folded circles out into a full circle, bringing the first and last pieces together. Press them firmly to secure the bond. This will create the ribbed, 3D spherical body of the pumpkin.
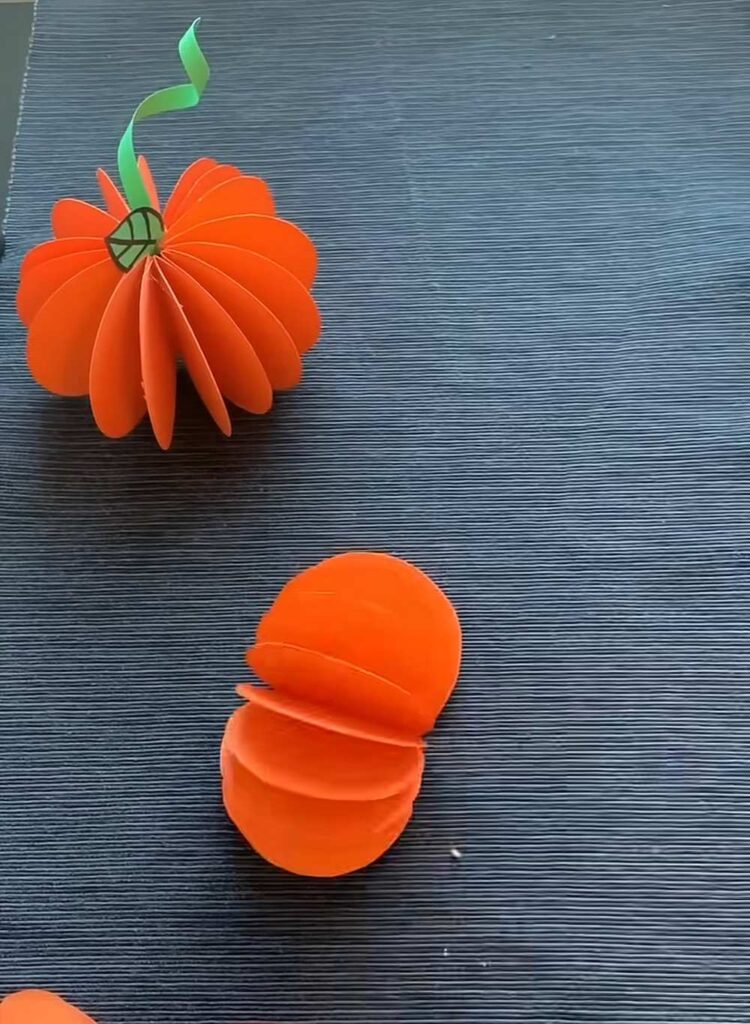
Step 5: Create the Vine
Cut a thin, long strip of green paper. To create the spiral “vine” effect, wrap the strip tightly around a marker or pen. Hold it for a few seconds, then slide it off the marker. Pull slightly on the ends to loosen the coil into a springy shape.
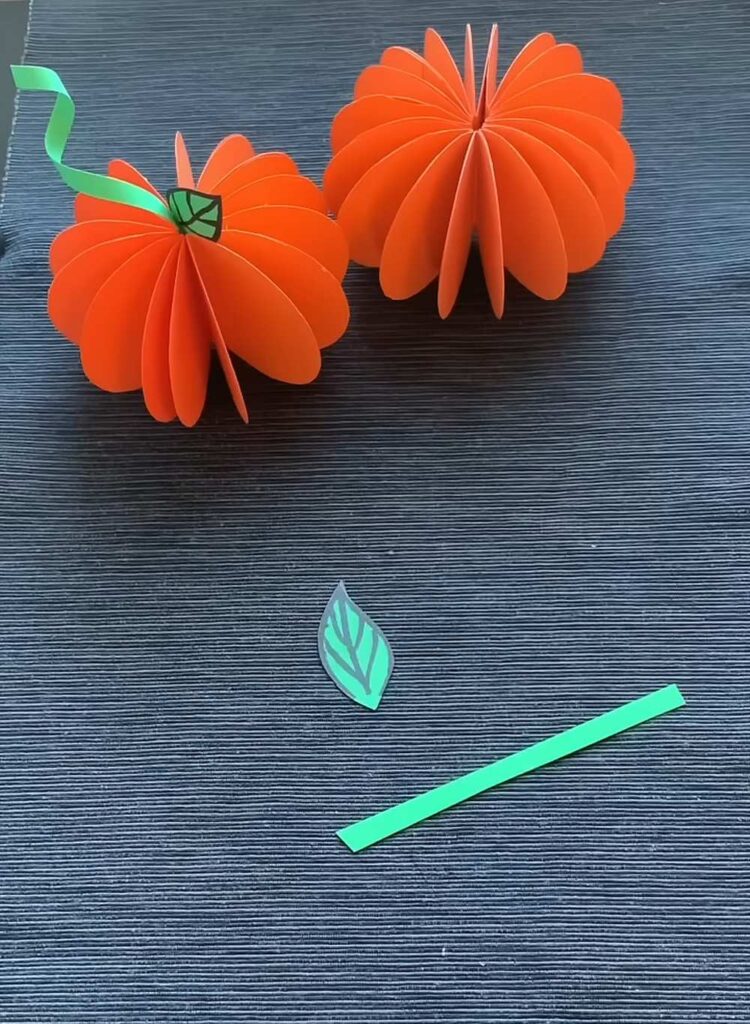
Step 6: Make the Leaf
Cut a small leaf shape out of the green paper. To make it look more realistic, use a black marker to draw a center line and small veins reaching toward the edges of the leaf.
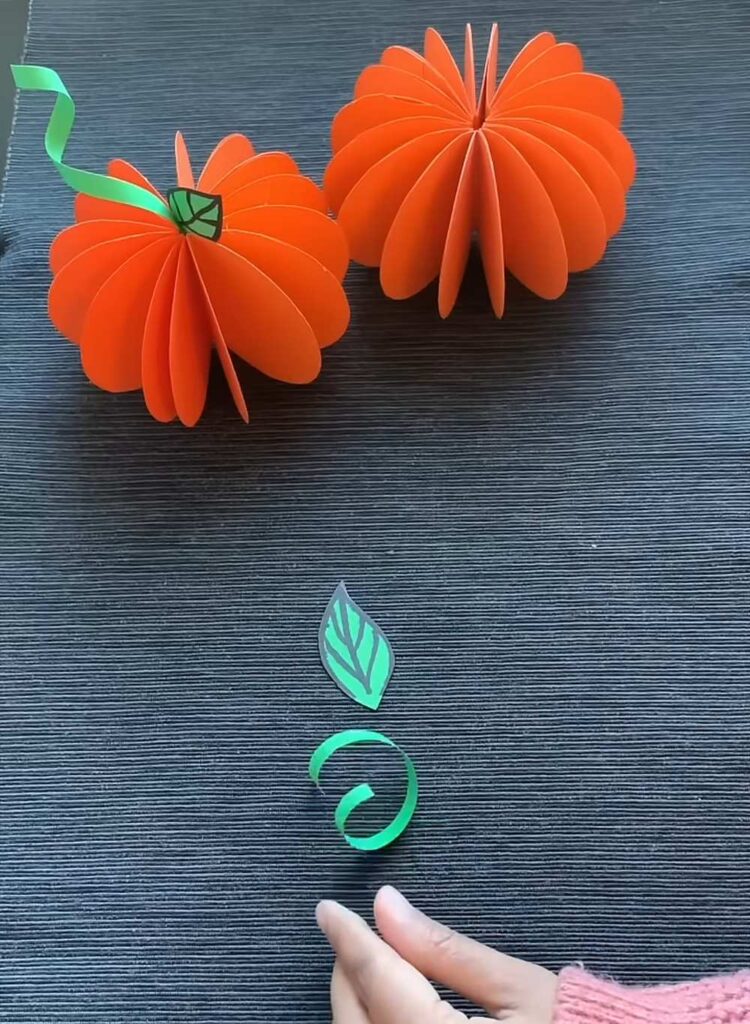
Step 7: Final Assembly
Apply a small amount of glue to the bottom of your curled green vine and the base of the leaf. Press both pieces into the top center of the pumpkin where the folds meet.
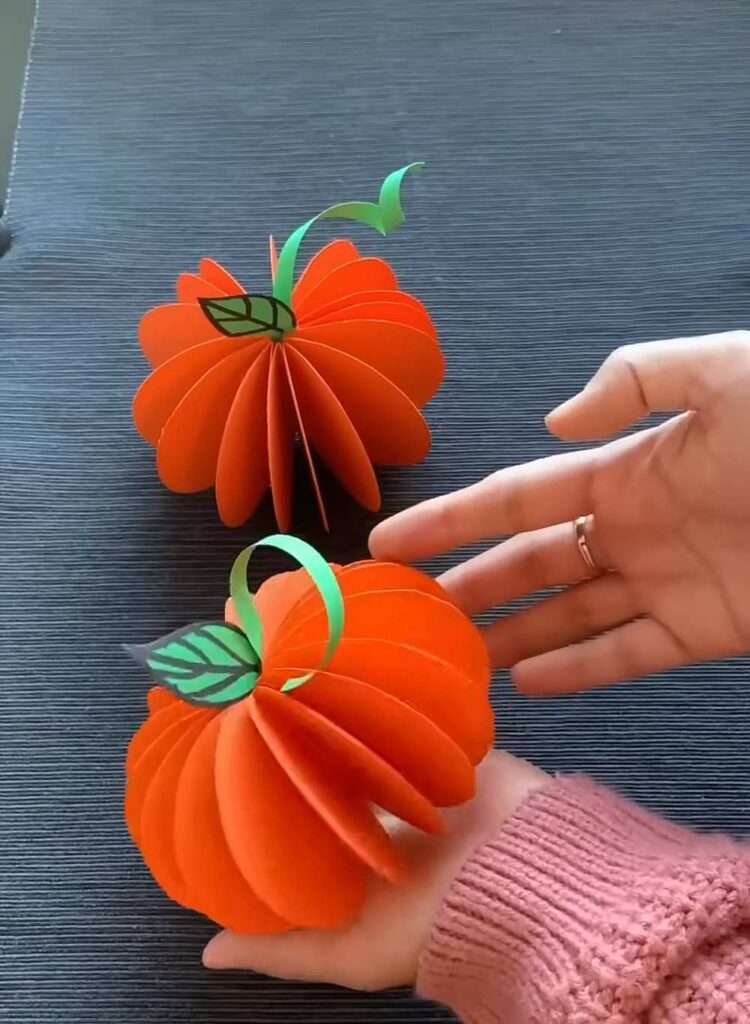
Your 3D paper pumpkin is now finished and ready for display.
Save For Later: