Subscribe to StellaDIY!
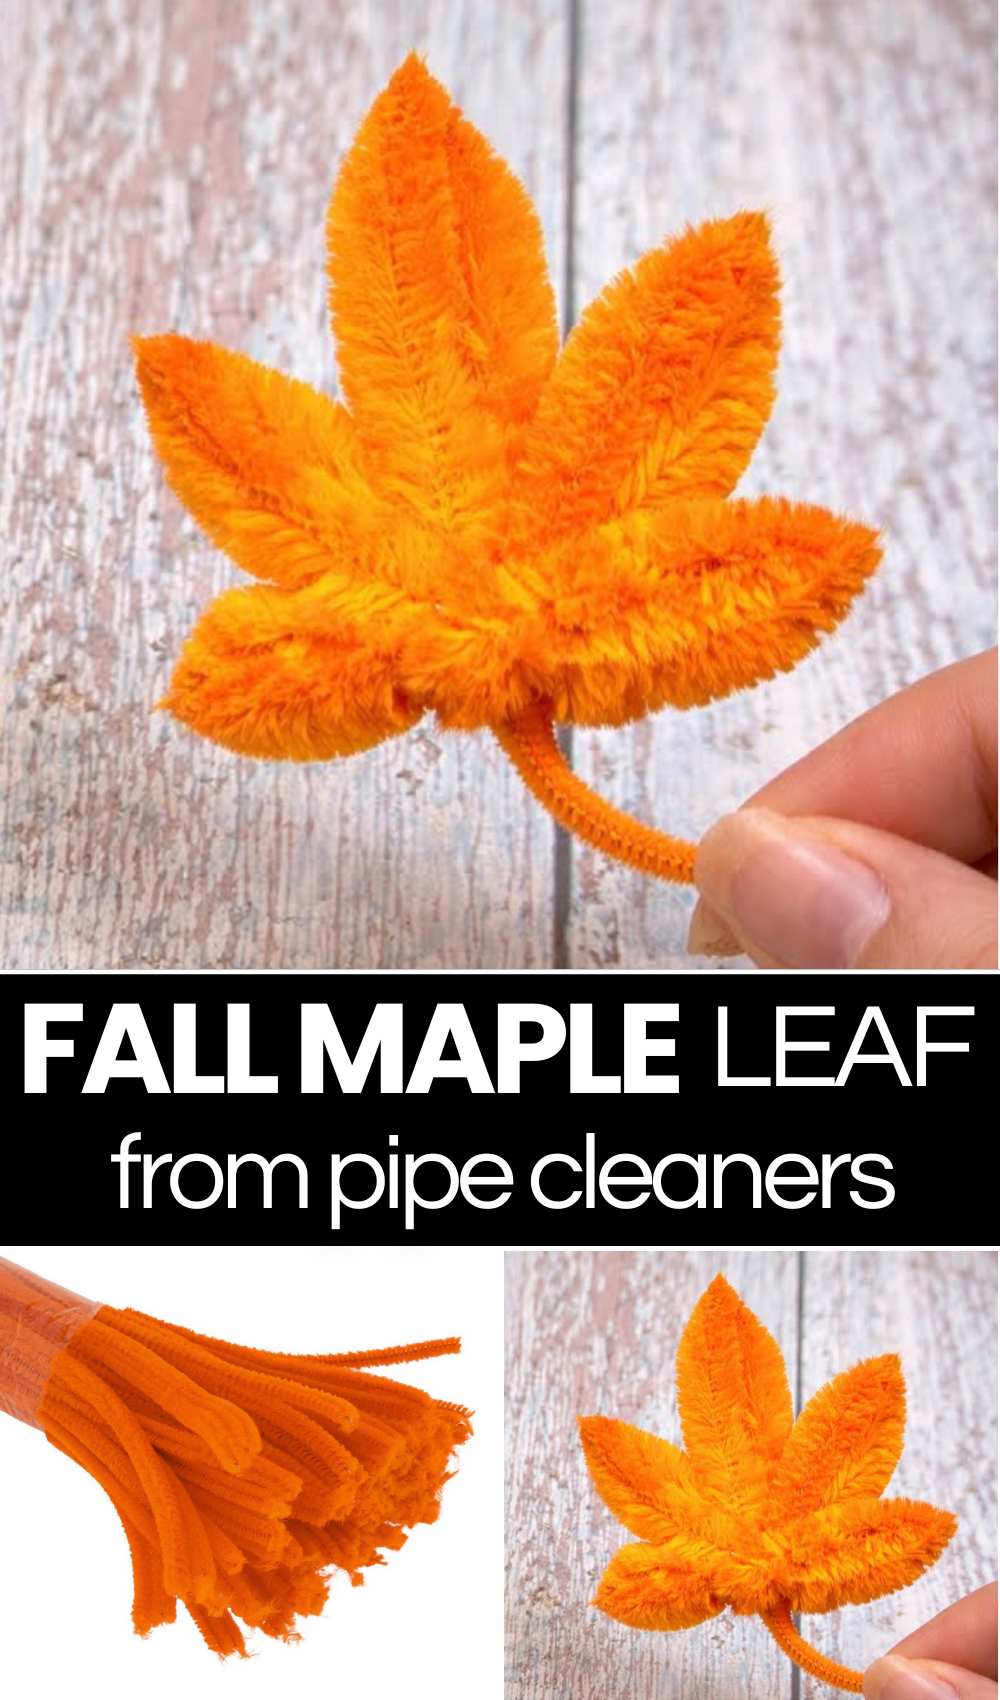
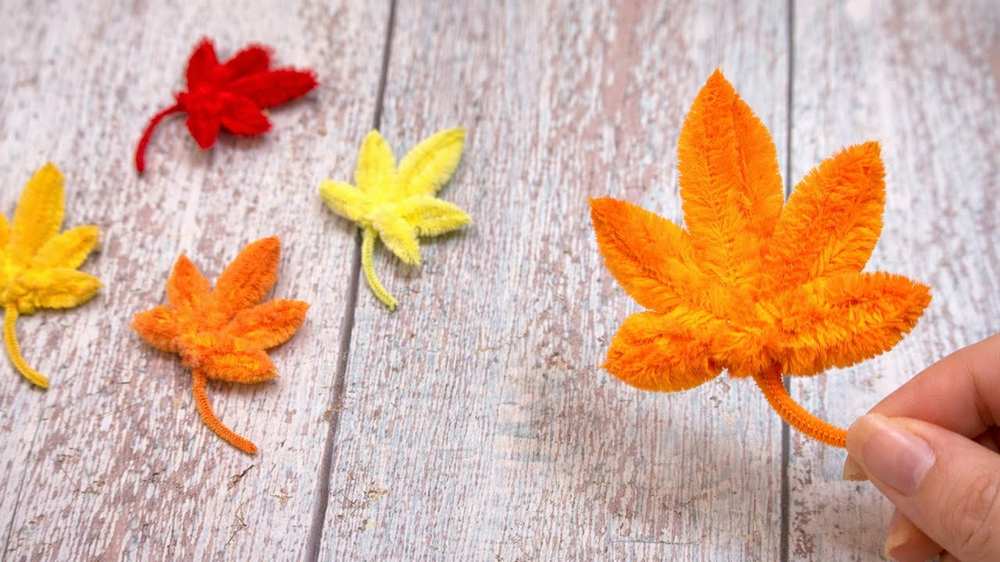
Learn an easy & quick method to make a CUTE little maple leaf out of just 1 pipe cleaner with this step-by-step tutorial. Add this small maple leaf to hair clips, hair bands, scrunchies, and fall garland, and even use it as a table decoration. You can make a set of red, orange, yellow, & dull orange! They are also perfect for selling at fall craft fairs at a profitable amount!
You can make one maple leaf easily in 4 minutes and have a bundle within an hour. Making this chenille stem maple leaf is so simple that you can gather the kids around you so they can help you make these maple leaves in bulk.
You can also make a bigger version of this maple leaf to use as a fall drink coaster, bunting, and a wreath insert! Making this DIY maple leaf also requires trimming of the chenille part of the pipe cleaners. Even with that, it will be easier to make. Anyway, continue reading to learn more about this one pipe cleaner maple leaf project.
[ez-toc]
Quick Making of Pipe Cleaner Maple Leaf
Start with a yellow pipe cleaner and fold it in half. From the hinge end, measure 2cm and, fanning out the folded ends, twist around to secure that piece as a middle leaf point! Press the middle end tight. Now, pick the right and fan it such that it touches the right side of the middle point!
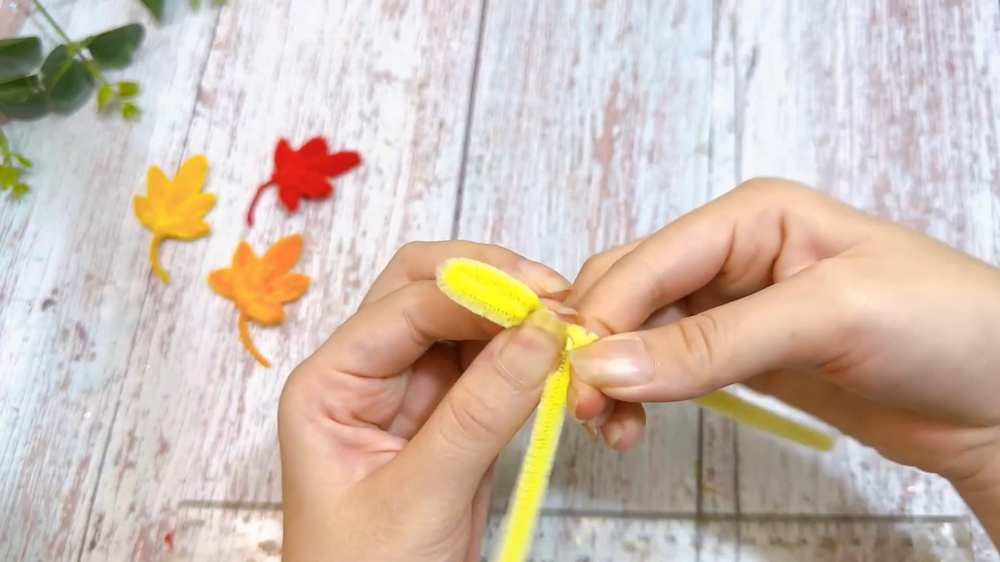
Fold it to the bottom, making another small point, and twist it to secure. This point should be lower than the middle point. Fold once more, making an even lower point, which is the last. To make a symmetrical maple leaf, you will also want to make the same folds on the left side, too.
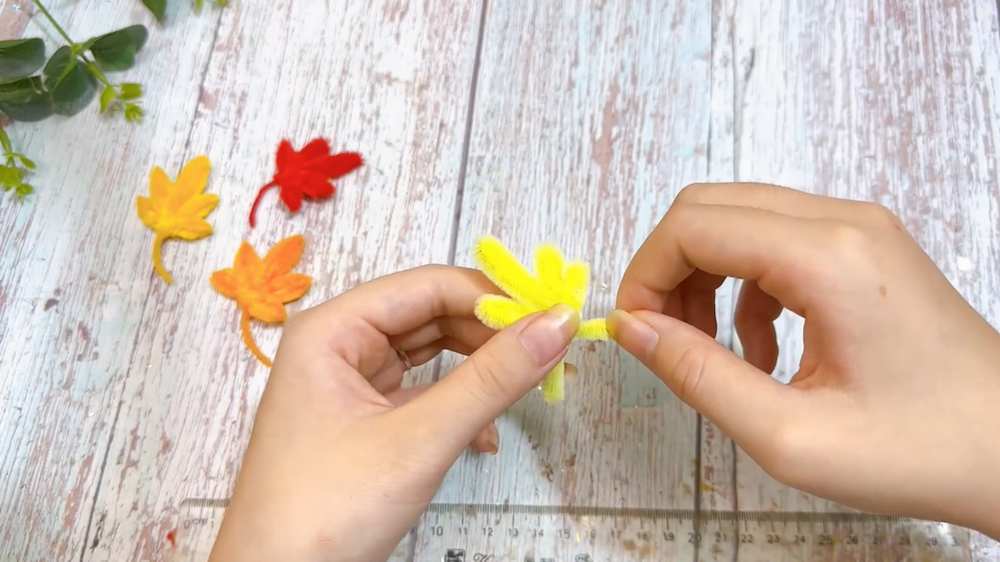
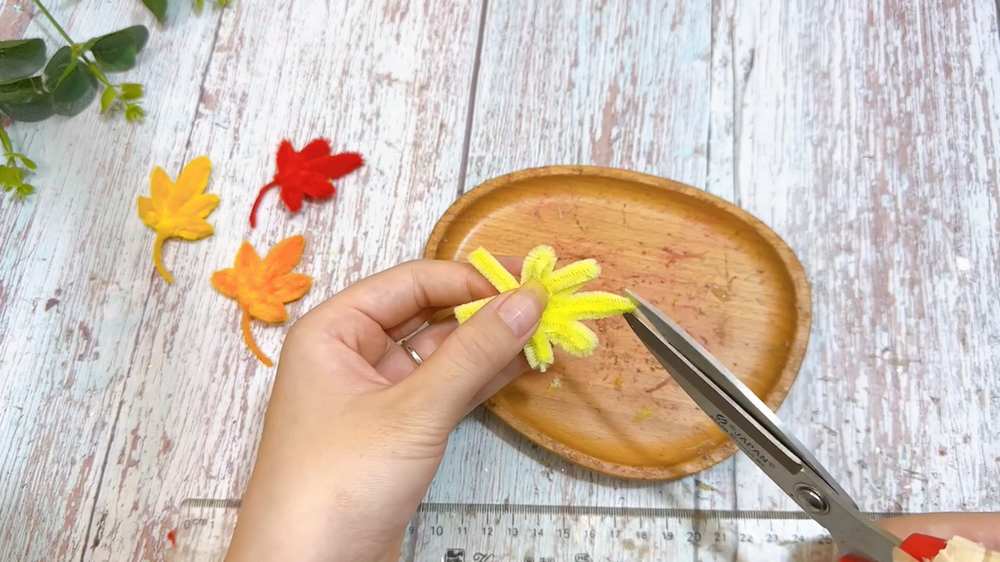
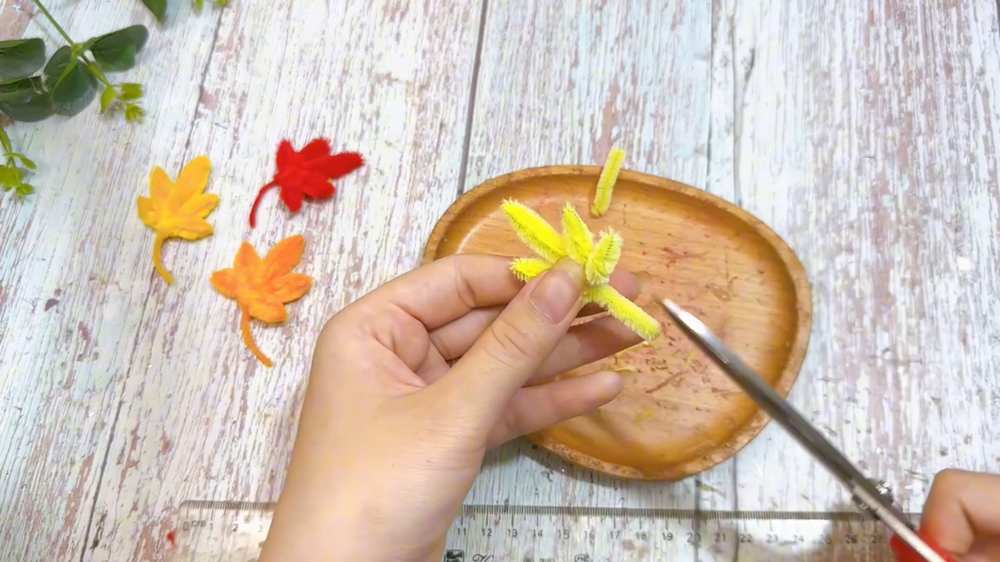
Be sure to secure each time you make another point. You will eventually combine both ends to make the stem of the leaf. Be sure to burn that with a lighter to make it thin, or trim the fuzzy part of the stem with the scissors. To better learn making it, especially the last steps, I recommend following the video tutorial at the end!
Supplies Needed
The following are the supplies needed for following this DIY pipe cleaner maple leaf tutorial:
- 1 yellow pipe cleaner (chenille stem) (you can also use red, orange, or other fall colors)
- Scissors (to trim the fuzzy chenille from the stem if desired)
- Lighter (optional, to carefully melt/thin the stem end for a cleaner finish)
- Your fingers
Learn How to Make the Maple Leaf!
Learn how to trim the fuzz of the maple leaves and shape them at the end with the following video guide:
Share on Social Media!