
Subscribe to DIY Christmas IDEAS!
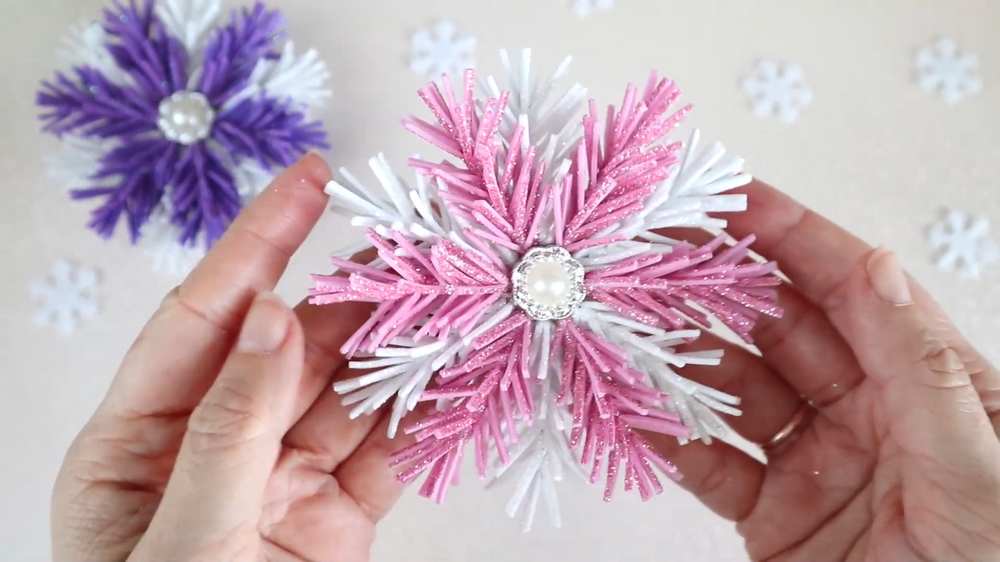
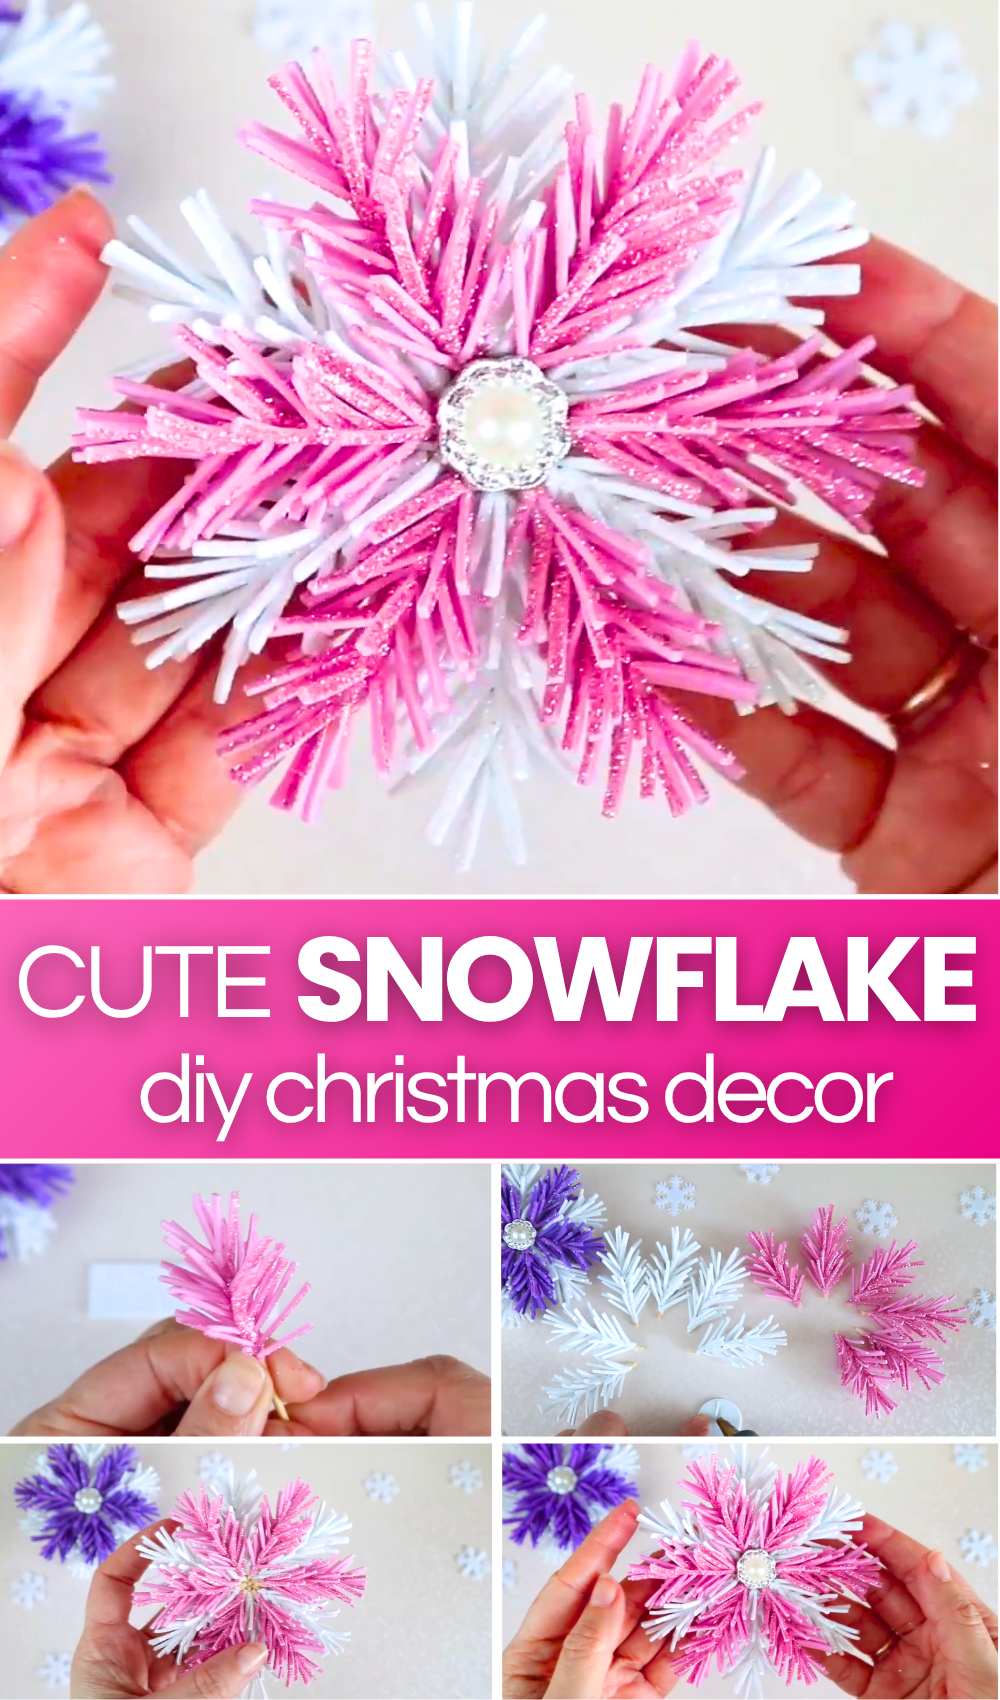
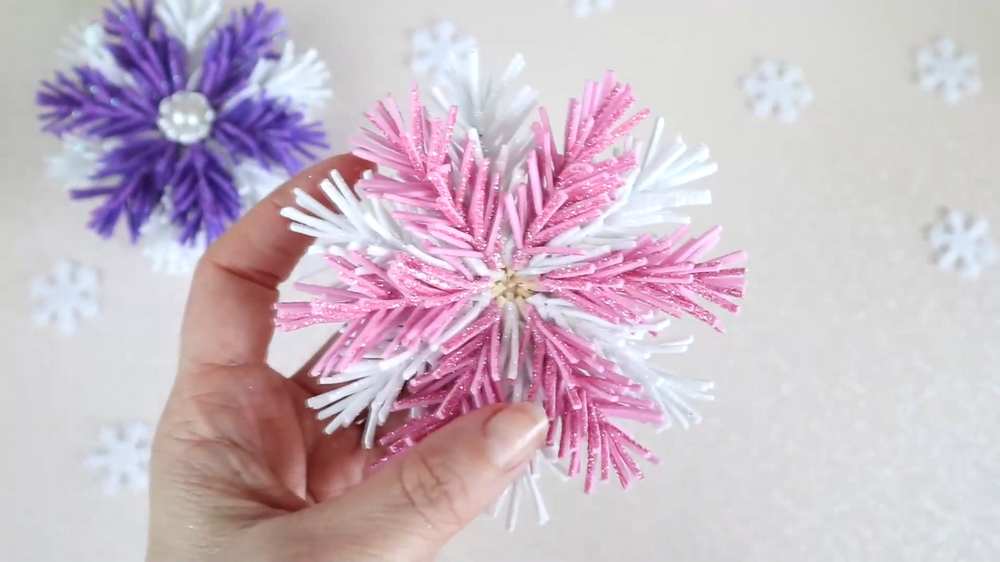
Today’s way of making a snowflake from glitter sheet is different and REALLY fun. Introducing the DIY fringed foaming sheet snowflake that features alternating fuzzy purple and white petals and a decorative button in the middle. It requires only 1 slit and a rolling pattern and will make your Christmas tree, winter window, and New Year garland super special!
To craft the fringed snowflake, you need 12 sheets of 2cm by 7cm sheets glitter sheets. It will look so cute with alternating white and pink or purple fringed snowflake petals.
Then make fringe cuttings in each sheet. Roll each sheet around a toothpick while moving your hand downward, and glue.
After the glue is dry, you can remove the toothpick. Make two separate joined petal snowflakes and attach them at the end.
[ez-toc]
[postrurl]https://craftshive.com/alternating-petals-snowflake-christmas-ornament/[/posturl]
[postrurl]https://craftshive.com/foaming-sheets-popsicles-snowflake-christmas/[/posturl]
Tutorial to DIY a Christmas Decoration Snowflake
Making a glitter foam snowflake is a beautiful and simple craft. You start with glittery foam sheets in colors like white, pink, or purple. You cut small rectangular strips and fringe them with many tiny, slanted cuts to look like pine branches.
These strips are then rolled tightly around a toothpick to create a 3D branch shape. After making six branches of each color, you glue them onto a small foam circle in a star pattern. Adding a shiny gem in the center makes it look fancy. It is a perfect ornament for decorations or gifts.
Materials Needed:
-
Glitter foam sheets (two different colors, like white and pink)
-
Scissors
-
Hot glue gun
-
Toothpicks
-
Small decorative gems or buttons
- Ruler and pencil
Video Tutorial?
Detailed Step-by-Step Instructions:
Step 1: Cut the Foam Strips
Measure and cut rectangular strips from your foam sheets. Each strip should be 2 cm wide and 7 cm long. You will need 6 strips of one color (e.g., white) and 6 strips of another color (e.g., pink) for one snowflake.
Step 2: Fringe the Strips
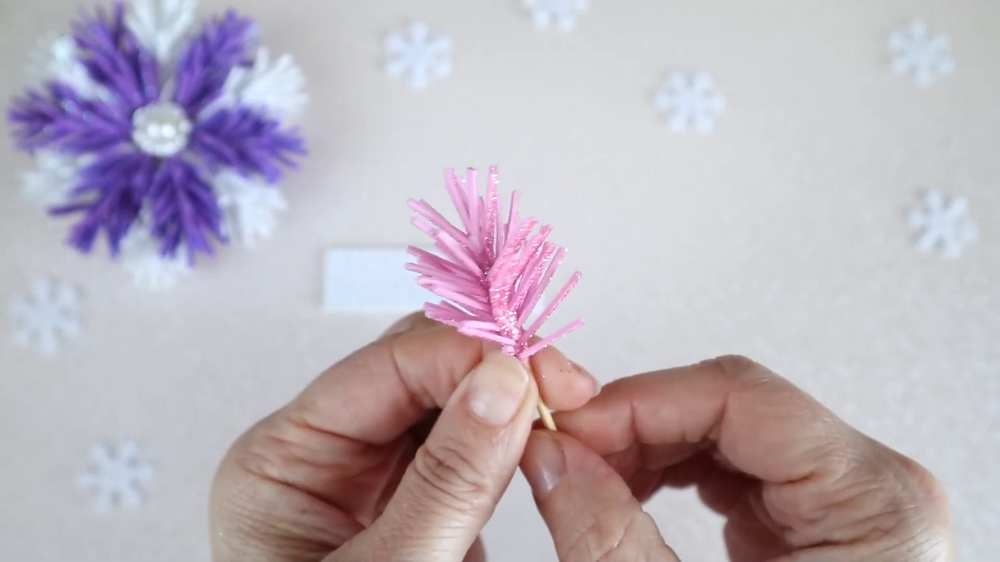
Take one strip and use your scissors to make many thin, slanted cuts along one of the long edges. Do not cut all the way through; leave a small solid border at the top. This creates a “fringe” that looks like needles on a branch. Repeat this for all 12 strips.
Step 3: Prepare the Branches
Apply a small drop of hot glue to the solid top corner of a fringed strip. Place the tip of a toothpick on the glue. Roll the strip tightly around the toothpick at a slight downward angle. This spiraling motion makes the fringe fan out like a branch. Secure the end with more glue.
Step 4: Trim the Toothpicks
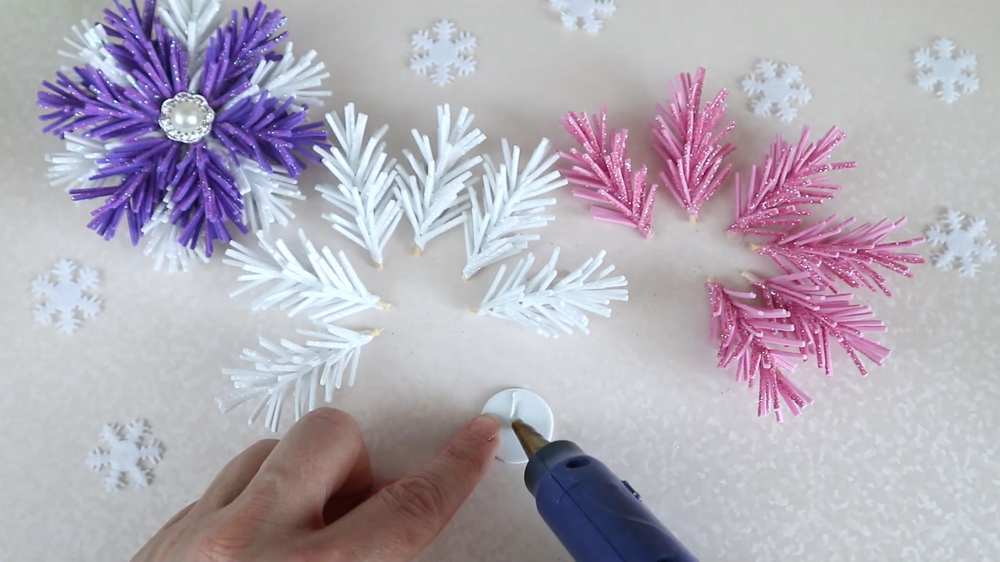
Once the glue is dry, use your scissors to cut off the excess part of the toothpick sticking out of the bottom of the foam branch. Do this for all 6 white branches and 6 pink branches.
Step 5: Create the Base
Cut a small circle out of a foam sheet. The circle should be about 2.5 cm in diameter. This will be the foundation for your snowflake.
Step 6: Glue the First Layer
Apply glue to the center of the foam circle. Arrange the 6 white branches on the circle in a star shape, making sure they are spaced evenly. Press them down firmly until the glue sets.
Step 7: Glue the Second Layer
Apply more glue to the center, on top of the white branches. Place the 6 pink branches in the empty spaces between the white branches. This makes the snowflake look full and colorful.
Step 8: Add the Center Decoration
Put a large dab of hot glue right in the very center of the snowflake where all the branches meet. Press a decorative gem or a pearl button into the glue. This hides the branch ends and adds a beautiful sparkle.
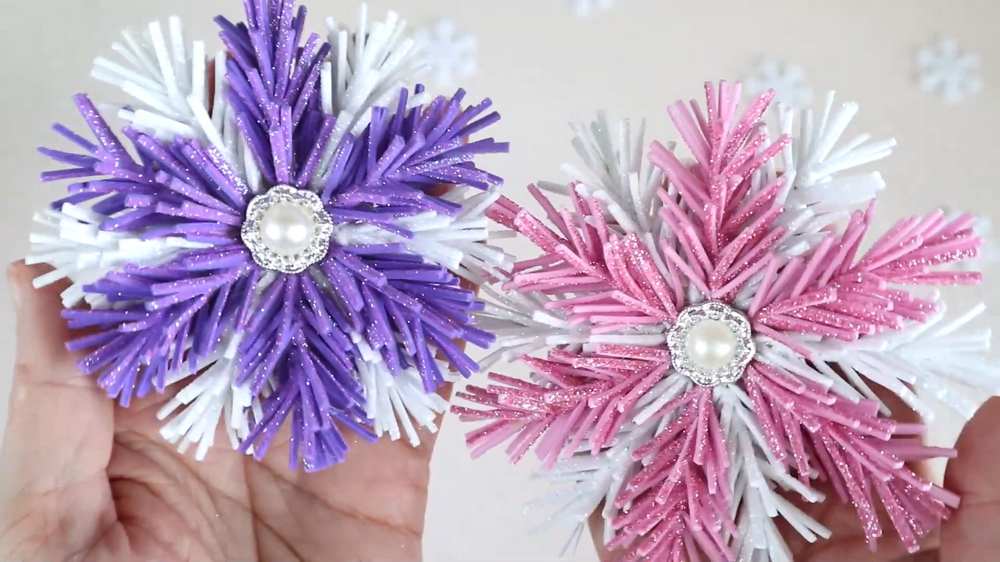
Your foaming sheet snowflake is now complete!
About "DIYChristmasIDEAS"
She shared only Christmas crafts with always the creative ideas!