
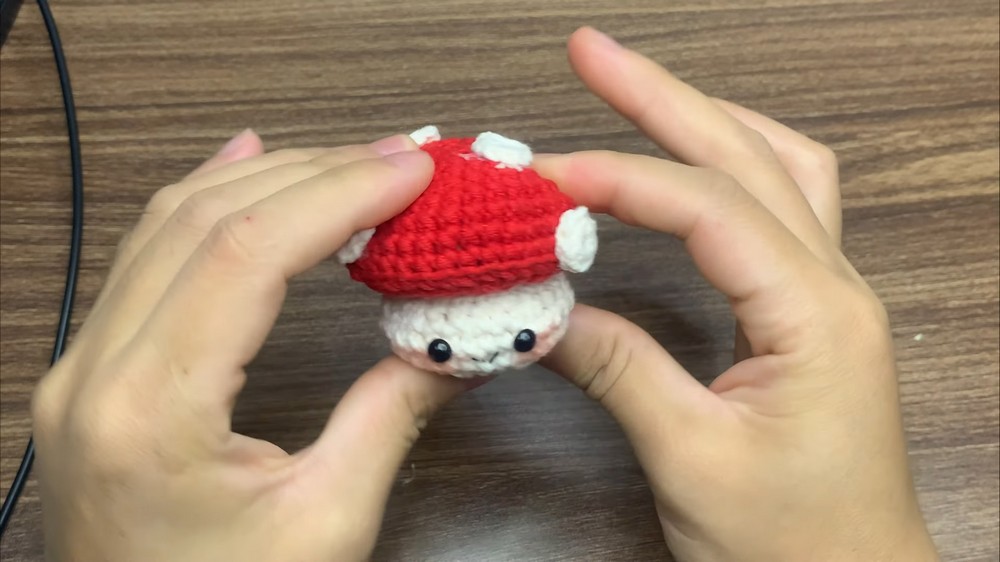
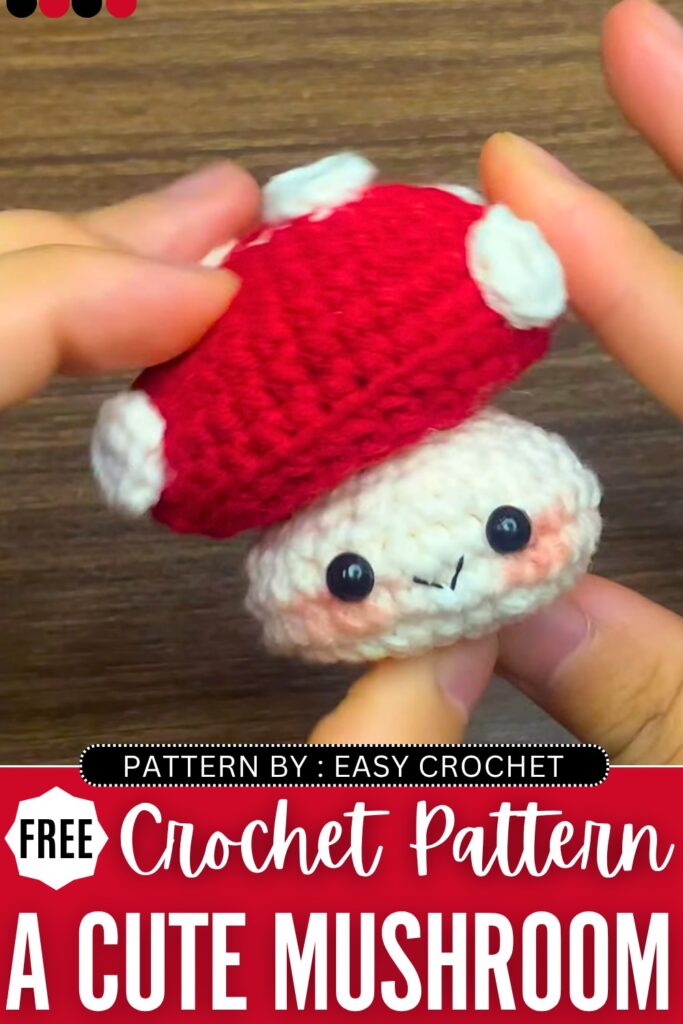
Looking for the CUTEST mushroom stress toy for fall? Learn how to crochet this oh-so-cute mushroom fidget toy with this FREE pattern. This is a kawaii mushroom squishy, which means you can pull its cap to make the mushroom amigurumi longer and press it back to turn it into the sama kawaii mushroom plush.
This is a low-sew plushie, and you can easily crochet it within 45 minutes. We will also crochet the white spots separately and glue them onto the toadstool’s cap. You can also make it as a bag charm for the mushroom sling pouch.
Before you gift this crochet miniature plush for fall, be sure to apply the makeup blush on its cheeks, too. You can also sew the kawaii eyes on the mushroom face instead of the safety beads. Anyway, continue reading for the full pattern to crochet the mushroom amigurumi plush.
[ez-toc]
Crochet Cute Miniature Mushroom Amigurumi: Written Instructions
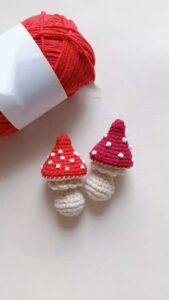
This project is about making a cute red mushroom toy using crochet. It is a step-by-step guide for beginners and advanced crocheters. You will make the top cap part first, then you will make the bottom stem part. After that, you will sew them together, stuff them with cotton, and add eyes, a mouth, and white spots to finish the toy.
Materials Needed
- Yarn: Susan’s Family 5-ply yarn (or any similar yarn) in Red and White colors.
- Crochet Hook: 2.5 mm size hook.
- Eyes: Small plastic safety eyes (or black thread if you do not have plastic eyes).
- Stuffing: Fiberfill toy stuffing.
- Tools: A sewing needle for yarn, scissors, and a hot glue gun (optional, to attach the white spots and eyes).
- Blush: Optional, to make pink cheeks.
Crochet Abbreviations (UK Terms)
- MR: Magic ring
- ch: Chain
- dc: Double crochet (This is equal to the US single crochet)
- inc: Increase (Put two double crochet stitches into the same stitch)
- dec: Decrease (Crochet two double crochet stitches together into one stitch)
- sl st: Slip stitch
- BLO: Back loop only
- st / sts: Stitch / Stitches
Mushroom Cap Pattern (Red Yarn)
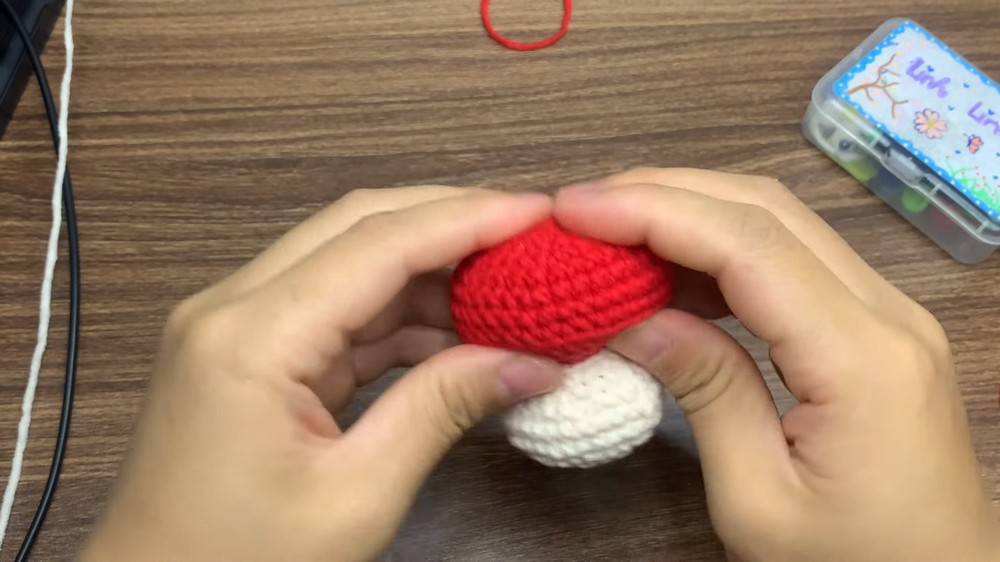
We will start by making the red top part of the mushroom. This part uses joined rounds. Every round starts with a chain 1 and ends with a slip stitch into the first stitch.
Round 1: Start with a MR. Make 1 ch, then work 6 dc into the ring. Pull the yarn tail tight to close the ring. Work 1 sl st into the first double crochet stitch to join the round. [Total: 6 sts]
Round 2: Make 1 ch. Work 1 inc in every stitch around (this means you will do 2 dc into each of the 6 stitches). Work 1 sl st into the first stitch to join. [Total: 12 sts]
Round 3: Make 1 ch. Repeat the sequence (1 dc, 1 inc) a total of 6 times around. Work 1 sl st into the first stitch to join. [Total: 18 sts]
Round 4: Make 1 ch. Repeat the sequence (1 dc, 1 inc, 1 dc) a total of 6 times around. Work 1 sl st into the first stitch to join. [Total: 24 sts]
Round 5: Make 1 ch. Repeat the sequence (3 dc, 1 inc) a total of 6 times around. Work 1 sl st into the first stitch to join. [Total: 30 sts]
Round 6: Make 1 ch. Work 1 dc into every single stitch all the way around. Work 1 sl st into the first stitch to join. [Total: 30 sts]
Round 7: Make 1 ch. Repeat the sequence (2 dc, 1 inc, 2 dc) a total of 6 times around. Work 1 sl st into the first stitch to join. [Total: 36 sts]
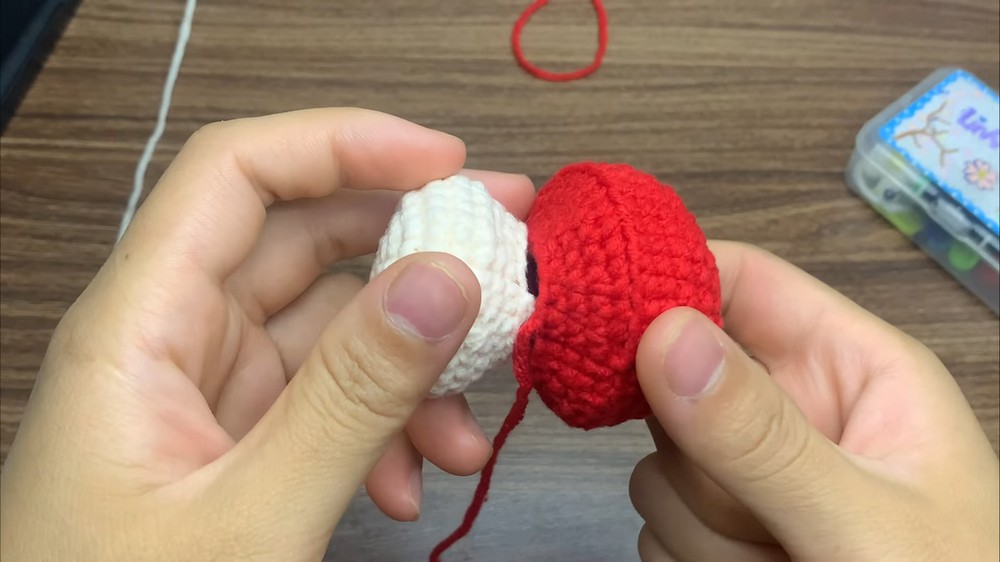
Round 8: Make 1 ch. Work 1 dc into every stitch around. Work 1 sl st into the first stitch to join. [Total: 36 sts]
Round 9: Make 1 ch. Work 1 dc into every stitch around. Work 1 sl st into the first stitch to join. [Total: 36 sts]
Round 10: Make 1 ch. Work this round in BLO (Back Loops Only). Work 1 dc into the back loop of every stitch around. Work 1 sl st into the first stitch to join. [Total: 36 sts]
Round 11: Make 1 ch. Working through both loops normally again, repeat the sequence (2 dc, 1 dec, 2 dc) a total of 6 times around. Work 1 sl st into the first stitch to join. [Total: 30 sts]
Round 12: Make 1 ch. Repeat the sequence (3 dc, 1 dec) a total of 6 times around. Work 1 sl st into the first stitch to join. [Total: 24 sts]
Round 13: Make 1 ch. Repeat the sequence (1 dc, 1 dec, 1 dc) a total of 6 times around. Work 1 sl st into the first stitch to join. [Total: 18 sts]
Fasten off your yarn, leaving a long yarn tail. You will use this long tail later to sew the cap to the stem. Make sure you count your stitches to confirm you have exactly 18 stitches.
Mushroom Stem Pattern (White Yarn)
Now we will make the white bottom stem part of the mushroom. This part also uses joined rounds.
Round 1: Start with a MR. Make 1 ch, then work 8 dc into the ring. Pull the ring tight. Work 1 sl st into the first stitch to join. [Total: 8 sts]
Round 2: Make 1 ch. Work 1 inc in every stitch around (2 dc in each stitch). Work 1 sl st into the first stitch to join. [Total: 16 sts]
Round 3: Make 1 ch. Repeat the sequence (1 dc, 1 inc) a total of 8 times around. Work 1 sl st into the first stitch to join. [Total: 24 sts]
Round 4: Make 1 ch. Repeat the sequence (1 dc, 1 inc, 1 dc) a total of 8 times around. Work 1 sl st into the first stitch to join. [Total: 32 sts]
Round 5: Make 1 ch. Work 1 dc into every stitch around. Work 1 sl st into the first stitch to join. [Total: 32 sts]
Round 6: Make 1 ch. Work 1 dc into every stitch around. Work 1 sl st into the first stitch to join. [Total: 32 sts]
Round 7: Make 1 ch. Repeat the sequence (1 dc, 1 dec, 1 dc) a total of 8 times around. Work 1 sl st into the first stitch to join. [Total: 24 sts]
Round 8: Make 1 ch. Repeat the sequence (1 dc, 1 dec, 1 dc) a total of 6 times around. Note that this round changes from 8 repeats to 6 repeats to make the neck smaller. Work 1 sl st into the first stitch to join. [Total: 18 sts]
Round 9: Make 1 ch. Work 1 dc into every single stitch around. Work 1 sl st into the first stitch to join. [Total: 18 sts]
Fasten off the white yarn and cut it. Check your final stitch count to make sure you have exactly 18 stitches so it matches the cap perfectly.
White Spots Pattern (White Yarn)
Next, we will make the white decorative dots for the mushroom cap. You can make as many as you like.
For a Standard Spot: Start with a MR. Make 1 ch, then work 8 dc into the ring. Pull the loop closed and work 1 sl st into the first stitch to join. Fasten off. You can make 4 to 5 of these spots.
Assembly and Face Details
Now it is time to put all the pieces together to complete your cute mushroom toy.
Step 1: Sewing the Pieces Together Place the red mushroom cap over the white stem. Line up the 18 stitches of both pieces. Use the long red yarn tail you left on the cap and a sewing needle. Sew only the inner loops (back loops) of the cap to the inner loops of the stem. This keeps the stitches hidden and clean.
Step 2: Adding Stuffing When you are more than halfway through sewing the pieces together, stop. Take your fiberfill stuffing and push it inside the mushroom. Add a little bit at a time to both the cap and the stem until it is firm and holds its shape. Once it is stuffed well, finish sewing the remaining stitches closed and hide the yarn tail inside the body.
Step 3: Attaching the Eyes Take your plastic safety eyes. If you are using glue, use a hot glue gun to attach them onto the front of the white stem, placing them evenly apart. If you do not have plastic eyes, use black thread to stitch two small eyes onto the stem.
Step 4: Embroidering the Mouth Thread your needle with black thread. Sew a simple, small smile directly in the middle of the two eyes to give the mushroom a cheerful face. Cut and hide the thread ends.
Step 5: Gluing the White Spots Use a hot glue gun or fabric glue to attach the white spots onto the red mushroom cap. You can scatter them around randomly wherever you think they look best.
Step 6: Adding Cheeks (Optional) If you want to make the mushroom extra cute, apply a small amount of pink cosmetic blush right underneath the eyes to create rosy cheeks.
Learn with the Video Tutorial