
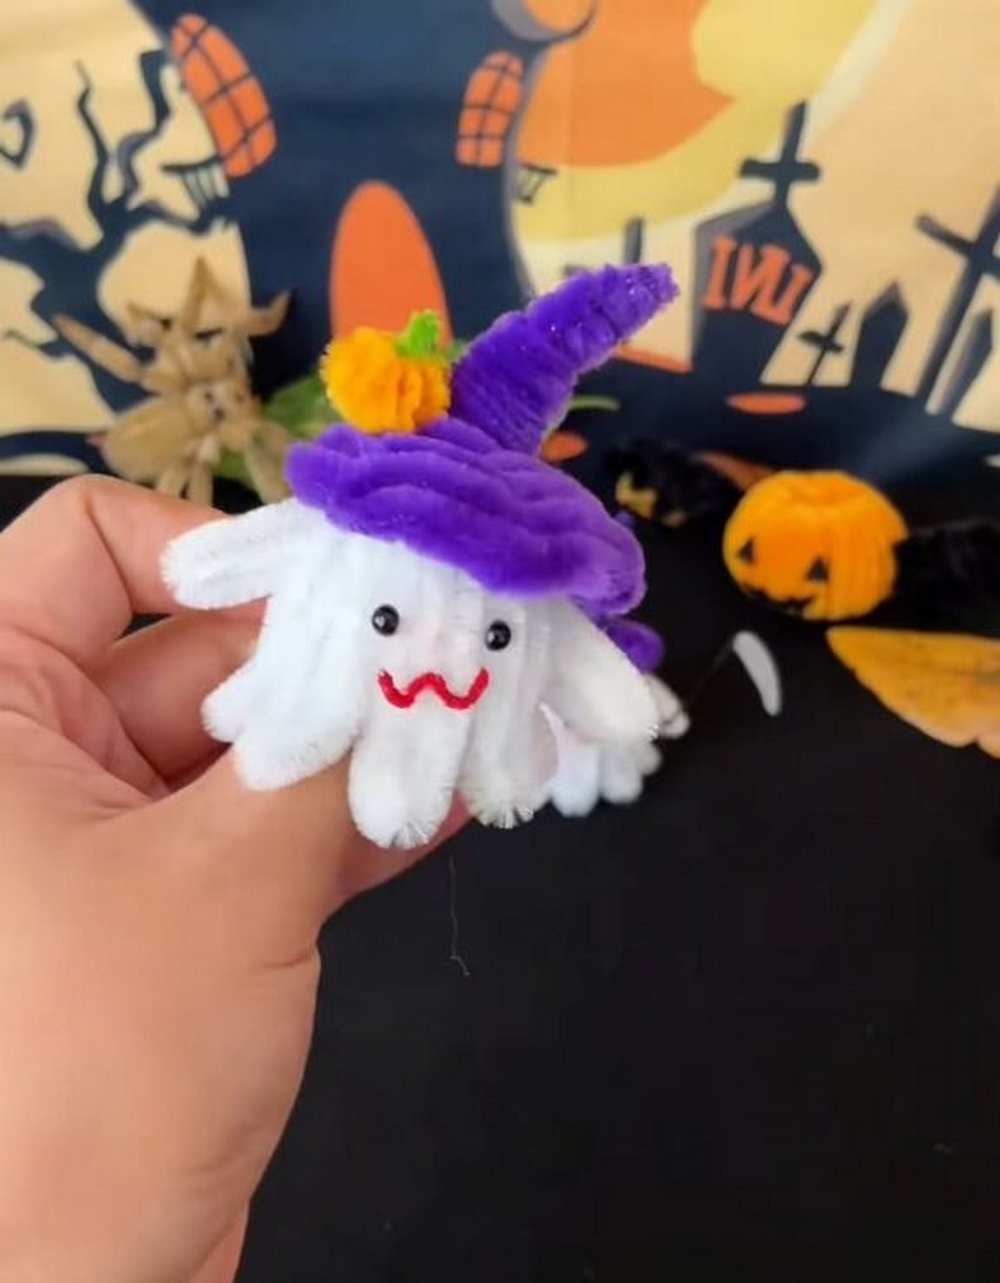
Learn how to make a DIY miniature ghost plush using a pipe cleaner;l that is a cozy autumn project, this step-by-step guide:
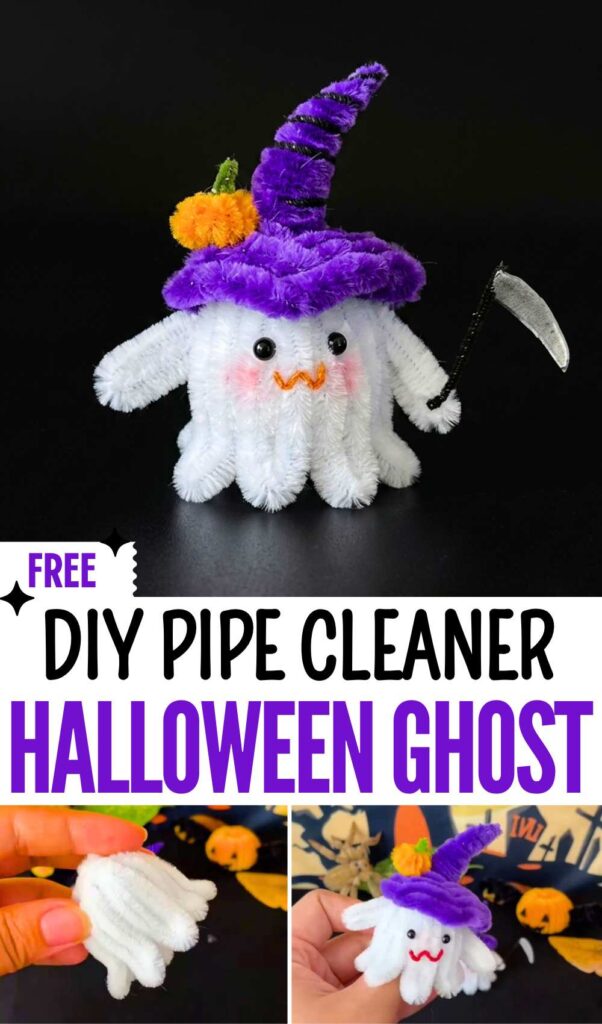
Supplies Needed
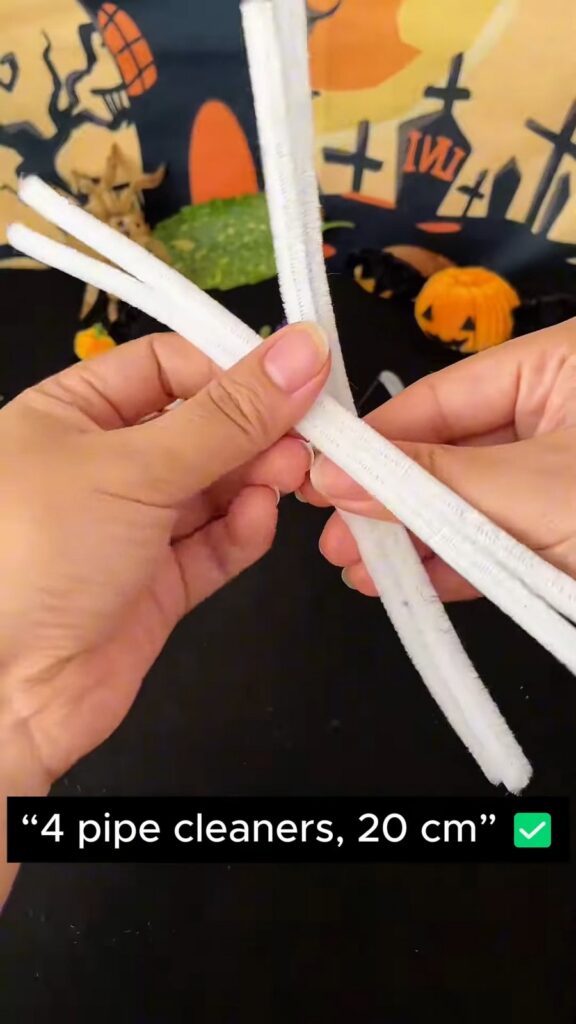
- 4 white pipe cleaners (20 cm each)
- 4 purple pipe cleaners (15 cm each)
- Small scraps of orange and green pipe cleaners
- 1 pair of small safety eyes (4 mm or 6 mm)
- Small scrap of red or black yarn
- Hot glue gun with clear glue sticks
- Standard craft scissors
Part 1: Crafting the Ghost Body
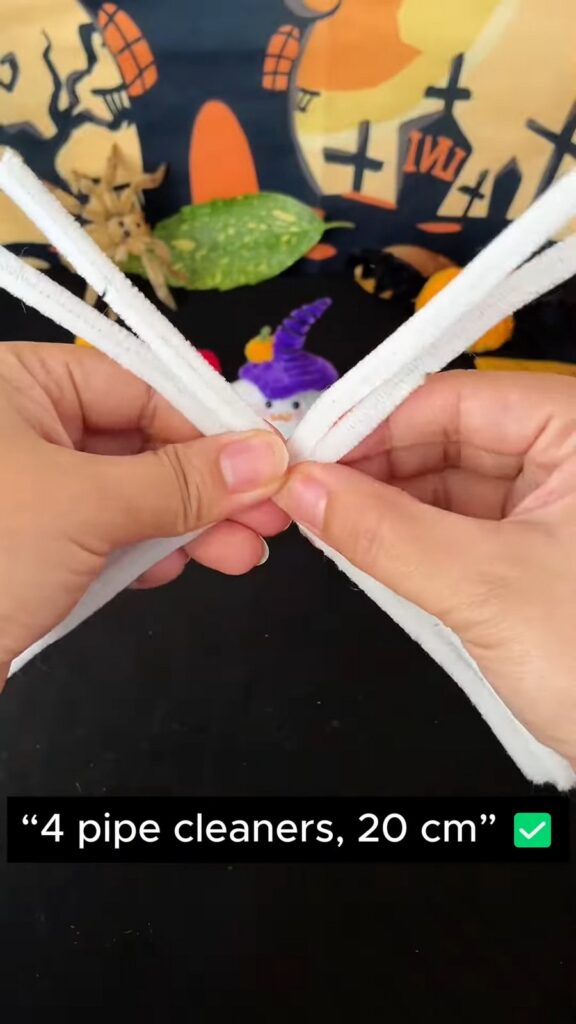
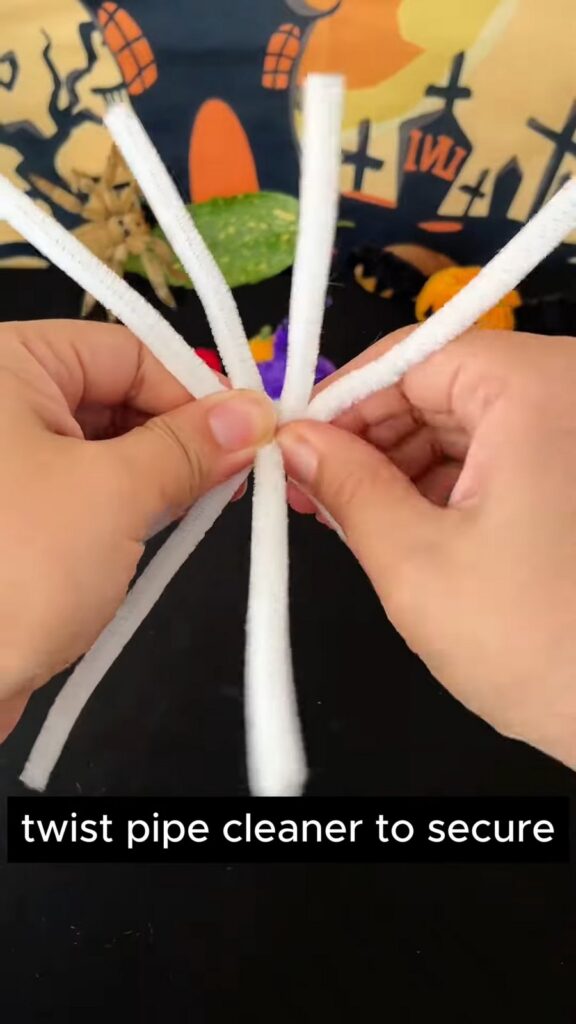
1. Form the Foundation Take 4 of your 20 cm white pipe cleaners. Hold 2 pipe cleaners in your left hand and 2 in your right hand. Cross them over each other precisely in the middle at a 90-degree angle.
Twist any two of the overlapping pipe cleaners together tightly at the center to secure the bundle. You should now have a flat, star-like base with 8 individual spokes radiating outward at equal distances.
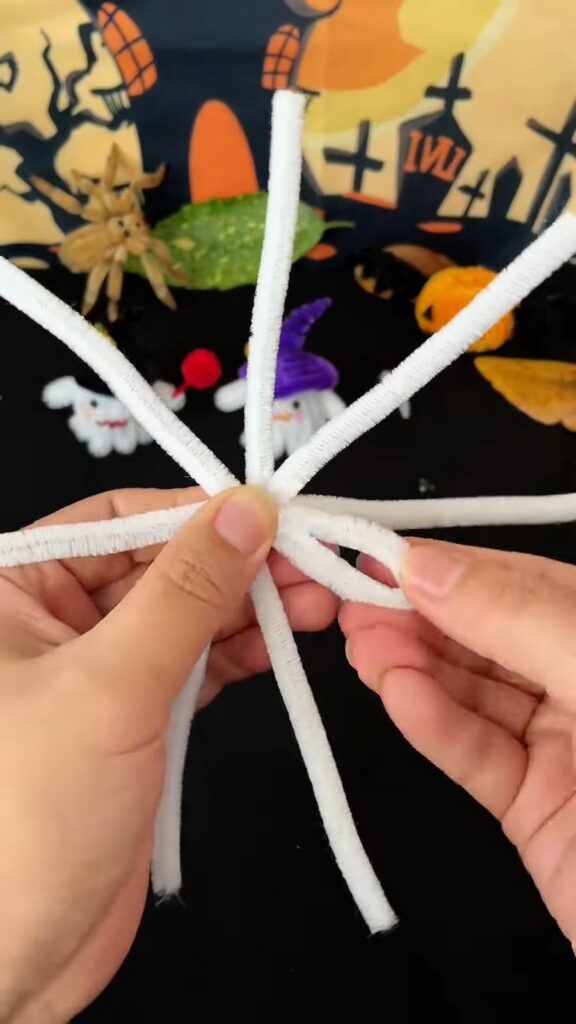
2. Create the Petals Take one of the 8 radiating ends, bend it in a loop toward the center twist, and twist the tip securely around the middle hub to create a “petal.”
Pinch the outermost point of this looped petal to give it a defined crease. Repeat this exact process for all 8 ends until you have a flat, flower-like shape.
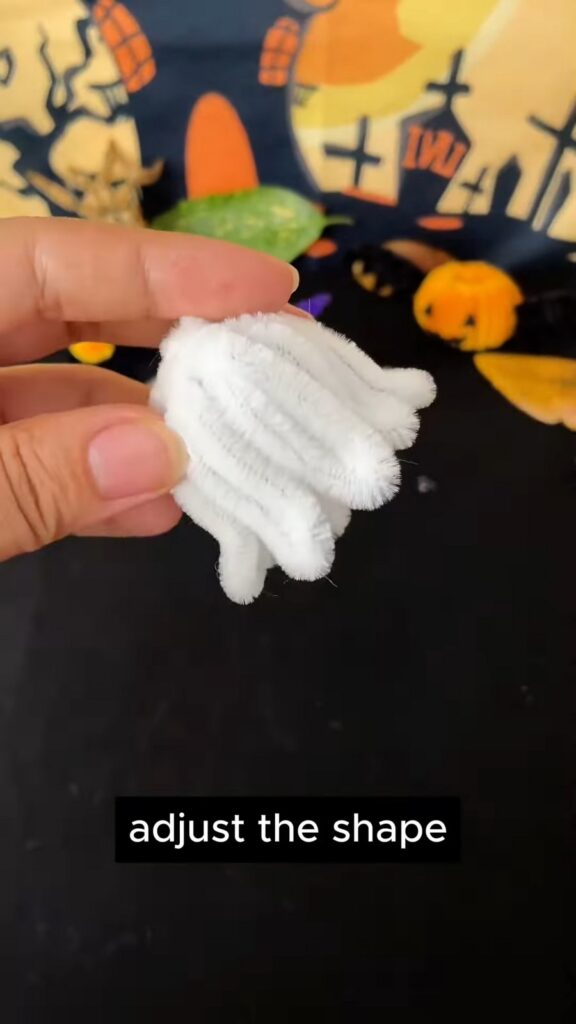
3. Shape the 3D Body To give your ghost its iconic bell-like volume, gently adjust the shape by folding each looped petal downward and away from you. B
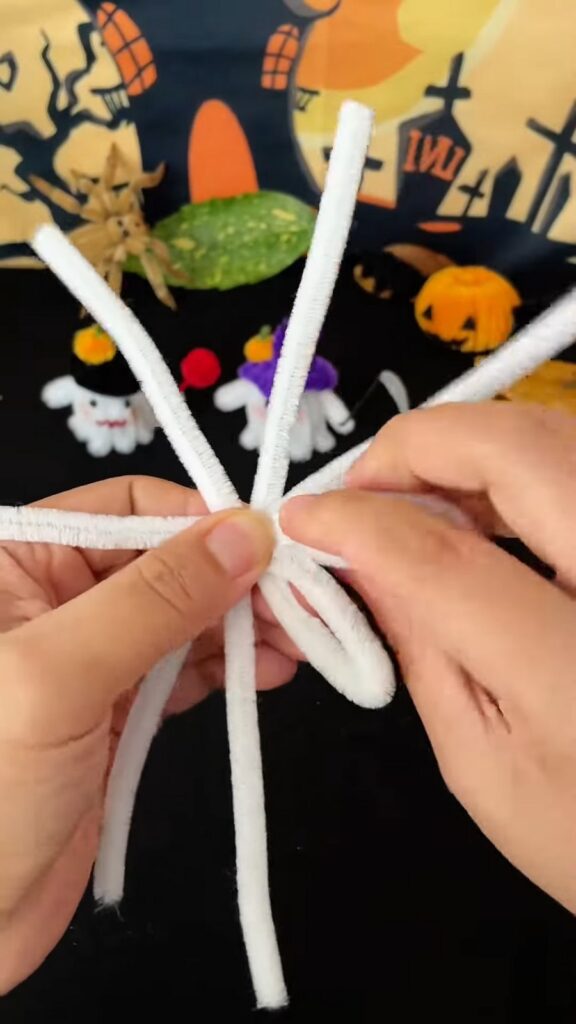
ring the sides closer together. The final shape should closely resemble a beautiful, downward-facing Lily of the Valley flower.
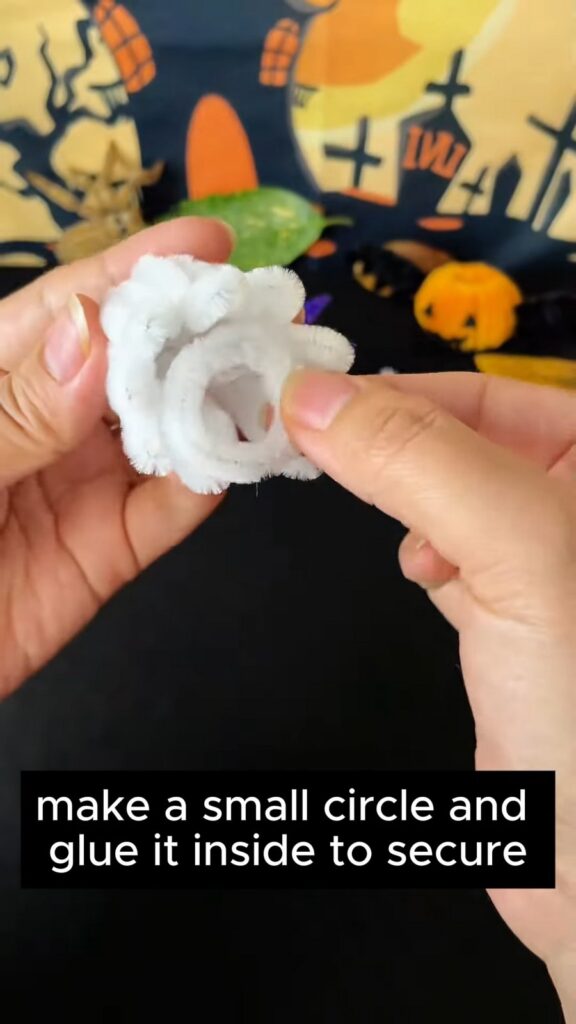
4. Secure the Structure Take a spare piece of white pipe cleaner and form a small circle roughly the diameter of the ghost’s bottom opening.
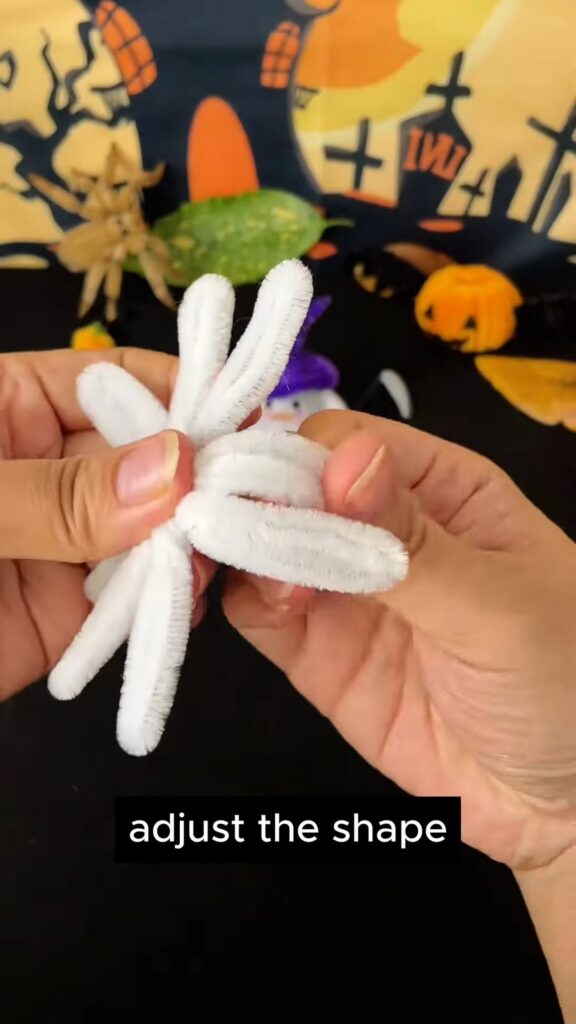
Apply a small amount of hot glue to the inside rim of the ghost petals and press the circle inside. This acts as an internal skeleton, locking the plushie’s 3D shape in place perfectly.
Now, insert a small ring of white pipe cleaner through the body!
Part 2: Crafting the Mini Witch Hat
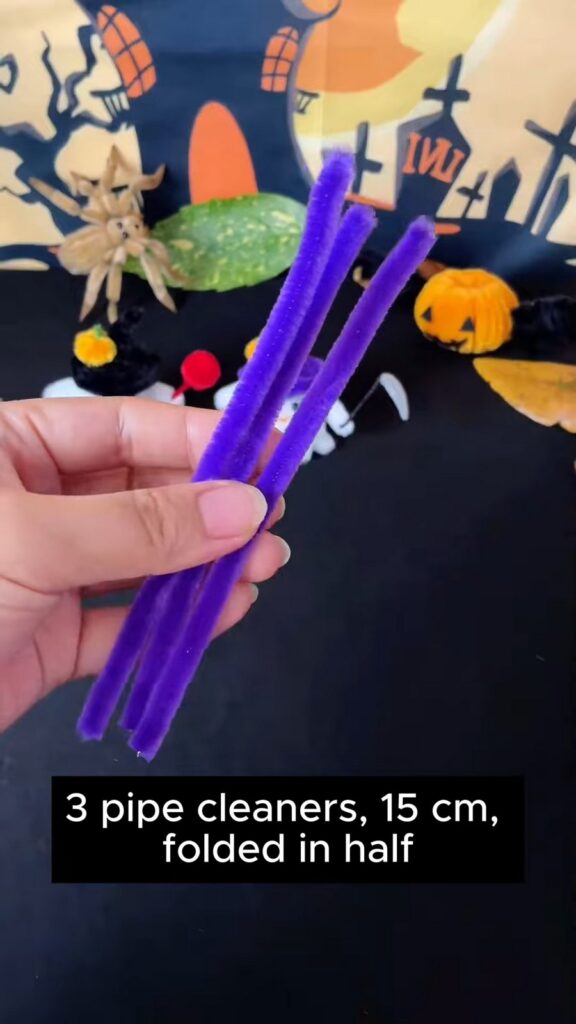
1. Start the Hat Point Take 3 of your 15 cm purple pipe cleaners andfold them perfectly in half so you have 6 ends facing down. Line them up closely together.
Take your 4th purple pipe cleaner and wrap it tightly around the folded top of the bundle. Wrap it downward for a few centimeters to form the dense, solid peak of the witch hat.
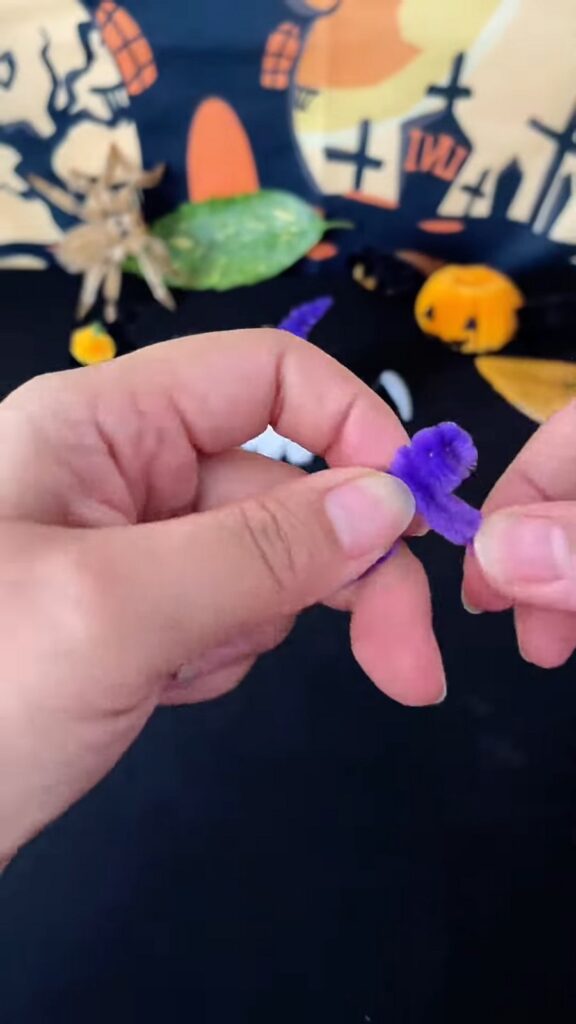
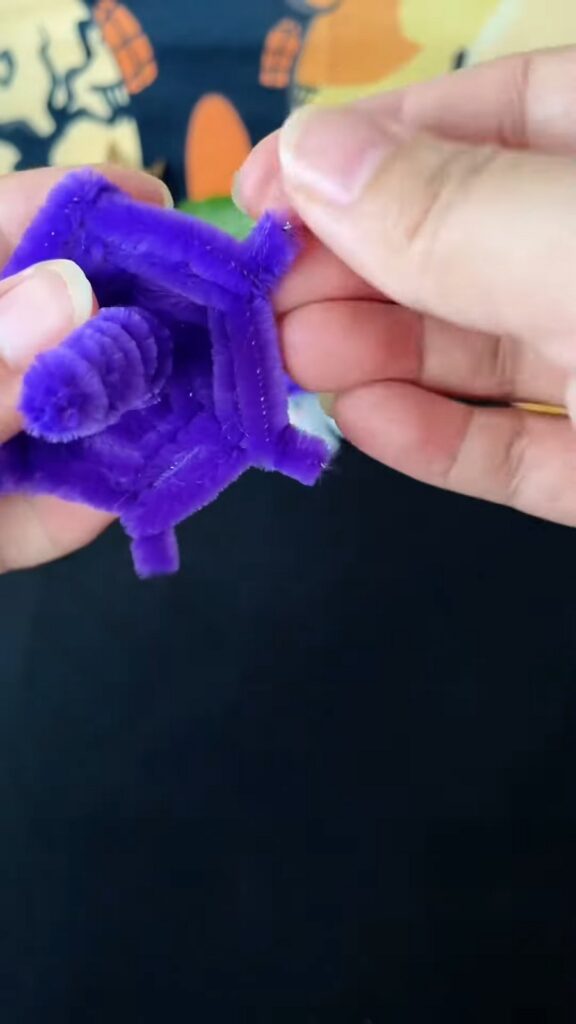
2. Form the Hat Brim Below the wrapped peak, open up the 6 folded ends and bend them outward so they lay completely flat, radiating like the spokes of a wheel. Take the remaining length of your wrapping pipe cleaner (or attach a new one if you run out) and weave it horizontally around the 6 spokes.
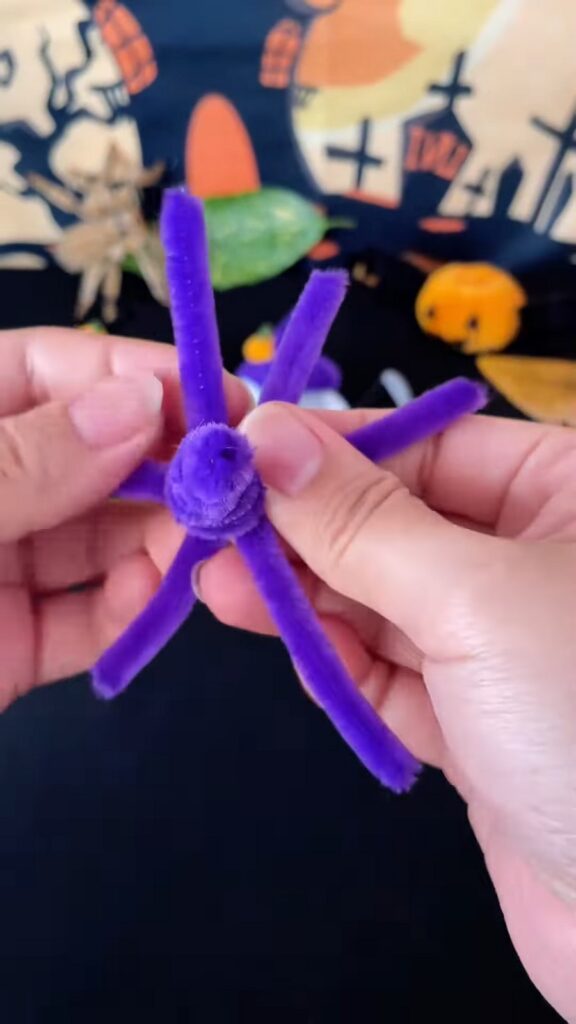
Wrap it once around a spoke, move to the next, wrap it once, and continue this under-and-over circular weaving until you form a flat, wide brim. Trim off any excess and tuck the ends in cleanly.
Part 3: Final Assembly & Spooky Details
1. Attach the Features Use small dabs of hot glue to attach the safety eyes to the front of your ghost’s white body. Cut a tiny curved piece of yarn and glue it just below the eyes for a sweet, happy smile.
2. Make the Hands Cut a 5 cm piece of white pipe cleaner. Fold it slightly in the middle to create two small, stubby arms. Glue this piece to the front or sides of the ghost so it looks like it is reaching out to say “Boo!”
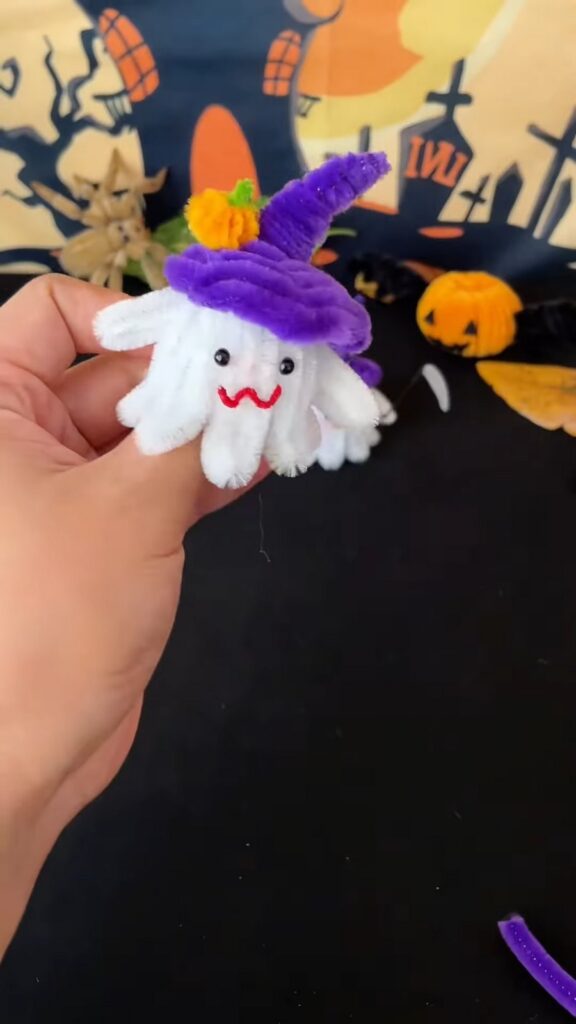
3. The Finishing Touches Apply hot glue to the inside of the purple witch hat and place it securely on top of the ghost’s head at a jaunty angle. For an extra pop of autumn color, twist a small scrap of orange pipe cleaner into a tight coil, add a tiny green stem, and glue this miniature pumpkin right onto the brim of the witch hat.