
Subscribe to @ArtIDEA4U
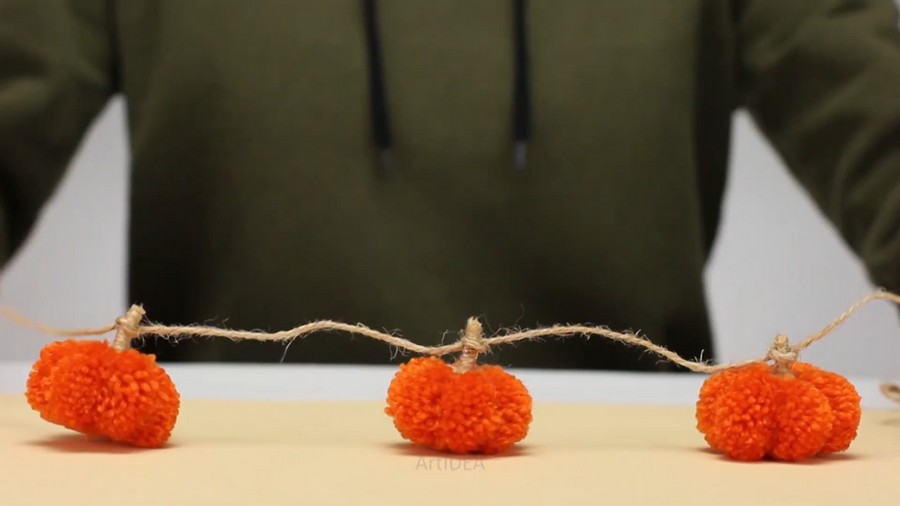
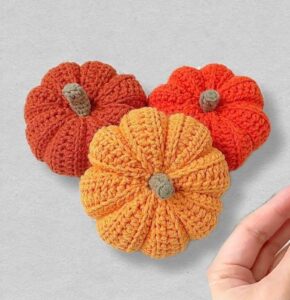
Learn how to make a small no-knit yarn pumpkin plushie in less than 5 minutes with this pom pom pumpkin plush tutorial. You can make a garland out of these pumpkins by attaching them with a twig cord, turn them into a keychain, or make a fall wreath. It is easy, as we shall make it from a ball pumpkin. What?
Yes, the pumpkin ridge pattern only requires trimming perfectly after you have made an orange sphere pom pom of 200 turns. You can use both cotton and acrylic yarn to make your pom pom pumpkin plush.
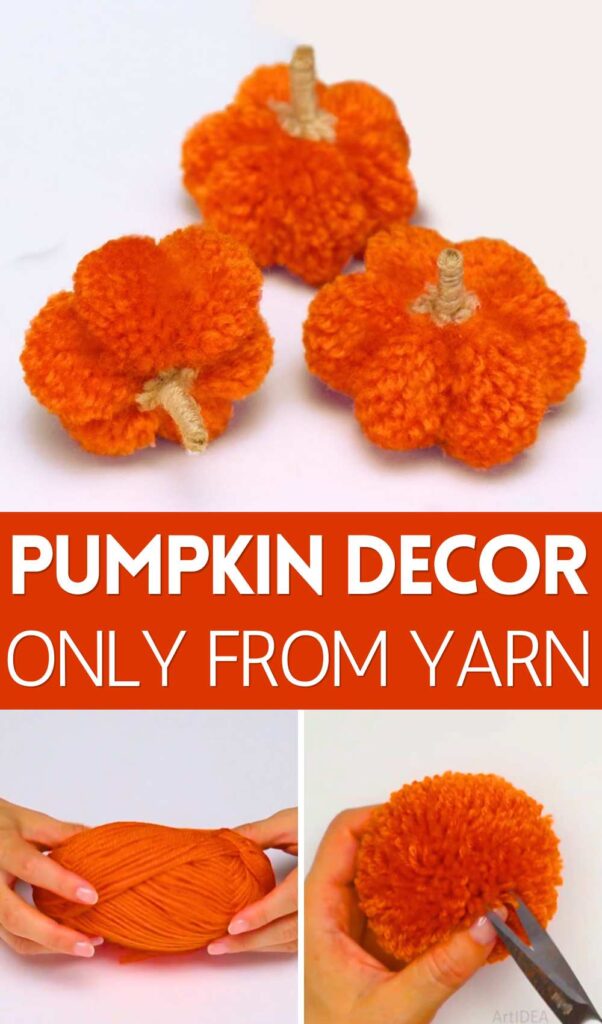
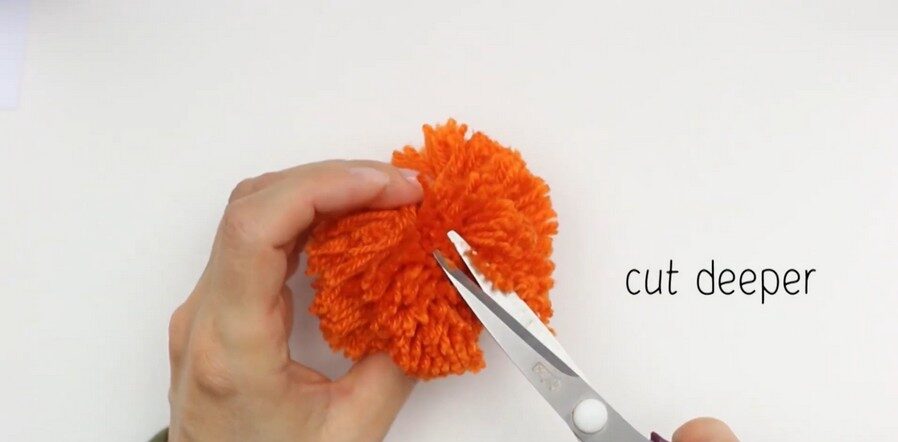
The idea is to cut deeper to make the pumpkin plush ridges and then trim around to give it a smooth store-bought look. In the beginning, it may not be perfect, but it is worth giving it a shot, as you will want to make more than 1 this fall. Continue reading for the explanation.
[ez-toc]
No-Knit Yarn Pumpkin Plush Tutorial
Skill Level: Beginner – Level 3
Pom pom variation: Sphere + Unfinished pom pom
Materials Needed
The following are the materials & tools needed for making this quick pumpkin plush:
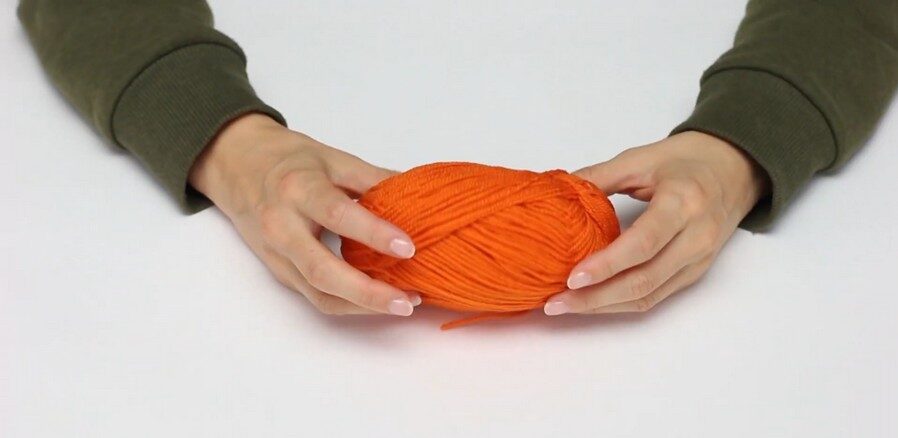
- Cotton + acrylic blend yarn in orange
- Sharp scissors
- Jute twine
- Pom pom clover maker/cardboard base/fingers
How to Use this Pumpkin Plush
Here are some of my recommended uses for this DIY pumpkin plush for beginners:
- Use as a bag charm for a fall tote bag
- Attach to a backpack
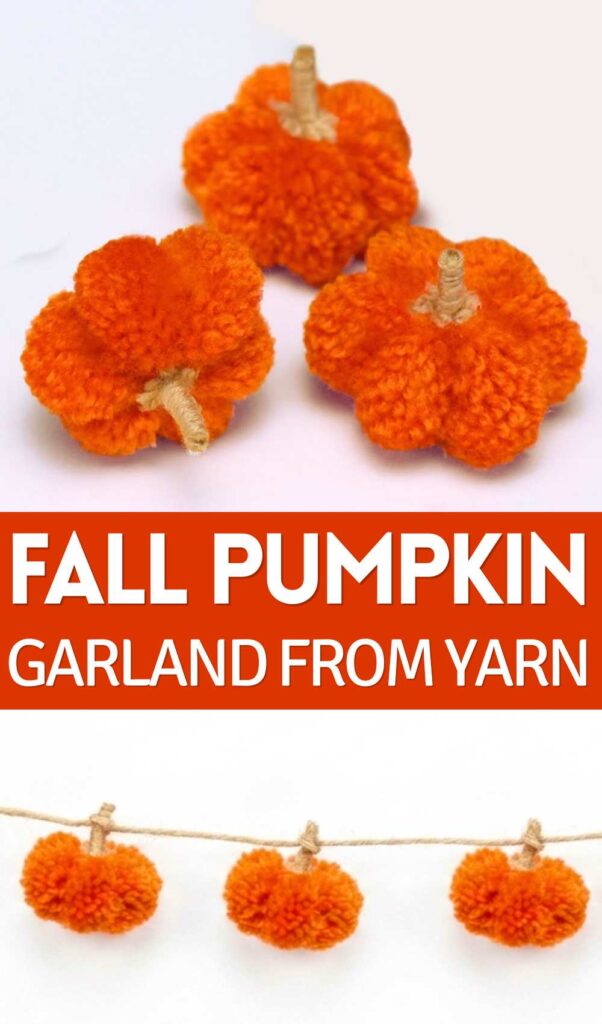
- Make a garland using jute twine
- Turn into a Halloween charm with jack-o’-lantern felt additions
- Turn into a big pumpkin plush
Are you a beginner?
Better learn the pom pom making and the trimming pattern following this tutorial:
Detailed Guide
Step-by-Step Instructions
Wrap the Yarn:
-
-
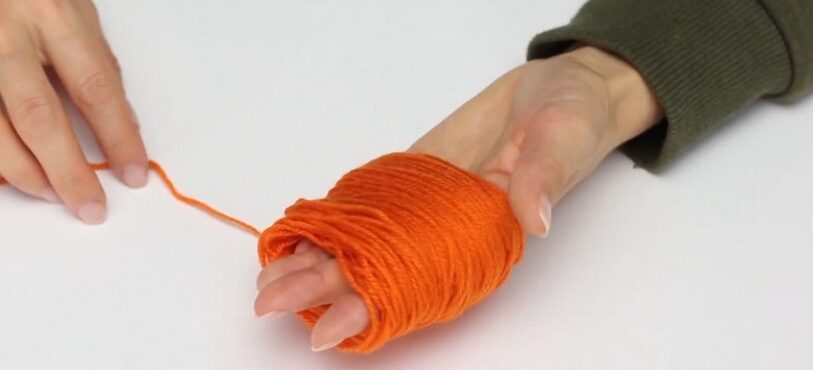
Start by wrapping the orange yarn around four of your fingers roughly 220 times to create a thick bundle.
-
Tie the Bundle:
-
-
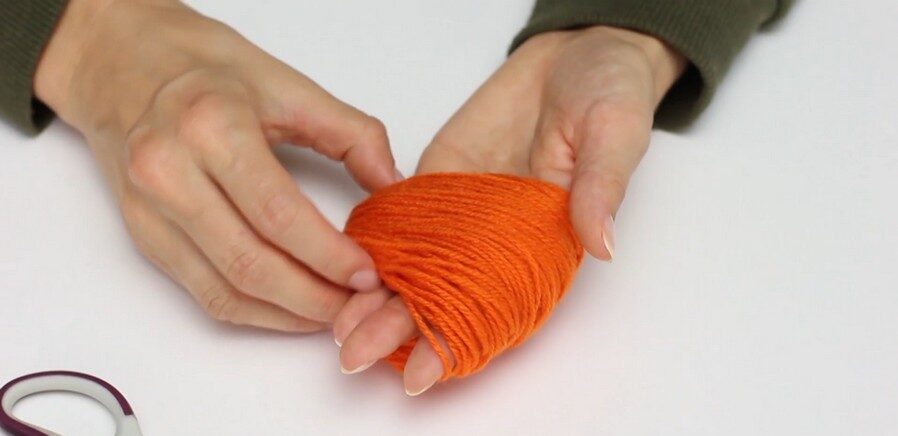
Carefully slide the looped yarn off your fingers.
-
-
-
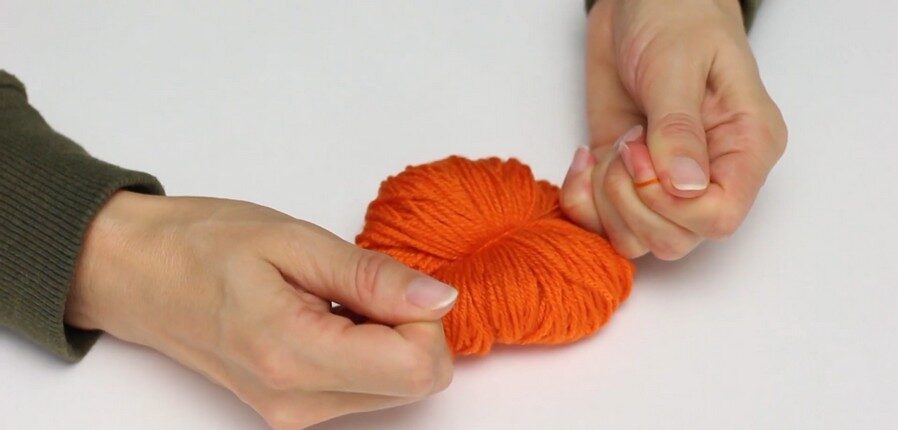
Take a separate, short piece of orange yarn and tie it tightly around the exact middle of the bundle, pinching it in the center.
-
Cut the Loops:
-
-
Using your sharp scissors, cut through all the folded yarn loops on both sides of the middle tie.
-
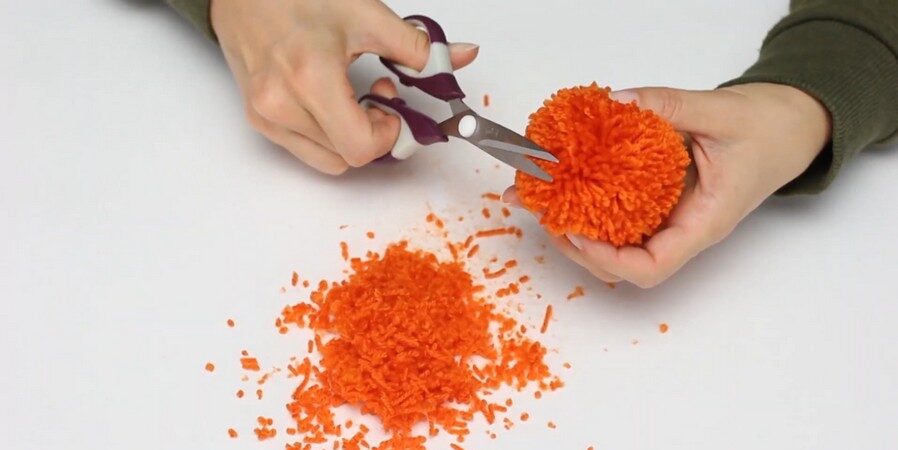
This will leave you with a shaggy, unshaped pom-pom and some excess yarn scraps.
-
Shape into a Ball:
-
-
Trim all the uneven edges of the yarn until you have a neat, tightly packed, round pom-pom ball.
-
Create the Pumpkin Ridges:
-
-
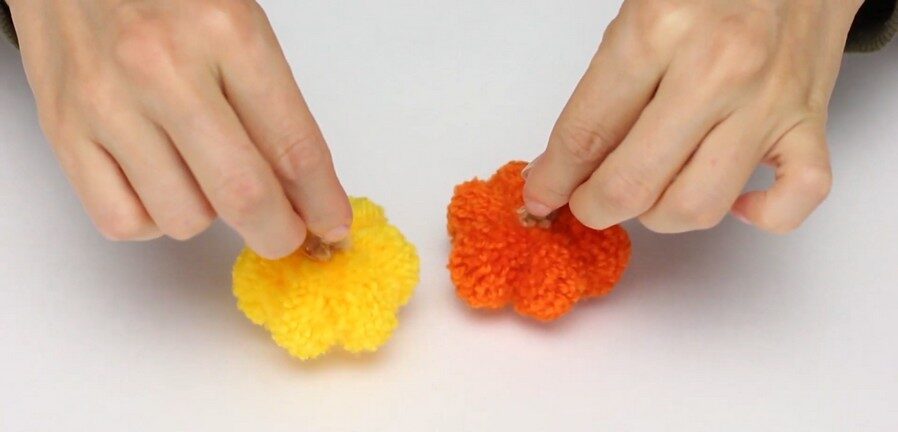
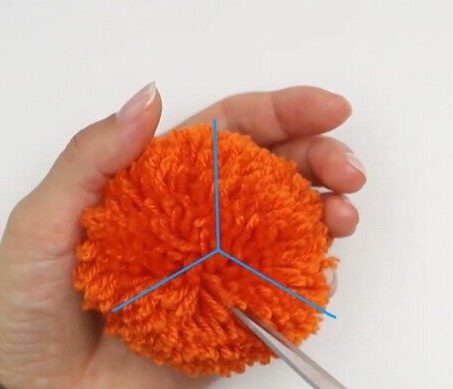
To make it look like a pumpkin, imagine dividing the top of the pom-pom into sections, like a Y-shape or peace sign.
-
-
-
Carefully use your scissors to cut deeper grooves into the yarn along those imaginary lines.
-
-
-
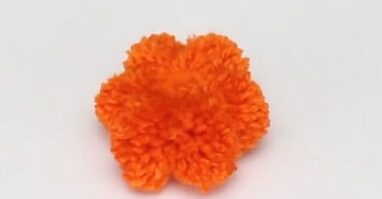
This step creates the distinctive segmented ridges of a pumpkin.
-
Make and Attach the Stem:
-
-
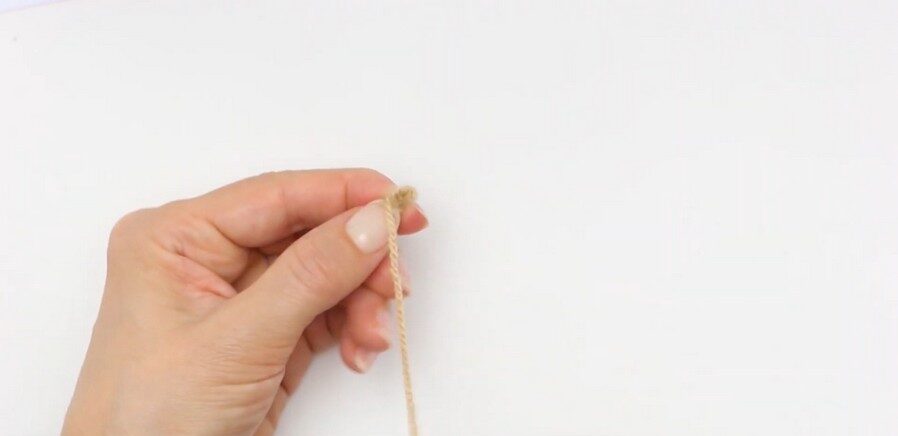
Take a piece of rustic twine and tie it or twist it tightly to form a small, stiff nub for the stem.
-
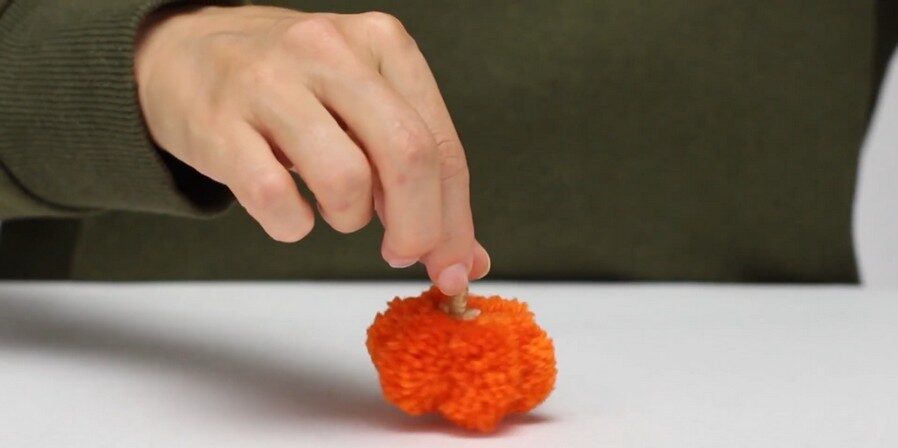
Push and secure this small twine stem straight into the top center of your shaped yarn pumpkin.
-
Display:
-
-
You can display your pumpkin on its own or attach it to a longer piece of twine along with other yarn pumpkins to create a festive autumn garland.
-

About "Talha"
Hey, I’m Talha, the Crafter on Craftstive.com. I love to share guides on folding cute origami models and paper crafts, and I am always ready to inspire your next craft project with my weekly craft discussions.

About "Art IDEA"
She will help you make different beautiful things, crafts, gifts, décor and more that can be useful for room décor or as gifts for loved ones and friends.